Welcome to the second tutorial in our series on Photoshop for developers. In this quick tip, I'll introduce you to the fundamentals of making selections with the Marquee Tool.
Using the Marquee Tool
The Marquee Tool (M) ![]() in Photoshop is one of the simplest tools to use and yet has the potential to do so much. I don’t anticipate this one being too tough to follow.
in Photoshop is one of the simplest tools to use and yet has the potential to do so much. I don’t anticipate this one being too tough to follow.
The marquee tool is also known as the selection tool and other tutorials may refer to it as ‘marching ants.’ Marching ants comes from the fact that when making a selection, the marquee looks like ants marching around your selection. Great, right? Now let's get into why you are here.
Types
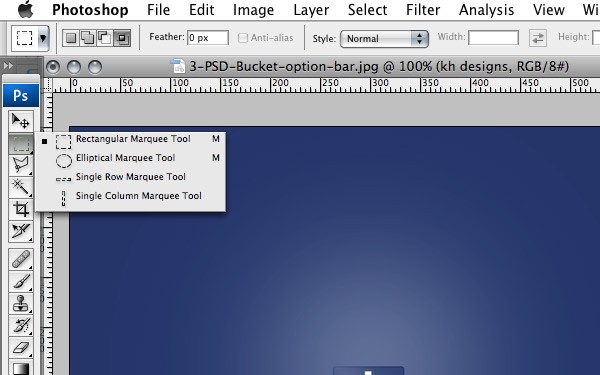
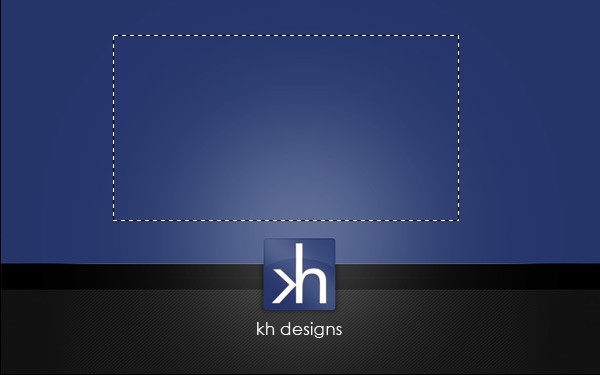
Rectangular – Just as the name indicates, this one selects areas in a rectangular pattern. To get a perfect square, just hold down the SHIFT key while selecting.
Elliptical – Yet another tough one, this selects round areas or ellipses. To select a perfect circle, hold down the SHIFT key while selecting.

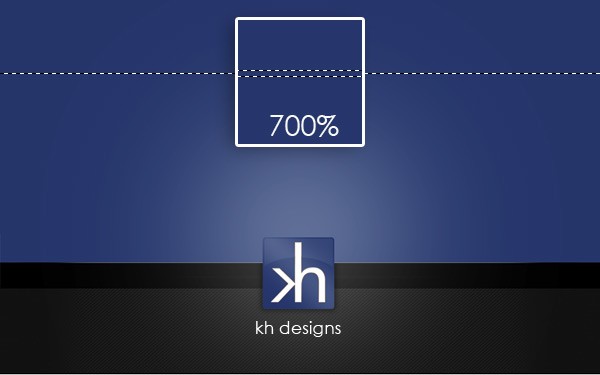
Single Row Horizontal – Single row, selects a single row of pixels the whole width of the image. Just one click will make the selection.
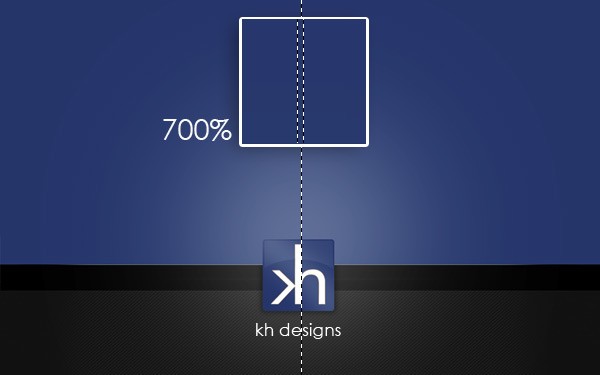
Single Column Vertical – Single Column Vertical will select a single column of pixels the height of the image. Just one click will make the selection.
Use
As mentioned, this tool is pretty straightforward. Just drag your mouse over the part of the image you want to select with the marquee tool selected, and that’s it. The complicated things happen after the selection. From here you can crop, apply color, apply patterns, apply filters, round corners, and the list of possibilities goes on and on.
You also have the ability to add and subtract from your selection simply by holding down one key.
To add a portion to an existing selection, hold down the SHIFT key. You will notice that the mouse cursor changes and a plus sign is now visible. With the plus sign visible, make another selection.

NOTE: Holding down SHIFT on the initial selection will make a perfect square or circle, but holding down SHIFT on the next selection will add to the selection.
To subtract a portion of an existing selection, hold down the ALT key. In converse, you will notice the mouse cursor change again, and this time it has a minus sign now visible. With the minus sign visible, make another selection and that portion will be removed.

Knowing how to utilize the marquee tool will help you cut and copy areas easily from layer to layer, create different shapes, textures, backgrounds, as well as help you through the rest of the this series.
Next, we will visit the bucket tool and gradient tool, both which can create some cool effects when partnered with the marquee tool.


Comments