If you're familiar with the PHP community, then you're likely familiar with a number of the different applications and frameworks that are currently popular in the development space today. One of the more common frameworks that we're seeing used to build web applications is Laravel.
Though this tutorial is not specifically about Laravel, I recommend checking it out if for no other reason than to see what else is going on outside of WordPress. Exposing yourself to other technologies can often help you grow in ways that the technologies you use from day to day can't do.
Introducing Laravel Valet
Recently, the Laravel team released something called Valet (or, more specifically, "Laravel Valet") which aims to do the following:
Valet is a Laravel development environment for Mac minimalists. No Vagrant, No Apache, No Nginx, No/etc/hostsfile. You can even share your sites publicly using local tunnels. Yeah, we like it too.
Sounds really neat, right? But it's from the Laravel team and it's talking about things such as Vagrant. So why does this affect WordPress developers?
If you check out the documentation for Valet, you'll notice something curious. Specifically, it supports:
- Laravel
- Lumen
- Symfony
- Send
- CakePHP 3
- WordPress
- Craft
- Statamic
- Jigsaw
- Static HTML
Really neat, isn't it?
So if you're a WordPress developer and you're looking for an easy way to get a development environment up and running without the use of some of the more common software (or some of the heavier software) that's available, or maybe you're just curious about getting started with something new, then perhaps Laravel Valet will be a suitable option.
In this tutorial, we're going to look at how to set up Laravel Valet for WordPress and set up an installation that we can use for local development.
Laravel Valet for WordPress Development
Since this is brand new software and since some of you reading this are likely just getting started with WordPress, are coming from other backgrounds, or have never used anything beyond a standard Apache/PHP/MySQL stack, we're going to start from the very beginning.
As we progress through the tutorial, please don't hesitate to leave any questions in the comments section and I'll be happy to do the best I can to answer them.
In order to set up Valet and get started using it for local development, there are a few things we need to install first. Let's take care of that, and then we'll install Valet and WordPress and get our environment up and running.
1. Installing Homebrew
In order to install Valet, we need to install a package manager for OS X known as Homebrew.
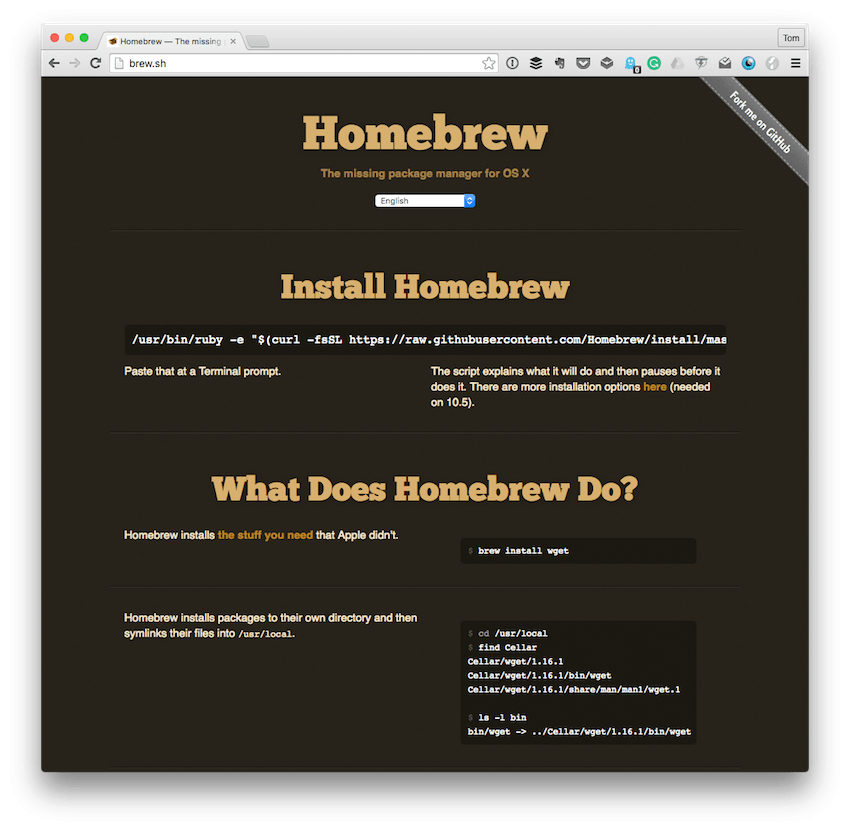
For those who are unfamiliar, Homebrew is a package manager for OS X that allows you to manage various software and packages from the command line. Don't let the fact that it runs from the Terminal intimidate you: There are only a handful of commands to learn, and it's easy to both install and uninstall packages as needed.
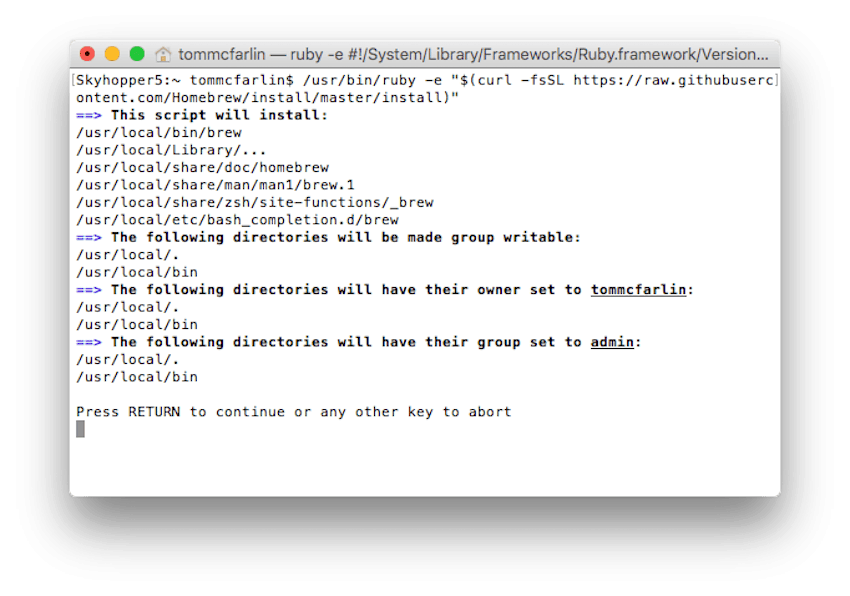
To install Homebrew, paste the following command into a Terminal session:
/usr/bin/ruby -e "$(curl -fsSL https://raw.githubusercontent.com/Homebrew/install/master/install)"
Next, follow the prompts that the script provides. It's clear and does an excellent job of walking you through everything you need to know before setting itself up.
Depending on your Internet connection, you should be done within a minute or less. Before moving forward with the next step, be sure to update the packages that are on your system. You can do this by entering the following command:
brew update
If you get an error, then you may need to update your .bash_profile. From the Terminal, open .bash_profile. You can do this by first opening your .bash_profile configuration:
$ open .bash_profile
Then add the following line:
$ export PATH="/usr/local/bin:$PATH"
Once done, there are a few other things that we need to install. After making that change, run the following command to load the changes into your current session:
$ source .bash_profile
Let's take care of that now.
2. Updating Homebrew
Before doing anything else, we want to make sure that Homebrew is properly set up. To do this, we can execute the following command from the Terminal:
$ brew doctor
This will make sure that nothing is out of date or needs to be fixed before running any other commands. Assuming everything is good to go, then go ahead and enter the following command:
$ brew update
At this point, we've installed and updated Homebrew so it's finally time to install the necessary packages to get Valet up and running.
3. Install PHP 7.0
We're going to be using PHP7 in order to use Valet. If you're working with WordPress, it's worth noting that the minimum requirements for the software are PHP 5.2.4.
This is important because although PHP 7 offers a lot of great features and some noticeable speed improvements, this doesn't mean that the host to which we're deploying our code will have PHP 7 installed.
With that said, you've been warned: Make sure the code you're writing in PHP is going to be compliant with whatever version of PHP is running on the server to which you're deploying.
Now, let's install PHP 7 using Homebrew. To do this, issue the following command in your Terminal session:
$ brew install homebrew/php/php70
Give the package manager a moment or two to download and install the necessary software and its dependencies as well as set them up. At this point, we're almost there!
4. Install Valet
Now it's time to actually install Valet. To do so, you'll need to make sure that you have Composer installed on your system. If you don't then you can check out the Composer documentation, this tutorial here on Envato Tuts+, or even a full-fledged course we have on the package manager here on Envato.
After Composer is installed, the steps to install Valet are minimal. First, make sure that Composer's vendor/bin directory is located in your PATH. If not, let's make the following change to .bash_profile.
Once again, open the file using the following command:
$ open .bash_profile
Then add the following line:
$ export PATH="$PATH:$HOME/.composer/vendor/bin"
You can then restart your Terminal session or you can run the following command to load the new profile:
$ source .bash_profile
And then execute the following command from the Terminal:
$ composer global require laravel/valet
Once it's done, you'll be presented with a message that says: "Writing lock file, Generating autoload files."
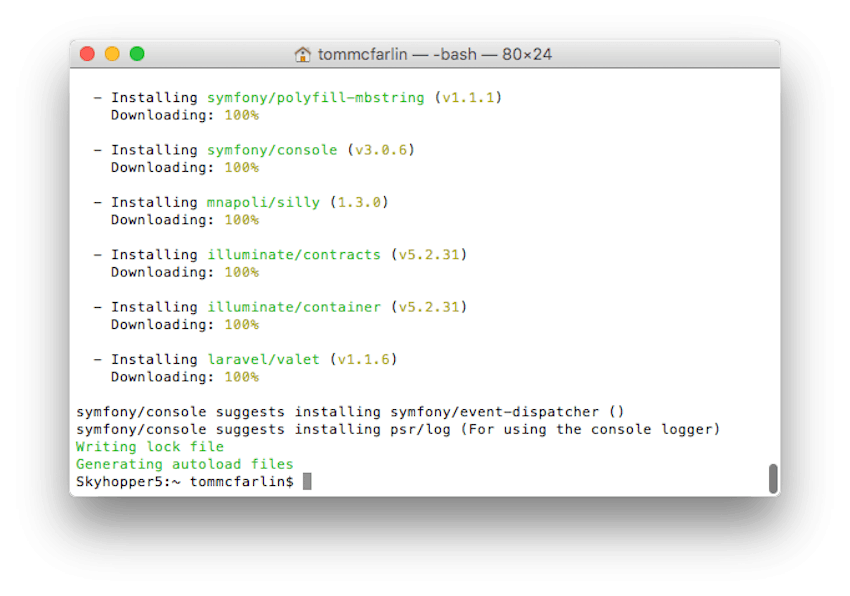
After which you'll be returned to your command-prompt.
5. Set Up Valet
At this point, Valet has been installed, and we're ready to set it up. To do so, run the following command in the Terminal:
$ valet install
And after a moment, you should be presented with the following screenshot:
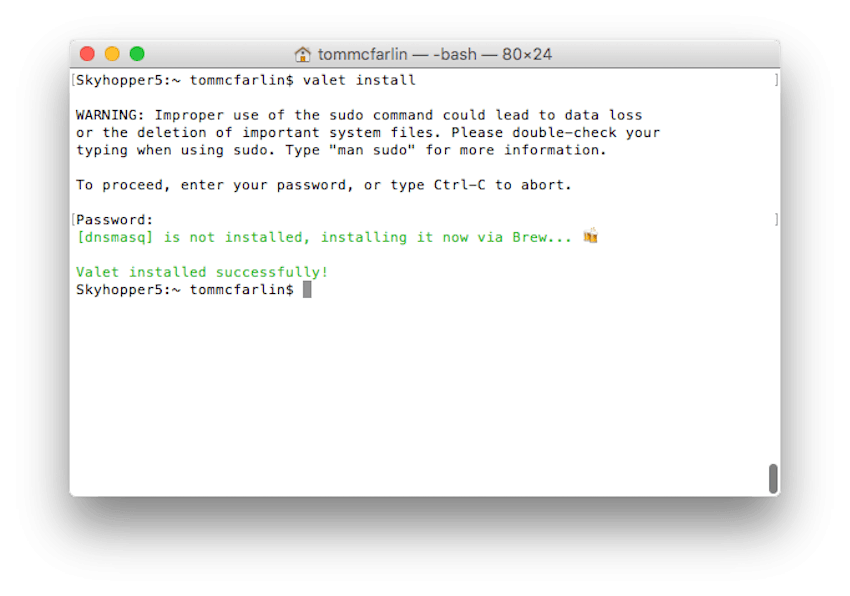
And that's it! Valet is installed and running successfully. From the documentation:
Valet will automatically start its daemon each time your machine boots. There is no need to runvalet startorvalet installever again once the initial Valet installation is complete.
Of course, there's still much to explore regarding Valet, so don't skip out on reading through the documentation.
Setting Up WordPress
With the basics in place, it's now time to set up our first WordPress site. To do this, we need to be familiar with two Valet commands. Specifically, we need to understand that:
-
parkrefers to adding an entire directory to Valet. -
linkrefers to adding a single site to Valet (versus an entire directory).
Since WordPress runs out of an entire directory, we're going to be using the park command.
1. Create a Directory
Let's create a fresh directory out of which we can install WordPress.
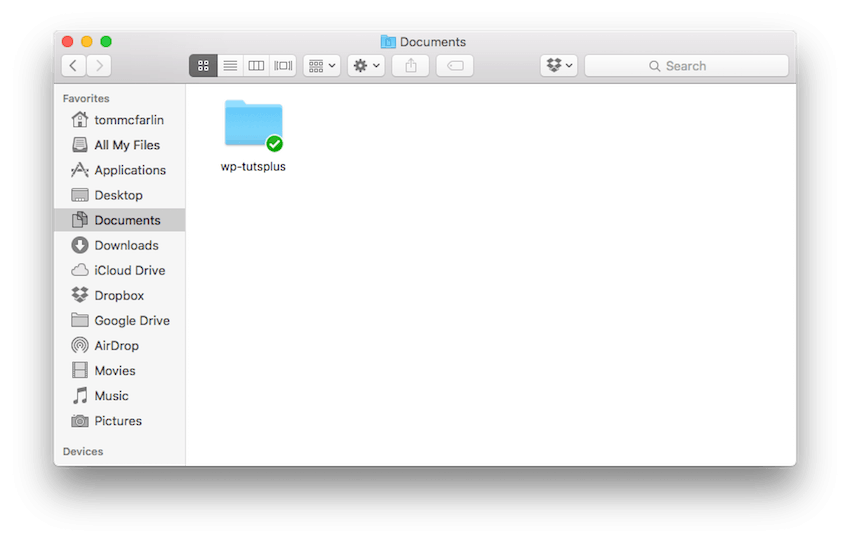
I'm going to call my directory wp-tutsplus. You can do this from Finder or from within the Terminal.
2. Add It to Valet
Next, we need to add the directory to Valet. To do this, you can issue a simple command in Terminal:
$ cd Documents
$ valet park
Note above that we've changed the directory to wp-tutsplus and then we've specified the park command as outlined above. Of course, at this point, there's nothing actually in the directory.
Let's change that.
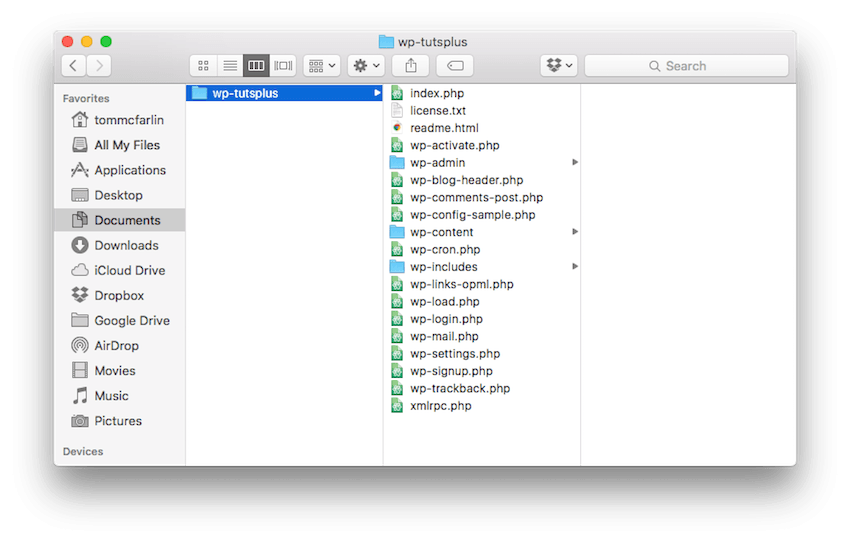
3. Install WordPress
If you're an advanced user, then you may be interested in downloading WordPress using the command-line tools; otherwise, feel free to download a copy of the application from the website.
Whichever method you opt to use, make sure that the WordPress application files are located in the wp-tutsplus directory. To be clear, I do not mean that the directory structure should be wp-tutsplus/wordpress. Instead, I mean the directory wp-tutsplus should be the top-level directory for the WordPress application.
With that done, you should be able to point your browser to the name of the directory with the domain suffix as outlined in the Valet documentation.
Specifically, you should be able to navigate to wp-tutsplus.dev on your local machine and you'll be welcomed to the famous installation screen.
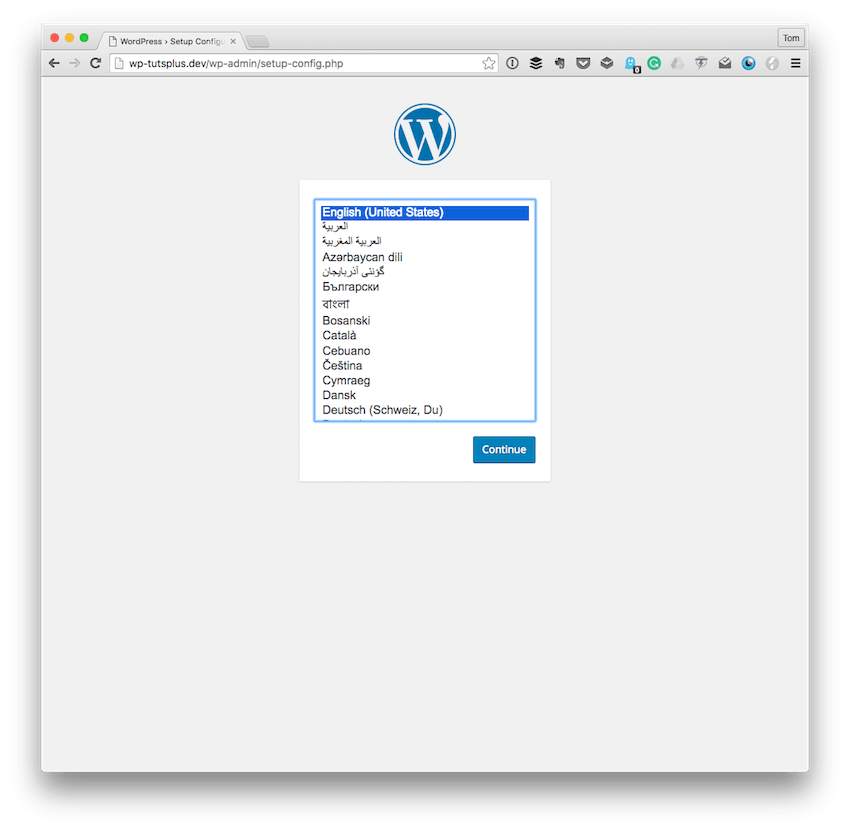
Assuming all has gone well up to this point, then you should be able to see the default WordPress installation.
4. Set Up the Database
But wait! There's one thing we forgot: the database. Whenever you're setting up a WordPress installation, you need to have a database.
Traditionally, we have a MySQL database running that we use in order to install WordPress. With Valet, we need to make one more change. Specifically, we'll be using MariaDB. For all intents and purposes, MariaDB serves as a replacement for MySQL when using Valet.
First, execute the following command in the Terminal:
$ brew install mariadb
Once done, you can start and stop the database service by running the following two commands, respectively:
$ mysql.server start
$ mysql.server stop
From here, you can open your favorite database front-end and connect to the database using the server of localhost (or 127.0.0.1).

From here, you can create the database and then use it to set up WordPress. It only requires the username root (with an empty password). Obviously, this is okay for local security, but never push this live to a staging or production server.
Conclusion
Congratulations! At this point, you've used a third-party piece of software from another member of the PHP community to set up a way to set up a simple local development environment.
Despite the fact we had to install Homebrew and enter a few commands, the ease with which it's possible to spin up a new site from a single directory is incredible. Of course, this still leaves a number of questions for more advanced WordPress developers. Perhaps a follow-up post would be useful.
In the meantime, the documentation covers a lot of material that's worth reading. So for now, explore the Valet documentation and work on some custom WordPress development using the application.
As a side note, if you're looking for other utilities to help you build out your growing set of tools for WordPress or for code to study and become more well-versed in WordPress, don't forget to see what we have available in Envato Market.
Remember, you can catch all of my courses and tutorials on my profile page, and you can follow me on my blog and/or Twitter at @tommcfarlin where I talk about various software development practices and how we can employ them in WordPress.
Don't hesitate to leave questions, comments, or other interesting things you've found when using Valet to host your WordPress development.
Resources
- Laravel
- Valet Announcement Post (note the video has language that may not be suitable for work)
- Laravel Valet Documentation
- Valet on GitHub
- The Coder's Guild Guide to Brew
- WordPress
- MariaDB

Comments