Translating an iOS application into different languages is a two-step processes. First, you need to prepare your app by separating all user-facing text, images, and other resources that need to be translated from the rest of your code and storyboards. This process is called internationalization (I18N).
After you’ve finished internationalizing your app, you’re ready to localize it. This is where you export your resources and send them off to your translator. When you get the translated resources back, you simply import them back into Xcode, and your app is ready to support another language.
1. Setup
We’ll be using a simple example app to experiment with localizations. Create a new Xcode project, use Single View Application for the template, and call the project LocalizationExample.
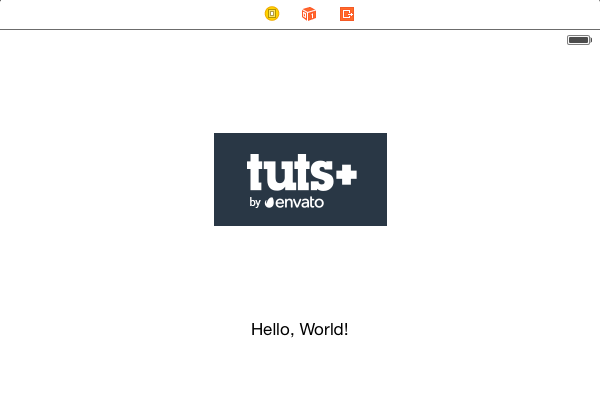
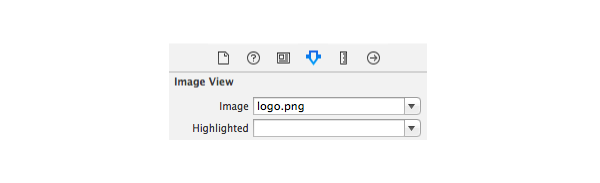
Next, we need to create a simple user interface so we can see our localizations in action. In Main.storyboard, add a label and an image view. Change the label's text to "Hello, World!". Download these image resources, add en/logo.png to your Xcode project (make sure Copy items if needed is checked), and display it in the image view by changing its Image field to logo.png. Also be sure to add a Center Horizontally in Container layout constraint to both user interface elements.
You also need to know how to localize hard-coded strings so go ahead and add a console message to AppDelegate.m. Add the following log statement to applicationDidFinishLaunching:.
- (BOOL)application:(UIApplication *)application didFinishLaunchingWithOptions:(NSDictionary *)launchOptions {
    NSLog(@"Hello, World!");
    return YES;
}
This gives us three resources to localize, an image, a label, and a hard-coded string. Note that developing a localized app is largely the same as creating a non-localized app. You can configure views and define custom behavior without really worrying about localization. Most of it happens after you've got your basic functionality working.
2. Internationalization
Now that we have a basic application to work with, we're ready to internationalize our app. This is where we prepare for localizing resources by isolating them from the rest of our code. Xcode provides extensive I18N capabilities, which makes it much easier to localize an app.
Step 1: Preparing Storyboards
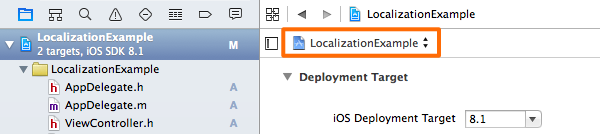
First, let's take a look at internationalizing our app's user interface. The first step is to tell Xcode which regions, or locales, you want to support. Click the LocalizationsExample project in the Project Navigator and select the blue project icon in the pop-up list to the top-left.
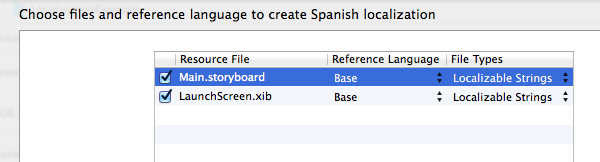
The Localizations section is where you can add locales to your app. We'll be translating our example project into Spanish, so click the plus sign and select Spanish (es). This will open a dialog window asking you what you want to do with your existing resources. Make sure Localizable Strings is selected for both Main.storyboard and LaunchScreen.xib as shown in the following screenshot. Click Finish to continue.
You’ll now find two items under Main.storyboard, a base storyboard and a Main.strings file. The former is your actual storyboard file and the latter is a strings file that contains all the user-facing text in the storyboard. This strings file is what will eventually be translated.

The Main.storyboard file is now internationalized and ready to be localized.
Step 2: Preparing Hard-Coded Strings
User-facing strings that are hard-coded into your Objective-C/Swift classes need some special processing. This is a necessary step, for example, if you're programmatically setting the text for user interface elements in your storyboards.
Fortunately, internationalizing hard-coded strings is a straightforward process. All you have to do is wrap them in an NSLocalizedString macro, like so:
- (BOOL)application:(UIApplication *)application didFinishLaunchingWithOptions:(NSDictionary *)launchOptions {
    NSString *greeting = NSLocalizedString(@"Hello, World!", @"A friendly greeting");
    NSLog(@"%@", greeting);
    return YES;
}
The first argument is a key pointing to the string you're looking for and the second (optional) argument is a comment that will be included in the exported strings file. You can use abstract, dictionary-style keys (e.g., @"greeting"), but I find that code is more readable if you use the actual string to be translated as the key.
In the next section, any NSLocalizedString calls will automatically be pulled out of our code and added to the list of strings that need to be translated.
3. Localization
Once your app is internationalized, you're ready to start localizing your resources. Localization is a fairly simple process where you export all of the strings that need to be translated, pass them off to your translator, and import them back into your project. This export/translate/import cycle can continue as you're developing your app, but it's usually a good idea to finalize the majority of your user interface before starting the localization process.
Step 1: Exporting Strings
Xcode makes it easy to export all of your internationalized strings to a single XML Localization Interchange File Format (.xliff) document, which is the standard format for the localization industry.
To generate this file, selecting LocalizationExample in the Project Navigator, choose Editor > Export For Localization... from Xcode's menu, and select a file path outside of your Xcode project to prevent any potential confusion.

Clicking Save will create a new folder containing an es.xliff file. If you open it, you'll find a whole lot of XML containing information about every string in your app that needs to be localized.
This is the file that you need to send off to your translator. They’ll have special tools for editing the XML, but for our example, let’s go in and edit it directly. Open es.xliff and search for the text "Hello, World!". You should find two separate <trans-unit> elements as shown below.
<trans-unit id="Cns-Fc-27j.text">
    <source>Hello, World!</source>
    <target>Hola, Mundo!</target>
    <note>Class = "IBUILabel"; text = "Hello, World!"; ObjectID = "Cns-Fc-27j";</note>
</trans-unit>
<!-- ... -->
<trans-unit id="Hello, World!">
    <source>Hello, World!</source>
    <target>Hola, Mundo!</target>     <!-- Add a <target> element -->
    <note>A friendly greeting</note>
</trans-unit>
As you can see from the <note> element, the first one is the text from our label element and the second one is the hard-coded string that we wrapped in NSLocalizedString.
Change the <target> element to "Hola, Mundo!" for both of these. You may need to add a <target> element to the second one. Our translated strings are now ready to be loaded back into Xcode.
Step 2: Importing Strings
Once your translator finishes work on a .xliff file, you need to load it back into your Xcode project. With LocalizationExample selected in the Project Navigator, choose Editor > Import Localizations... from Xcode's menu. Navigate to the es.xliff file that we updated in the previous section and hit the Import button.
We've successfully added a Spanish translation to our app. If you open up Main.strings, you'll see the translated label text. You'll also find a new Localizable.strings file in the Supporting Files group that contains contains the translation of our NSLocalizedString message.
We'll test these translations in a moment, but first we need to take a look at localizing resources that aren't strings.
Step 3: Localizing Images
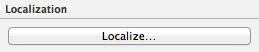
Localizing image resources is a little bit different than localizing strings. Select logo.png and hit the Localize... button in the File Inspector.
This will bring up a dialog asking which locale this image represents. Select English and hit the Localize button. The Localization section will turn into a list of checkboxes. Select both the English and Spanish checkboxes.
The image is now localized, but we still need to go into our Xcode project and manually replace the Spanish version of the image. Using Finder, navigate to the folder containing your Xcode project and open the LocalizationExample folder. You'll find an en.lproj and an es.lproj folder.
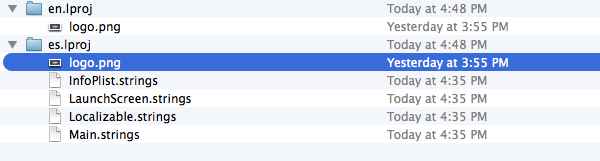
This is how an iOS app internally represents its localized resources. English resources are in the en.lproj folder, Spanish ones in the es.lproj folder, and shared resources in Base.lproj folder. Replace es.lproj/logo.png with the es/logo.png image that you downloaded at the beginning of this tutorial. Other resources, such as data, sound, and video files can be localized in the same manner.
4. Testing Localizations
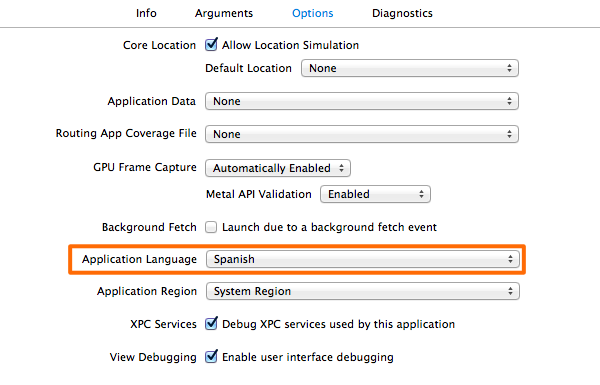
You should always test your localizations on an actual device, but it's also possible to test them in the iOS simulator using schemes. Navigate to the Product > Scheme > Edit Scheme... menu item in Xcode to bring up the scheme editor. With Run selected in the list to the left, open the Options tab and change the Application Language to Spanish.
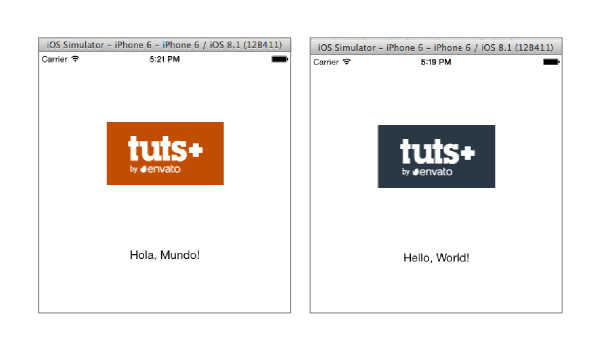
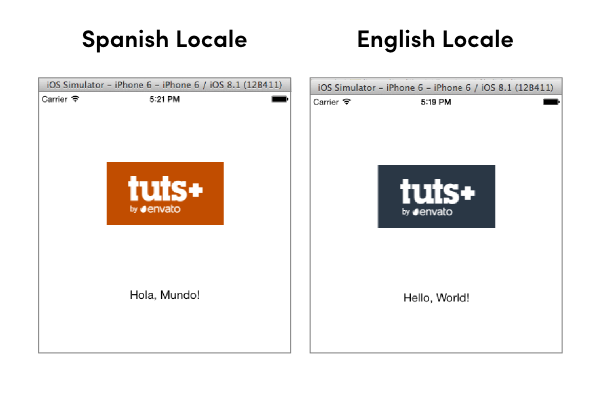
That's all there is to it. The next time you run the app in the iOS simulator, you'll see the Spanish version of the label, image view, and console message.
Conclusion
Localizing an iOS application requires additional work, but Xcode makes the process easy and straightforward. In this tutorial, you have learned the difference between internationalization and localization, and you've also learned about the steps involved to localize strings and resources in an iOS application using Xcode's built-in tools.

Comments