Shapes have come a long way in Photoshop and knowing how to utilize them in your application can mean the difference between success and failure. Shapes can bring depth, balance and unity to your apps. This tutorial will introduce to you the Photoshop shape tool and teach you to draw basic custom shapes. In the process, you will be prepared for the next tutorial in this series: creating buttons.
Before we get started, let me show you what I mean when I talk about the relationship between shapes, depth, balance, and unity.
Let's use the default interface for the iPhone and Android phones for example. The buttons, icons or shortcuts on both phones appear as though they are sitting just on top of the background, which is depth. Where the phones start to differ, however, is with regard to balance and unity.

iPhone Icons
Apple prides itself on design (as well they should) and while both phones snap the icons into place the iPhone keeps the icons together in a specific order. Android phones can have some icons on the top and some icons on the bottom, which can massively screw up the balance of your screen. Does it change functionality? No. Is it usable? It’s custom, so if it works for you, then yes. Does it look the best? No. It doesn’t look the best because it just isn't balanced.

Android Icons
The same could be said for unity. The iPhone has one standard size and shape for icons. The content within the size and shape can and does vary. Android just has a standard size, but no standard shape. By restricting all the icons to the same size and especially the same shape, Apple creates perfect unity. Nothing looks out of place. But this isn’t and Apple versus Android debate, and while I am a Mac user, I choose to use an Android phone over the iPhone, so I'm not biased there.
Now let's move ahead with learning about the Photoshop shape tool:
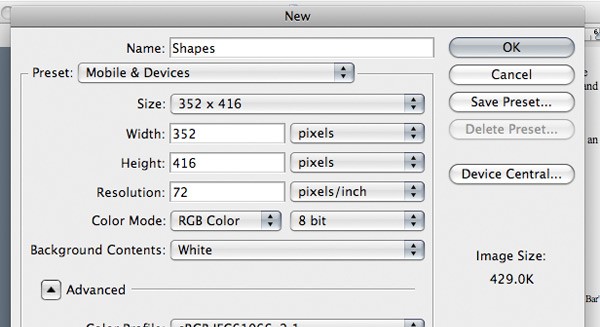
- Open Photoshop and create a new document.
- I am going to use the following presets just to keep it simple.
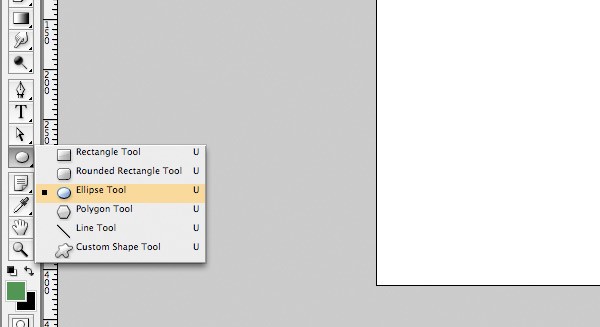
- Select the Shape Tool(U) from the toolbar.
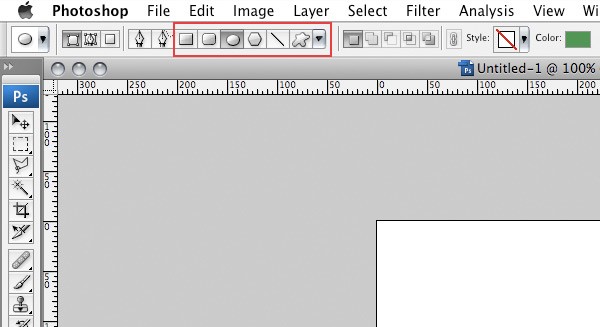
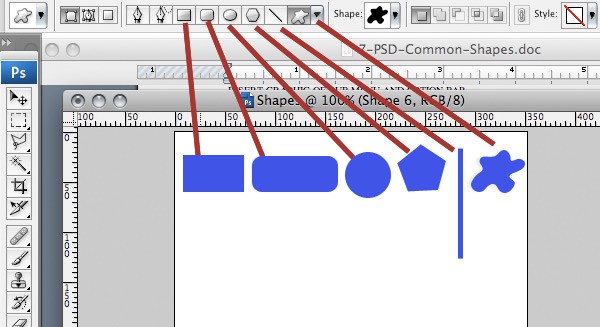
Click to expand the shape options. You can also just look at the option bar to see the different shapes available. - To draw a shape, select the shape you need from the option bar, I chose a circle.
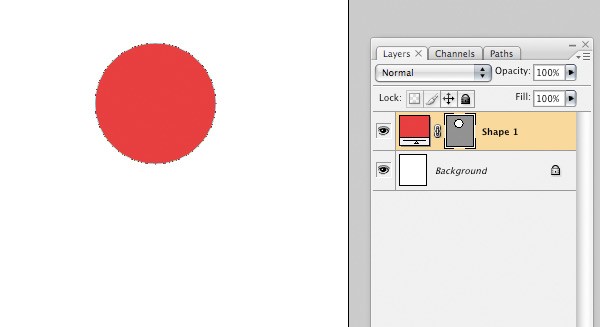
- Click and drag on the canvas to create the shape.
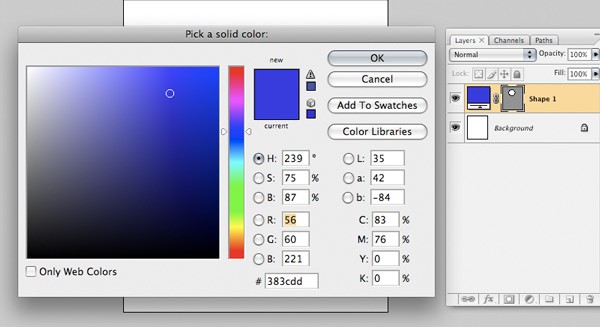
- Double click the colored swatch of the Shape-1 layer in the layer palette to open the color picker.
- Choose a color and click OK.
There are more options in the option bar than what we are going to cover, so we will just focus on the six actual shapes options we have. We will get more into the pen tool in an upcoming tutorial.
Notice how we didn’t pick the desired color yet. Don’t fret, we can change the color pretty easily after the shape is drawn. In the Layer palette, look for the new layer named ‘Shape-1.’
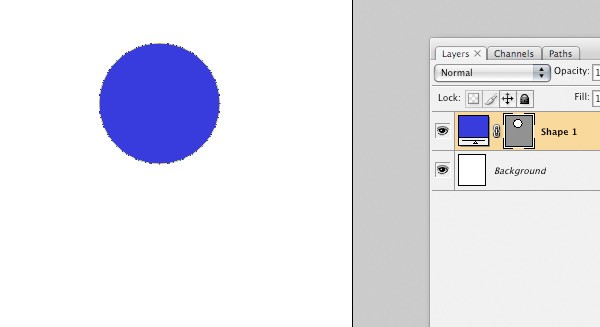
So that was the 30,000 foot view of creating a shape. In this example I just used the oval shape but there is so much more you can do with other shapes.
Here are some little inside tips that would make working with shapes a little more efficient and easier.
- Shape options
- Space bar
- Alt key
- Shift Key (without existing shape)
- Shift (with existing shape)
- Alt (with existing shape)
- Ctrl+T
Shape Options
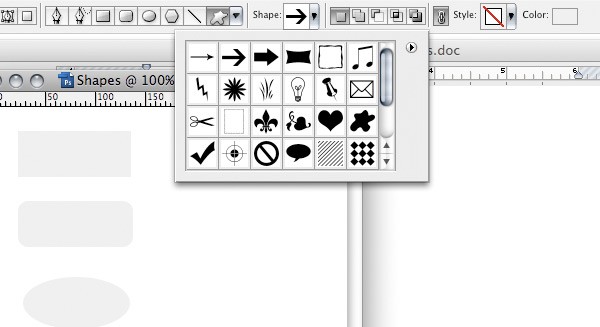
By default, without changing any presets, Photoshop is going to give you shapes that look like these. The custom shapes tool also has a whole subset of shapes from the drop down list, giving you more creative freedom.
Every shape, custom or not, has settings that allows you to customize these shapes and make your life easier in the process.

The "Unconstrained" option allows you to create a shape exactly the size you want it without keeping the shapes proportion (this is the default). For rectangular shapes, the "Square" option allows you to create a perfect square. You can also set a fixed size and proportion as well. If you know exactly the size you need, specify it here and it'll make your life easier! Then there are couple check boxes. The "From Center" checkbox draws the shape around the origin of the mouse instead of the direction the mouse is going and the "Snap to Pixels" option does just that.
I honestly don't use these two options a whole lot because I like to use the shortcuts explained below better. It's just faster!
Space Bar
Ahh, this is one of my favorites. Holding down the Space Bar when drawing a shape allows you to reposition the shape as you draw. It doesn’t matter if you hold it down before or after you have clicked to start drawing the shape.
NOTE: If you've already released your mouse, it's too late. You'll just have to move it manually.
Click to start drawing, hold the Space Bar down, and then just start moving your mouse. The shape should move with you. This helps get everything lined up just right even after you have started drawing the shape.
SHIFT (without existing shape)

Prior to drawing any shapes within the layer, you can hold down the SHIFT key to keep everything perfect. Perfect circles, perfect squares, perfect straight lines, and even perfect 45 degree angled lines. This is a lot like what we saw with the Marquee tool a few weeks back. Holding down SHIFT will keep everything proportioned and can replace selecting the Square radio button in the shape options.
SHIFT (with existing shape)
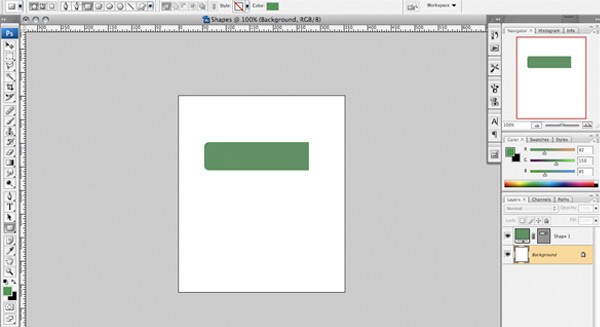
Once you already have a shape on the canvas, the SHIFT key functions a little differently. If you already have a shape on the canvas and also selected in the layers palette, holding down the SHIFT key will allow you to add to the existing shape dynamically.
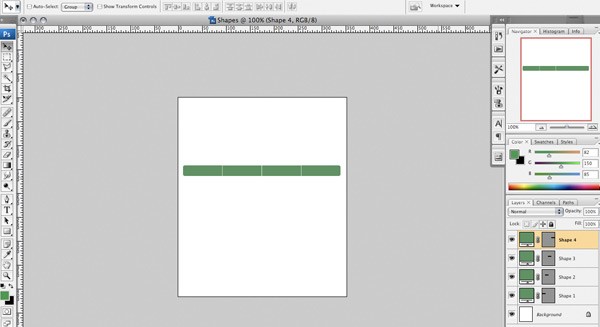
Hold SHIFT down and you will see a little plus (+) symbol next to the cursor appear. Add to the shape by dragging a new shape on the existing shape. Notice in the screen shot that I squared off the end of our rounded rectangle. I could have done this a couple of different ways, but that would involve adding many more steps.
What are we going to do with something like that? Create a couple more shapes using the rectangle tool and finish the last one off the same way you did the first one to create a nice little set of simple navigational buttons:
ALT (with existing shape)
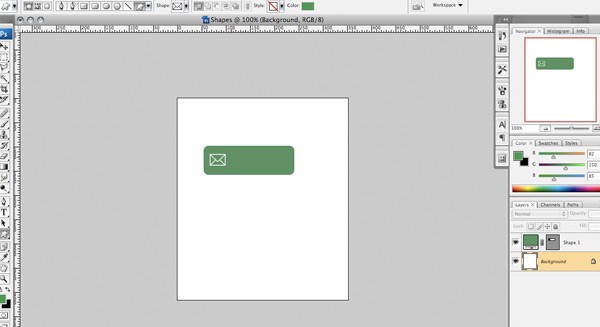
Holding down the ALT key with an existing shape will remove a portion. With an existing shape on the canvas and selected, hold down the ALT key and a minus (-) symbol next to the cursor will appear. This indicates you are about to remove a portion of the shape. In the screenshot I took the envelope custom shape and removed that section of the rectangle. Now we just have to add some text and we have a very simple email button for our app!
CTRL+T
This is the fastest and most efficient way to resize an existing shape. Make sure you have the shape selected in the layer palette and use the keyboard shortcut of CTRL+T. You should see the handles on the shape that will allow you to resize as needed. Quick and easy, this works for all layers, not just with shapes. I use this a ton!
Learning how to use the shape tool is just the beginning. The real trick is in learning how to apply basic shapes in unique and interesting ways. You can certainly use these shapes for more than just buttons!
To spark your creativity, here are some unique and creative examples of the shape tool in action!
Clocks

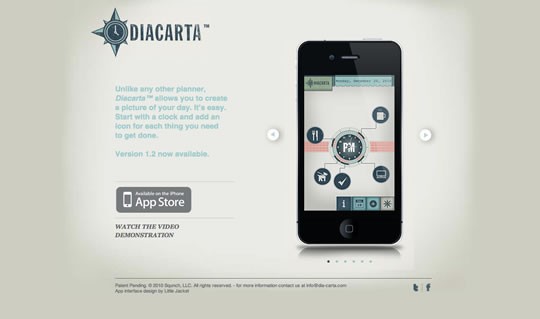
Dia Carta
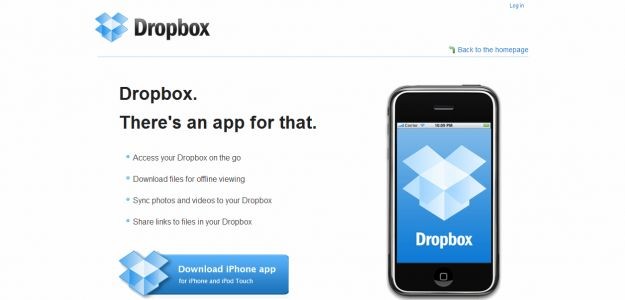
Dropbox
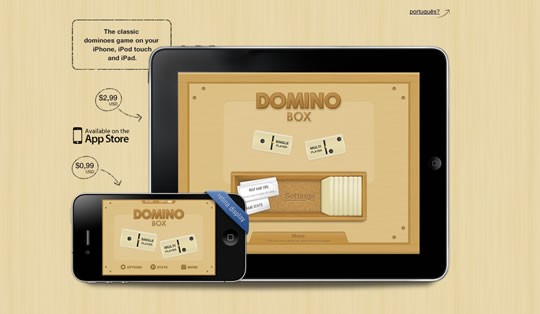
Domino Box

Comments