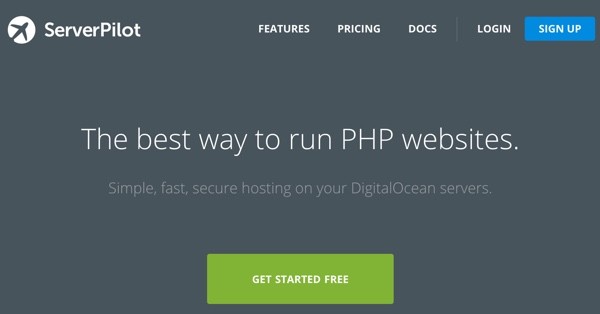
What Is ServerPilot?
ServerPilot.io is a cloud-based hosting control panel akin to cPanel and its alternatives. Unlike others that attempt to work generically with any host, ServerPilot's chosen to focus exclusively on enhancing Digital Ocean.
Once you've created a droplet (instance) at Digital Ocean, ServerPilot will configure it programmatically and provide you a graphical user interface for basic management features. It helps you set up users and databases while maintaining a firewall and regular security updates. Overall, it simplifies the complexities of running a server for anyone who values their time (that's all of us, right?)
If you haven't read Building an App Image to Resell at Digital Ocean (also at Tuts+), this might be a good time to review it. That tutorial walks you through building out a WordPress instance on Digital Ocean step by step. You can compare that guide to this one.
In this tutorial, I'll guide you through launching a WordPress site using ServerPilot and Digital Ocean.
Digital Ocean indeed is a great hosting platform to build on, one which I've covered in detail this past year:
- Using the Digital Ocean API to Manage Cloud Instances (Tuts+)
-
Using Digital Ocean to Manage DNS (Tuts+)
- Installing WordPress at Digital Ocean on Ubuntu 14.04 (PubWP)
How Much Does ServerPilot Cost?
ServerPilot is free in its basic form. If you want enhanced features and real time analytics, it's $10 per month. Premium accounts with additional support, statistics and logs are $49 per month.
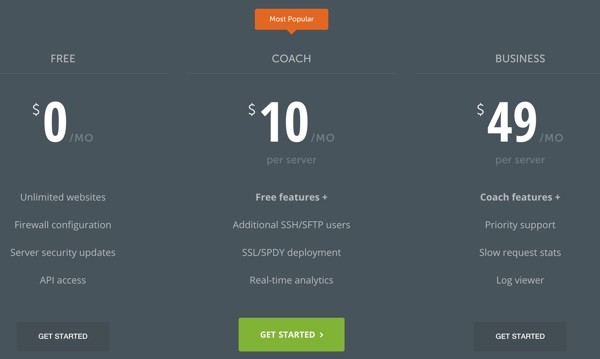
Of course, in addition to your ServerPilot fees, you'll also be paying hosting fees to Digital Ocean which begin at $5 monthly (hourly options available).
Getting Started With Digital Ocean
Assuming you already have a Digital Ocean account, I'm going to walk you through the process of creating a droplet, signing up for ServerPilot and installing WordPress.
If you want a visual guide to signing up with Digital Ocean, you can review signing up and setting up generic instances at Digital Ocean here.
Creating Your Droplet
First, let's create a droplet. Within your account at Digital Ocean, click the Create button:
I'll call mine image.publishingwordpress.com but you can name yours anything generic. I'll use the 512 MB image size:
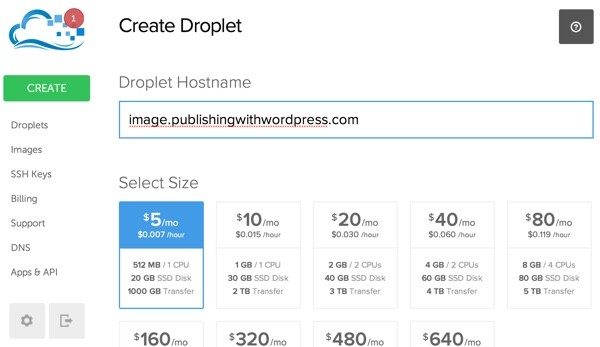
Make note of the region you choose as your client will only be able to instantiate your image in the same region. However, you can also transfer the region of your snapshot if need be (with some downtime).
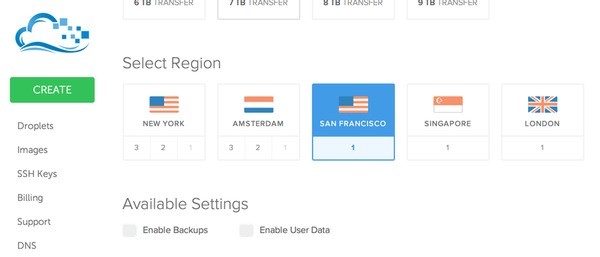
Under Distributions, choose Ubuntu 14.04 and click Create Your Droplet:

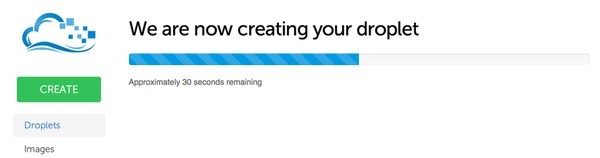
Digital Ocean will begin creating your droplet:
When it's done, you'll see this page:
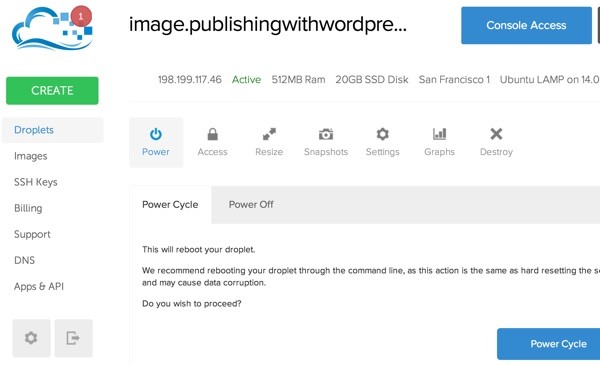
Note: Please ignore my specific IP addresses in these examples as these images were created at different times or in repetition and have different addresses.
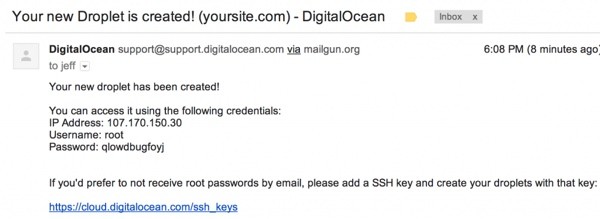
You'll also receive an email like the one below:
Configure Your Domain Name and DNS
Now, you can visit your domain registrar and modify your DNS records to point your domain or sub-domain to the new IP address. In my case, I'm pointing the A record for image.publishingwithwordpress.com to 107.170.171.26. Yours will differ, obviously.

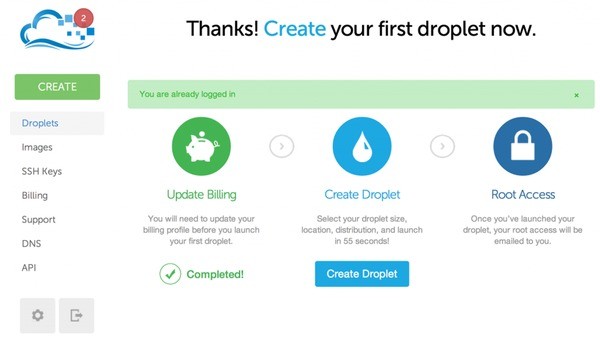
Awesome! Now, you're ready to try ServerPilot.
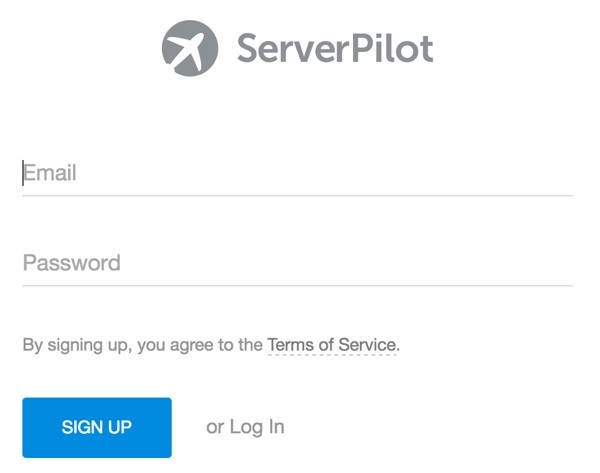
Sign Up At ServerPilot
Visit the ServerPilot.io website and click Sign Up:
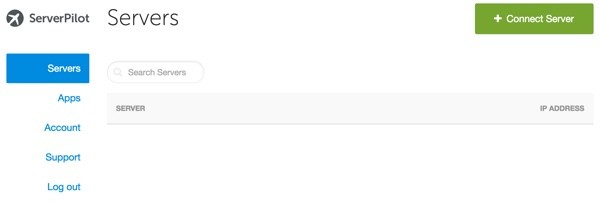
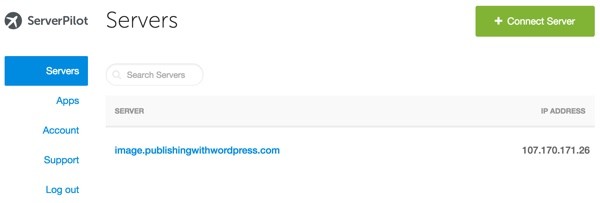
Connect Your Server
You should see something like this empty dashboard:
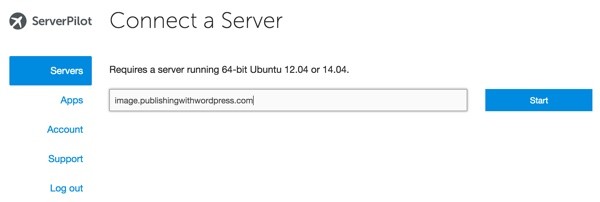
Click + Connect Server and specify the domain of your Digital Ocean droplet:
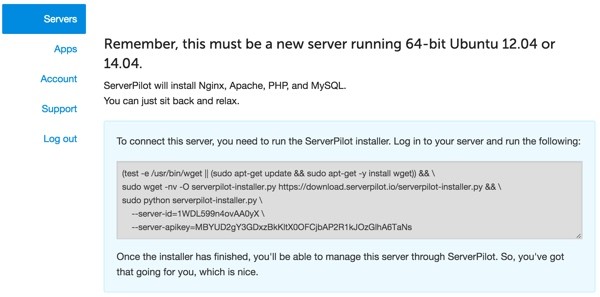
Install ServerPilot on Your Droplet
You'll be given instructions that need to be run in your droplet by your root Digital Ocean account:
Using the instructions you received via email from Digital Ocean, log in via SSH to your server. You'll be asked to set a new root password.
hello Jeff$ ssh [email protected]
The authenticity of host '107.170.171.26 (107.170.171.26)' can't be established.
RSA key fingerprint is 41:b2:9a:e2:e5:a2:c0:db:80:53:c1:64:8e:2c:99:81.
Are you sure you want to continue connecting (yes/no)? yes
Warning: Permanently added '107.170.171.26' (RSA) to the list of known hosts.
[email protected]'s password:
You are required to change your password immediately (root enforced)
Welcome to Ubuntu 14.04.1 LTS (GNU/Linux 3.13.0-43-generic x86_64)

 * Documentation:  https://help.ubuntu.com/

  System information as of Tue Feb 10 15:30:49 EST 2015

  System load: 0.0                Memory usage: 9%   Processes:       49
  Usage of /:  10.8% of 19.56GB   Swap usage:   0%   Users logged in: 0

  Graph this data and manage this system at:
    https://landscape.canonical.com/

Changing password for root.
(current) UNIX password:
Enter new UNIX password:
Retype new UNIX password:
root@image:~#
Then copy and paste the ServerPilot instructional code (from your ServerPilot dialog box—not exactly like the example below):
(test -e /usr/bin/wget || (sudo apt-get update && sudo apt-get -y install wget)) && \
sudo wget -nv -O serverpilot-installer.py https://download.serverpilot.io/serverpilot-installer.py && \
sudo python serverpilot-installer.py \
    --server-id=IaC9zxLxa50XmMfV \
    --server-apikey=T7OtLpDXXXXArW1pgsLiNKaMXXXXMu4
ServerPilot will then install itself on your server, connecting your Digital Ocean droplet to its own managed service.
It will appear something like this:
root@image:~# (test -e /usr/bin/wget || (sudo apt-get update && sudo apt-get -y install wget)) && \
> sudo wget -nv -O serverpilot-installer.py https://download.serverpilot.io/serverpilot-installer.py && \
> sudo python serverpilot-installer.py \
>     --server-id=IaC9zxXXXXX0XmMfV \
>     --server-apikey=XXXXXwXXXXXzGEA3XXXXXiNKaXXXXrOXXXX
2015-02-10 15:36:31 URL:https://download.serverpilot.io/serverpilot-installer.py [21561/21561] -> "serverpilot-installer.py" [1]
Ign http://security.ubuntu.com trusty-security InRelease
Get:1 http://security.ubuntu.com trusty-security Release.gpg [933 B]
...
Hit http://mirrors.digitalocean.com trusty/universe amd64 Packages
Fetched 3,127 kB in 7s (411 kB/s)
Reading package lists... Done
...
Building dependency tree
Reading state information... Done
The following packages were automatically installed and are no longer required:
...
0 upgraded, 0 newly installed, 0 to remove and 37 not upgraded.
Reading package lists... Done
Building dependency tree
Reading state information... Done
apt-transport-https is already the newest version.
The following packages were automatically installed and are no longer required:
  linux-headers-3.13.0-32 linux-headers-3.13.0-32-generic
  linux-headers-3.13.0-36 linux-headers-3.13.0-36-generic
  linux-image-3.13.0-32-generic linux-image-3.13.0-36-generic
  linux-image-extra-3.13.0-32-generic linux-image-extra-3.13.0-36-generic
Use 'apt-get autoremove' to remove them.
0 upgraded, 0 newly installed, 0 to remove and 37 not upgraded.
Fetched 7,264 B in 20s (360 B/s)
Reading package lists... Done
Reading package lists... Done
Building dependency tree
Reading state information... Done
The following packages were automatically installed and are no longer required:
  linux-headers-3.13.0-32 linux-headers-3.13.0-32-generic
  linux-headers-3.13.0-36 linux-headers-3.13.0-36-generic
  linux-image-3.13.0-32-generic linux-image-3.13.0-36-generic
  linux-image-extra-3.13.0-32-generic linux-image-extra-3.13.0-36-generic
Use 'apt-get autoremove' to remove them.
The following extra packages will be installed:
  sp-python3.3 sp-python3.3-mysql-connector sp-python3.3-setproctitle
The following NEW packages will be installed:
  sp-python3.3 sp-python3.3-mysql-connector sp-python3.3-setproctitle
  sp-serverpilot-agent
0 upgraded, 4 newly installed, 0 to remove and 37 not upgraded.
Need to get 13.3 MB of archives.
After this operation, 93.5 MB of additional disk space will be used.
Get:1 https://download.serverpilot.io/repos/deb/ubuntu/14.04/sp/1/stable/amd64/ trusty/main sp-python3.3 amd64 3.3.5-1 [13.1 MB]
....
Fetched 13.3 MB in 1s (9,122 kB/s)
Selecting previously unselected package sp-python3.3.
...
Setting up sp-serverpilot-agent (1.0.0-7) ...
Adding group `sp-appuser' (GID 114) ...
Done.
initctl: Unknown instance:
serverpilot-agent start/running, process 1178
Processing triggers for ureadahead (0.100.0-16) ...
********************************************************************************
ServerPilot is now configuring and securing your server.
Do not stop/resize/reboot your server right now.

You can manage this server at https://manage.serverpilot.io
********************************************************************************
When you return to your ServerPilot dashboard, you should see something like this:
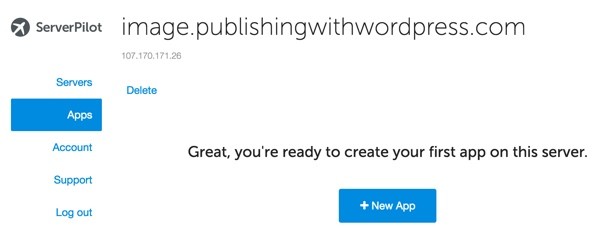
Create a New App
Next, click on your domain name, and it will ask you to create a New App:
Click +New App and fill in the information for WordPress as I have done below (using your domain name). The App Name is just a friendly name—you could name it My Blog instead.
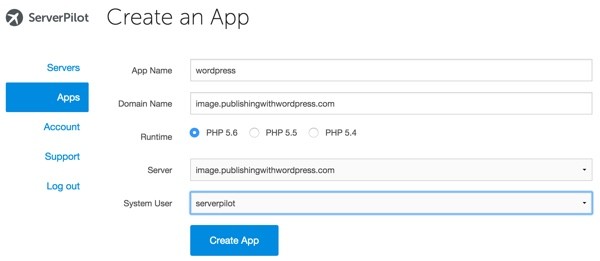
Then, click Create App. You should see app settings like this:
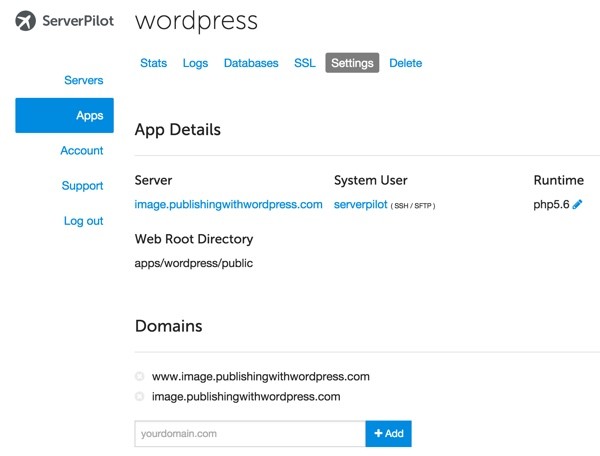
Note: If you click around on the navigation, you may notice that Stats, Logs and SSL are only available to business plan customers.
Now, we're ready to install WordPress on your server. You can follow along below or refer to the community guide at ServerPilot here.
Installing WordPress
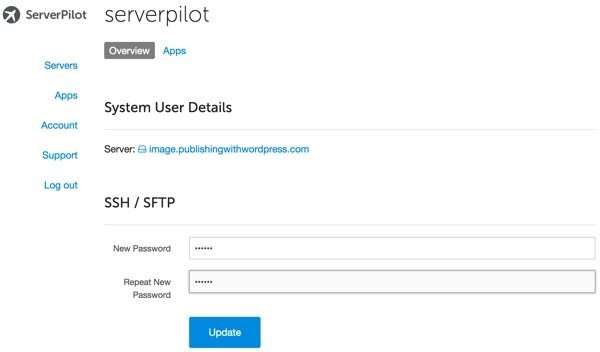
Create a Password for ServerPilot SSH
First we need to configure a ServerPilot aware SSH account to log in with. Click serverpilot above to establish an SSH password for the serverpilot user.
Note: Eight characters is the minimum length required for your password.
Then you can log in to your droplet again but this time using the serverpilot user and password:
hello Jeff$ ssh [email protected]
The authenticity of host 'image.publishingwithwordpress.com (107.170.171.26)' can't be established.
RSA key fingerprint is 41:b2:9a:e2:e5:a2:c0:db:80:53:c1:64:8e:2c:99:81.
Are you sure you want to continue connecting (yes/no)? yes
Warning: Permanently added 'image.publishingwithwordpress.com' (RSA) to the list of known hosts.
[email protected]'s password:

Welcome to Ubuntu 14.04.1 LTS (GNU/Linux 3.13.0-43-generic x86_64)

 * Documentation:  https://help.ubuntu.com/

  System information as of Tue Feb 10 15:35:59 EST 2015

  System load:  0.01               Processes:           65
  Usage of /:   11.2% of 19.56GB   Users logged in:     0
  Memory usage: 10%                IP address for eth0: 107.170.171.26
  Swap usage:   0%

  Graph this data and manage this system at:
    https://landscape.canonical.com/


The programs included with the Ubuntu system are free software;
the exact distribution terms for each program are described in the
individual files in /usr/share/doc/*/copyright.

Ubuntu comes with ABSOLUTELY NO WARRANTY, to the extent permitted by
applicable law.

serverpilot@image:~$
Install WordPress via SSH
Copy and paste the following commands to download and uncompress the latest WordPress code:
cd apps/wordpress/public
wget https://wordpress.org/latest.tar.gz
tar xzf latest.tar.gz
mv wordpress/* .
rm latest.tar.gz
rmdir wordpress
Configure Your WordPress Site
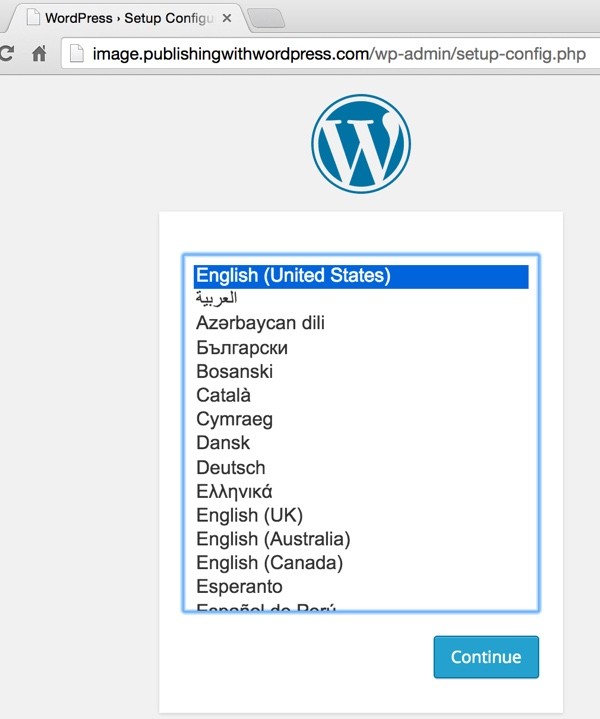
Visit your domain name and you'll be able to configure WordPress via the web user interface as you're used to. To begin, we'll choose a language:
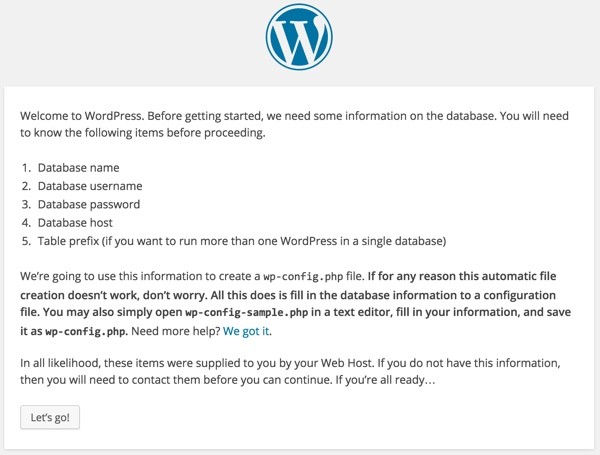
Then, WordPress will let us know what information it requires:
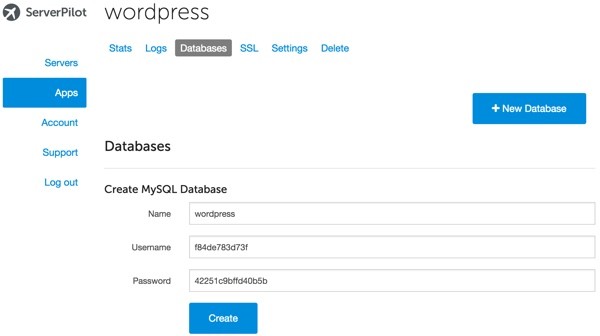
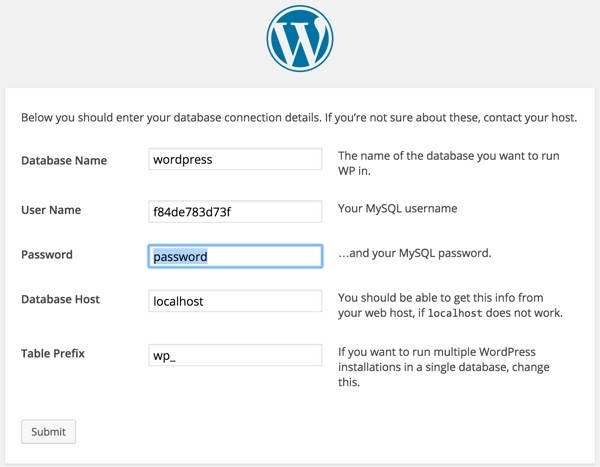
Create Your Database With Help From ServerPilot
Let's return to our App page in ServerPilot to create a new database. You can name it whatever you wish. ServerPilot will provide possible usernames and passwords:
Return to your website and enter the chosen ServerPilot database settings:
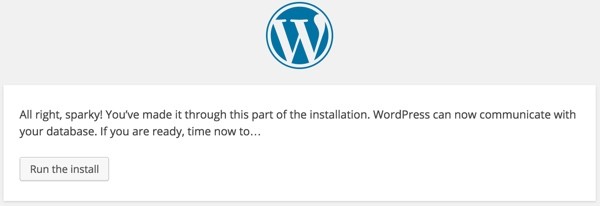
WordPress will test your database and ask to Run the Install:
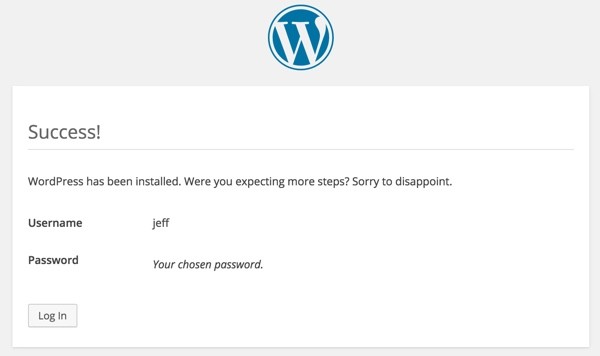
You'll be asked to provide a WordPress Site Title and credentials:

Success:
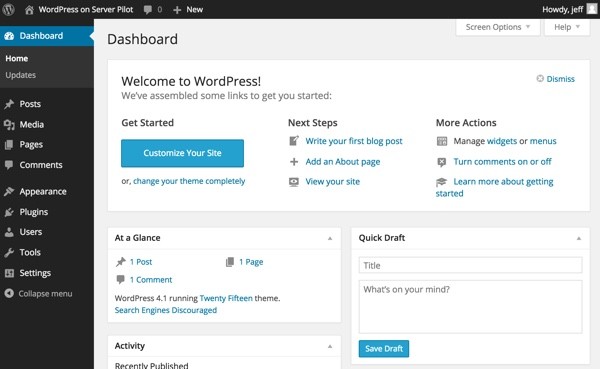
Visit Your New WordPress Site
Log in with your chosen credentials and you should see the generic WordPress dashboard:
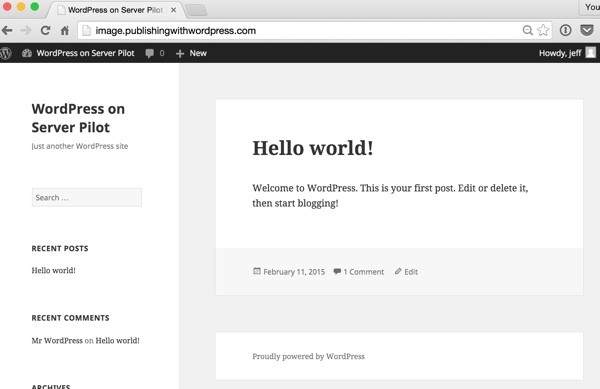
And your site will appear like this:
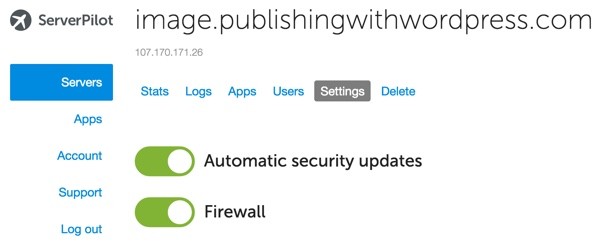
If you return to ServerPilot and browse the settings, you'll notice that it's managing the security updates and firewall for you:
Certainly there are a lot of GUI steps but the process is quite simple. You could compare this to setting up a site with a managed host such as WPEngine or self-hosting WordPress. ServerPilot currently does not configure a caching solution such as W3 Total Cache with Varnish, as my self-host instructions do.
Either way, ServerPilot certainly makes starting new WordPress sites incredibly easy.
What's Next?
Now you know how to build a cloud-based instance of an application like WordPress on Digital Ocean using a managed control panel. If you want to dive in and do deeper configuration of your new site, check out my list of recommended WordPress plugins.
I hope you've found ServerPilot interesting and useful. I think it's a service with tremendous potential. I've had a couple of conversations with their CEO Justin Samuel and encouraged him to integrate WordPress installation directly into their dashboard.
If you'd like to know when my next tutorial arrives, follow me @reifman on Twitter or check my instructor page.
I welcome feature and topic requests. You can post them in the comments below or email me at my Lookahead Consulting website.
Related Links

Comments