
This is the next tutorial in a series focusing on encrypting your email. In the first tutorial, we introduced the general concepts of encryption and how they can be used to secure and authenticate our emails. In the second tutorial, I guided you through installing encryption software on your computer and getting started sending your first messages; we used GPGTools for Mac OS X, an integration of open source GnuPG. In the third episode, I introduced you to Keybase, a service designed to strengthen the Web of Trust.
In this tutorial, I'll guide you through using a browser-based plugin for encrypting and decrypting email for browser-based webmail such as Gmail. I'll also cover some of the vulnerabilities inherent in browser-based PGP solutions.
In addition to reading the earlier episodes, you may want to check out the Electronic Frontier Foundation's Surveillance Self-Defense Guide.
In upcoming episodes, we'll explore PGP solutions for smartphones and encrypting your Internet activities with use of a VPN. Finally, as part of the series on managing your digital assets after your death, we'll use what we've learned to create a secure cache of important information for your descendants in case of emergency.
Just a reminder, I regularly participate in the discussions below. If you have a question or topic suggestion, please post a comment below. You can also follow me on Twitter @reifman or email me directly.
What's Mailvelope?
Now that we've begun using encrypted messaging, it makes sense to ask if we can use it from browser-based webmail such as Gmail. The short answer is yes, but not with the same level of security as application-based solutions.
Mailvelope is one such browser extension available for Chrome and Firefox. Its PGP engine is based on open-source OpenPGP.js. It offers built-in compatibility for Gmail, Yahoo Mail, Outlook.com and GMX.
But, as a browser-based solution, Mailvelope is vulnerable in a few different ways. The primary concern is hosting your private key in the browser. Mailvelope encrypts your key with a passphrase. Thus, the encrypted package is subject to online theft just like any other browser-based data. Mailvelope recommends a strong password like the ones this Intercept article suggests:
Given the scenario that an attacker is able to steal the private key, the resilience against brute-force attacks on the encrypted private key depends on the quality of the password.
Mailvelope also says that, "if one of the computers on both sides of the communication is compromised (e.g. with a key logger) encryption won't help."
Last summer, Google announced its own PGP extension for Chrome called End to End, but it's not ready for prime time—probably for some of the same reasons. It's currently in alpha release as they seek to improve its security capabilities. You can get the code at GitHub. I presume Google will add some functionality to Chrome to store the private key more securely, hopefully in a way that third-party developers, such as Mailvelope, can also benefit from.
Getting Started With Mailvelope
To begin with Mailvelope, we need to add the extension to Chrome or Firefox. When you click on the Chrome extension link, you'll see something like this:
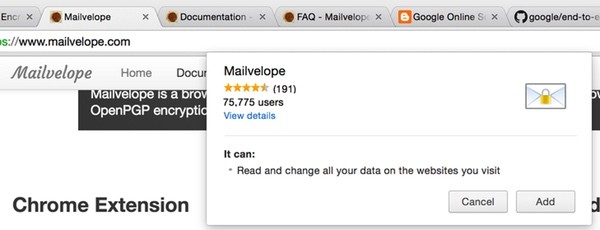
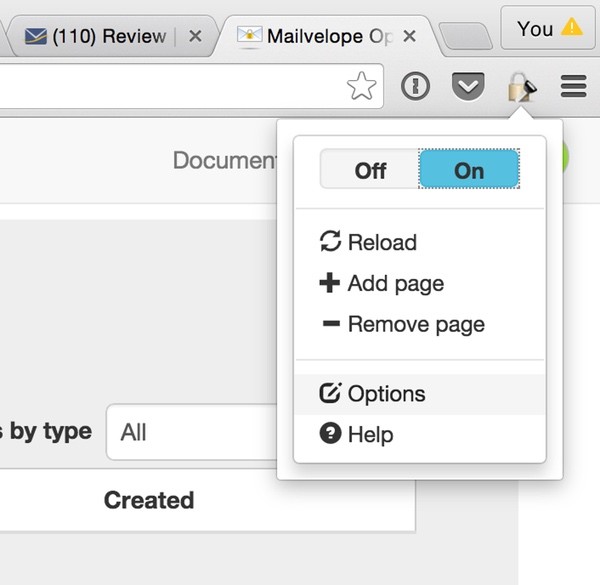
Installation for me was quite quick—no need to restart. You'll see the icon to the upper right of the browser window for the extension's navigation and status:
The Mailvelope main page should come up right away as well:
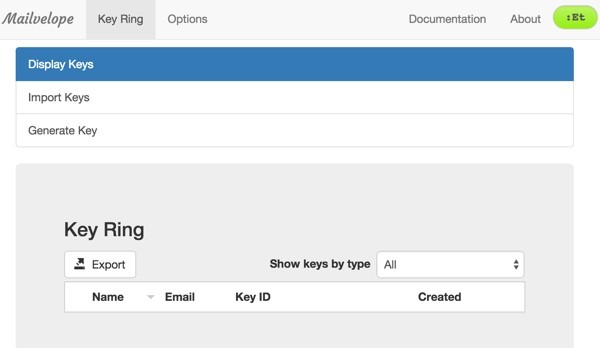
To continue, we need to import our public and private key.
Import Your Key Pair
If you've followed along with our earlier tutorials, you're already using a key pair. If you need to generate a new key pair, Mailvelope will do that for you.
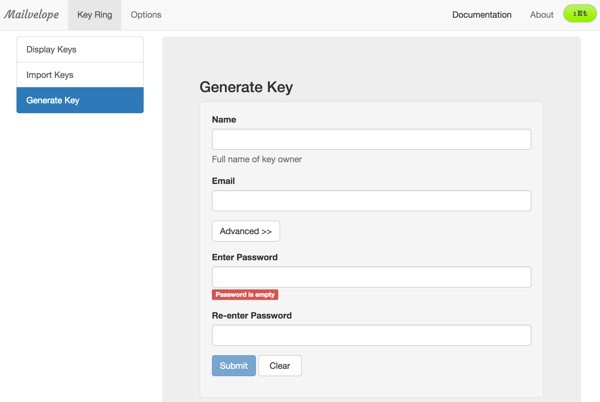
In my case, I want to import my existing key pair. To do this, click the Import Keys button and paste your public key in and submit it:
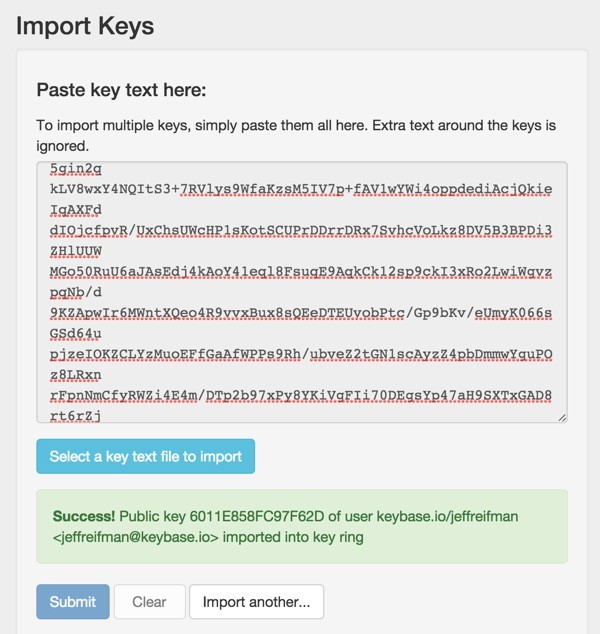
Repeat the process with your private key.
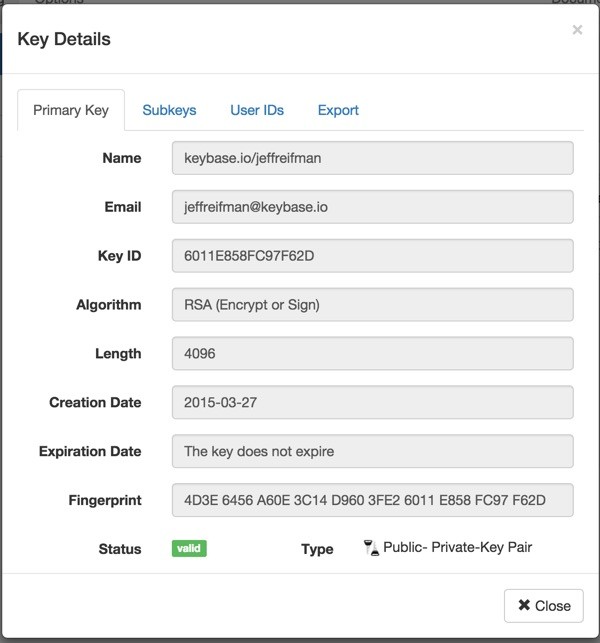
You should see something like this under Display Keys:

If you click on the key, you can see more information and manage details about it:
Sending an Encrypted Message
Sending messages with Mailvelope is easy, but you do need to import public keys for any intended recipients. Just obtain the trusted public keys for your recipient, like mine at Keybase, and follow the steps above to import them into your Mailvelope keyring.
Then, in Gmail, compose a new message. Notice the small popup to the lower right.

Clicking the popup will display the Mailvelope encrypted message form:

Type your secret message and click Encrypt. Mailvelope will ask you to specify the public key to use for the encryption. I'm sending this to my friend Phillip—a colleague who has a great write up on PGP encryption for journalists and encouraged me to write about these topics. Choose the recipient and click Add:

Mailvelope will encrypt the message. Just click Transfer, which pastes the PGP message back to the Gmail compose window.

It's nice being able to easily combine plaintext messages and secret encrypted messages inside one Gmail message.
Receiving an Encrypted Message
When you receive an encrypted message, Mailvelope will display a semi-transparent overlay over the message.
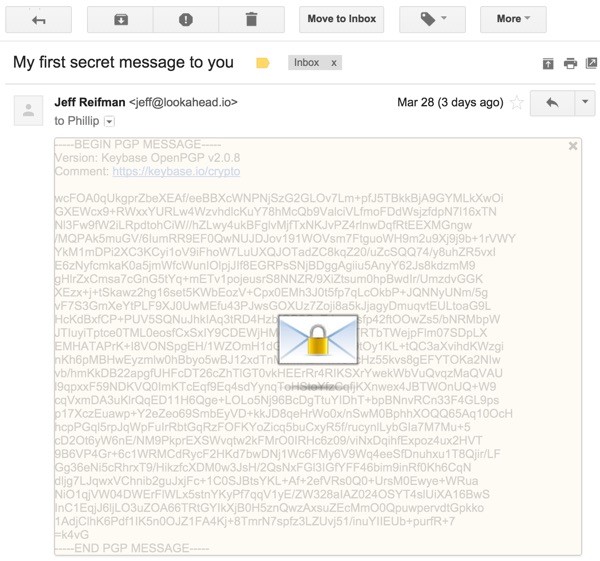
Click the overlay and you'll be asked for your passphrase to unlock your private key. Make sure no one is looking over your shoulder—think Citizenfour, blanket-covered Snowden.

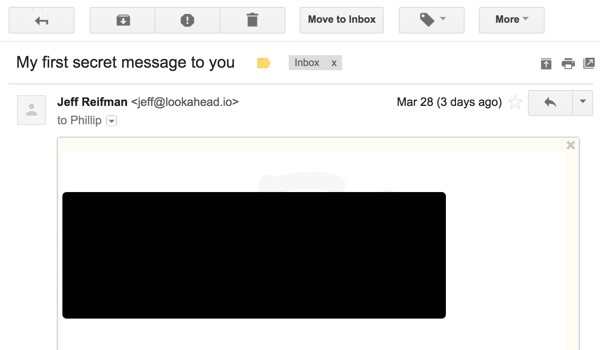
Click OK and your secret message will appear. Of course, I've blacked it out because I don't want to embarrass Phillip for complaining I don't give him enough credit for suggesting article topics (Mailvelope wasn't his idea, by the way, but a few of the others in this series were—but I digress).
What's Next?
I hope you're impressed with Mailvelope. I found it to be pretty simple and useful. You can learn more about it in their documentation and FAQ pages. If you give it a try, be sure to use a very secure passphrase (does anyone still have dice, seriously?).
Please feel free to post your questions and comments below. You can also follow me on Twitter @reifman or email me directly. Browse my Tuts+ instructor page if you'd like to see other tutorials I've written.


Comments