Let's assume we've built a theme with a number of Customizer Settings and Controls which allow your theme users to customize a number of things on the theme front-end such as the website title, tagline, and color.
However, some of our users may not immediately be aware that they are able to customise these particular parts of the theme, especially if they are buried under multiple Panels and Sections. So how can we make it quicker for them to customise the theme?
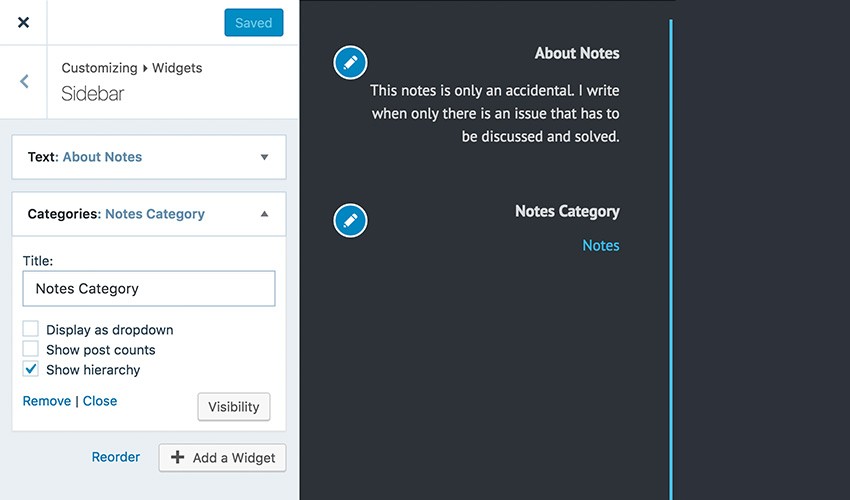
WordPress.com has recently added Edit buttons on some editable areas, which are immediately noticeable upon launching the Customizer. When the user clicks these buttons, it will show them the respective Control.

This is a nice UX improvement that we actually can also achieve with the Customizer JavaScript API on our theme. And you'll find that doing so is not as complicated as you may have imagined. So, let's take a quick look at how it works.
Prerequisites
In the last tutorial, we only wrote code in the customizer-control.js file, which affects the Customizer back-end interfaces. In this tutorial, we will also employ the other file, customizer-preview.js, which is loaded in the Preview window. You should have these two files created and loaded. Otherwise, I suggest that you follow the first tutorial of this series before proceeding further.
Creating an Edit Button
First of all, we add a couple of Edit buttons next to the Site Title.
<h1 class="site-title">
	<a href="<?php echo esc_url( home_url( '/' ) ); ?>" rel="home"><?php bloginfo( 'name' ); ?></a>
	<?php if ( is_customize_preview() ) : ?>
	<button class="customizer-edit" data-control='{ "name":"blogname" } ''><?php esc_html_e( 'Edit Text', 'cjs' ); ?></button>
	<button class="customizer-edit" data-control='{ "name":"header_textcolor", "color": true } ''><?php esc_html_e( 'Edit Color', 'cjs' ); ?></button>
	<?php endif; ?>
</h1>
Using is_customize_preview(), this button will only be shown in the Customizer Preview window. Each of these buttons is assigned with a class name, .customizer-edit, which will enable us to select these buttons and bind them with a click Event later on.
Furthermore, we've also added these buttons with a data-control attribute containing the name or the id of the registered Settings in the Customizer. The name in this attribute will help us determine the correct Setting and Control to serve to the user later on.

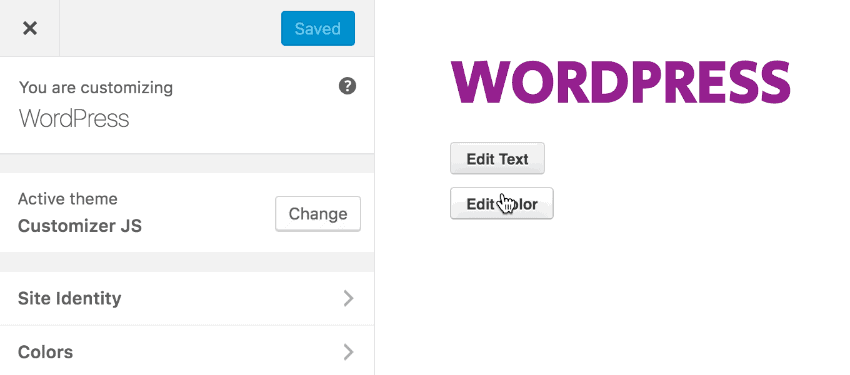
Since presentation is not our primary concern for now, our two "Edit" buttons in the Preview window do not look as nice as the ones in WordPress.com. You may add the styles in a way that matches your theme design as a whole.
Defining a Custom Event
Next, we define a custom Event; an Event that tells one of these buttons is clicked. Add the following code in the customizer-preview.js file.
var customize = wp.customize;

$( document.body ).on( 'click', '.customizer-edit', function(){
	customize.preview.send( 'preview-edit', $( this ).data( 'control' ) );
});
The code binds each of these buttons with the click Event, using the .preview.send() method to cast an Event. The .preview.send() method takes two parameters, namely the custom Event name and the argument. In our case, we've defined a new Event called preview-edit, and pass an argument with data retrieved from the data-control attribute of the button.
Listening to the Custom Event
We can listen to a custom Event cast from the .preview.send() method through another Customizer method called .previewer.bind()—notice the previewer with er. This method is similar to the jQuery .on() Method, in which we define the Event name to listen and a function that will run when the Event is triggered. Add .previewer.bind() in the customizer-control.js, as follows.
var customize = wp.customize;

customize.previewer.bind( 'preview-edit', function( data ) {

} );
Next, we transform the data passed into a JSON compliance format, select a control element based on the name retrieved out of the data, and focus on the control element using the Customizer .focus() method.
var customize = wp.customize;

customize.previewer.bind( 'preview-edit', function( data ) {
	var data = JSON.parse( data );
	var control = customize.control( data.name );

	control.focus();
} );
Now, as you can see below, when we click on, for example, the "Edit Text" button, it will show the "Site Title" setting and focus the cursor in the input.

Furthermore, if we look at the source code therein, the .focus() method accepts a parameter called completeCallback. This parameter runs consecutively after the .focus() function is executed. We can utilise this parameter, for example, to add an animation effect.
customize.previewer.bind( 'preview-edit', function( data ) {

	var data = JSON.parse( data );
	var control = customize.control( data.name );

	control.focus( {
		completeCallback : function() {
			setTimeout( function() {
				control.container.addClass( 'shake animated' );
			}, 300 );
		}
	} );
} );
The overall experience now feels more alive.

Wrapping Up
We have mentioned a number of the Customizer JavaScript APIs:
-
.preview.send()method to cast a custom Event. -
.previewer.bind()method to bind the Customizer with a custom Event. -
.focus()method to focus on an input element of a Control as well as thecompleteCallbackparameter.
In this tutorial, we use these methods to allow our theme users to edit the Site Title text quickly by clicking on the "Edit Text" button in the Preview window.
We still have one button remaining to bring up the Color controls. But I will leave it here as a challenge; use the same three methods to make the "Edit Color" function. When in doubt, feel free to take a glimpse at the source code.


Comments