Welcome to the final tutorial in our Alphabet Soup game series! In this tutorial, we'll handle word selection and the steps necessary to build the final app.
Step 1: Hit Test Objects Function
We'll use an excellent and useful function for collision detection without physics. You can find the original example and source at the Ansca Code Exchange website.
-- by jhocking
function hitTestObjects(obj1, obj2)
        local left = obj1.contentBounds.xMin <= obj2.contentBounds.xMin and obj1.contentBounds.xMax >= obj2.contentBounds.xMin
        local right = obj1.contentBounds.xMin >= obj2.contentBounds.xMin and obj1.contentBounds.xMin <= obj2.contentBounds.xMax
        local up = obj1.contentBounds.yMin <= obj2.contentBounds.yMin and obj1.contentBounds.yMax >= obj2.contentBounds.yMin
        local down = obj1.contentBounds.yMin >= obj2.contentBounds.yMin and obj1.contentBounds.yMin <= obj2.contentBounds.yMax
        return (left or right) and (up or down)
end
Step 2: Detect Letters
The next function will run when the user lifts the finger used to select the word. It will calculate the selected letters using the function created in the previous step.
function detectLetters:touch(e)
	-- Code...
end
Step 3: Get Selected Letters
A string variable is created to store the letters highlighted by the line.
	-- Get selected letters

		local selectedWord = ''

		for i = 1, tfs.numChildren do
			if(hitTestObjects(lines[lines.numChildren], tfs[i])) then
				selectedWord = selectedWord .. tfs[i].text
			end
		end
Step 4: Check If Word is On List
This code checks the generated string and compares it to the elements in the words table. If the word is found a sound is played and the counter rises.
-- Check if word is on list

		for j = 0, 5 do
			if(selectedWord == L1[j]) then
				audio.play(bell)
				currentWords.text = currentWords.text .. ' ' .. selectedWord
				currentWords:setReferencePoint(display.TopLeftReferencePoint)
				currentWords.x = 5
				correct = correct + 1
			end
		end
	end
Step 5: Check for Game Over
When the counter reaches the same amount of words in the table an alert is called.
	if(correct == #L1) then
		alert()
	end
Step 6: Alert
The alert function stops the game, removes the listeners, and displays a game status message.
function alert()
	gameListeners('rm')

	alert = display.newImage('alert.png')
end
Step 7: Call Main Function
In order to initially start the game, the Main function needs to be called. With the above code in place, we'll do that here:
Main()
Step 8: Loading Screen
The Default.png file is an image that will be displayed right when you start the application while iOS loads the basic data to show the Main Screen. Add this image to your project source folder, it will be automatically added by the Corona compiler.
Step 9: Icon
Using the graphics you created before you can now create a nice and good looking icon. The icon size for the non-retina iPhone icon is 57x57px, but the retina version is 114x114px and the iTunes store requires a 512x512px version. I suggest creating the 512x512 version first and then scaling down for the other sizes.
It doesn't need to have the rounded corners or the transparent glare, iTunes and the iPhone will do that for you.
Step 10: Testing in Simulator
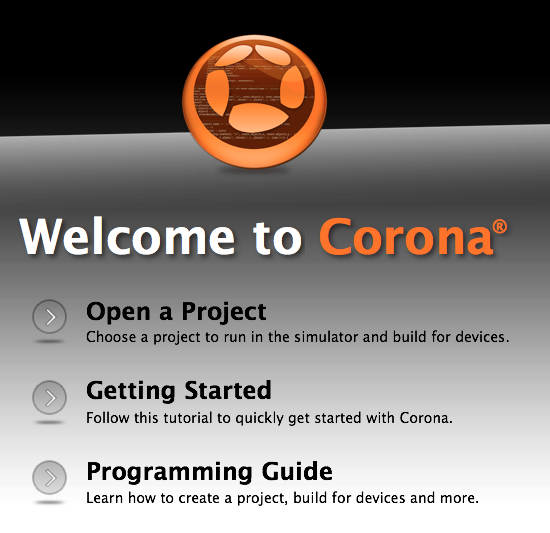
It's time to do the final test. Open the Corona Simulator, browse to your project folder, and then click open. If everything works as expected, you are ready for the final step!
Step 11: Build
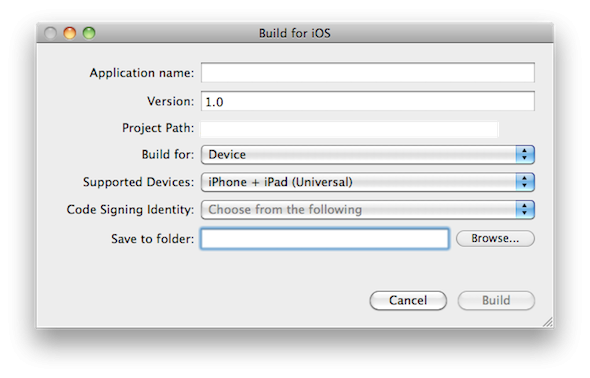
In the Corona Simulator go to File > Build and select your target device. Fill the required data and click build. Wait a few seconds and your app will be ready for device testing and/or submission for distribution!
Conclusion
Experiment with the final result and try to make your custom version of the game!
I hope you liked this tutorial series and find it helpful. Thank you for reading!

Comments