In this tutorial, I'll guide you in creating a pre-configured server instance running WordPress (or other LAMP-based apps) which you can repeatedly clone and transfer to clients. I use Digital Ocean's image capability to sell my WordPress Quickstart and some of my LAMP-based apps such as Simplify Email and Simple Monitor. In part because of this feature, Digital Ocean has become my web host of choice this year.
With Digital Ocean, a snapshot is a copy at a moment in time of a specific cloud-based server instance. It allows you to duplicate instances and transfer them to clients via email. This allows someone to quickly and easily get started with a pre-configured server image and application stack.
For example, I offer a pre-configured, pre-optimized version of WordPress, which I call Quickstart. It's a version of WordPress pre-installed with a set of super useful plugins and it's also pre-optimized with W3TC and Varnish Cache, as described in my Tuts tutorial Optimizing WordPress with Varnish and W3 Total Cache. When I transfer a copy of this image to clients, it's the fastest, easiest, best-configured version of WordPress I can offer. This process makes starting new WordPress sites incredibly easy. In this tutorial, I'm going to show you how to build your own images at Digital Ocean to share with clients.
Getting Started
If you want to try this with a LAMP application, you can find my guide to signing up and setting up generic instances at Digital Ocean here. If you want to use WordPress, you can follow along. I'm going to walk you through creating a droplet, installing WordPress, adding a theme and plugins, taking a snapshot, cloning the snapshot, and transferring them to clients. I published a more detailed guide to installing WordPress at Digital Ocean here.
Creating Your Droplet
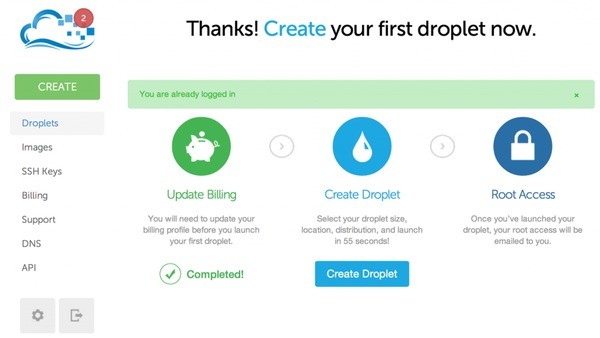
First, let's create a droplet. Click the Create button:
I'll call mine image.publishingwordpress.com but you can name yours anything generic. I'll use the 512 MB image size:

Make note of the region you choose, as your client will only be able to instantiate your image in the same region—however, you can also transfer the region of your snapshot before sending to your client, if need be.

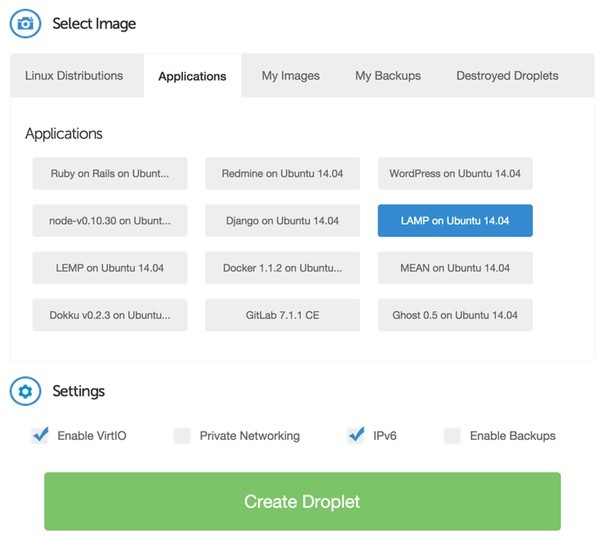
Click the Applications tab and choose LAMP on Ubuntu 14.xx:
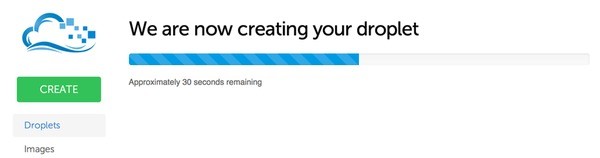
Digital Ocean will begin creating your droplet:
When it's done, you'll see this page:

You'll also receive an email like the one below:
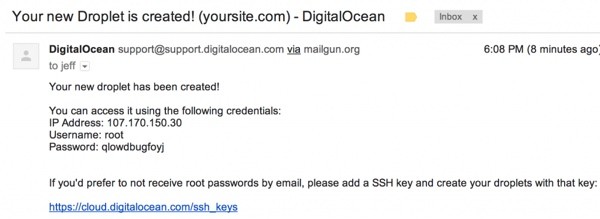
Now you can visit your domain registrar and modify your DNS records to point your domain or sub-domain to the new IP address. In my case, I'm pointing the A record for image.publishingwithwordpress.com to 198.199.117.46. Yours will differ, obviously.
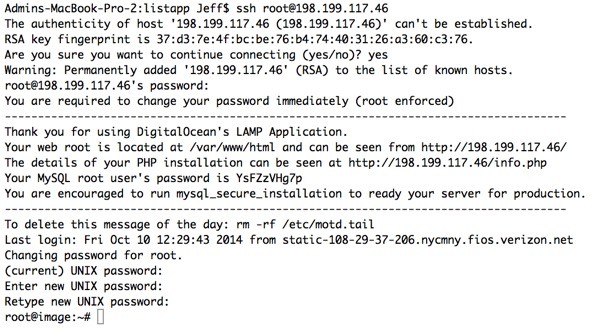
You don't need to wait for the DNS to propagate to get started configuring the instance. Log in with your IP address via SSH. You'll be required to change the password from what you received in the email:
Let's update the image:
sudo apt-get update
sudo apt-get dist-upgrade
sudo reboot
I also suggest installing the following components, which we'll leverage in WordPress and various plugins:
sudo apt-get install zip php5-curl
sudo a2enmod rewrite
Turning on the Apache mod_rewrite will allow for permalink addresses in WordPress, which are more user-friendly and enhance search engine optimization.
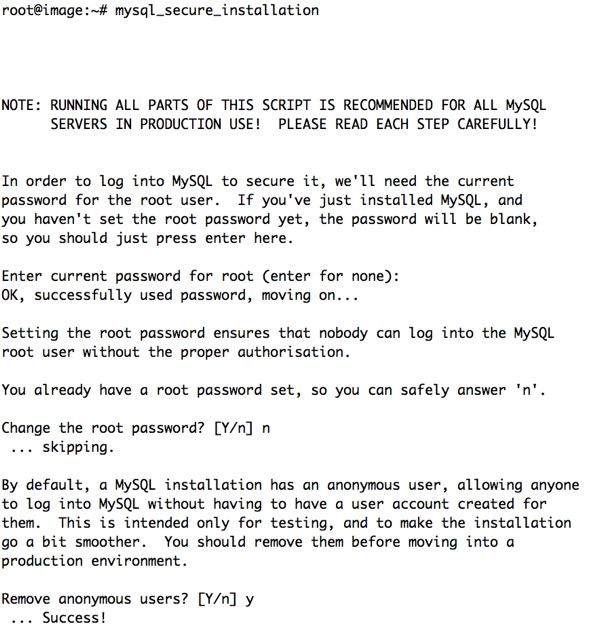
I recommend running mysql_secure_installation as well:
mysql_secure_installation
To run this script, you'll need to make note of your MySQL root password, which appears when you log in to the instance.
If you’re using the $5 per month 512MB RAM droplet, you’ll want to create a Swap file for WordPress to operate properly, otherwise the system will run out of memory and crash repeatedly:
dd if=/dev/zero of=/swapfile bs=1M count=1024
mkswap /swapfile
swapon /swapfile
Then we'll add to the fstab file to tell the system about the swapfile:
sudo nano /etc/fstab
Add this line:
/swapfile swap swap defaults 0 0
The $10 per month 1 GB instance will run WordPress without problems.
Now, we're ready to install WordPress:
Installing WordPress
Create a www directory with permissions for the Apache web server:
sudo mkdir /var/www
sudo chown www-data:www-data /var/www
cd /var/www
Download the latest version of WordPress, expand the archive, and set permissions:
cd /var/www
sudo wget http://wordpress.org/latest.tar.gz
sudo tar -xzvf latest.tar.gz
sudo chown -R www-data:www-data wordpress
Now let's create the WordPress database in MySQL. Make note of your user name and password:
mysql -u root -p
create database wordpress;
grant all privileges on wordpress.* TO "your-mysql-username"@"localhost" identified by "your-mysql-password";
flush privileges;
exit;
Let's create the Apache configuration file for WordPress:
cd /etc/apache2/sites-available
sudo nano 000-wordpress.conf
Paste in and customize the following virtual host configuration:
<VirtualHost *:80>
   ServerName yourdomainname.com
   DocumentRoot /var/www/wordpress
   DirectoryIndex index.php
   <Directory /var/www/wordpress/>
      AllowOverride All
      Order Deny,Allow
      Allow from all
   </Directory>
</VirtualHost>
Enable the Apache site for WordPress and disable the default Ubuntu site:
sudo a2dissite 000-default.conf
sudo a2ensite 000-wordpress.conf
sudo service apache2 reload
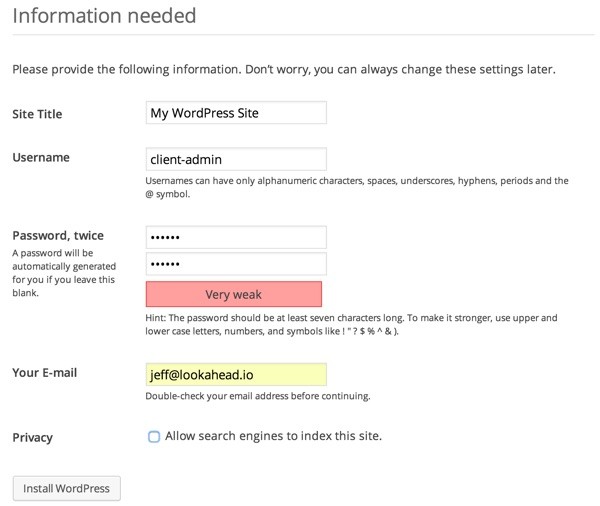
Visit your website to configure WordPress via the web user interface using your database settings from above. When choosing titles and logins, choose generic ones—and make note of the logins.
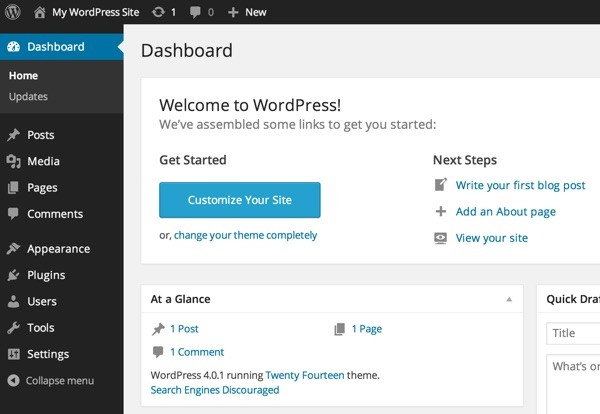
Log in with your generic credentials and you should see the dashboard:
Since this is a generic image that you'll be duplicating and transferring, the user will need WordPress to update the site URL for their own. Let's edit the WordPress configuration file to include a relocation flag. You'll want your client to disable this after they've edited their site URL in the dashboard general settings.
sudo nano /var/www/wordpress/wp-config.php
Now, add the following line:
define(‘RELOCATE’,true);
When the user updates their site URL in the dashboard, WordPress will update the entire database. After that's done once, the client can comment out or delete this line.
I also suggest adding the FS_DIRECT flag for simpler plugin installation:
define('FS_METHOD', 'direct'); // for automatic plugin installation
Installing a Theme
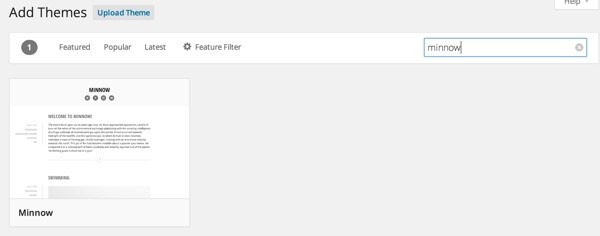
For demonstration purposes, I'm going to install the new simplistic Minnow theme. You can install it by searching:
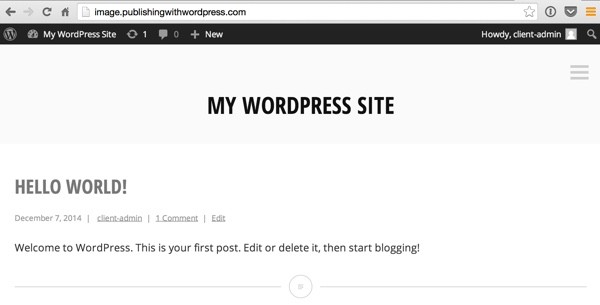
Here's what it looks like:
Next, we'll install any plugins that we want our clients to have.
Installing Plugins
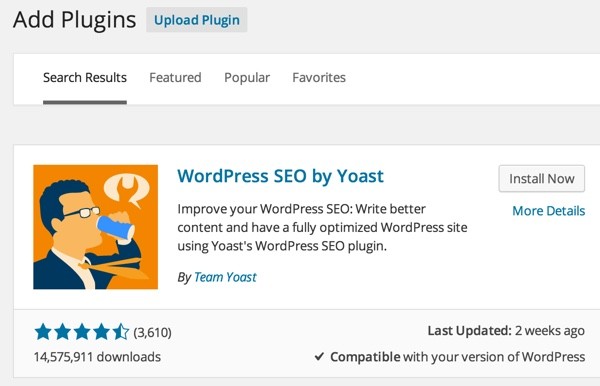
It's up to you which plugins you wish to install. I keep a list of recommended plugins here. Let's go ahead and install the Yoast SEO plugin, which is a mainstay for me. I use it because it helps with search engine optimization and generating sitemaps.
You can visit the Add New Plugin page and search for it to install and activate it:
At this point, you can make any common WordPress configurations that you wish to share with all of your clients downstream. For example, you might install more themes and plugins. You might turn on permalinks. You might configure some basic theme settings. It's entirely up to you.
Anything you customize will be replicated when you clone the upcoming snapshot and transfer it to your clients. Your clients will need to customize and configure anything that you choose not to update.
Taking a Snapshot
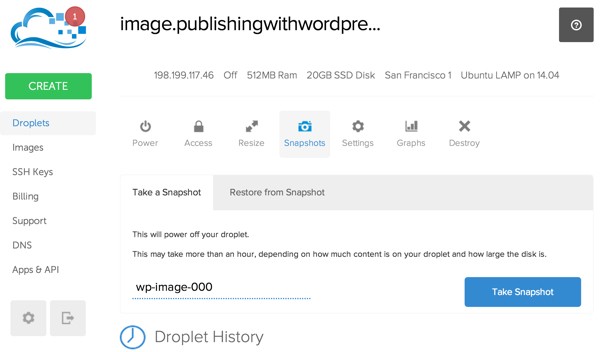
When you've made all your common installations and configurations, we can go ahead and take a snapshot of your droplet. Digital Ocean requires that we power off the instance. It's best to do this from the command line console.
sudo poweroff
Visit the Droplet page at Digital Ocean and click the snapshot tab. I usually choose a name for the snapshot that indicates a sequential number of clones e.g. wp-image-000. Then, click Take Snapshot.

It may take a few minutes for Digital Ocean to create your snapshot.
When the image is completed, Digital Ocean will automatically reboot your droplet.
Duplicating an Image
To create more copies of the image, you simply repeat the steps above. Power off the droplet from the command line. Take another snapshot. It's a bit time-consuming but fairly simple.
In the next tutorial, I'll show you how to use the Digital Ocean API to automate this process.
Digital Ocean does not charge for snapshot storage (except tiny amounts). You can choose whether or not to destroy your original droplet to avoid monthly fees. If you do this, you can always recreate it from a snapshot when it's needed again.
Transfer to Clients
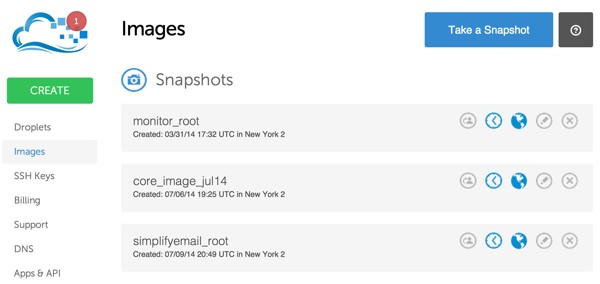
To transfer a snapshot to a client, visit the Images page:
Click the leftmost icon with the profile of a person to specify the email address of the Digital Ocean account holder to transfer to:
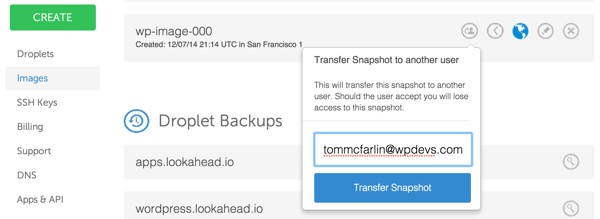
Within a few minutes, the snapshot will appear in your client's account, on the Images page. They will need to approve the image to accept it into their account.
Keep in mind, it's important for your clients to only accept snapshots from trusted users, as it's easy for someone to install malicious software on an image before creating a snapshot and transferring it. Digital Ocean may offer a trusted snapshot system in the future.
Create a Droplet From a Snapshot
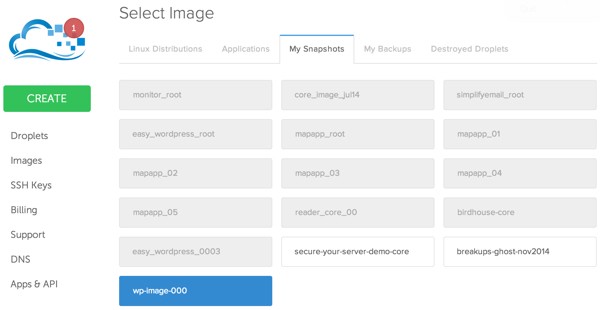
Creating a droplet from a snapshot is quite simple. Just visit the Create Droplet page, choose the region that the image was created in, and click the My Snapshots tab. Then you can select the image to use to instantiate the droplet.
The client can customize the hostname however they wish, but all other settings will remain the same.
In other words, they will log in to the instance with the same administrative username and password as your original snapshot—not the new one which Digital Ocean will send them. They will also initially use your client-admin WordPress dashboard login and password. It's a good idea that they change all of their server, MySQL and WP dashboard passwords after their droplet is configured.
Once they create their droplet from the snapshot, they will have to configure their DNS to point their chosen site URL to the IP address for their droplet. And, they will need to edit the WordPress Apache virtual host for their domain name and restart Apache.
I've found this kind of WordPress Quickstart is the fastest way for me to help get clients started on new sites. You can also use this approach for any LAMP application, e.g. Simplify Email.
What You've Learned
Now you know how to build a cloud-based instance of an application like WordPress which you can repeatedly clone and transfer to clients. In an upcoming tutorial, I'm going to show you how to use the Digital Ocean API to automate the process of cloning snapshots.
I hope you've found this interesting and useful. Please feel free to post your questions and comments below. You can also reach me on Twitter @reifman or email me directly. Follow my Tuts+ instructor page to see future articles in this series.

Comments