You've read Mobiletuts+ tutorials. You had an idea. You turned it into an app. You've tested it. Your friends love it. Your designer's stopped tweaking pixels, saying it's perfect. Your quality assurance team has assured you it won't blow up any phones. Now what? Time to submit your app!
This tutorial will walk you through the basic steps of taking a completed application and submitting it to the Android Market. While the steps are straightforward, there are quite a few areas where a fantastic marketer or copywriter will be very useful. There are other areas where you'll want a talented graphic designer to create compelling graphics that will show up on the Market site and app. This tutorial will expose what you'll need before you get started while settling any uncertainties you have about the process.
Step 0: Creating an Application
If you don't already have a working, tested, and debugged application ready to go, you'll obviously need to create one first. You've gone through the pre-publication checklist. Creating a full application is left as an exercise to the reader. Depending on your idea and skill level, this could take from weeks to years to complete! It's fun though. Really. :)
Step 1: Uploading a Signed APK
With your signed APK in hand, head over to the Android Market publisher site. If you haven't already, you'll need to sign in to it. If this is your first time, you'll also have to pay $25 USD and set up a Google Wallet account to receive money.

Now find the Upload Application button:

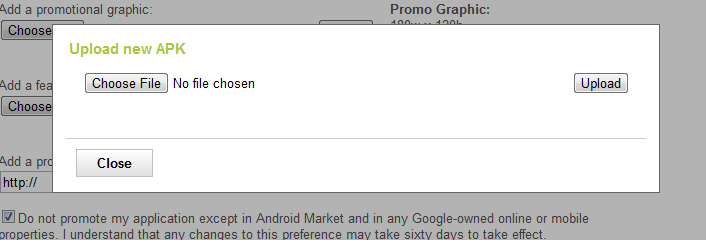
You'll be presented with a dialog to upload a new APK. Choose your prepared APK now.
Step 2: Uploading Marketing Media
Android Market listings can use several images to display your app to users. These images are the first users will see. Well designed and created images will lead to more downloads. This is where having a good marketer and designer available will come in handy.
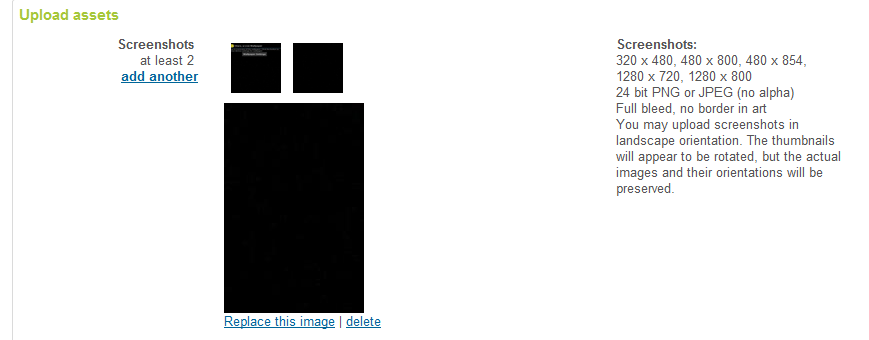
The Android Market requires two screenshots. Ideally, they should be screenshots from a high resolution device so they look great on all target devices. Regardless, these must be in common device screen resolutions. They should be full screenshots, not art, and without borders.
The Android Market requires a high resolution version of the application icon. This is simply a 512x512 pixel version of the app launcher icon.
The Android Market can us a small promo graphic if you provide it. While Google may use this anywhere, these seem to be used in the most recent versions of the Market app when apps are shown as tiles. Although this is optional, it's highly recommended. The graphic should not contain borders.

The Android Market can use a larger graphic for featured placement. This is a 1024x500 image you create. Assume it has 50 pixel margins, so the main content should be in a 924x400 pixel centered box. Also assume it will be scaled down on occasion, so graphical elements in it should be large. While this image is also optional, we recommend that you include it. Without the featured image, Google won't show your app in all possible marketing locations.

The Android Market can link to a YouTube video demonstrating your application. This is also optional, but provides you with an opportunity to effectively have a video ad for your app. You can show off all the cool features of your app and explain why someone should download it. Videos should be kept short -- don't waste your customer's time.

Finally, let Google know if they can use any of these marketing materials outside of their own properties.

Step 3: Adding Listing Details and Copy
Next, you'll need to fill out a variety of fields used within the Android Market listings. This is another good opportunity for a marketer. The copy in these fields, along with the images above, are all that early users have in the market app with which to decide to download your application. Later on, reviews will likely become very important, too.
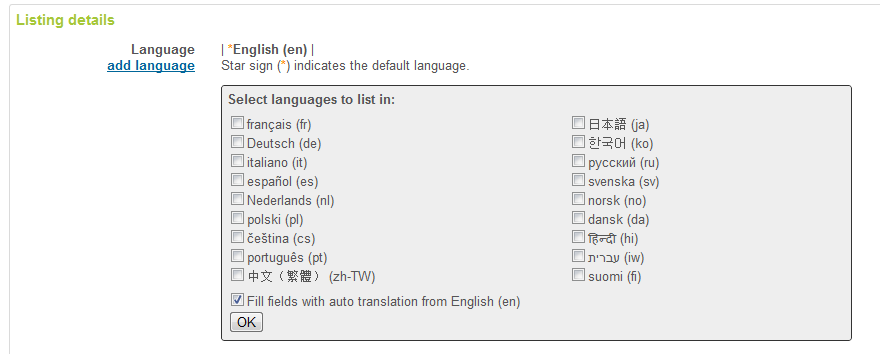
Listing details can be provided in multiple languages. If you have people available to you to do a human translation, that is best. The market listing form has an option for automatic translation, too. Machine translation isn't perfect, but it's better than nothing and when someone is browsing on the Android Market, they don't necessarily have translation tools readily available.
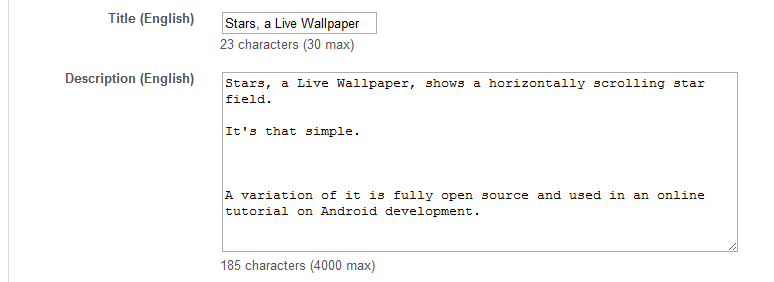
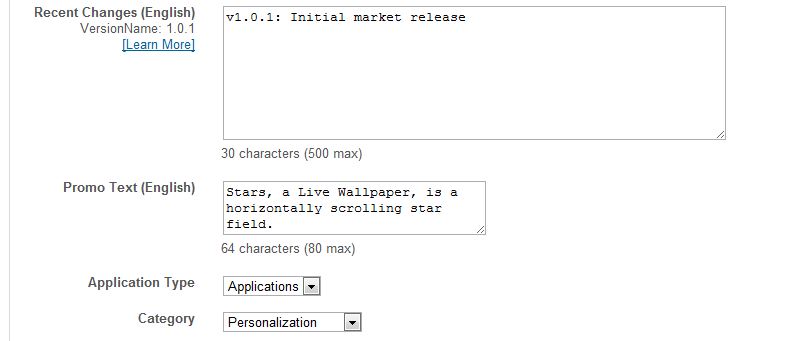
Next, you'll need to fill out the app Title, in 30 characters or less, and the app description, in 4,000 characters or less.
The recent changes field is used to highlight to users what has changed in recent versions. We recommend documenting as many as possible in the 500 characters available. Not all users will upgrade to each and every version, or read the description every time.
The promo text is a very short, 80 character, text field used in various listing types before the user sees the full description. Keep it simple and strong.
Finally, set your application type to either Applications (everything but games) or Games (for, well, games). Then set an appropriate category for your app. If you're not sure, browse around in the market and see where other publishers are putting apps like yours. This is particular important with games where, in our opinion, many categories are missing (there are only 6 currently).
Step 4: Setting Publishing Options
The next section is about content protection, app availability to various age groups and countries, and pricing options.
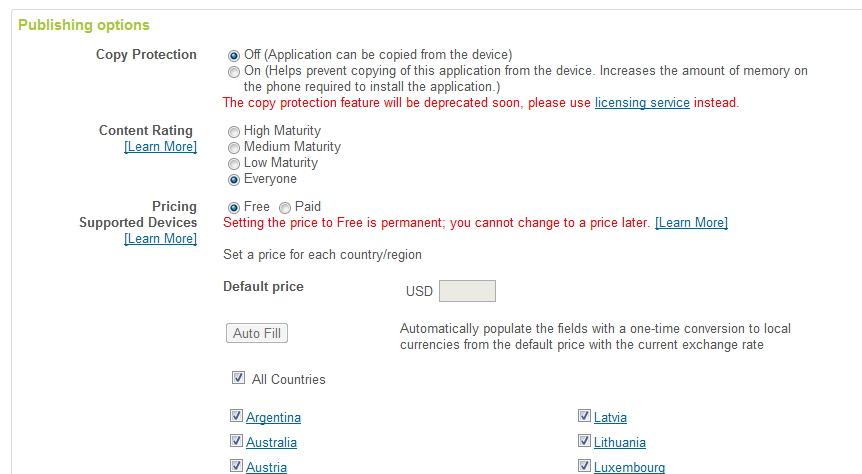
To start, don't use the copy protection feature. It's weak and being deprecated. Use the licensing service. It's a bit more complex, but will protect your paid application much better. For content ratings, abide by the guidelines.
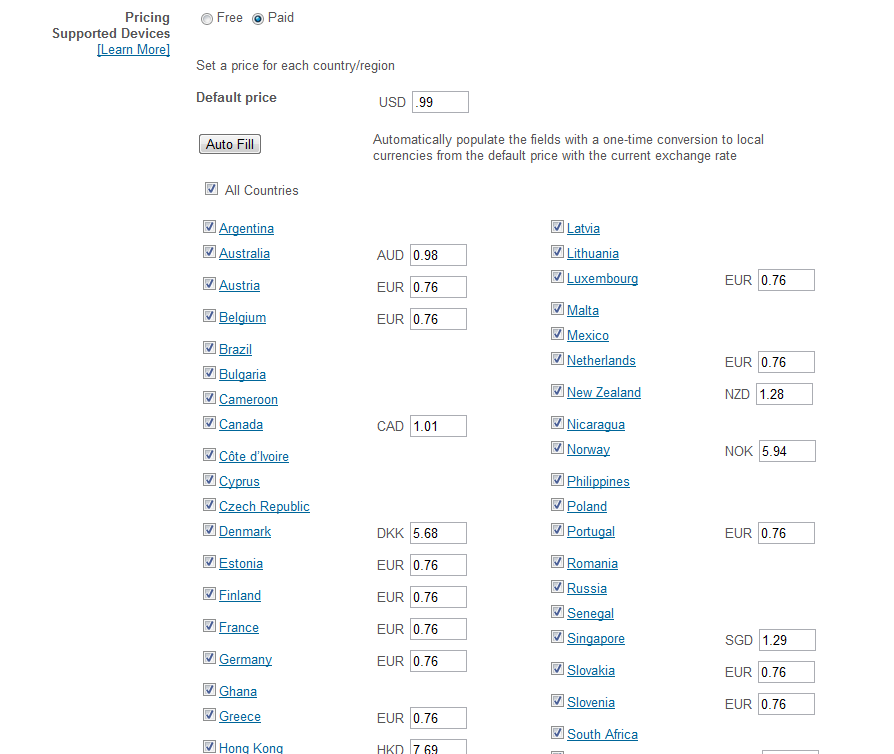
For pricing, either choose free (a permanent option -- free cannot become paid later without a new listing) or choose a price. Then choose which countries it should be available in and what price in each supported country (or choose auto fill, though you'll still need to set minimums correctly). You can optionally exclude other countries, too. This may be required if your app may violate US export laws to those countries.
Step 5:Contact Information and Consent
Next, you must provide contact information that will be made available with the market listing. This is for users to contact you. Each app can have different information here so you can organize feedback and support requests by app.
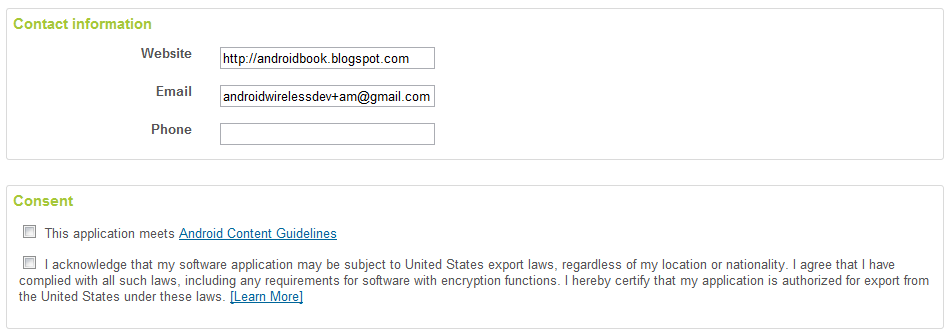
Finally, you must tell Google that your application meets their guidelines and that it abides by US export laws. It doesn't matter where you live or where the application is shipping to -- it must follow US export laws.
Step 6: Activating the APK
Once this form is done, save it (button in the upper right corner). Before you can publish, at least one APK must be active. Switch over to the APK files tab.
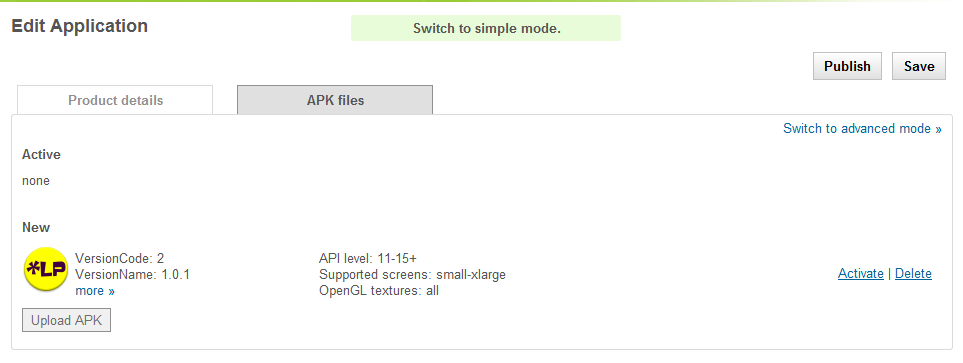
Once you've done this, it's active. Now you can move on to the final and most exciting step...
Step 7: Publishing Your App
Now that all of the fields are filled out, all of the images uploaded, and the APK is activated... you can publish your app. Ready? Go!

Worried about that link to Errors? Unless there is a positive number with it, there aren't any (yet).
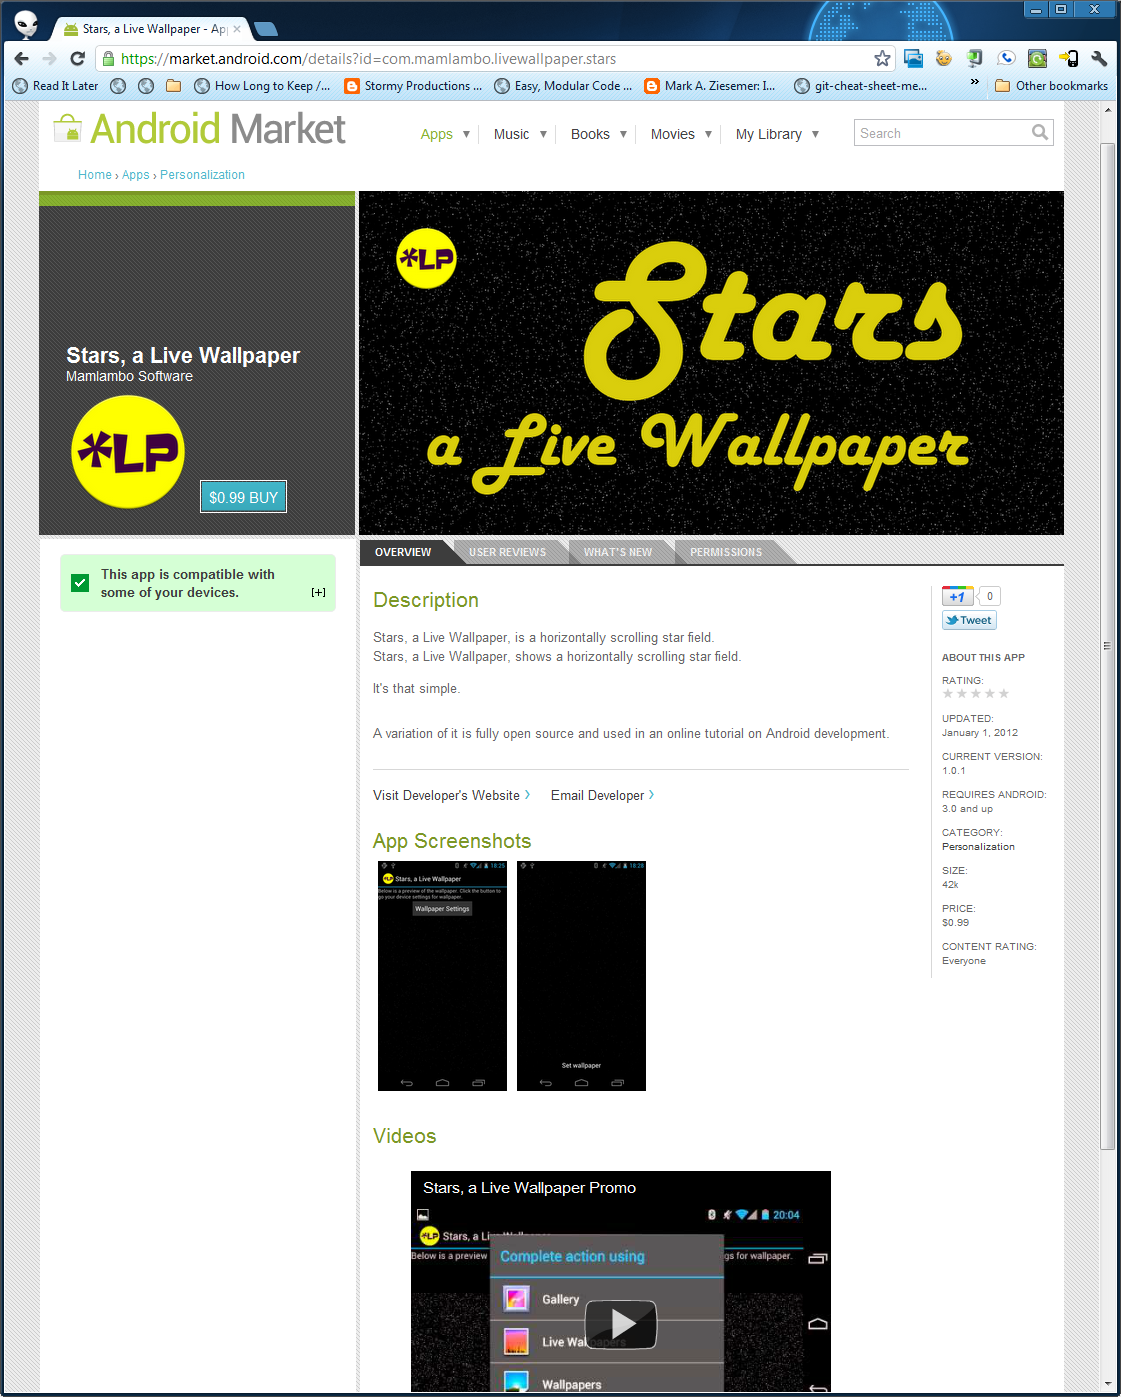
Yes, it's very fast. After a minute or so, you'll be able to directly link to your market listing using the package name, like with this link:
https://market.android.com/details?id=com.mamlambo.livewallpaper.stars
Conclusion
You have now seen all of the steps needed to upload and publish an app on the Android Market. This will give you the comfort level you need to finish your application and take the next step -- publishing it!
Go ahead. Publish an app. Tell us all about it in the comments!
About the Authors
Mobile developers Lauren Darcey and Shane Conder have coauthored several books on Android development: an in-depth programming book entitled Android Wireless Application Development and Sams Teach Yourself Android Application Development in 24 Hours. When not writing, they spend their time developing mobile software at their company and providing consulting services. They can be reached via email to [email protected], via their blog at androidbook.blogspot.com, and on Twitter @androidwireless.


Comments