Auto Layout has been available for a few years now, but with the iPhone 6 and 6 Plus it's become a necessity for projects. While it hasn't always been particularly easy to use, Xcode has steadily seen improvements in Interface Builder to make integrating Auto Layout simpler. In this tutorial, you'll learn how to use the Visual Format Language using Swift to create Auto Layout constraints in code.
1. Introduction
This tutorial assumes you have some knowledge of Auto Layout. If you are new Auto Layout, then I encourage you to read the introduction by Joyce Echessa first.
The Visual Format Language is a declarative language that is used to define Auto Layout constraints for views. Its syntax is expressive and easy to understand when you are skimming through code. The intended constraints should be immediately clear from reading a Visual Format Language statement and they flow much like a sentence.
Auto Layout constraints with different priorities, vertical layouts, spacing, and dimensions can be created using the Visual Format Language syntax. It's defined inside a string variable and then passed to the class level methods constraintsWithVisualFormat:options:metrics:views: and
constraintWithItem:attribute:relatedBy:toItem:attribute:multiplier:constant: of the NSLayoutConstraint class.
The Visual Format Language can be especially useful when Interface Builder is not an option to add Auto Layout constraints, for example, when part of your application's user interface needs to be created programmatically.
2. Creating a New Project
Let's create a new project in Xcode to see how the Visual Format Language is used and how your projects can benefit from it.
Step 1: Project Template
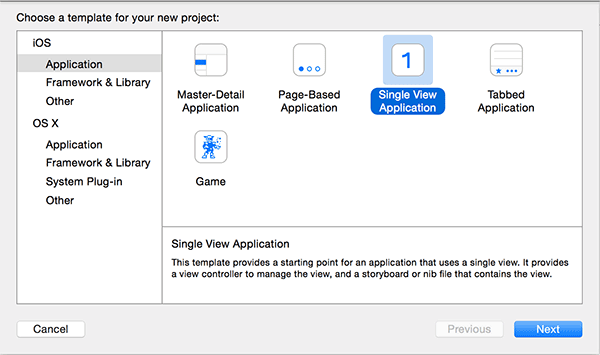
Open Xcode and select New > Project... from the File menu. Choose Single View Application from the list of iOS Application templates and click Next.
Step 2: Project Configuration
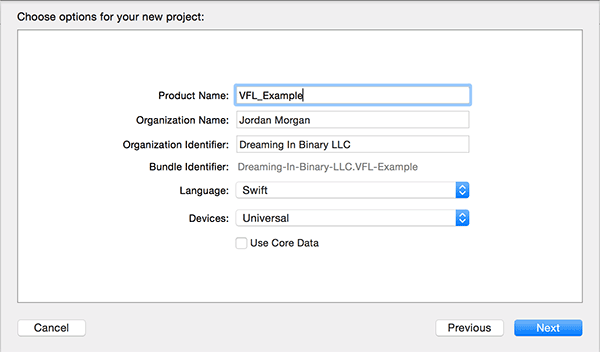
Next, name your project and enter your organization's name and identifier. Choose Universal from the Devices list, click Next, and choose a location to save the project. Select Swift as the programming language.
3. Creating a Constraint for a Single View
Step 1: Define Variables
To begin, create three variables of type UIView. Open ViewController.swift and add the following code above the viewDidLoad method:
var vwBlue:UIView!
var vwRed:UIView!
var vwGreen:UIView!
Step 2: Initialize Views
Create a function called initViews at the bottom of the view controller void as its return type. This function will initialize the views and add them to the view hierarchy. Be sure to call this function in viewDidLoad after calling the superclass's viewDidLoad method.
func initViews() -> Void
{
    //Initialize
    vwRed = UIView()
    vwBlue = UIView()
    vwGreen = UIView()

    //Prep auto layout
    vwRed.setTranslatesAutoresizingMaskIntoConstraints(false)
    vwBlue.setTranslatesAutoresizingMaskIntoConstraints(false)
    vwGreen.setTranslatesAutoresizingMaskIntoConstraints(false)

    //Coloring
    vwRed.backgroundColor = UIColor.redColor()
    vwBlue.backgroundColor = UIColor.blueColor()
    vwGreen.backgroundColor = UIColor.greenColor()

    //Add them to the view
    self.view.addSubview(vwRed)
    self.view.addSubview(vwBlue)
    self.view.addSubview(vwGreen)
}
When using Auto Layout on views created in code, there are a few caveats to be aware of. The first is related to the value of the property translatesAutoresizingMaskIntoConstraints. This property is true by default, which means Auto Layout constraints will be created based on the view's autoresizing mask. We want the view to respect the Auto Layout constraints we will add so this property should be set to false.
The second thing to keep in mind is the view life cycle. Before Auto Layout constraints can be added to a view, it must be added to superview. Otherwise, a runtime exception is thrown. Recall that Auto Layout defines where views are positioned based on relationships. If a view has no superview, the operating system has no reference point to relate the Auto Layout constraints to.
Step 3: Create the Constraints for a Single View
Let's begin with a simple example of the Visual Format Language. For the red view, vwRed, we will add Auto Layout constraints that make it the same size as its superview. This is helpful in a scenario where you add a background image.
Before the Visual Format Language can be used, all of the views that we need must be referenced inside a dictionary. This is how the views will be identified by the Visual Format Language.
Create a function called createConstraints with a void return type at the bottom of the view controller class. Don't worry about the syntax. We'll revisit the implementation of the createConstraints function in a moment.
func createConstraints() -> Void
{
    //Views to add constraints to
    let views = Dictionary(dictionaryLiteral: ("red",vwRed),("blue",vwBlue),("green",vwGreen))

    //Horizontal constraints
    let horizontalConstraints = NSLayoutConstraint.constraintsWithVisualFormat("H:|[red]|", options: nil, metrics: nil, views: views)
    self.view.addConstraints(horizontalConstraints)

    //Vertical constraints
    let verticalConstraints = NSLayoutConstraint.constraintsWithVisualFormat("V:|[red]|", options: nil, metrics: nil, views: views)
    self.view.addConstraints(verticalConstraints)
}
Step 4: Build and Run
Call this function at the end of the initViews function we created earlier. Build and run the project by pressing Command + R or by clicking the play button at the top left. The iOS Simulator will run showing the red view taking up the entire screen as intended.

4. Analyzing the Visual Format Language Syntax
When using the Visual Format Language, Auto Layout constraints are defined either horizontally or vertically. You can also define the height or width of a view when you're declaring a vertical and horizontal constraint respectively. Let's take a closer look at the first string we used to create the horizontal constraint.
"H:|[red]|"
First, we identify that this will be a horizontal constraint by beginning the string with the letter H. Horizontal is the default, but it's good practice to include it to make it more obvious. The constraint's direction is followed by a colon.
The | or pipe symbol symbolizes the view's superview. To add space between two elements, the - or dash symbol is used and integer values can be placed between them to create a fixed or variable spacing. Views are referenced by the keys provided in the dictionary passed to constraintsWithVisualFormat. Each view is wrapped in square brackets.
Notice how the whole string visually matches the image from the simulator. It's written like a sentence that would read something like "Horizontally, the red view should extend the entire width of its superview with no padding."
5. Creating Constraints for Multiple Views
Now that you have a basic understanding of the syntax, we're going to edit the createConstraints function to add Auto Layout constraints to two views.
Step 1: Edit the Horizontal Constraint
In the createConstraints function, edit the horizontalConstraints variable as shown below.
//Horizontal constraints
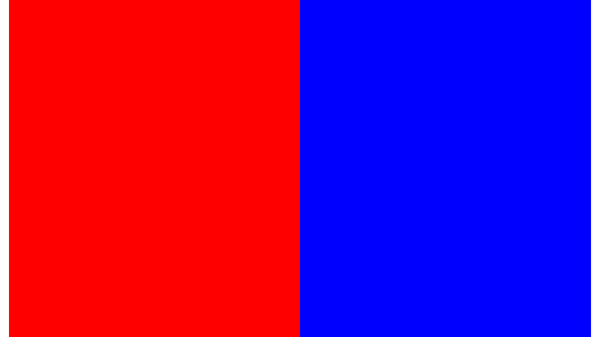
let horizontalConstraints = NSLayoutConstraint.constraintsWithVisualFormat("H:|-10-[red(>=100,<=200)]-0-[blue(==red)]-10-|", options: nil, metrics: nil, views: views)
self.view.addConstraints(horizontalConstraints)
This code snippet really shows the flexibility of the Visual Format Language. The above statement creates a number of Auto Layout constraints for us. Next to the name of the view, horizontal sizes are defined in parentheses. For the red view, the size should be greater than or equal to 100 points, but less than or equal to 200 points.
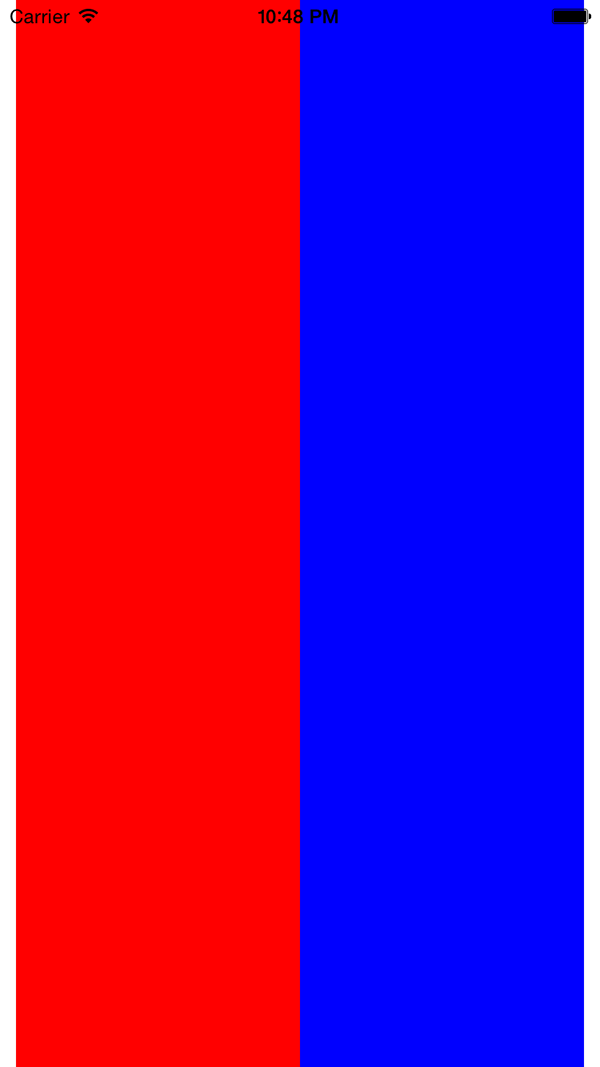
The blue view specifies that it should have the same horizontal size as the red view by using ==red in parentheses. This is a convenient way to specify multiple views should have the same size. Build and run the app in the iOS Simulator. The result should look like the screenshot shown below.
Step 2: Adding Priorities
With the application running in the iOS Simulator, press Command + Left Arrow to change the orientation of the iOS Simulator to landscape. While the application still runs fine, a warning has popped up in Xcode's console. The warning tells us that some Auto Layout constraints could not be satisfied. While this won't crash your application, it can lead to unexpected results inside your application's user interface.
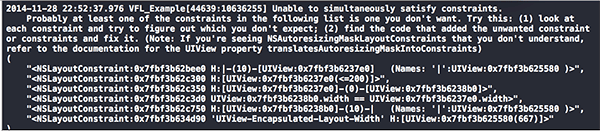
This occurs because the two views we created cannot be 200 points wide and have no spacing between them when the device or iOS Simulator is in landscape. Auto Layout solves these types of scenarios using priorities. The Visual Format Language lets you define priorities using the @ symbol. Edit the horizontalConstraints variable to read like this:
//Horizontal constraints
let horizontalConstraints = NSLayoutConstraint.constraintsWithVisualFormat("H:|-10-[red(>=100,<=200@20)]-0-[blue(==red)]-10-|", options: nil, metrics: nil, views: views)
Because the red and blue views now have a low priority on their width constraint, indicated by @20, the Auto Layout system will break these constraints and supply them with the correct value at runtime. Run the application again and change the orientation to landscape. The views now fill the extra space and Xcode doesn't produce any warnings.
Step 3: Adding Constraints to the Bottom View
Next, we will create constraints for the green view. Update the implementation of the createConstraints function as shown below.
func createConstraints() -> Void
{
    //Views to add constraints to
    let views = Dictionary(dictionaryLiteral: ("red",vwRed),("blue",vwBlue),("green",vwGreen))

    //Horizontal constraints
    let horizontalConstraintsRedBlue = NSLayoutConstraint.constraintsWithVisualFormat("H:|-10-[red(>=100,<=200@20)]-0-[blue(==red)]-10-|", options: nil, metrics: nil, views: views)
    self.view.addConstraints(horizontalConstraintsRedBlue)
    let horizontalConstraintsGreen = NSLayoutConstraint.constraintsWithVisualFormat("H:|[green]|", options: nil, metrics: nil, views: views)
    self.view.addConstraints(horizontalConstraintsGreen)

    //Vertical constraints
    let verticalConstraintsRed = NSLayoutConstraint.constraintsWithVisualFormat("V:|[red]-10-[green(40)]|", options: nil, metrics: nil, views: views)
    self.view.addConstraints(verticalConstraintsRed)
    let verticalConstraintsBlue = NSLayoutConstraint.constraintsWithVisualFormat("V:|[blue]-10-[green(40)]|", options: nil, metrics: nil, views: views)
    self.view.addConstraints(verticalConstraintsBlue)
}
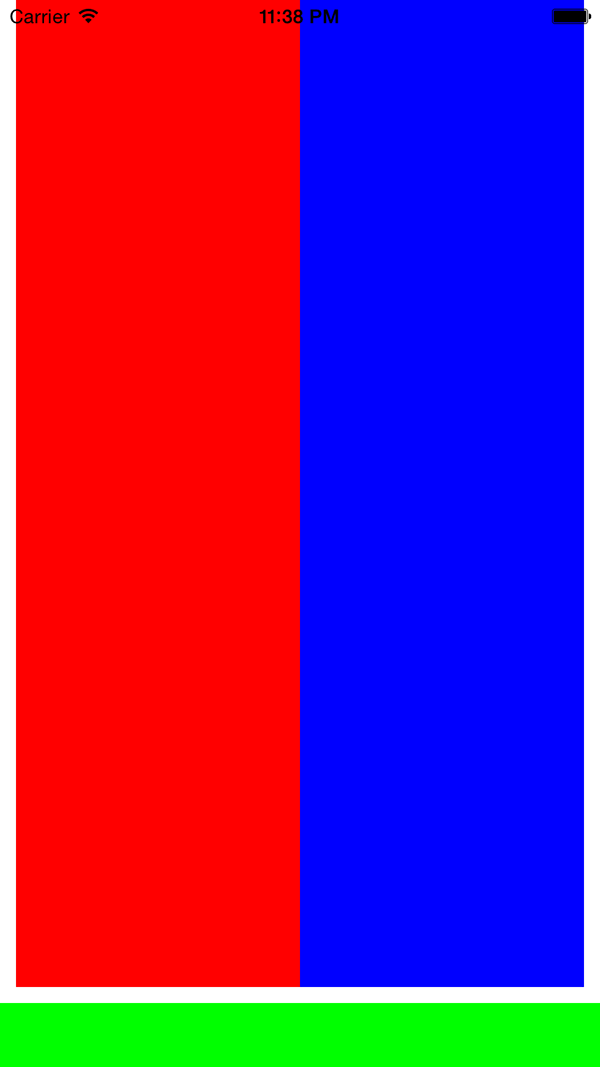
Because the horizontalConstraintsGreen constraint doesn't define a specific width or spacing to its superview, it will span the entire length. The vertical constraint ensure that it will be 40 points high with 10 points of spacing between the red and blue views.
If you run the application one more time, the green view spans the entire width of the screen and the red and blue views stay above it as they were before. When the iOS Simulator is rotated to landscape, the views keep their positions and resize appropriately.
Step 4: Adding Metrics
To make everything more readable, we'll use a dictionary of metrics in the constraints declarations. Create a dictionary as shown below, immediately after declaring the views dictionary.
let metrics = Dictionary(dictionaryLiteral: ("spacing", 10),("lowWidth",100),("highWidth",200),("priority",20),("redBlueSpacing",0),("greenHeight",40))
Now, instead of using hard-coded values, we can use the values of the metrics dictionary, which makes the declarations of the constraints much more readable. Edit the createConstraints function one last time using the new metrics dictionary.
func createConstraints() -> Void
{
    //Views to add constraints to
    let views = Dictionary(dictionaryLiteral: ("red",vwRed),("blue",vwBlue),("green",vwGreen))
    //Metrics for Visual Format string
    let metrics = Dictionary(dictionaryLiteral: ("spacing", 10),("lowWidth",100),("highWidth",200),("priority",20),("redBlueSpacing",0),("greenHeight",40))

    //Horizontal constraints
    let horizontalConstraintsRedBlue = NSLayoutConstraint.constraintsWithVisualFormat("H:|-spacing-[red(>=lowWidth,<=highWidth@priority)]-redBlueSpacing-[blue(==red)]-spacing-|", options: nil, metrics: metrics, views: views)
    self.view.addConstraints(horizontalConstraintsRedBlue)
    let horizontalConstraintsGreen = NSLayoutConstraint.constraintsWithVisualFormat("H:|[green]|", options: nil, metrics: nil, views: views)
    self.view.addConstraints(horizontalConstraintsGreen)

    //Vertical constraints
    let verticalConstraintsRed = NSLayoutConstraint.constraintsWithVisualFormat("V:|[red]-spacing-[green(greenHeight)]|", options: nil, metrics: metrics, views: views)
    self.view.addConstraints(verticalConstraintsRed)
    let verticalConstraintsBlue = NSLayoutConstraint.constraintsWithVisualFormat("V:|[blue]-spacing-[green(greenHeight)]|", options: nil, metrics: metrics, views: views)
    self.view.addConstraints(verticalConstraintsBlue)
}
6. Limitations of the Visual Format Language
You may be wondering why the height of the green view was defined twice. This is because the Visual Format Language works in rows and columns. When using the Visual Format Language, think of adding constraints left to right on one "row" of the view for horizontal constraints. For vertical constraints, you need to think in terms of columns.
Most of the Auto Layout constraints you'll use can be expressed with the Visual Format Language. There are a few that can't, however. For instance, a fixed aspect ratio constraint cannot be created using the Visual Format Language. This can't be accomplished with the Visual Format Language syntax, because the following string can't be parsed:
H:|imageView.width = 2 * imageView.height|
You can still use Auto Layout in your code to achieve these types of constraints using the traditional constraintWithItem method.
Conclusion
The Visual Format Language can be very helpful when you need to create Auto Layout constraints in code. Instead of creating constraints one by one, the Visual Format Language lets you create a number of constraints with one line of code.
Before Auto Layout was available to developers, keeping track of how to resize views for different device categories was a lot of work. With Auto Layout and the Visual Format Language, this is now more intuitive, making user interfaces easier to maintain across devices.

Comments