In this series, we're taking a look at how to internationalize our WordPress projects. For those who are just joining us, I highly recommend you review the first post in the series as we take a look at all of the functions that are provided in WordPress for helping us to internationalize our strings.
And though that's helpful, it still doesn't help to explain what internationalization is. As we said in the first post:
Internationalization is the process of developing your plugin so it can easily be translated into other languages.
Given that WordPress powers roughly 25% of the web and that the web is not local to your country of origin, it makes sense to ensure that the work that we produce can be translated into other locations.
To be clear, this does not mean that you, as the developer, are responsible for translating all of the strings in your codebase into the various languages that your customers may use. Instead, it means that you use the proper APIs to ensure someone else can come along and provide translations for them.
Before we go any further, recall:
- Internationalization, often times referred to as i18n, is the process by which we build our software so that it can be translated.
- Localization is when we take internationalized strings and then translate them to the proper locale.
Easy enough to understand at this point, right? But there's a lot of information out there for how to do this, and it can be really hard to separate the signal from the noise, especially if you're new to doing this.
But that's what this series of tutorials aims to do: to make sure you're armed with everything you need to know in order to properly internationalize your WordPress project, understand what you're doing, and understand how to test it.
Over the next two articles, we're going to create a simple plugin that's properly internationalized. Furthermore, we're going to look at each and every piece of the plugin that goes into internationalizing the codebase to make sure we fully understand it all.
In the next article, we'll take a look at one of the tools that I've found most useful for localizing your work and how to test that the localization is working properly.
With that said, let's go ahead and get started.
Getting Started
For this particular tutorial, I am going to be using the latest version of WordPress that's available via Subversion. If you've got a local copy of WordPress installed and it's a recent version, that's great.
If, however, you want to live on the bleeding edge, then feel free to check out this guide to getting the latest version of the code.
Ultimately, it's not going to affect the work we're doing, but it's an opportunity to stretch your development skills a little bit.
Preparing the Plugin
With a local copy of WordPress set up on your machine, you're ready to start working on a plugin. Note that for the purposes of this tutorial, we're going to be building an incredibly basic plugin.
The purpose is not to understand how to build a plugin, as we've covered that in other courses and in other tutorials; however, it's to understand the finer nuances that go into internationalizing the codebase so that you understand what it is that you're doing as you continue to move forward with the work you will be doing in current or future projects.
1. Create the Plugin Directory and the Bootstrap
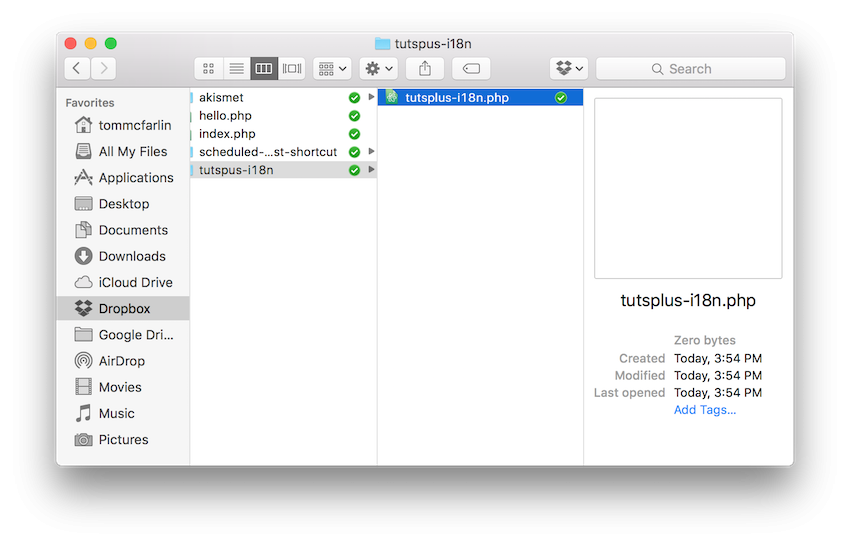
First, locate the wp-content/plugins directory and create a directory called tutsplus-i18n. This is the directory in which we're going to store our plugin files. It's aptly named Tuts+ Internationalization.
Go ahead and create a single file in the directory that will be used to start the plugin. Call the file tutsplus-i18n.php.
Before we go any further, we need to decide what this plugin is going to do. We know that we need to display something to the user so that we can practice internationalization (and localization). This means there should be a UI component to the plugin.
To that end, let's create a simple plugin that will introduce a new menu item under the Tools menu. We'll call the submenu item Server Info, and we'll use data that's easily available in PHP to display a screen of content in a user-friendly manner.
Perhaps this could be used for the purposes of sending a debug log to a vendor if something were to go wrong with a plugin.
2. Define the Plugin
I'm assuming that you're familiar with how to create a basic plugin. If not, we've got a number of tutorials and courses available on how to do that (as already mentioned). The Codex also has some information on how to get started, as well.
If you're not familiar with how to do so, then I recommend checking out the above resources. With that said, let's go ahead and define the basics of our plugin.
To get started, we need to define the plugin header. Open tutsplus-i18n.php and make sure that it includes the following information:
<?php
/**
 * The plugin bootstrap File_Upload_Upgrader::cleanup
 *
 * @link              http://code.tutsplus.com/tutorials/internationalizing-wordpress-projects-a-practical-example-part-1--cms-26676
 * @since             1.0.0
 * @package           TutsPlus_i18n
 *
 * @wordpress-plugin
 * Plugin Name:       Tuts+ Internationalization
 * Plugin URI:        http://code.tutsplus.com/tutorials/internationalizing-wordpress-projects-a-practical-example-part-1--cms-26676
 * Description:       Easily view internationalized server information.
 * Version:           1.0.0
 * Author:            Tom McFarlin
 * Author URI:        https://tommcfarlin.com
 * Text Domain:       tutsplus-i18n
 * License:           GPL-2.0+
 * License URI:       http://www.gnu.org/licenses/gpl-2.0.txt
 */
Once done, save the file and navigate to the Plugins screen in WordPress. There, you should see an entry for the plugin that you've just created.
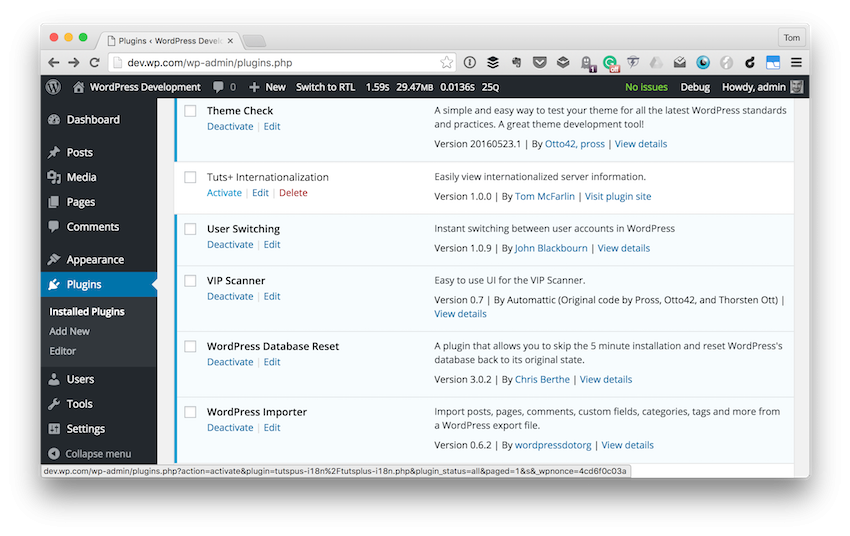
Granted, it won't do anything at this point, but you can see that we're on the right track. Furthermore, note that we've added a tag that you don't often see with WordPress projects, and that's the Text Domain tag. This is what we'll be using in order to help internationalize our plugin.
Here are specific details on this tag:
If you're translating a plugin or a theme, you'll need to use a text domain to denote all text belonging to that plugin. This increases portability and plays better with already existing WordPress tools. The text domain must match the “slug” of the plugin.
Obviously, we've defined our text domain as tutsplus-i18n. You'll see this used throughout the remainder of the codebase in the rest of the tutorial.
Finally, don't forget to make sure you update the Author and Author URI tags to match your name and your homepage, as well.
3. Introduce the Menu Item
The first thing that we want to do is to introduce a submenu item to the Tools menu. In order to do this, we'll take advantage of the add_submenu_page hook offered by WordPress.
Note that we're using the __() function that we discussed in the first post in this tutorial to make sure the menu item's text is properly internationalized for translation. Also, note that the second parameter passed into the function is the same as the text domain defined in the plugin's header.
<?php

add_action( 'admin_menu', 'tutsplus_i18n_add_submenu_page' );
/**
 * Adds a new submenu item to the Tools menu that will display server
 * information to the user.
 *
 * The menu item is internationalized so that we can provide proper translations
 * for users who are outside of our own locale.
 */
function tutsplus_i18n_add_submenu_page() {

    add_submenu_page(
        'tools.php',
        __( 'Server Information', 'tutsplus-i18n' ),
        __( 'Server Information', 'tutsplus-i18n' ),
        'manage_options',
        'tutsplus-i18n-menu',
        'tutsplus_i18n_display_submenu_page'
    );

}
Now, this isn't quite enough. If you've read the linked documentation above then you know that we also need to define a function that will display the content of the page. In the code above, we've referenced the function as tutsplus_i18n_display_submenu_page, but we haven't actually defined the function.
Let's go ahead and do that now. We'll make it simple so the plugin will actually execute. The page won't display anything, but the plugin will continue to function.
<?php

/**
 * Displays the content of the page associated with the new Server Information
 * menu item located in the Tools menu.
 */
function tutsplus_i18n_display_submenu_page() {
    echo '';
}
At this point, feel free to activate your plugin and look at the content under the Tools menu. Nothing should be translated at this point; however, you should see a new menu item.
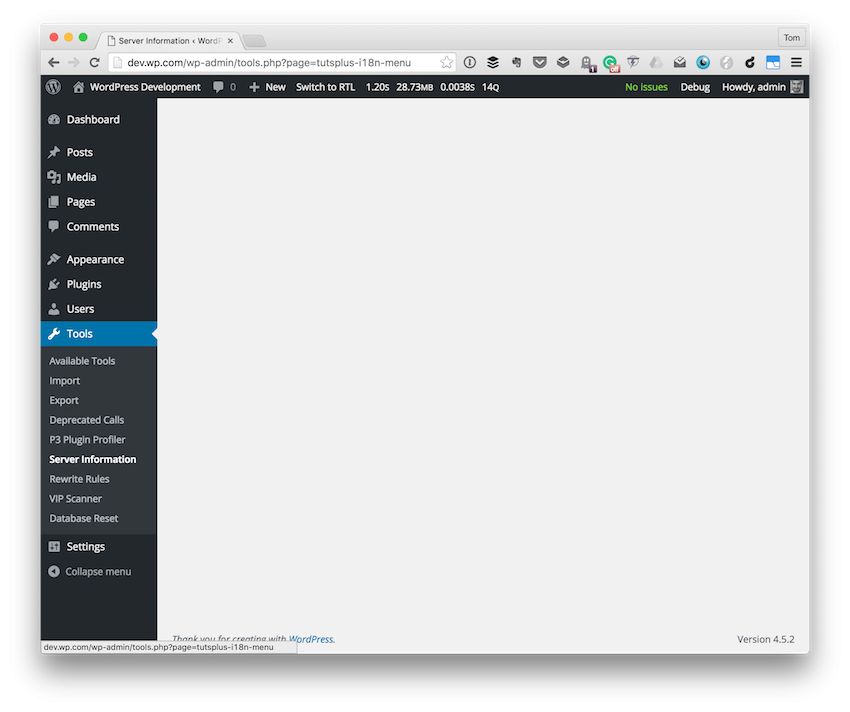
And when you click on the item, you should see something like the screen above. It's blank. But that's okay because in the next section we're going to actually place some information on the screen.
4. Add the Plugin's Screen
Depending on what other plugins and what other code you've studied when working on WordPress plugins, you've seen code written in one of two ways (or maybe both ways, really) as it relates to displaying a plugin's screen.
- All of the HTML is hard-coded into the main plugin's PHP file.
- The HTML is included in an external file that's included via the core PHP file.
I'm a fan of the latter because I think it helps to make the code more maintainable. So for the purposes of this example, we are going to follow that approach. At this point, create a second file in your plugin's directory and call it tutsplus-i18n-ui.php.
Next, add the following code to the file. We'll discuss it in more detail just after you've had a chance to review it.
<?php
/**
 * The user interface for the plugin.
 *
 * @link              http://code.tutsplus.com/tutorials/internationalizing-wordpress-projects-a-practical-example-part-1--cms-26676
 * @since             1.0.0
 * @package           TutsPlus_i18n
 */

?>

<div class="wrap">

    <h1><?php echo esc_html( get_admin_page_title() ); ?></h1>
	<span class="description"><?php esc_html_e( 'Information about the environment in which WordPress is running.', 'tutsplus-i18n' ); ?></span>

	<table id="tutsplus-i18n-table">
		<thead>
			<tr>
				<th>
					<?php esc_html_e( 'Server Key', 'tutsplus-i18n' ); ?>
				</th>
				<th>
					<?php esc_html_e( 'Server Value', 'tutsplus-i18n' ); ?>
				</th>
			</tr>
		</thead>
		<tbody>

			<?php // This counter is used to determine even/odd rows for styles. ?>
			<?php $i = 0; ?>

			<?php foreach ( $_SERVER as $key => $val ) { // Input var okay. ?>

				<?php // Determine if we're on an odd or even row. ?>
				<?php $striped = ( $i % 2 ) ? 'even' : 'odd'; ?>

				<tr class="<?php echo esc_attr( $striped ); ?>">
					<th>
						<?php echo $key ; ?>
					</th>
					<td>
						<?php echo $val; ?>
					</td>
				</tr>

				<?php // Increase the counter by one. ?>
				<?php $i++; ?>

			<?php } ?>
		</tbody>
	</table>

</div>
Notice here that we're creating a table element that will display all of the keys and values found in PHP's $_SERVER collection.
Perhaps the most important things to notice are that we're using esc_html_e() for our internationalization functions, and we're using the modulus operator to help us provide some styling for the screen.
5. Styling the Plugin
Technically, at this point, the plugin will work. Let's take it one step further to make sure the screen looks a bit nicer.
First, create the tutsplus-i18n.css file in the root of your plugin directory and add the following code:
#tutsplus-i18n-table {

    margin-top:    20px;
    border:        1px solid #ccc;
    padding:       10px;

}

#tutsplus-i18n-table thead th {

    font-size: 15px;
    height:    40px;

}

#tutsplus-i18n-table thead,
#tutsplus-i18n-table tbody {
    font-family: 'Monaco', 'Menlo', 'Courier New', Monospace;
}

#tutsplus-i18n-table tbody td {

    height: 30px;
    padding: 5px;

}

#tutsplus-i18n-table tbody tr.odd {
    background: #fff;
}
Next, add a function to the plugin's file that will properly enqueue this file but only on the Server Information screen:
<?php

add_action( 'admin_enqueue_scripts', 'tutsplus_i18n_dashboard_styles' );
/**
 * Add styles to the table displayed in the Server Info page available from the
 * Tools menu.
 */
function tutsplus_i18n_dashboard_styles() {

    // Only register the stylesheet if we're on the Server Information page.
    if ( 'tools_page_tutsplus-i18n-menu' !== get_current_screen()->id ) {
        return;
    }

    wp_enqueue_style(
        'tutsplus-i18n-css',
        plugin_dir_url( __FILE__ ) . '/tutsplus-i18n.css',
        array(),
        '1.0.0',
        'all'
    );

}
At this point, the plugin should have a slightly nicer display:
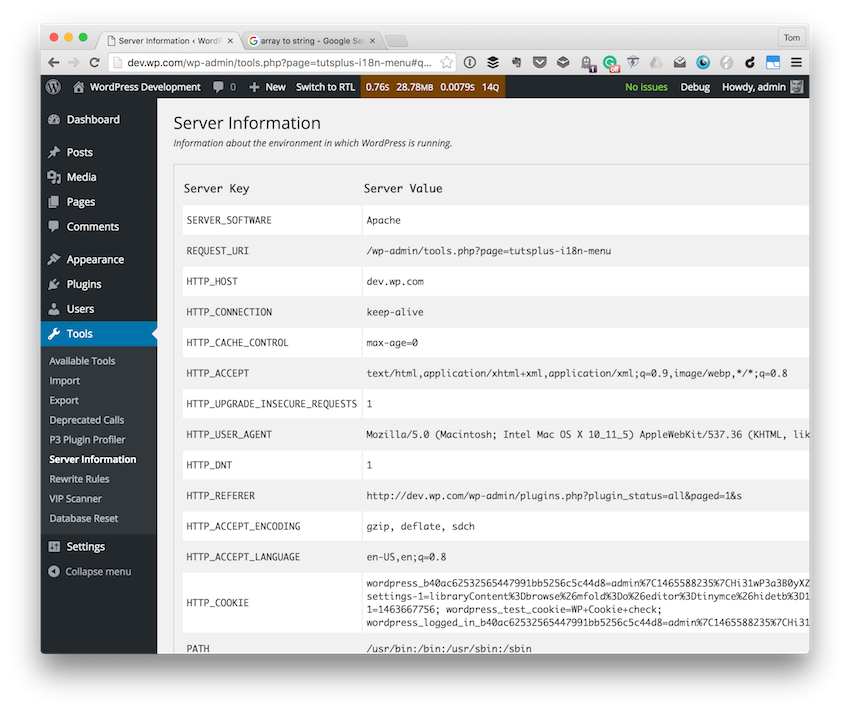
No, this isn't needed, but it helps to make the plugin look a bit more readable in the context of what we're doing.
What About Object-Oriented Programming?
For those who have followed my courses and my tutorials, you know that I prefer to write my code in object-oriented programming rather than in procedural programming.
When it comes to teaching a new concept, I try to make the focus of a lesson as clear as possible. To that end, I often find that using procedural programming to teach something like this creates less confusion than when using object-oriented programming.
That is, object-oriented programming assumes that you have a clear understanding of certain concepts that you may not have when going through this codebase. And if that's the case, then you're not going to be able to focus on the core material of this tutorial.
Thus, the primary topics that we're aiming to review have nothing to do with object-oriented programming but with understanding how to internationalize and ultimately localize a WordPress project.
Conclusion
At this point, we have a functional plugin that can be downloaded, installed, and run within a WordPress installation. Though it's internationalized, we don't have any localization files to show how the process works. You can download a copy of the plugin from the sidebar of this page.
In the follow-up tutorial, we're going to take a look at how we can create our localization files and simulate another locale to test our translations, and we'll also look at tools that are available for us to use.
While you're waiting for the next installment, don't forget to see what we have available in Envato Market to help you build out your growing set of tools for WordPress or for example code to study and become more well-versed in WordPress.
If you're interested in learning more about WordPress from a development perspective, note that I exclusively work with WordPress and often write about it. You can catch all of my courses and tutorials on my profile page, and you can follow me on my blog and/or Twitter at @tommcfarlin where I talk about software development in the context of WordPress.
As usual, please don't hesitate to leave any comments or questions in the comment feed below.

Comments