WordPress is the world's favourite CMS because of its simple interface, highly customisable themes and an endless variety of powerful plugins. It has simplified website development and management for even the most amateur users.
However, there are still times when you see a certain website design, which immediately catches your eye, and you want to modify your own website to appear the same. Unfortunately, if you're a complete amateur, you won't be able to do much even with WordPress, since theme modifications require a certain degree of expertise in HTML, CSS, PHP and several other skills depending upon the nature of your theme. But even if you're an expert coder, it might still take you a few hours to make the desired modifications.
Fortunately, the WordPress Visual Composer plugin has simplified this problem. With this awesome page building plugin, even the most basic WordPress users can modify theme designs and create a completely unique look for their website. For WordPress experts, it’s a major time saver and can help them modify pages in just a few minutes. Overall, the plugin has been such a big success that it’s already included in many of the latest WordPress themes.
So with this background, let me walk you through some of the main features of the Visual Composer, and how it can be set up for your WordPress website.
Main Features
Visual Composer is designed by the guys at WP Bakery. It’s a paid plugin that is not openly available on the WordPress plugin directory. You can only download it from CodeCanyon.

It has been downloaded by more than 70,000 users and it only seems headed towards more success! Visual Composer has several highly useful features that can make page building an extremely enjoyable experience in WordPress. Here's a quick look at some of them.
Frontend and Backend Page Building
The most powerful feature of the Visual Composer is that it gives you an easy drag and drop page builder that can be used from the standard WordPress page/post edit area or directly from the frontend.
Universal Theme Compatibility
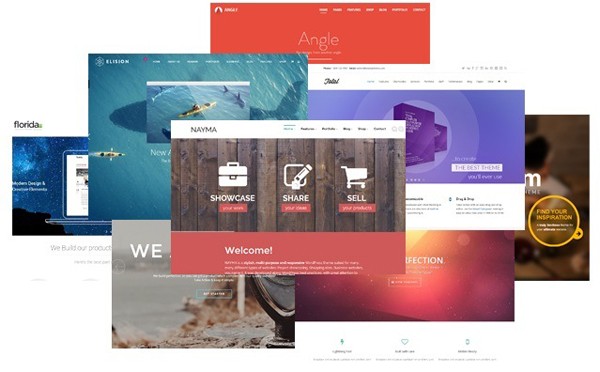
Visual Composer is not theme specific. This means you can use it with any WordPress theme without needing to make any adjustments to the existing code.
Highly Customisable Layout
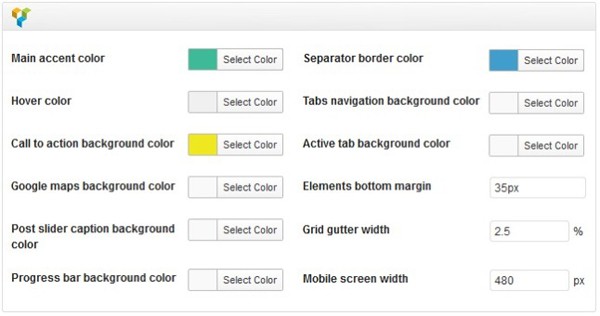
The drag and drop elements of the Visual Composer have a default layout and theme. However, you can modify this according to the color scheme and looks of your website.
More Than 40 Ready to Use Design Elements

The drag and drop interface of the Visual Composer has more than 40 ready to use drag and drop elements which can be used to create unique layouts for your website within minutes.
Completely Responsive Elements
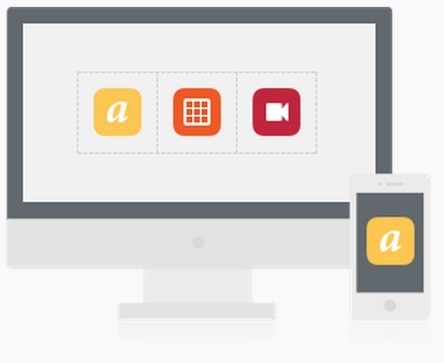
The design and page elements created with the Visual Composer are completely responsive and mobile ready.
Developer Friendly

The Visual Composer is full of versatile drag & drop elements. If you want to add more, you can easily do it thanks to its developer friendly nature.
Plugin Installation and Configuration
As I mentioned earlier, Visual Composer is a paid plugin. So, you'll need to buy it first and then upload it to your WordPress site.
Step 1
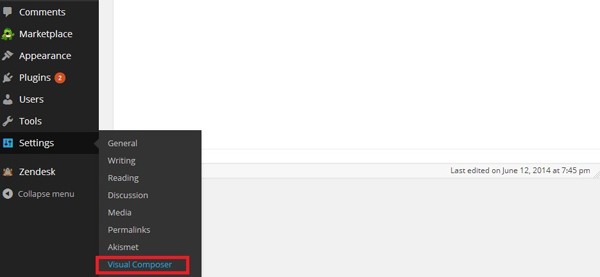
The installation process is the same as any other WordPress plugin. Once activated, the plugin will appear in the Settings option on the left menu in the main WordPress dashboard.
Step 2
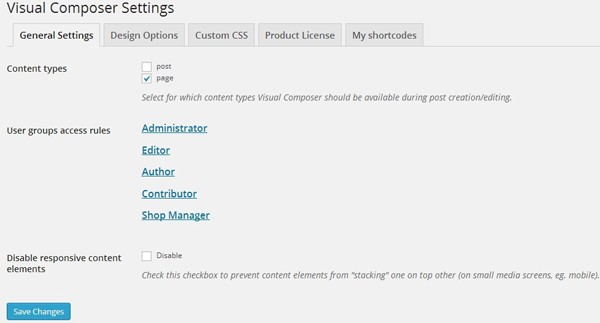
Here, you can adjust some of the basic plugin settings.
Step 3
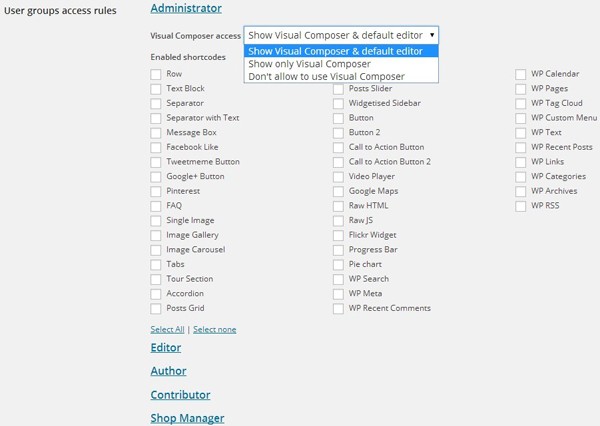
You can enable the Visual Composer for both Pages and Posts, or any one of them. You can also set specific access rights for individual user types. For each user type, you can choose to display both the Visual Composer in the post edit area and the standard WordPress editor, or you can display only the Visual Composer. You can also enable or disable individual Visual Composer elements for different users.
Step 4
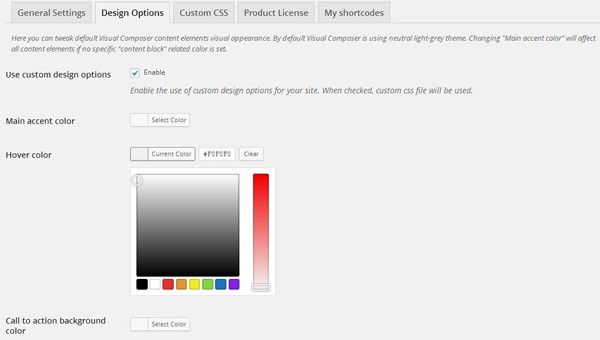
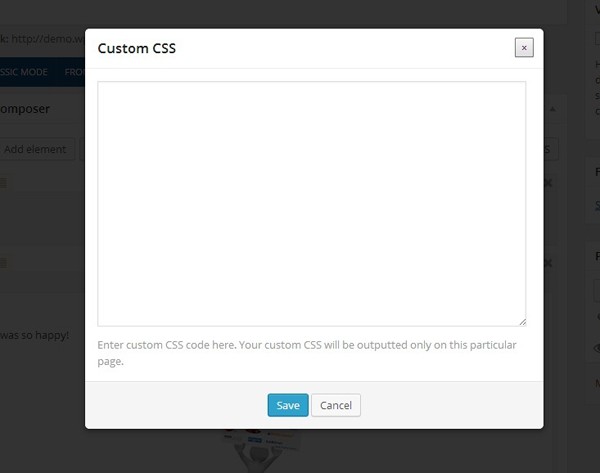
In the Design Options tab, you can modify the look and feel of the Visual Composer elements according to the theme of your website. The Custom CSS tab allows you to modify the CSS without changing any other file, while the Product License tab allows you to integrate your Envato account to enable support and automatic updates. In the My Shortcodes tab, you can add any additional manually developed shortcodes to the existing list of shortcodes in the Visual Composer.
Now let's move on to the actual usage of the plugin!
Using VC on Pages and Posts
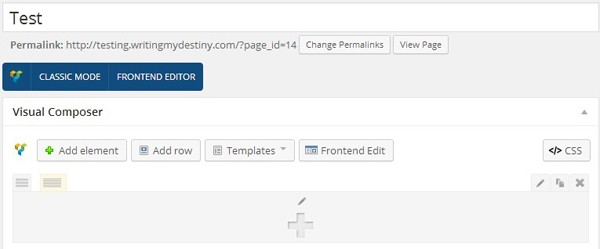
As I mentioned above, you can enable the Visual Composer for Posts, Pages or any one of them. After activating the plugin, you’ll see the Visual Editor tabs on top of your standard WordPress text editor.

The two tabs that appear on top of the text editor are Backend Editor and Frontend Editor. These are the options that make this plugin such a joy to use. From here, you can create any page structure you want. Let's start with the backend editor.
Backend Editor
Step 1
When you click on the Backend editor tab, your text editor area will change into a drag and drop box where you can add elements by simply selecting them from the list. But first, you need to add a row. From here, the only thing limiting your design will be your imagination.
Step 2
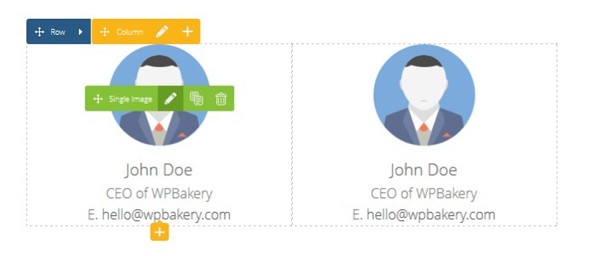
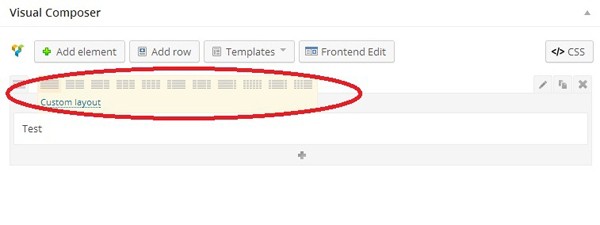
You can add different elements in the row and also choose different column layouts for each row by hovering your mouse pointer on the button above the content editor. You can add different elements to design your page from the Add element tab. The Add elements box contains everything you need to design a website.
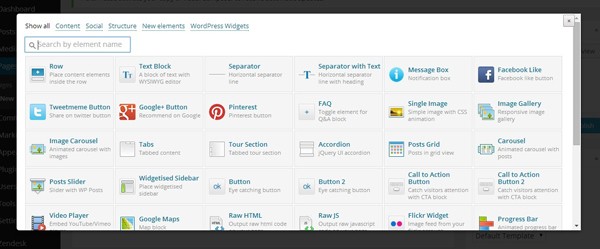
The elements are divided into categories of Content, Social, Site Structure, New Elements and WordPress Widgets, but you can view all of them together as well. Whichever option you need, just click on it and drag it in your content box. Your page is basically divided into different rows. You can keep adding new rows and new elements within those rows.
Step 3
To edit, delete or duplicate any particular row, just use the icons on top of each row box.

Step 4
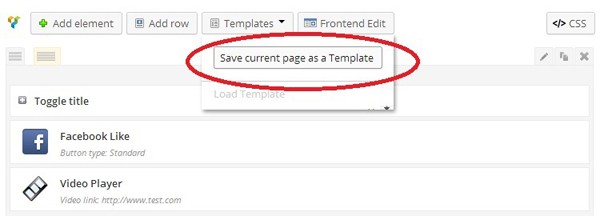
You can save a particular content arrangement as a ready to use template that can be loaded from the list anytime you need it.
Step 5
The Visual Composer also allows you to add custom CSS for individual pages and posts. The effects of this custom CSS will be limited to that particular page or post only.
Visual Composer also supports several famous WordPress plugins like Contact Form 7, Layer Slider, Revolution Slider and Gravity Forms. If you have any of these plugins installed, they will be added automatically to the Add element box. When you select any of them from the list of elements, it will be directly inserted in your page without the need for adding any shortcodes. The backend editor gives you so much flexibility and options that you can create any kind of design even if you’re an amateur user.
Frontend Editor
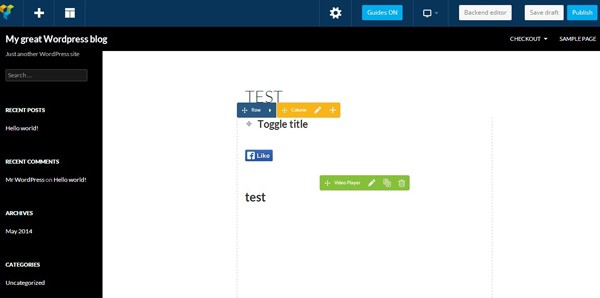
The frontend editor lets you drag & drop page elements in live page view. It makes it easier to see the impact of your changes straight away while having all the options of the backend editor as well.
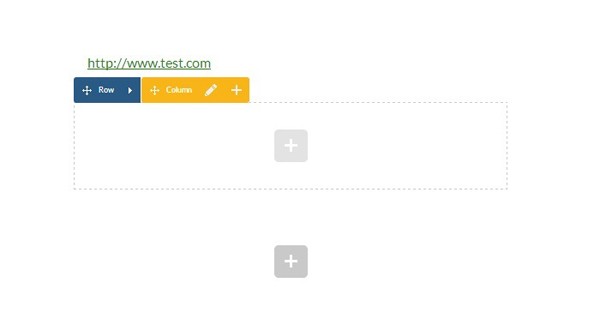
Step 1
Starting from the left, you can add new elements by clicking on the + sign and edit the column's layout with the column button next to it.
Step 2
You can also add new rows or columns from the + sign within the page content.
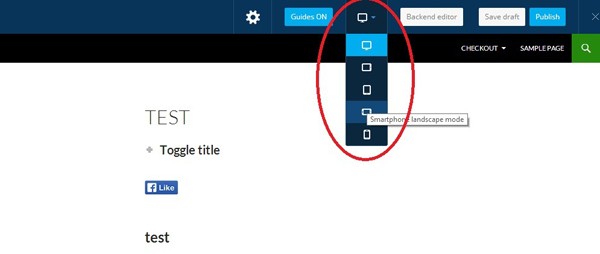
Step 3
All the elements of the Visual Composer are completely responsive and mobile ready. You can get the live preview for different devices in the frontend editor from the icons below.
Step 4
Despite all these features and the wide range of elements, Visual Composer allows you to add your own shortcodes and design elements as well. You can create the elements yourself or import them from any third party service.
In Summary
WordPress has always been a flexible platform in terms of the different functions it can support through its plugins. But with the Visual Composer page builder plugin, even the design aspect of WordPress, which was once limited to the advanced users only, can now be edited in very quick time.
For me, personally, the Visual Composer has significantly reduced the time, I used to spend on client website design and editing tasks, from several hours to a few minutes. And with the rising popularity of this plugin, I can only see more and more WordPress users rely on it in the coming days.

Comments