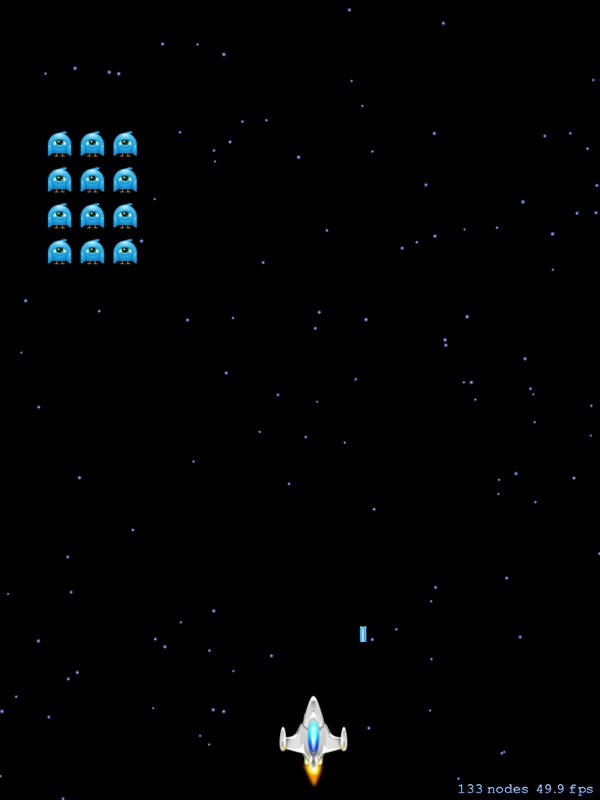
In this series, I will be teaching you how to create a Space Invaders inspired game using Sprite Kit and the Swift programming language. Along the way, you will learn about Sprite Kit's integrated physics engine, generate particles using Sprite Kit's built-in particle editor, use the accelerometer to move the player, and much more. Let's get started.
Introducing Sprite Kit
Sprite Kit is Apple's 2D game engine that was introduced along with iOS 7. With the introduction of the Swift programming language in 2014, there has never been a better time to be a game developer for iOS.
Sprite Kit provides a rendering engine built on top of OpenGL. With the use of textured sprites, a built-in physics engine, and the very powerful SKAction class, you can very quickly build functional 2D games.
Rendering Loop
Sprite Kit, like most game engines, utilizes a rendering loop to render and update the screen.The rendering loop has several steps it goes through before rendering the current scene. They are as follows:
- Update
- Evaluate actions
- Simulate physics
- Apply constraints
- Render the scene
Each of these has a corresponding method you can use to apply any additional logic that needs to take place at that time within the frame. Specifically, you would use the following methods within the scene.
updatedidEvaluateActionsdidSimulatePhysicsdidApplyConstraintsdidFinishUpdate
We are interested in two of these methods for this tutorial, update and didSimulatePhysics. We will use the update method to move the invaders manually and the didSimulatePhysics method to update the player, which will be controlled using the accelerometer and the physics engine.
SKNode
One of the building blocks of the Sprite Kit framework is the SKNode class. The SKNode class does not draw any visual assets. Its primary role is to provide baseline behavior that other classes implement. The SKScene class is the root node in a tree of SKNode instances and is used to hold sprites and other content that needs to be rendered.
The rendering and animation is done by an SKView instance that is placed inside a window and other views are then added to it. The SKScene instance is added to the SKView instance. You can use a single SKView instance in your window and switch between different scenes at any time.
The framework defines a number of SKNode subclasses. The most common one to build a scene is the SKSpriteNode class. The SKSpriteNode class can be drawn either as a rectangle with a SKTexture mapped onto it or as a colored, untextured rectangle. You'll most often use textured sprites, because this is how you will bring your artwork to life in your game. Check out the inheritance tree of the SKNode class to see what other types of nodes are available.
SKAction
The SKAction class is what brings your SKNode classes to life. By using the SKAction class you can move, rotate, scale, and fade the nodes. You can also use SKAction to play a sound and run custom code. The SKAction class is very powerful and, along with the SKNode class, is one of the building blocks of a Sprite Kit game.
Physics Engine
Sprite Kit has an integrated physics engine that makes handling complex physics situations a breeze. If you've ever tried to implement a physics engine on your own, you will appreciate this feature.
In Sprite Kit, the coordinate (0,0) is located at the bottom left of the screen instead of the top left, which you may be used to if you've worked with Flash, Corona, HTML5 Canvas, and many other game frameworks. This is because Sprite Kit uses OpenGL under the hood.
I highly suggest you read Apple's Sprite Kit Programming Guide to get more familiar with the above concepts. With this short introduction out of the way, let's get started building a game with Sprite Kit.
1. Project Setup
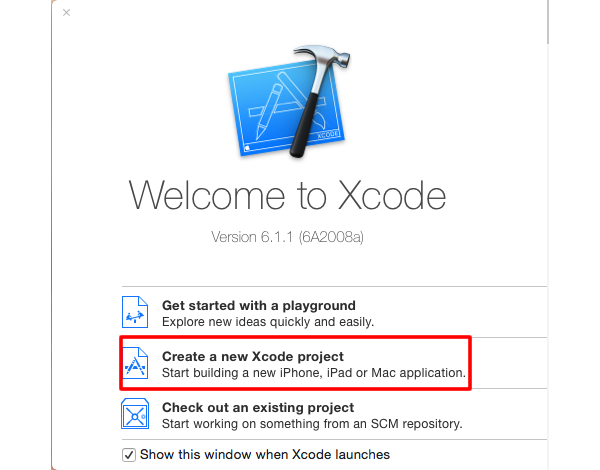
Open up Xcode and choose Create a new Xcode project or choose New > Project... from the File menu.
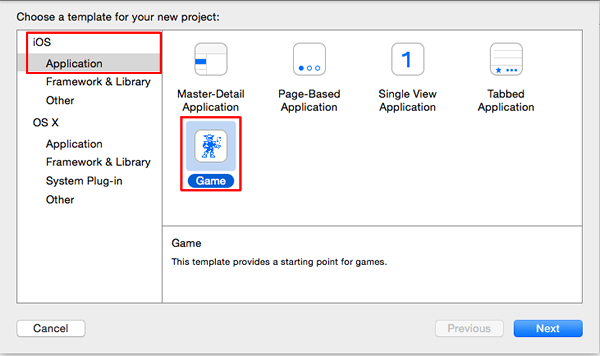
Make sure that you are targeting iOS, that the type is Application, and that you have chosen Game as the template type. Click Next to continue.
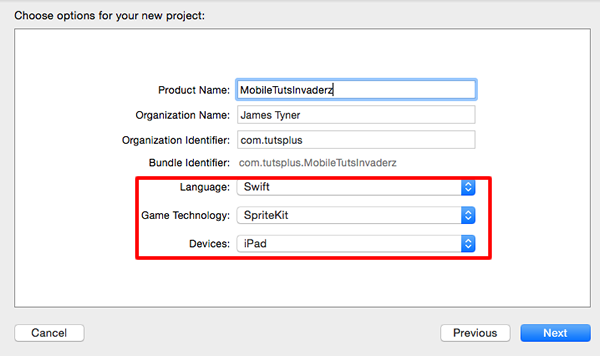
Next, choose whatever you wish for the Product Name, Organization Name, and Organization Identifier. Make sure that Language is set to Swift, Game Technology is set to SpriteKit, and Devices is set to iPad. Specify a location to save the project files and click Create.
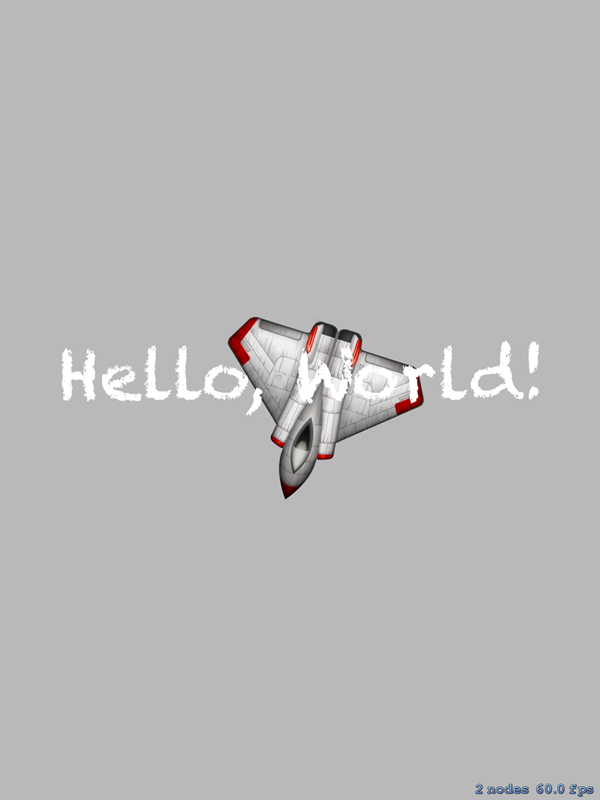
If you click the run button in the top left (or press Command-R), Xcode will build and run your application, displaying the text "Hello, World!". When you tap the screen, an image of a spaceship is added and starts rotating.
2. Project Configuration
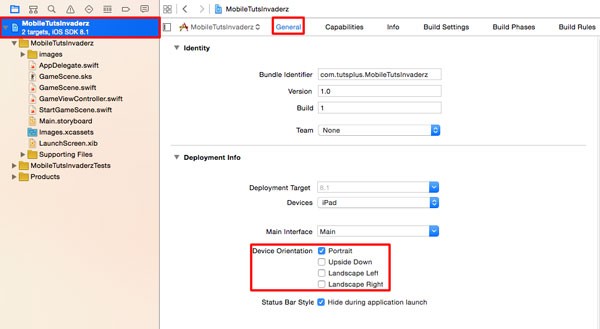
Select the project in the Project Navigator and open the General tab at the top. Under Deployment Info, uncheck all checkboxes but Portrait for Device Orientation.
Next, select and delete GameScene.sks. The .sks file allows you to lay out the scene visually. For this project, we will be adding every node programmatically. Open GameViewController.swift, delete its contents, and replace it with the following.
import UIKit
import SpriteKit

class GameViewController: UIViewController {

    override func viewDidLoad() {
        super.viewDidLoad()
        let scene = StartGameScene(size: view.bounds.size)
        let skView = view as! SKView
        skView.showsFPS = true
        skView.showsNodeCount = true
        skView.ignoresSiblingOrder = true
        scene.scaleMode = .ResizeFill
        skView.presentScene(scene)
    }

    override func prefersStatusBarHidden() -> Bool {
        return true
    }
}
The GameViewController class inherits from UIViewController and will have an SKView as its view. Inside the viewDidLoad method, we force downcast its view property to an SKView instance, using the as! type cast operator, and configure the view.
You may have noticed the text in the lower right corner of the screen when you ran the application for the first time. That is what the showsFPS and showsNodeCount properties are for, showing the frames per second the game is running at and the number of SKNodes visible in the scene.
If some of the nodes were to move off-screen, the node count would drop, but they would still be in memory. This is important to remember and don't let the node count fool you. If you add 100 nodes to a scene and 90 of them are off-screen, you still have 100 nodes taking up memory.
For optimization purposes, the ignoresSiblingOrder is set to true. You can read more about this in Sprite Kit Programming Guide. The last thing we do is invoke the SKView's presentScene method and pass in the StartGameScene, which we will create in the next step.
Lastly, we don't want the status bar to be shown so we return true from the preferStatusBarHidden method.
3. Creating StartGameScene
Step 1: Adding the StartGameScene Class
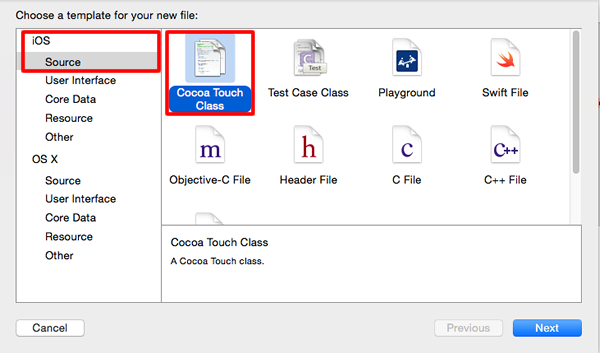
Choose New > File... from the File menu and choose Cocoa Touch Class from the iOS > Source section. Click Next to continue.
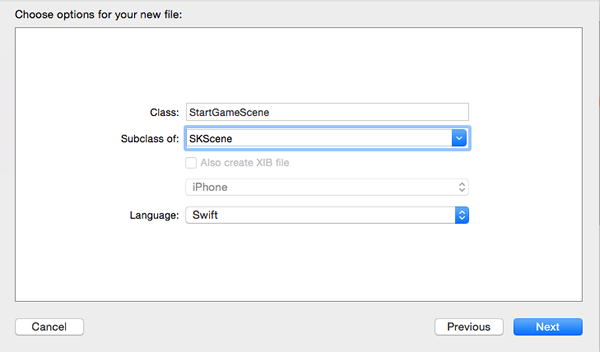
Next, name the class StartGameScene and make sure it inherits from SKScene. Language should be set to Swift. Click Next to continue.
Tell Xcode where you'd like to save the file for the new class and click Create. Add the following code to StartGameScene.swift.
import UIKit
import SpriteKit
class StartGameScene: SKScene {

    override func didMoveToView(view: SKView) {
        backgroundColor = SKColor.blackColor()
        NSLog("We have loaded the start screen")
    }
}
The didMoveToView(_:) method is called immediately after the scene is presented by the view. Generally, this is where you will do the setup for your scene and create your assets.
If you test the game now you should be presented with a black screen that shows the frame rate and node count in the lower right corner of the screen.
Step 2: Adding startGameButton
It's no fun looking at a black screen so let's create our first SKSpriteNode instance. Update the didMoveToView(_:) method as shown below.
override func didMoveToView(view: SKView) {
    let startGameButton = SKSpriteNode(imageNamed: "newgamebtn")
    startGameButton.position = CGPointMake(size.width/2,size.height/2 - 100)
    startGameButton.name = "startgame"
    addChild(startGameButton)
}
We declare a constant startGameButton using the convenience initializer init(imageNamed:), which takes as argument the name of the image. We center it on the screen both horizontally and vertically, except we subtract 100 points to place it a little off-center on the vertical axis. We set its name property to startgame so we can refer back to it later. Lastly, we add it to the scene by invoking addChild(_:), which takes as argument the node to add to the scene. You can learn more about the SKSpriteNode class in the SpriteKit Framework Reference.
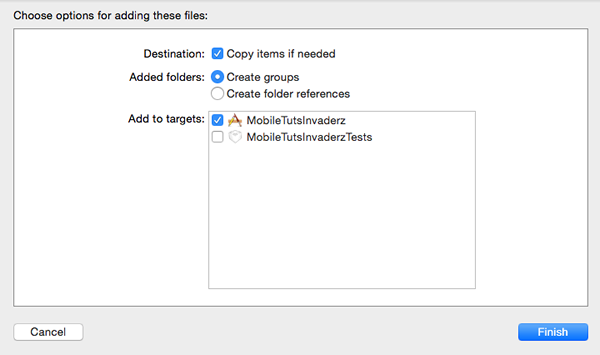
Now would be a good time to add the images to the project. Download the source files of this tutorial and find the folder named images. Drag it onto the folder that has the name of whatever you named your project, for example, MobileTutsInvaderz. Make sure Copy items if needed is checked as well as the main target in the list of targets.
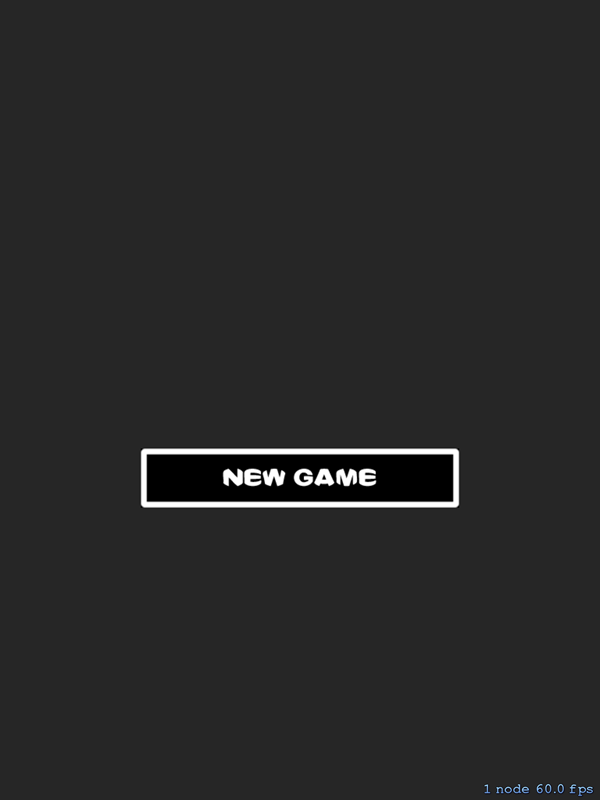
If you test your application, you should see a button labeled "New Game".
Step 3: Implementing touchesBegan
Next, we need to implement the touchesBegan(_:withEvent:) method. Its implementation is shown below. The touchesBegan method is invoked when one or more fingers touch down on the screen.
override func touchesBegan(touches: Set<NSObject>, withEvent event: UIEvent) {
    let touch = touches.first as! UITouch
    let touchLocation = touch.locationInNode(self)
    let touchedNode = self.nodeAtPoint(touchLocation)
    if(touchedNode.name == "startgame"){
         let gameOverScene = GameScene(size: size)
         gameOverScene.scaleMode = scaleMode
         let transitionType = SKTransition.flipHorizontalWithDuration(1.0)
         view?.presentScene(gameOverScene,transition: transitionType)
     }
}
The multiTouchEnabled property of the scene's view is set to false by default, which means the view only receives the first touch of a multitouch sequence. With this property disabled, you can retrieve the touch by using the first computed property of the touches set since there is only one object in the set. Notice that we also downcast it to a UITouch.
We store the location of the touch in the scene in a constant named touchLocation. We do this by invoking locationInNode(_:) on the touch object, passing in the scene. We can then figure out which node was touched by invoking nodeAtPoint, passing in the touch location. With this node touchedNode found, we can check the name property and, if it is equal to startgame, we know they tapped the button.
If the user tapped the button, we instantiate the GameScene class and set its scaleMode to be the same as the current scene's scale mode. We then create a SKTransition named transitionType and show the scene by invoking presentScene(_:transition:) passing in the gameOverScene and the transitionType.
There are quite a few SKTransistion types to choose from. You can read more about them in the SpriteKit Framework Reference. I suggest you try out a few and see which ones you like best.
If you test your application, you can tap the button, which takes you to the GameScene. This is the same scene the project initially started out with.
Conclusion
This bring the first part of this series to a close. You have been introduced to Sprite Kit and have learned how to create custom scenes, use the SKSpriteNode class, and detect touches. This is only the beginning, we still have a lot to learn. Thanks for reading and I'll see you in the next part of this series.

Comments