If you're a freelance designer, developer, or a business owner, you know how difficult it is to keep a central store of prospective customer data. Once you've accomplished that, it's sometimes difficult to keep that data updated - logging calls you've made to the prospect, emails you've sent, and so on.
Specifically, we'll explore registering a custom post type, creating custom post fields, displaying custom post fields in the WordPress Administration interface, searching our custom field data and turning the WordPress Administration interface into a lightweight CRM interface.
Why Not Use a CRM Plugin (Or a CRM System?)
While free and premium WordPress CRM plugins do exist (such as WP-CRM) and third party CRM services (such as Salesforce or Highrise), they are either too complex to start using quickly, or have features that may not be ideal for our particular workflow.
By rolling our own solution, we can build a lightweight, simple solution, that could be extended in the future based on your specific requirements. Plus, we’ll learn how to use some of WordPress API functions.
Creating the CRM Plugin
For this series, we’ll create a WordPress plugin and extend its functionality through each part in this series.
The source code will be provided in full at the end of each article, but until then, let’s create the plugin step-by-step.
First, in your local installation of WordPress, create a directory in wp-content/plugins called tuts-crm. From here, we’ll begin adding our source code.
The Plugin Header
Create a file called tuts-crm.php, inserting the following code:
<?php
/**
 * Plugin Name: Tuts+ CRM
 * Plugin URI: #
 * Version: 1.0
 * Author: Tuts+
 * Author URI: http://code.tutsplus.com
 * Description: A simple CRM system for WordPress
 * License: GPL2
 */
?>
As you’ll see, this is just a PHP comment. However, WordPress scans this to figure out:
- the name of the plugin,
- the author of the plugin,
- the description of what the plugin does
In the WordPress dashboard, activate your new plugin by going to "Plugins" > "Installed Plugins," and then clicking "Activate" beside the CRM plugin:
.png)
Setting Up Our Plugin Class
With any WordPress web site having any possible number and combination of plugins, it’s possible that a function name we choose to use (such as crm()) conflicts with another plugin that uses the same.
Most plugins get around this issue by using a function_exists() check:
if ( ! function_exists( 'crm' ) ) {
    function crm() {
        // Do something here
    }
}
While this stops your WordPress site from grinding to a halt, it doesn’t get your plugin working if there is a conflict.
An alternate object-orientated approach is to wrap your functions in an object-oriented class. Let’s go ahead and do that by adding the following below the plugin header comment:
class WPTutsCRM {

    /**
	 * Constructor. Called when plugin is initialised
	 */
	function __construct() {

	}

}

$wpTutsCRM = new WPTutsCRM;
This creates our PHP class, along with a construct, which is called when we reach the line $wpTutsCRM = new WPTutsCRM;
Register Our Custom Post Type
Next, we need to register a Custom Post Type, which will store each contact in our CRM system.
From the Codex:
WordPress can hold and display many different types of content. A single item of such a content is generally called a post, although post is also a specific post type. Internally, all the post types are stored in the same place, in the wp_posts database table, but are differentiated by a column called post_type.
WordPress 3.0 gives you the capability to add your own custom post types and to use them in different ways.
Pages and Posts are two common WordPress Post Types. We can extend WordPress’ functionality by adding our own Custom Post Type. Let’s do this by registering an action to our Plugin’s constructor:
function __construct() {
	add_action( 'init', array( $this, 'register_custom_post_type' ) );
}
This tells WordPress to run the register_custom_post_type function inside our class when our plugin is initialised.
Next, add the register_custom_post_type function:
/**
 * Registers a Custom Post Type called contact
 */
function register_custom_post_type() {
	register_post_type( 'contact', array(
        'labels' => array(
			'name'               => _x( 'Contacts', 'post type general name', 'tuts-crm' ),
			'singular_name'      => _x( 'Contact', 'post type singular name', 'tuts-crm' ),
			'menu_name'          => _x( 'Contacts', 'admin menu', 'tuts-crm' ),
			'name_admin_bar'     => _x( 'Contact', 'add new on admin bar', 'tuts-crm' ),
			'add_new'            => _x( 'Add New', 'contact', 'tuts-crm' ),
			'add_new_item'       => __( 'Add New Contact', 'tuts-crm' ),
			'new_item'           => __( 'New Contact', 'tuts-crm' ),
			'edit_item'          => __( 'Edit Contact', 'tuts-crm' ),
			'view_item'          => __( 'View Contact', 'tuts-crm' ),
			'all_items'          => __( 'All Contacts', 'tuts-crm' ),
			'search_items'       => __( 'Search Contacts', 'tuts-crm' ),
			'parent_item_colon'  => __( 'Parent Contacts:', 'tuts-crm' ),
			'not_found'          => __( 'No conttacts found.', 'tuts-crm' ),
			'not_found_in_trash' => __( 'No contacts found in Trash.', 'tuts-crm' ),
		),

        // Frontend
        'has_archive'        => false,
        'public'             => false,
        'publicly_queryable' => false,

        // Admin
        'capability_type' => 'post',
        'menu_icon'     => 'dashicons-businessman',
        'menu_position' => 10,
        'query_var'     => true,
        'show_in_menu'  => true,
        'show_ui'       => true,
        'supports'      => array(
        	'title',
        	'author',
        	'comments',
        ),
    ) );
}
This registers a Custom Post Type called contact. register_post_type accepts the following array of arguments:
| key | Description |
|---|---|
| labels | An array of labels describing this Post Type. These are used within the WordPress Administration. |
| has_archive | Enables archives on the frontend web site. |
| public | Whether the Post Type should be available in the WordPress Administration and frontend web site. |
| publicly_queryable | Whether this Custom Post Type can be queried from the frontend web site. |
| capability_type | Used to define the capabilities the User should have in order to add, edit and delete Posts for this Post Type. This could be an existing capability (such as post) |
| menu_icon | Either the URL to the menu icon image, or a dashicons- class (3.8 or higher). Used in the WordPress Administration. |
| menu_position | A number indicating where in the WordPress Administration menu to display this item. Lower number means it appears sooner. |
| query_var | Sets the query_var for this post type. Defaults to the name of the Custom Post Type. |
| show_in_menu | Whether to show this Custom Post Type in the WordPress Administration menu. |
| show_ui | Whether to generate a UI in the WordPress Administration to allow adding, editing and deleting Posts for this Custom Post Type. |
| supports | An array detailing the fields available to this Custom Post Type. Examples include title, editor, excerpt and page-attributes
|
Save your plugin, and then view your WordPress dashboard. You should see a new menu entry called Contacts:
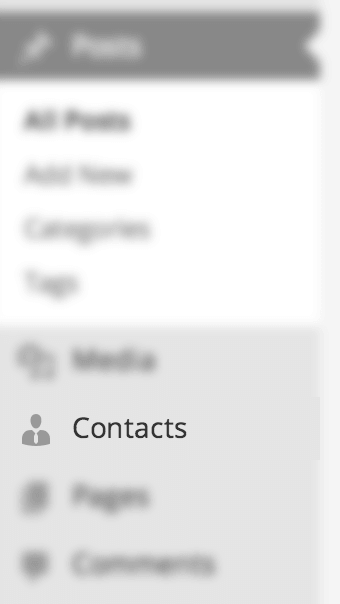
Click on this entry, and you should see a familiar interface to the one you use to manage Posts and Pages:
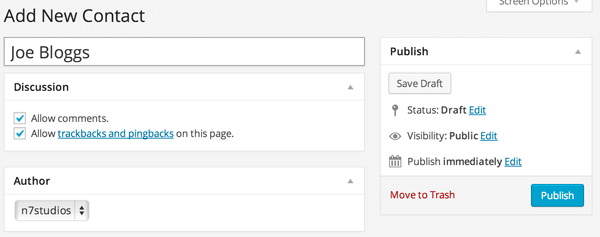
Let’s go ahead and add our first contact. Click on "Add New," and then put "Joe Bloggs" in the "Title" field, before clicking "Publish."
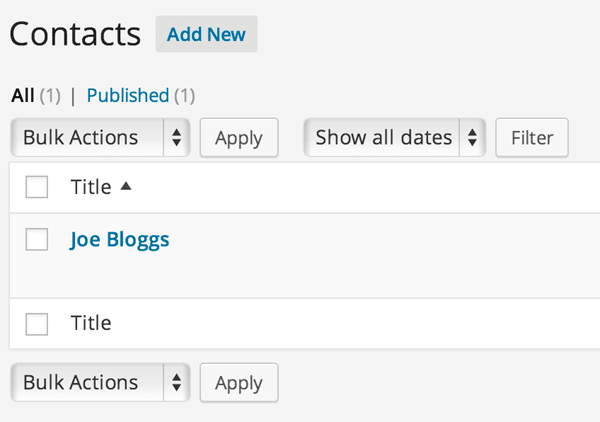
Finally, we need to check the Custom Post Type saved. Click back on "Contacts" in the WordPress administration menu, and you should see our new contact:
Up Next…
In the next article, we’re going to add custom fields to our Contact Custom Post Type, allowing us to store more information about our prospects and clients.

Comments