In this tutorial series, I'm going to show you how to create a physics based minigolf game in Corona SDK. You'll learn about physics manipulation, touch controls, and collision detection. Read on!
1. Application Overview
Using pre-made graphics, we'll code an entertaining game using Lua and the Corona SDK APIs.
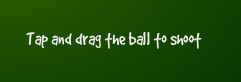
The player will be able to use the touch screen on the device to shoot the ball across the stage. You can modify the parameters in the code to customize the game.
2. Target Device
The first thing we have to do is select the platform we want to run our app within. This allows us to choose the size for the images we'll use.
The iOS platform has the following characteristics.
- iPad 1/2/Mini: 1024x768px, 132 ppi
- iPad Retina: 2048x1536, 264 ppi
- iPhone/iPod Touch: 320x480px, 163 ppi
- iPhone/iPod Retina: 960x640px, 326 ppi
- iPhone 5/iPod Touch: 1136x640, 326 ppi
Android is an open platform, so there are many different devices and resolutions. A few of the more common screen characteristics include the following.
- Asus Nexus 7 Tablet: 800x1280px, 216 ppi
- Motorola Droid X: 854x480px, 228 ppi
- Samsung Galaxy SIII: 720x1280px, 306 ppi
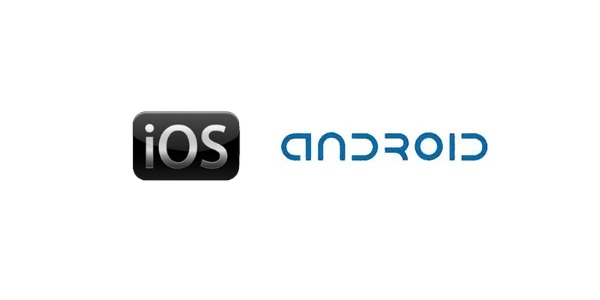
In this tutorial we'll be focusing on the iOS platform with the graphic design, specifically developing for distribution to an iPhone/iPod touch. However, the code presented here should apply to Android development with the Corona SDK as well.
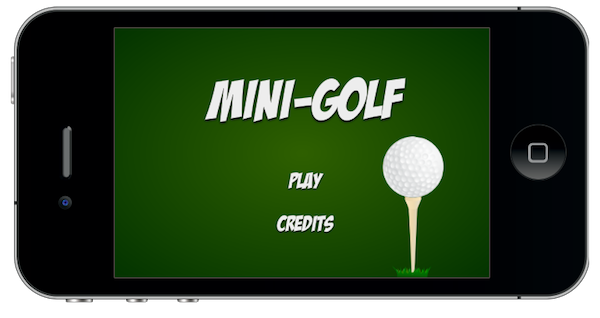
3. Interface

A simple and friendly interface will be used. It involves multiple shapes, buttons, and bitmaps, among other things.
The interface graphic resources necessary for this tutorial can be found in the attached download.
4. Export Graphics
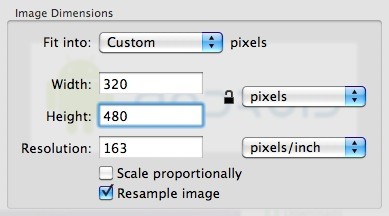
Depending on the device you have selected, you may need to export the graphics in the recommended PPI. You can do this in your favorite image editor.
I used the Adjust Size... function in the Preview app on Mac OS X.
Remember to give the images a descriptive name and save them in your project folder.
5. App Configuration
An external file will be used to make the application go fullscreen across devices. This is the config.lua file. This file shows the original screen size and the method used to scale that content in case the app is run in a different screen resolution.
application =
{
    content =
    {
        width = 320,
        height = 480,
        scale = "letterbox"
    },
}
6. Main.lua
Let's write the application!
Open your prefered Lua editor (any Text Editor will work, but you won't have syntax highlighting) and prepare to write your awesome app. Remember to save the file as main.lua in your project folder.
7. Code Structure
We'll structure our code as if it were a Class. If you know ActionScript or Java, you should find the structure familiar.
Necesary Classes

Variables and Constants

Declare Functions

    contructor (Main function)

    class methods (other functions)

call Main function
8. Hide Status Bar
display.setStatusBar(display.HiddenStatusBar)
This code hides the status bar. The status bar is the bar on top of the device screen that shows the time, signal, and other indicators.
9. Import Physics
We'll use the Physics library to handle collisions. Use the following code to import it.
-- Physics

local physics = require('physics')
physics.start()
10. Background

A simple graphic is used as the background for the application interface. The following line of code stores it.
-- Graphics

-- [Background]

local bg = display.newImage('bg.png')
11. Title View
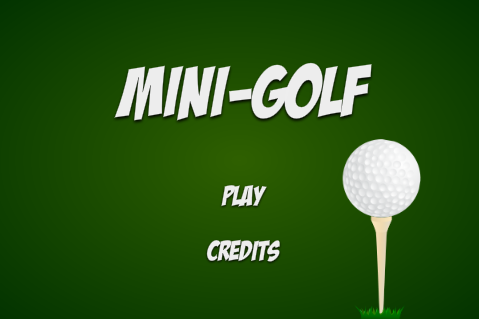
This is the Title View, it will be the first interactive screen to appear in our game. These variables store its components.
-- [Title View]

local title
local playBtn
local creditsBtn
local titleView
12. Credits View

This view will show the credits and copyright of the game. The following variable will be used to store it.
-- [CreditsView]

local creditsView
13. Game Background
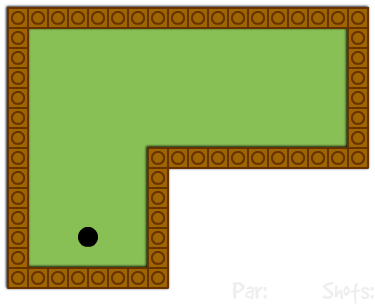
This is the level background. It also adds the information textfields.
-- Game Background

local gameBg
14. Instructions Message
An instructions message will appear at the start of the game. It will be tweened out after two seconds.
-- Instructions

local ins
15. Ball

The ball graphic. The objective of the game is to put this item in the level hole.
-- Ball

local ball
16. Hole

Stores the hole physics for collision detection.
-- Hole

local hole
17. Alert

This is the alert that will be displayed when you win the game. It will complete the level and end the game.
-- Alert

local alertView
18. Sounds

We'll use sound effects to enhance the feeling of the game. You can find the sound used in this example at Soungle.com using the keyword golf.
-- Sounds

local ballHit = audio.loadSound('ball_hit.mp3')
local ballHole = audio.loadSound('ball_hole.mp3')
19. Variables
This are the variables we'll use. Read the comments in the code to know more about them.
-- Variables

local w1 -- Walls
local w2
local w3
local w4
local w5
local w6
local guide -- Transparent white line that indicates shooting direction and force
local scoring -- Stores the scoring alert image
20. Declare Functions
Declare all functions as local at the start.
-- Functions

local Main = {}
local startButtonListeners = {}
local showCredits = {}
local hideCredits = {}
local showGameView = {}
local gameListeners = {}
local shoot = {}
local onCollision = {}
local alert = {}
21. Constructor
Next we'll create the function that will initialize all the game logic.
function Main()
	-- code...
end
22. Add Title View
Now we're going to place the TitleView in the stage and call a function that will add the tap listeners to the buttons.
function Main()
	titleBg = display.newImage('titleBg.png', 114, 50)
	playBtn = display.newImage('playBtn.png', 218, 177)
	creditsBtn = display.newImage('creditsBtn.png', 203, 232)
	titleView = display.newGroup(titleBg, playBtn, creditsBtn)

	startButtonListeners('add')
end
Next Time...
In this part of the series you've learned the interface and the basic setup of the game. In the next and final part of the series, we'll handle the level creation, collision detection, and the final steps to take prior to release like app testing, creating a start screen, adding an icon and, finally, building the app. Stay tuned for the final part!

Comments