In this tutorial series, you'll learn how to create your own version of the classic Three Shell game. Read on!
Step 1: Application Overview
Using pre made graphics we will code an entertaining game using Lua and the Corona SDK API's.
The objective of the game is to follow the shell that has the hidden ball inside it, and then tap it after they have been shuffled. You will be able to configure the speed and movements performed by the shells.
Step 2: Target Device

The first thing we have to do is select the platform we want to run our app within, this way we'll be able to choose the size for the images we will use.
The iOS platform has these characteristics:
- iPad: 1024x768px, 132 ppi
- iPhone/iPod Touch: 320x480px, 163 ppi
- iPhone 4: 960x640px, 326 ppi
Because Android is an open platform, there are many different devices and resolutions. A few of the more common screen characteristics are:
- Google Nexus One: 480x800px, 254 ppi
- Motorola Droid X: 854x480px, 228 ppi
- HTC Evo: 480x800px, 217 ppi
In this tutorial we'll be focusing on the iOS platform with the graphic design, specifically developing for distribution to an iPhone/iPod touch, but the code presented here should apply to Android development with the Corona SDK as well.
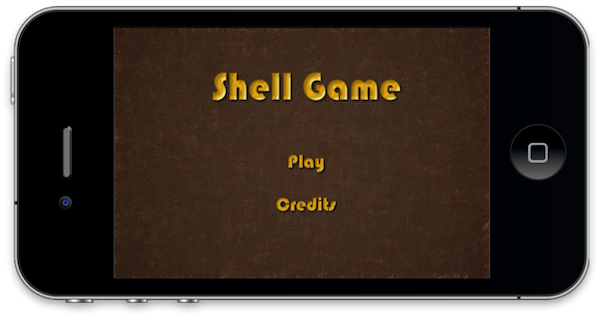
Step 3: Interface
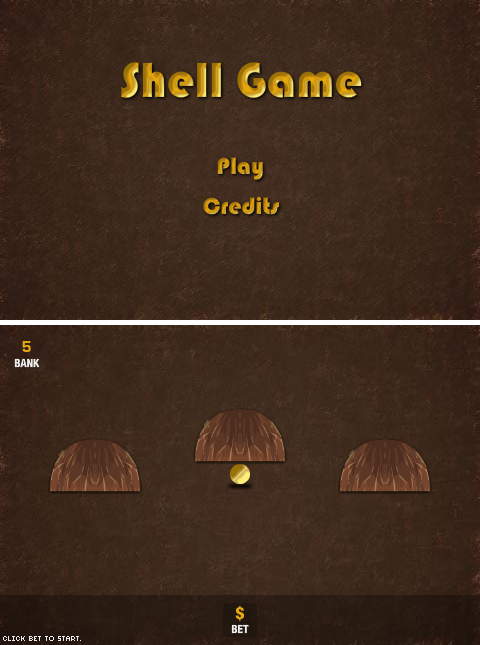
A simple and friendly interface will be used, this involves multiple shapes, buttons, bitmaps and more.
The interface graphic resources necessary for this tutorial can be found in the attached download.
Step 4: Export Graphics
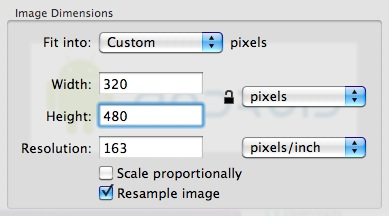
Depending on the device you have selected, you may need to export the graphics in the recommended ppi, you can do that in your favorite image editor.
I used the Adjust Size... function in the Preview app on Mac OS X.
Remember to give the images a descriptive name and save them in your project folder.
Step 5: App Configuration
An external file will be used to make the application go fullscreen across devices, the config.lua file. This file shows the original screen size and the method used to scale that content in case the app is run in a different screen resolution.
<hr/>
<h2><span>Step 6:</span> Main.lua</h2>
<p>Let's write the application!</p>
<p>Open your prefered Lua editor (any Text Editor will work, but you won't have syntax highlighting) and prepare to write your awesome app. Remember to save the file as <em>main.lua</em> in your project folder.</p>
<hr/>
<h2><span>Step 7:</span> Code Structure</h2>
<p>We'll structure our code as if it were a Class. If you know ActionScript or Java, you should find the structure familiar.</p>

[sourcecode]
Necesary Classes

Variables and Constants

Declare Functions

    contructor (Main function)

    class methods (other functions)

call Main function
Step 8: Hide Status Bar
display.setStatusBar(display.HiddenStatusBar)
This code hides the status bar. The status bar is the bar on top of the device screen that shows the time, signal, and other indicators.
Step 9: Background

A simple brown graphic is used as the background for the application interface, the next line of code stores it.
-- Graphics
-- [Background]

local bg = display.newImage('bg.png')
Step 10: Title View
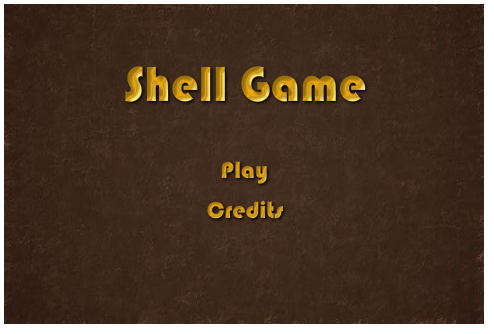
This is the Title View, it will be the first interactive screen to appear in our game, these variables store its components.
local title
local playBtn
local creditsBtn
local titleView
Step 11: Credits

This view will show the credits, year, and copyright of the game. The creditsView variable will be used to store it.
local creditsView
Step 12: Bank Credits

The bank credits are the equivalent of lives in this game.
local bank
local bankText
Step 13: Shells

These variables are used to hide the ball and distract the player from the correct answer:
local s1
local s2
local s3
local shells
Step 14: Ball

The objective of the game is to find the ball, which is stored in the following variable:
local ball
Step 15: Button Bar

This bar contains the button that will initiate the game and a message TextField used to give instructions.
-- [Button Bar]

local buttonBar

-- [Bet Button]

local betBtn

-- [Message Text]

local msg

-- [GameView]

local gameView -- A group to store all the gameview graphics
Step 16: Alert

An alert will be shown when all the bank credits are gone. This message will display the game over message and restart instructions.
local alert
Step 17: Code Review
Here is the full code written in this tutorial alongside with comments to help you identify each part:
-- Three Shell Game
-- Developed by Carlos Yanez

-- Hide Status Bar

display.setStatusBar(display.HiddenStatusBar)

-- Graphics

-- [Background]

local bg = display.newImage('bg.png')

-- [Title View]

local title
local playBtn
local creditsBtn
local titleView

-- [Credits]

local creditsView

-- [Alert]

local alert

-- [Bank Credits]

local bank
local bankText

-- [Shells]

local s1
local s2
local s3
local shells

-- [Ball]

local ball

-- [Button Bar]

local buttonBar

-- [Bet Button]

local betBtn

-- [Message Text]

local msg

-- [GameView]

local gameView
Next Time...
In this part of the series you've learned the interface and the basic setup of the game. Stay tuned for part two where we will handle the logic of the application, button behavior, and more. See you next time!

Comments