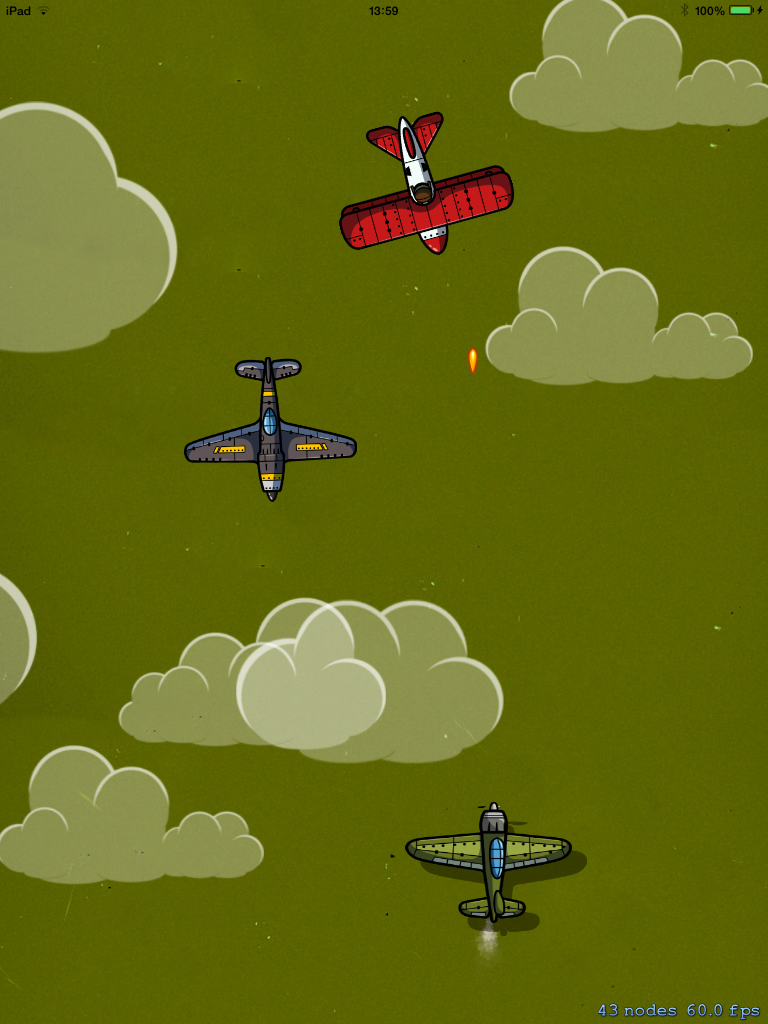
This tutorial will teach you how to use the Sprite Kit framework to create a simple Airplanes game. Along the way, you'll learn all the core concepts of Sprite Kit: animations, emitters, collision detection, and more!
Series Format
The Airplanes tutorial will be divided into three parts in order to completely cover each section. After reading the three part tutorial, the readers will be able to create an interesting 2D game using the new Sprite Kit framework provided with iOS 7.
- Build an Airplane Game with Sprite Kit - Project Setup
- Build an Airplane Game with Sprite Kit - Enemies & Emitters
- Build an Airplane Game with Sprite Kit - Explosions & Clouds
Each part will produce a practical result, and the sum of all parts will produce the final game. While each part of the series can be read independently, we recommend following along step-by-step for a complete understanding of the topic presented. The source code for the game is provided incrementally with each post.
Final Preview

Where We Left Off...
Welcome back to the third part of our airplanes game with Sprite Kit. In our last post, we focused on adding enemies and emitters to the game. In today's tutorial, you will program the collision detection, work with a texture atlas, and create some explosions in order to finish the game. Let's get started!
1. Adding Collision Detection
Intersection tests are frequently used in environments where more than one object exists. In Sprite Kit, you will use Collisions and Contacts to detect if a given object hit another object.
In this game, you will use collision detection. When a bullet makes contact with one enemy, both the bullet and the enemy will be removed from the screen.
To do this, you need to define the category mask values. There should be one category for each physics object. In MyScene.h, add the following code:
static const uint8_t bulletCategory = 1;
static const uint8_t enemyCategory = 2;
Now, while still within MyScene.h, add SKPhysicsContactDelegate as we did before with the UIAccelerometerDelegate.
@interface MyScene : SKScene<UIAccelerometerDelegate, SKPhysicsContactDelegate>
{
Before you can use physics, you need to initiate the physics settings. At the if (self = [super initWithSize:size]) conditional, instantiate the gravity with a 0 value (i.e. no gravity) and then the contact delegate:
self.physicsWorld.gravity = CGVectorMake(0, 0);
self.physicsWorld.contactDelegate = self;
The two bodies that need physics are the bullet and the enemies. Let's set several properties for each one. Let's add the code below within the -(void)EnemiesAndClouds method:
enemy.physicsBody = [SKPhysicsBody bodyWithRectangleOfSize:enemy.size];
enemy.physicsBody.dynamic = YES;
enemy.physicsBody.categoryBitMask = enemyCategory;
enemy.physicsBody.contactTestBitMask = bulletCategory;
enemy.physicsBody.collisionBitMask = 0;
The code above states that the contact area of the airplane will be a rectangle that has the size of the enemy sprite. The dynamic property indicates whether the physics body is moved by the physics simulation. Next, the categoryBitMask is where you set the category to the object, and the contactTestBitMask refers to which bodies the enemies will interact with (in this case with bullets).
Now let's define the physics for the bullet object. Within the -(void)touchesBegan:(NSSet *)touches withEvent:(UIEvent *)event method, the bullet code should be modified to add:
bullet.physicsBody = [SKPhysicsBody bodyWithRectangleOfSize:bullet.size];
bullet.physicsBody.dynamic = NO;
bullet.physicsBody.categoryBitMask = bulletCategory;
bullet.physicsBody.contactTestBitMask = enemyCategory;
bullet.physicsBody.collisionBitMask = 0;
So far, you have defined the properties for collisions. However, we must detect if a contact is made.
You need to use the method didBeginContact to know what objects have contact with other objects. So, the following code calculates the two bodies that have contacted and simultaneously removes them from the scene:
-(void)didBeginContact:(SKPhysicsContact *)contact{

    SKPhysicsBody *firstBody;
    SKPhysicsBody *secondBody;

    if (contact.bodyA.categoryBitMask < contact.bodyB.categoryBitMask)
    {
        firstBody = contact.bodyA;
        secondBody = contact.bodyB;
    }
    else
    {
        firstBody = contact.bodyB;
        secondBody = contact.bodyA;
    }

    if ((firstBody.categoryBitMask & bulletCategory) != 0)
    {

        SKNode *projectile = (contact.bodyA.categoryBitMask & bulletCategory) ? contact.bodyA.node : contact.bodyB.node;
        SKNode *enemy = (contact.bodyA.categoryBitMask & bulletCategory) ? contact.bodyB.node : contact.bodyA.node;
        [projectile runAction:[SKAction removeFromParent]];
        [enemy runAction:[SKAction removeFromParent]];

    }

}
Pretty simple, right? Now, build and run. If everything went right, then the enemy and bullet will disappear when they collide.
2. Incorporating a Texture Atlas
Our game is nearly complete, but needs some action and animation. The next two steps will add explosions and some background animations made from clouds.
So far, we haven't used Texture Atlas. Sprite Kit includes a texture atlas generator that has several interesting features. In Xcode 5, you can create a texture atlas with the following steps:
- Place all the sprites into a single folder. For our project, you can find all the images in the attached download within the "EXPLOSION" folder.
- Change the extension of the folder to *.atlas. In our case, rename EXPLOSION to EXPLOSION.atlas.
- Drag-and-drop the folder into the project. I added it to the Supporting Files folder within the Xcode navigator.
- Make sure that the Option "Enable Texture Altas Generation" is on. To check this, go to the Build Settings of your project.
That's it. Once again, the images for this part are available within the Resources folder of the attached download.
Now, you need to load the texture atlas into the project.
Within MyScene.h add:
@property NSMutableArray *explosionTextures;
At the end of the if (self = [super initWithSize:size]) conditional, add the following code snippet:
//load explosions
        SKTextureAtlas *explosionAtlas = [SKTextureAtlas atlasNamed:@"EXPLOSION"];
        NSArray *textureNames = [explosionAtlas textureNames];
        _explosionTextures = [NSMutableArray new];
        for (NSString *name in textureNames) {
            SKTexture *texture = [explosionAtlas textureNamed:name];
            [_explosionTextures addObject:texture];
        }
3. Adding Explosions
Once you have the explosions loaded, another step is needed to see them in action. You will now create an explosion that occurs when a bullet hits an enemy. At the end of the if conditional if ((firstBody.categoryBitMask & bulletCategory) != 0), add the following snippet:
        //add explosion
        SKSpriteNode *explosion = [SKSpriteNode spriteNodeWithTexture:[_explosionTextures objectAtIndex:0]];
        explosion.zPosition = 1;
        explosion.scale = 0.6;
        explosion.position = contact.bodyA.node.position;

        [self addChild:explosion];

        SKAction *explosionAction = [SKAction animateWithTextures:_explosionTextures timePerFrame:0.07];
        SKAction *remove = [SKAction removeFromParent];
        [explosion runAction:[SKAction sequence:@[explosionAction,remove]]];
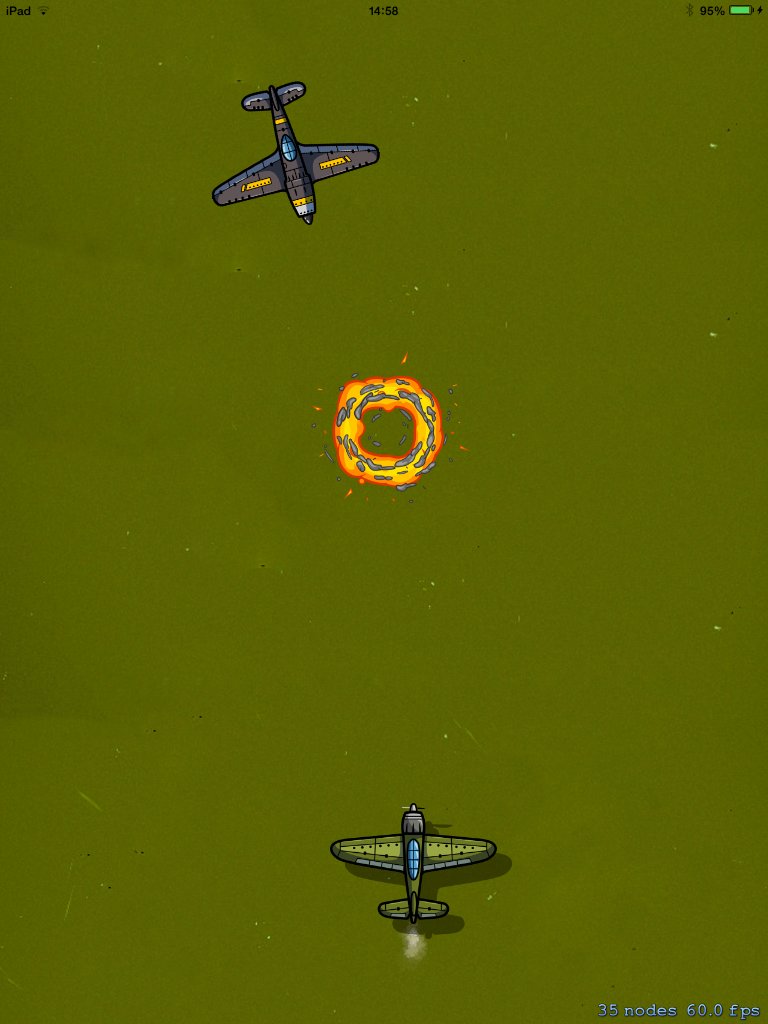
Build and run the project to test the collision and explosion animation. You should see something like the next figure:

4. Adding Clouds
We've almost completed the game! This is just the last touch. Now you need to create the clouds atlas, and then load the texture atlas to memory.
Before we write the code for this step, be sure to add the .atlas extension to the "Clouds" folder in the attached download and to drag it into your project.
Within the MyScene.h file add the following:
@property NSMutableArray *cloudsTextures;
Within the MyScene.m file, beneath the "load explosions" code, add the following:
        //load clouds
        SKTextureAtlas *cloudsAtlas = [SKTextureAtlas atlasNamed:@"Clouds"];
        NSArray *textureNamesClouds = [cloudsAtlas textureNames];
        _cloudsTextures = [NSMutableArray new];
        for (NSString *name in textureNamesClouds) {
            SKTexture *texture = [cloudsAtlas textureNamed:name];
            [_cloudsTextures addObject:texture];
        }
The last step is to randomly generate clouds and present them on screen with some movement. You need to add the following snippet at the end of the EnemiesAndClouds method:
 //random Clouds
    int randomClouds = [self getRandomNumberBetween:0 to:1];
    if(randomClouds == 1){

        int whichCloud = [self getRandomNumberBetween:0 to:3];
        SKSpriteNode *cloud = [SKSpriteNode spriteNodeWithTexture:[_cloudsTextures objectAtIndex:whichCloud]];
        int randomYAxix = [self getRandomNumberBetween:0 to:screenRect.size.height];
        cloud.position = CGPointMake(screenRect.size.height+cloud.size.height/2, randomYAxix);
        cloud.zPosition = 1;
        int randomTimeCloud = [self getRandomNumberBetween:9 to:19];

        SKAction *move =[SKAction moveTo:CGPointMake(0-cloud.size.height, randomYAxix) duration:randomTimeCloud];
        SKAction *remove = [SKAction removeFromParent];
        [cloud runAction:[SKAction sequence:@[move,remove]]];
        [self addChild:cloud];
    }
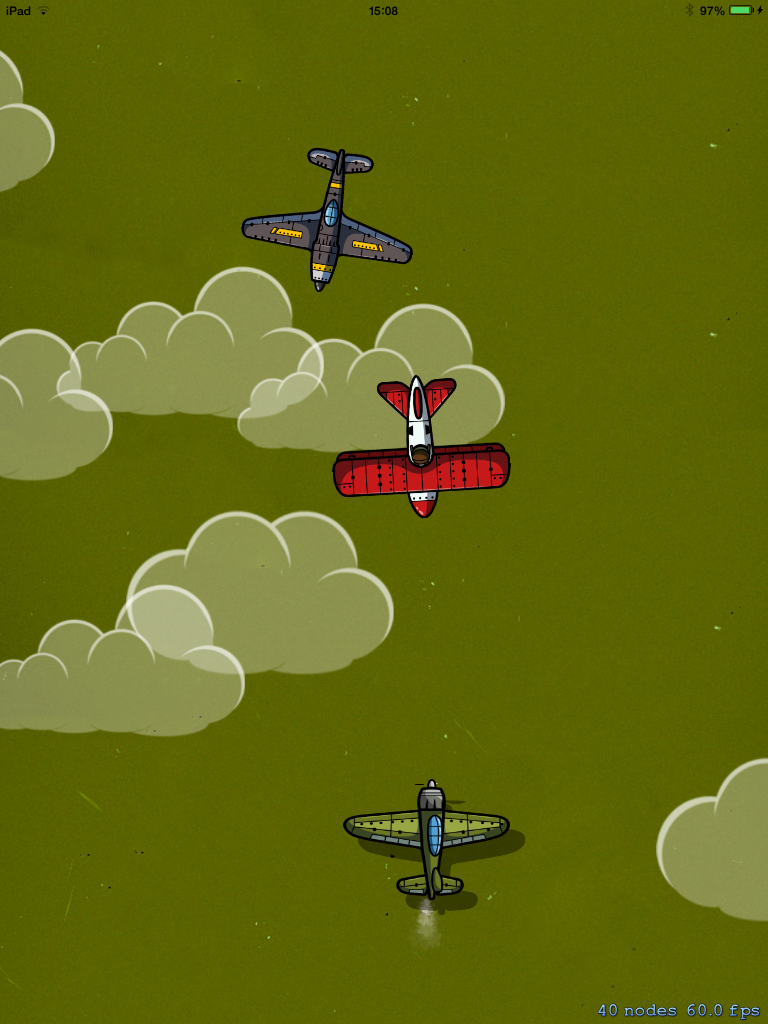
Build and run the project yet again. If everything goes well, you should see something like the next figure:

Conclusion
This concludes the third and final tutorial demonstrating how to create an airplanes game using the new Sprite Kit framework available with the iOS 7 SDK. If you've followed this series from start-to-finish, you should now have enough knowledge to create a simple Sprite Kit game using this dynamic new game engine. If you have any questions or comments, please feel free to leave them below!
Acknowledgements & Recommendations
We would like to thank Daniel Ferenčak for providing us with the game art used to produce this tutorial series.
In order to fully appreciate the tutorial series, we advise that you test our code by deploying it to a real device running iOS 7. You will need Xcode 5 and the latest iOS 7 SDK. If you don't already have these tools, you can download them from the Apple Developer Center. Once downloaded, install the software and you'll be ready to begin.


Comments