Android Things allows you to make amazing IoT devices with simple code, but one of the things that can make a device extraordinary is machine learning. While there are a few services available online that will allow you to upload data and will return results, being able to use machine learning locally and offline can be incredibly useful.
In this article, I'll share some of my experiences using the TensorFlow image classifier, starting with Google's Android Things TensorFlow example.
Why Use Machine Learning?
Machine learning can help solve problems that conventional apps cannot. To provide context, let's go through a simple example where machine learning can be used with an IoT device to improve daily life.
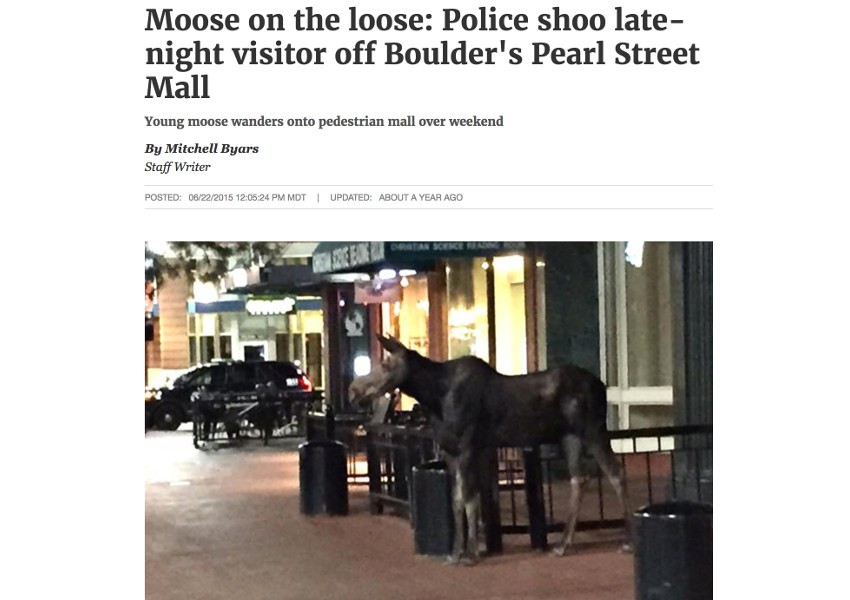
Here in Colorado, it’s not uncommon to see news articles about wildlife coming out from the mountains and walking around a downtown:
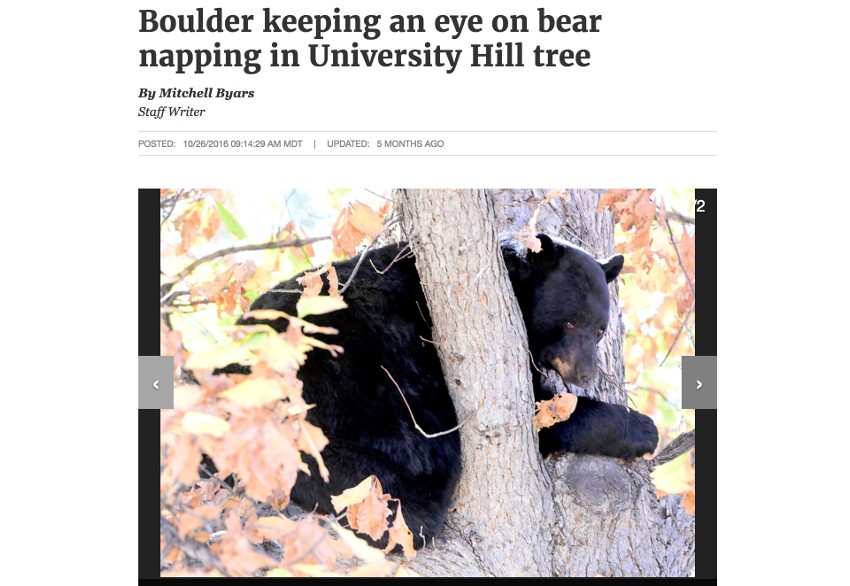
Or bears climbing trees at the local university:
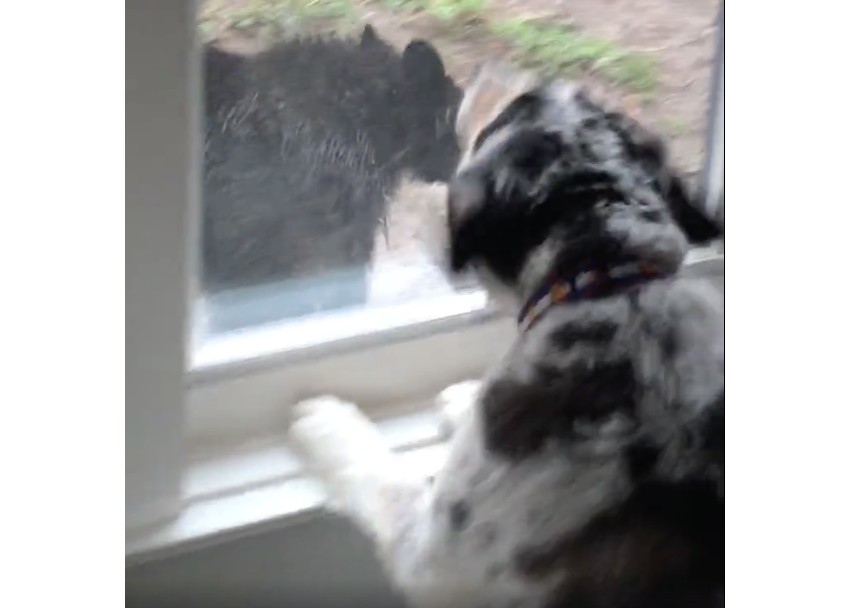
I've even had a friend post video of a bear outside of their home!
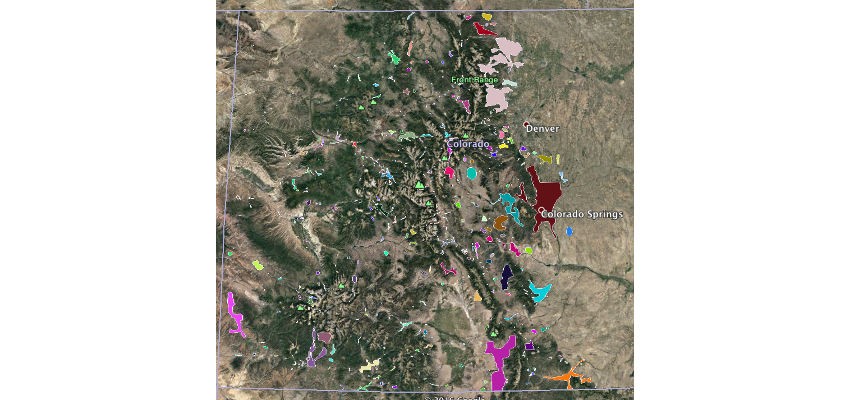
While these situations are usually taken care of without issue, there is public data available from the State of Colorado’s Division of Parks and Wildlife that details black bear-human conflicts, and various wildlife species activity/ranges. By looking at the black bear-human conflict data in Google Earth, we can find areas where bear encounters can be a risk for public safety.
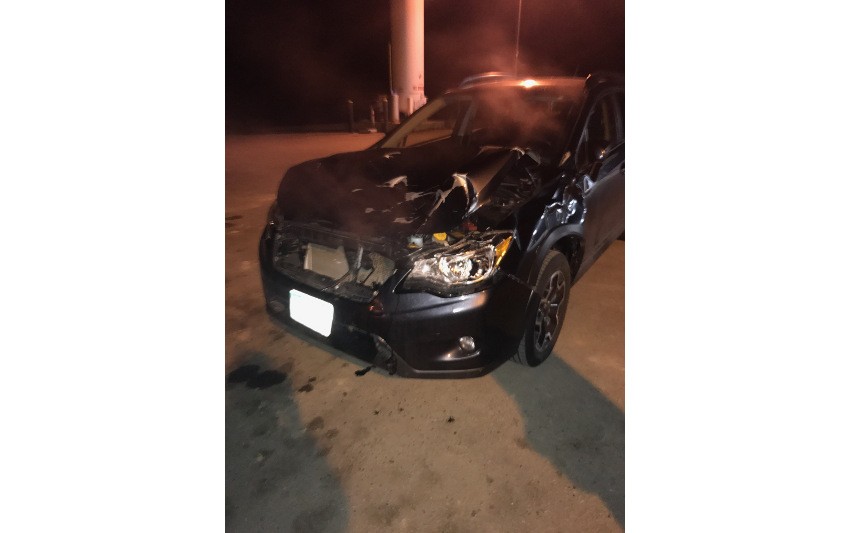
In addition, while I was reading up on wildlife data in the state, a friend posted an image of her car after having an accident involving an elk during her drive down to Durango, CO. According to the Colorado Department of Transportation (CDOT) Crash Book, just over 4,000 accidents involving wildlife occurred over one year in Colorado, with about 150 injuries and one fatality. In the entire United States, this number jumps to 725,000 to 1,500,000 accidents with about 200 human fatalities a year, according to the Defenders of Wildlife facts sheet.
So how can we use machine learning to help solve this problem? With image recognition, we can create a motion-triggered device that can take a picture with a Raspberry Pi and then analyze it to detect a potentially dangerous wild animal.
Using the Google sample, we can create an Android Things device that takes pictures with a Raspberry Pi and classifies the content of those pictures against over a thousand possible labels. But these labels don't exactly match what we'd need to use.
By training TensorFlow to use our own images and labels, we can create a device that can identify an elk, moose or black bear, and then perform an action if one is detected. This allows us to make a device that can potentially save lives, while still being simple to create.
Creating a Custom TensorFlow Image Classifier
After you have installed and run Google's TensorFlow for Android Things sample, it's time to start modifying it. The first thing you will want to do is ensure that TensorFlow is on your computer and working. This can be fairly complex, and the easiest way I have found to make it work properly through the entire process of generating trained files is to install and use Docker. This program will allow you to run virtual machines on your computer that are preconfigured for TensorFlow.
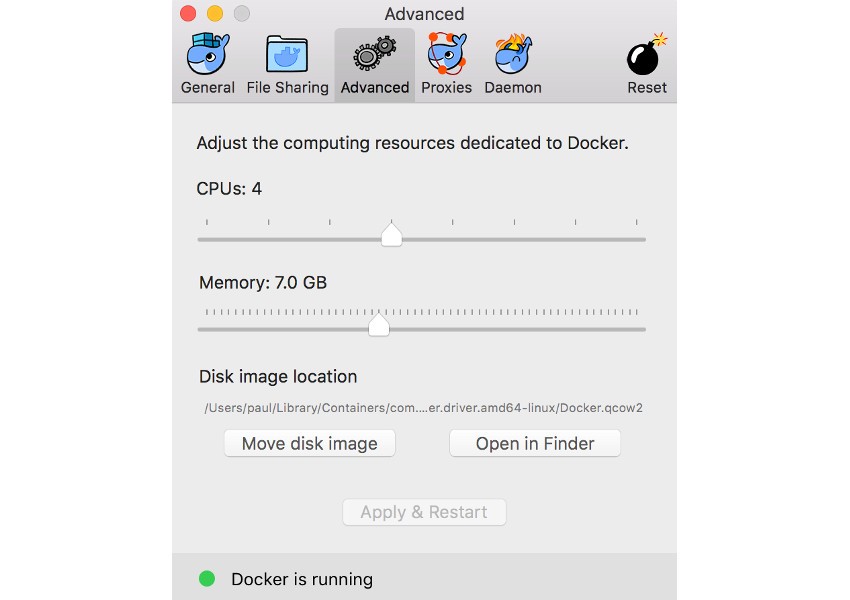
Once you have installed Docker and have it running on your computer, you should open its preferences and set memory usage for your virtual machines. I set mine to use 7 GB of memory, which may be more than you need, but I spent days attempting to get TensorFlow to properly create the required trained graphs without crashing before I realized that the virtual machine was running out of memory.
What we will be doing in this example is retraining the existing machine learning example to use our own data, as this is much faster than training a new dataset from scratch. For a more detailed explanation of what we're doing, you can take a look at the official TensorFlow documentation.
Once you've installed Docker and started it on your machine, you'll need to run it from a terminal and pull down an image. For this example I am running under macOS, so the commands may be a bit different for your platform.
docker run -it -v $HOME/tf_files:/tf_files gcr.io/tensorflow/tensorflow:latest-devel
cd /tensorflow
git pull
git checkout v1.0.1
When everything has finished setting up, you should have a prompt in your terminal similar to this:
root@1643721c503b:/tensorflow#
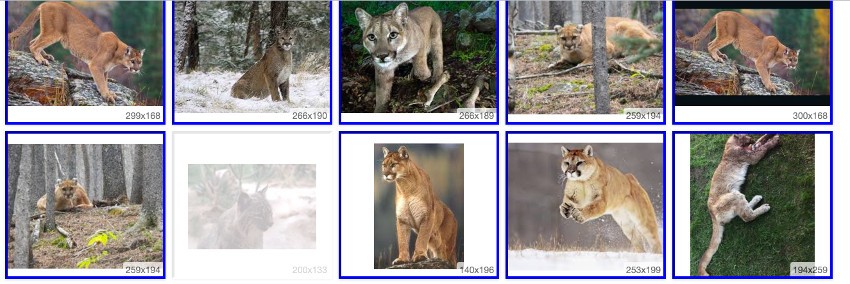
At this point you'll need a set of images to train TensorFlow with. I used the Fatkun Batch Download Image Chrome plugin to download returned images from a Google search en masse. When you have the plugin installed, you can search for whatever you want to classify and start to select images that you would want to save.
To make naming a little easier, you may also want to go into the More Options section and let the plugin rename the images while downloading them.

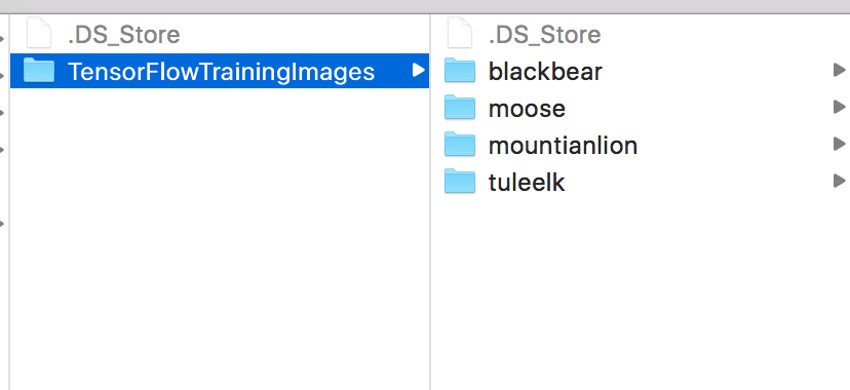
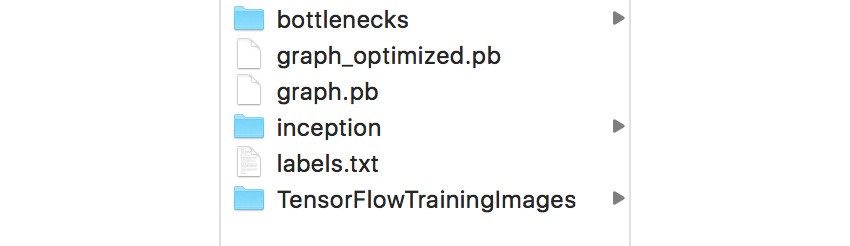
Next you will need to move the images that you are using into a folder in tf_files under your home directory, which is a folder we created while initializing our docker machine. For this example, my images directory is called TensorFlowTrainingImages. Each classifiable item should have its own folder within that directory, as shown below.
Once your directories are set up, you can start retraining with the following command from your Docker terminal:
python tensorflow/examples/image_retraining/retrain.py \
  --bottleneck_dir=/tf_files/bottlenecks \
  --how_many_training_steps 3000 \
  --model_dir=/tf_files/inception \
  --output_graph=/tf_files/graph.pb \
  --output_labels=/tf_files/labels.txt \
  --image_dir /tf_files/TensorFlowTrainingImages
The above command will generate bottlenecks, which are essentially data used by the final classification data pass, and a graph and labels file that are used for classification.
From this point forward, the operations we run with TensorFlow can take anywhere from a few minutes to over an hour, depending on the speed of your computer. This might be a good time to make coffee or go for a quick walk.
As the retraining command runs, you should see a lot of output in your terminal similar to this:
2017-04-12 18:21:28.495685: Step 130: Train accuracy = 95.0%
2017-04-12 18:21:28.495779: Step 130: Cross entropy = 0.250339
2017-04-12 18:21:28.748928: Step 130: Validation accuracy = 92.0% (N=100)
Once your bottlenecks have been generated, you will have a graph.pb file and a labels.txt file that represents your data. While these formats work great when running classification on your computer, they tend to not work when placed into an Android app. You will need to optimize them.
Start by running the following command. Accept all the default values.
./configure
Please specify the location of python. [Default is /usr/bin/python]:
Please specify optimization flags to use during compilation [Default is -march=native]:
Do you wish to use jemalloc as the malloc implementation? (Linux only) [Y/n]
jemalloc enabled on Linux
Do you wish to build TensorFlow with Google Cloud Platform support? [y/N]
No Google Cloud Platform support will be enabled for TensorFlow
Do you wish to build TensorFlow with Hadoop File System support? [y/N]
No Hadoop File System support will be enabled for TensorFlow
Do you wish to build TensorFlow with the XLA just-in-time compiler (experimental)? [y/N]
No XLA support will be enabled for TensorFlow
Found possible Python library paths:
  /usr/local/lib/python2.7/dist-packages
  /usr/lib/python2.7/dist-packages
Please input the desired Python library path to use.  Default is [/usr/local/lib/python2.7/dist-packages]
Using python library path: /usr/local/lib/python2.7/dist-packages
Do you wish to build TensorFlow with OpenCL support? [y/N]
No OpenCL support will be enabled for TensorFlow
Do you wish to build TensorFlow with CUDA support? [y/N]
No CUDA support will be enabled for TensorFlow
Configuration finished
Extracting Bazel installation...
..............
INFO: Starting clean (this may take a while). Consider using --expunge_async if the clean takes more than several minutes.
............
INFO: All external dependencies fetched successfully.
Once configuration has finished, run the following command to set up the optimization tool. This step took about an hour on my machine, so patience is key!
bazel build tensorflow/python/tools:optimize_for_inference
Once your optimization tool is built, you can use it to optimize your graph file.
bazel-bin/tensorflow/python/tools/optimize_for_inference \
  --input=/tf_files/graph.pb \
  --output=/tf_files/optimized_graph.pb \
  --input_names=Mul \
  --output_names=final_result
Now that your optimized graph is generated, you can find it with your labels in the tf_files folder in your home directory.
Adding Your Custom Classifier to the Android Things Sample
Congratulations! Generating the TensorFlow graph and labels is the hard part, and may take some finagling to make generate properly. Now that you have them, it's time to edit the Android Things sample project to use your own data. First, go into the app's build.gradle file and remove the following section, as well as its plugin declaration:
apply plugin: 'de.undercouch.download'

// Download model zip file into ../../assets directory
// unzip it to demo project's own ./assets directory
import de.undercouch.gradle.tasks.download.Download
task downloadFile(type: Download) {
    src 'https://storage.googleapis.com/download.tensorflow.org/models/inception5h.zip'
    dest projectDir.toString() + '/../../assets/inception.zip'
}
task unzip(type: Copy) {
    from zipTree(projectDir.toString() + '/../../assets/inception.zip')
    into file(projectDir.toString() + '/assets')
}
unzip.dependsOn downloadFile

project.afterEvaluate {
    if (!(new File(projectDir.toString() + '/assets')).exists()) {
        preBuild.dependsOn unzip
    }
}
The above code downloads Google's sample graph and labels and adds them to the assets directory. Since we've generated our own, we don't need to worry about those and can delete those lines.
Next, open the TensorFlowImageClassifier.java file. You should see a few declared variables towards the top of the file, with a long comment about what will need to be changed if you're using your own graphs that were generated from a code lab (which is close enough to what we did above).
// These are the settings for the original v1 Inception model. If you want to
// use a model that's been produced from the TensorFlow for Poets codelab,
// you'll need to set IMAGE_SIZE = 299, IMAGE_MEAN = 128, IMAGE_STD = 128,
// INPUT_NAME = "Mul:0", and OUTPUT_NAME = "final_result:0".
// You'll also need to update the MODEL_FILE and LABEL_FILE paths to point to
// the ones you produced.

public static final int INPUT_SIZE = 224;

// Note: the actual number of classes for Inception is 1001, but the output layer size is 1008.
private static final int NUM_CLASSES = 1008;
private static final int IMAGE_MEAN = 117;
private static final float IMAGE_STD = 1;
private static final String INPUT_NAME = "input:0";
private static final String OUTPUT_NAME = "output:0";

private static final String MODEL_FILE = "file:///android_asset/tensorflow_inception_graph.pb";
private static final String LABEL_FILE =
        "file:///android_asset/imagenet_comp_graph_label_strings.txt";
Change the last part of MODEL_FILE and LABEL_FILE to match the name of your optimized graph and label.
private static final String MODEL_FILE = "file:///android_asset/optimized_graph.pb";
private static final String LABEL_FILE =
        "file:///android_asset/labels.txt";
Back to the long comment in the original source, let's go ahead and edit the file to match Google's recommendations.
public static final int NUM_CLASSES = 4;
public static final int INPUT_SIZE = 299;
public static final int IMAGE_MEAN = 128;
public static final float IMAGE_STD = 128;
public static final String INPUT_NAME = "Mul";
public static final String OUTPUT_NAME = "final_result";
You'll notice that we're setting NUM_CLASSES to 4. This is the number of items available for our machine learning algorithm to classify. You can change this to match the number of classification categories you've trained with.
To wrap things up, move your optimized graph file and labels into the app/src/main/assets directory. Once that's done, you can install the sample app onto a Raspberry Pi with a camera module and give it a shot. Below is a picture I took with the device:

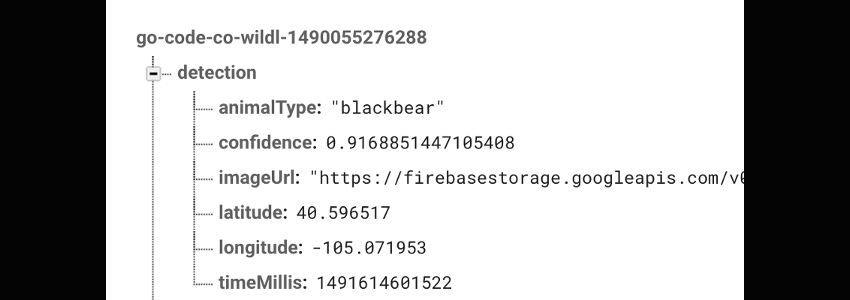
And the results that were sent to Firebase (with some slight modifications to the sample app).
Conclusion
In this tutorial you got a brief introduction to using TensorFlow for machine learning and integrating it into an Android Things app. As you've seen, machine learning is a powerful tool that can be used to solve various problems that a conventional app would struggle with. When combining machine learning with the Internet of Things, you can create some amazing and useful devices that interact with the world around them.
Using what you've learned from this article, and others in the Android Things series, you can build some really amazing new apps and devices!


Comments