Introduction
CloudKit is an Apple framework that was introduced alongside iOS 8 in 2014. It's purpose is to provide a simple solution for storing your application's data in the cloud using iCloud, making it available across devices. Some of the key features of CloudKit include:
- up to 1 PB of asset storage (images, audio files, etc.)
- up to 10 TB of database storage (strings, numbers, arrays, etc.)
- iCloud user authentication
- notifications
In this tutorial, I will teach you how to set up and interact with CloudKit in an iOS application by creating a sample application called CloudBug. CloudBug displays a list of bugs with a title and a description, which are stored in iCloud using CloudKit.
Requirements
This tutorial requires that you are running Xcode 6+ and have an iOS developer account. You will also need to download the starter project from GitHub.
1. Project Configuration
The first thing you need to do after opening the starter project is changing the target's bundle identifier and team. Select the CloudBug project in the Project Navigator and choose the CloudBug target from the list of targets.
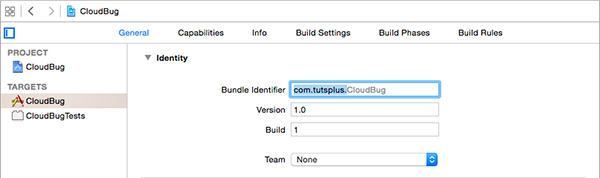
Change the bundle identifier to a unique string using reverse domain name service notation. Next, select the appropriate team for your developer account.
Open the Capabilities tab at the top and enable iCloud by toggling the switch on the right. This will reveal the iCloud settings for the CloudBug target.
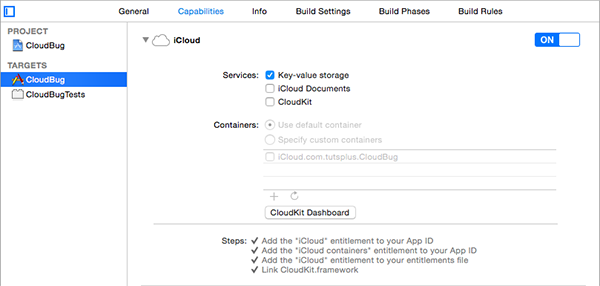
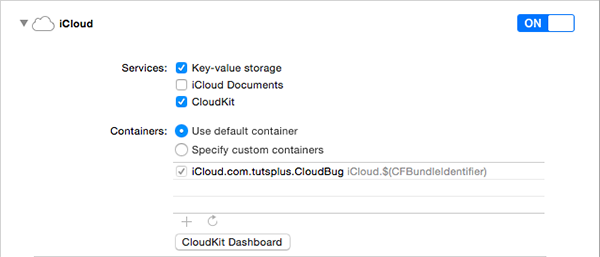
In the iCloud settings, check the checkbox labeled CloudKit to enable CloudKit for the CloudBug target.
Build and run the application on a physical device on in the iOS Simulator to see if everything is working without errors.
2. Creating the Bug Record Type
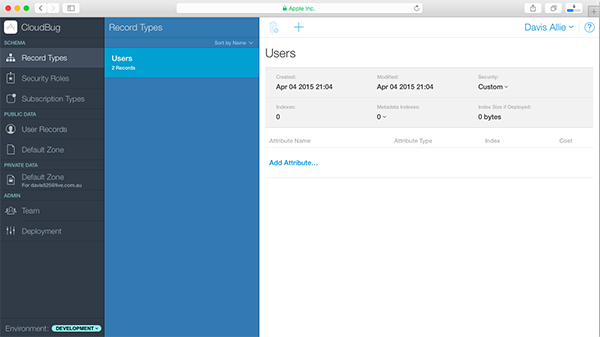
Click the CloudKit Dashboard button at the bottom of the iCloud settings. This will open the CloudKit dashboard in your browser. After logging in with your developer account, the CloudKit dashboard should appear. Before continuing, let me walk you through the items in the sidebar on the left.
Schema
- Record Types function similarly to a regular class definition. Records are created like class instances from these types.
- Security Roles provide a way to let different users access data in different ways. For example, a security role could be used to allow only admin level users read and write permission for data.
-
Subscription Types are used to manage the different subscriptions your app has if these have been implemented.
Public Data
- User Records work just like regular records except that they are specifically linked to the Users record type, which can not be deleted.
-
Default Zone is where all of your public records and other data will be stored.
Private Data
- Default Zone works just like the public default zone, except that it is only accessible to the user who is currently logged in.
Admin
- Team where you can view other developers collaborating on the project and edit their permissions.
-
Deployment where you can view what changes will be made to the schema items when your project enters a production environment.
In this tutorial, you are only going to be focusing on record types and the public default zone. The next step is to create your first record type.
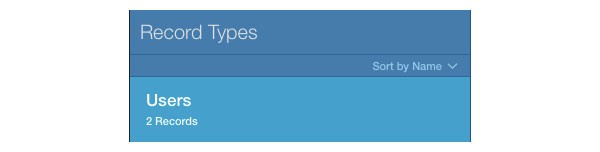
If you select Record Types from the sidebar on the left, you will notice that a type named Users already exists.
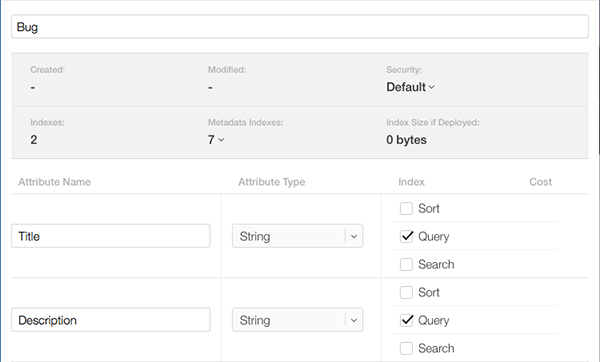
Let's create a new record type named Bug that will contain a title and description. Click the plus button at the top to create a new record type.

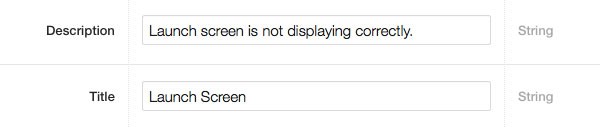
Change the new record type's name to Bug and add two attributes, Title and Description. Make both attributes of type String with only the Query index option checked. This is what the new record type should look like.
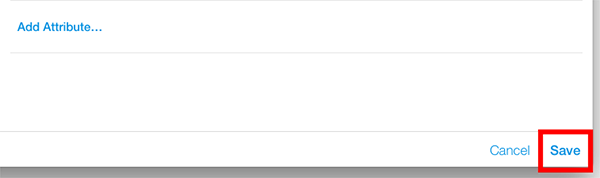
Click Save in the bottom right to create the Bug record type.
3. Creating Records in CloudKit Dashboard
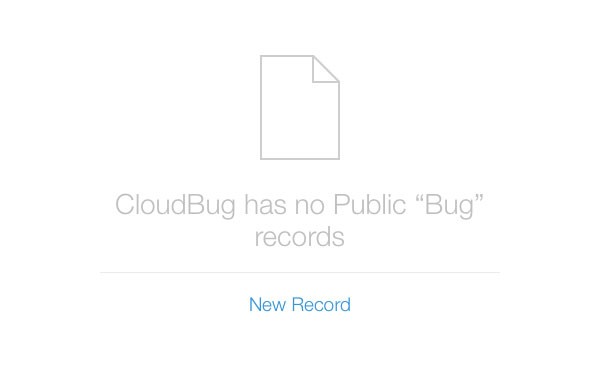
When you select Default Zone under Public Data, the Bug record type should already be selected. Create a new record either by clicking New Record or by clicking the plus button at the top.
Enter whatever you want for the record's Description and Title fields.
Click Save in the bottom right to create the record. You'll see that your record has been assigned a unique record ID, Created date, Modified date, Created By identifier, and Modified By identifier. No matter what record type a record is based on, it will always have these five attributes.
4. Loading Records
Head back to Xcode and open MasterViewController.swift. At the top, add an import statement to import the CloudKit framework.
import CloudKit
Update the viewDidLoad method by appending the following code snippet.
let container = CKContainer.defaultContainer()
let publicData = container.publicCloudDatabase

let query = CKQuery(recordType: "Bug", predicate: NSPredicate(format: "TRUEPREDICATE", argumentArray: nil))
publicData.performQuery(query, inZoneWithID: nil) { results, error in
    if error == nil { // There is no error
        for bug in results {
            let newBug = Bug()
            newBug.title = bug["Title"] as! String
            newBug.description = bug["Description"] as! String

            self.objects.append(newBug)

            dispatch_async(dispatch_get_main_queue(), { () -> Void in
                self.tableView.reloadData()
            })
        }
    }
    else {
        println(error)
    }
}
Let's see what's happening in this code snippet.
- First, we get a reference to the default container for your application. This container contains the record types and records we created in the CloudKit dashboard. You can create more containers with a unique identifier in the Target Inspector > Capabilities.
- Second, we obtain a reference to the container's public database. The format is the same for the private database.
- We then create a query for the Bug record type using an
NSPredicateinstance. This predicate can be used to filter the results of the query, for example, only fetching records created or modified after a certain date. For this example, we fetch every record of type Bug. - Next, we tell the database to perform the query, which triggers an asynchronous request. When the request is completed, the completion block is executed, handing us a
resultsarray and anerrorobject. - If the
errorobject isnil, we loop through the elements of theresultsarray and create a localBuginstance for each record. EachBuginstance is added to the table view's data source and the table view is reloaded on the main thread.
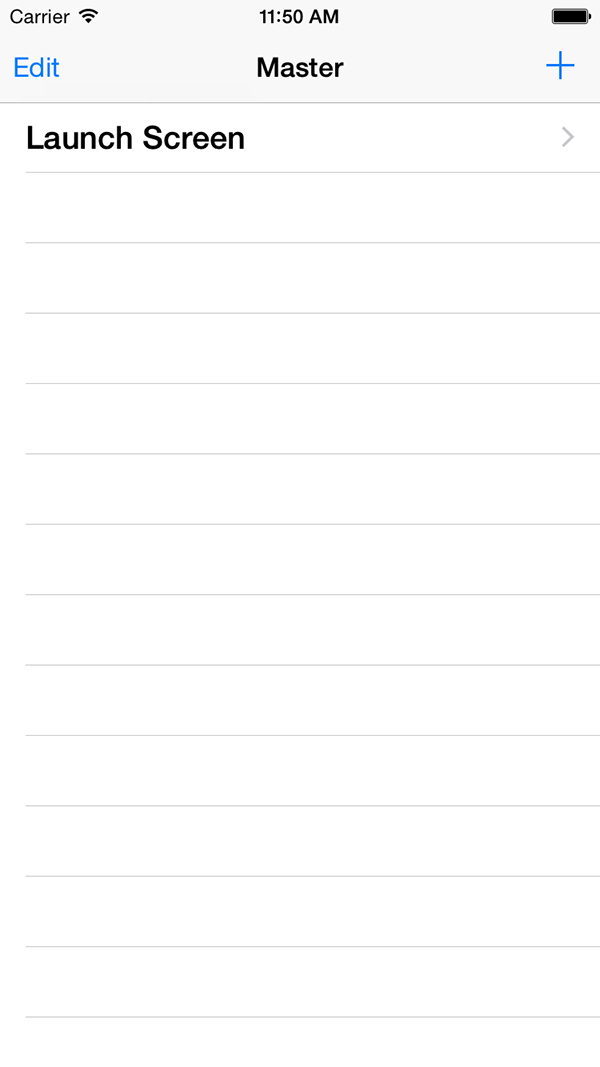
Build and run your application to see if the record we created in the CloudKit dashboard is loaded into CloudBug.
If you see an error in Xcode's console similar to the one below, then make sure that you are logged in to the correct iCloud account on your test device. This is also true if you're running CloudBug in the iOS Simulator.

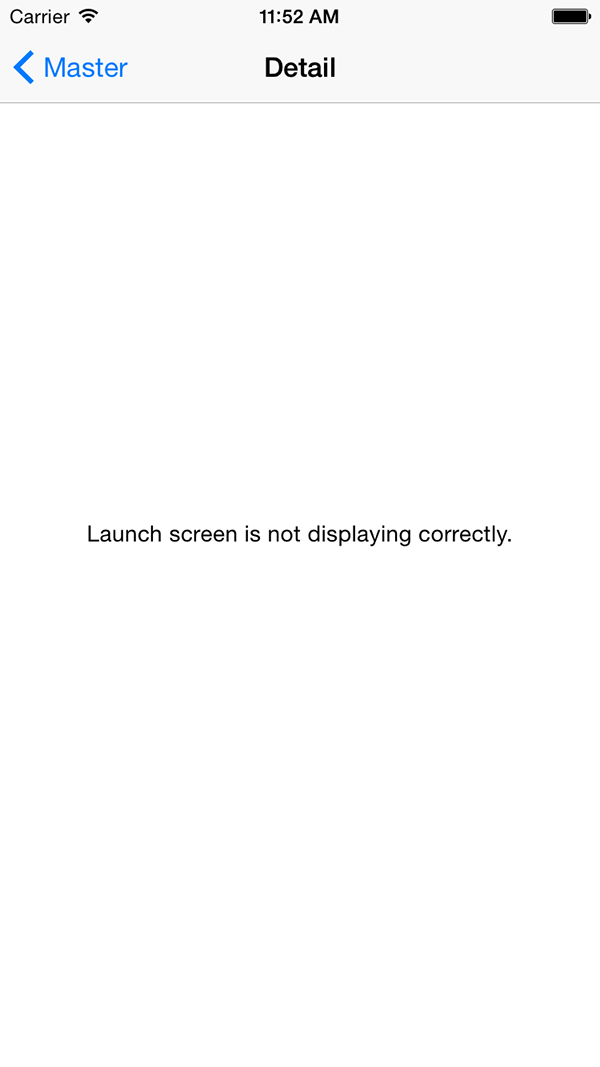
Tapping the bug in the table view should present the detail view controller with the bug's description.
5. Creating Records
While loading data from iCloud through CloudKit can be very useful, CloudBug also needs the ability to allow users to create new records. In MasterViewController.swift, add the following code snippet to the receiveBug(_:) method.
let container = CKContainer.defaultContainer()
let publicData = container.publicCloudDatabase

let record = CKRecord(recordType: "Bug")
record.setValue(bug.title, forKey: "Title")
record.setValue(bug.description, forKey: "Description")
publicData.saveRecord(record, completionHandler: { record, error in
    if error != nil {
        println(error)
    }
})
The first two lines should be familiar. We obtain a reference to the default container and the public database. We create a CKRecord instance, set values for the Title and Description keys, and save the record to iCloud.
Note that the record object returned from iCloud in the saveRecord(_:completionHandler:) completion handler includes the values you set manually as well as the five default attributes we saw earlier in the CloudKit dashboard.
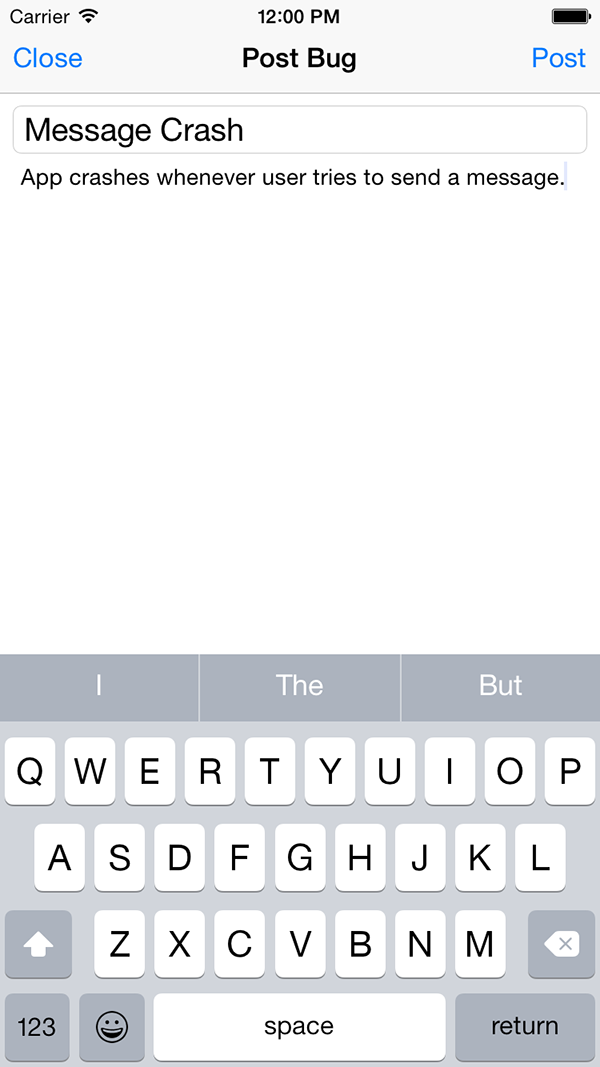
Build and run your application, and post a new bug by tapping the plus button in the top right, filling in the title and description fields. Tap Post and to save the new record in iCloud in the CloudKit database.
Revisit the CloudKit dashboard and navigate to the Default Zone under Public Data. If all went well, you should see two Bug records in the database.

6. Deleting Records
Let's finish this tutorial by enabling users to delete a bugs. Add the following code snippet to the tableView(_:commitEditingStyle:forRowAtIndexPath:) method just above objects.removeAtIndex(indexPath.row).
let container = CKContainer.defaultContainer()
let publicData = container.publicCloudDatabase

let bug = self.objects[indexPath.row]
let query = CKQuery(recordType: "Bug", predicate: NSPredicate(format: "(Title == %@) AND (Description == %@)", argumentArray: [bug.title, bug.description]))
publicData.performQuery(query, inZoneWithID: nil, completionHandler: { results, error in
    if error == nil {
        if results.count > 0 {
            let record: CKRecord! = results[0] as! CKRecord
            println(record)

            publicData.deleteRecordWithID(record.recordID, completionHandler: { recordID, error in
                if error != nil {
                    println(error)
                }
            })
        }
    }
    else {
        println(error)
    }
})
To delete a record, we create a query as we did earlier. To delete a record, however, we create a predicate to match the bug's title and description. The completion handler returns the results of the query which we use to delete corresponding record from the public database.
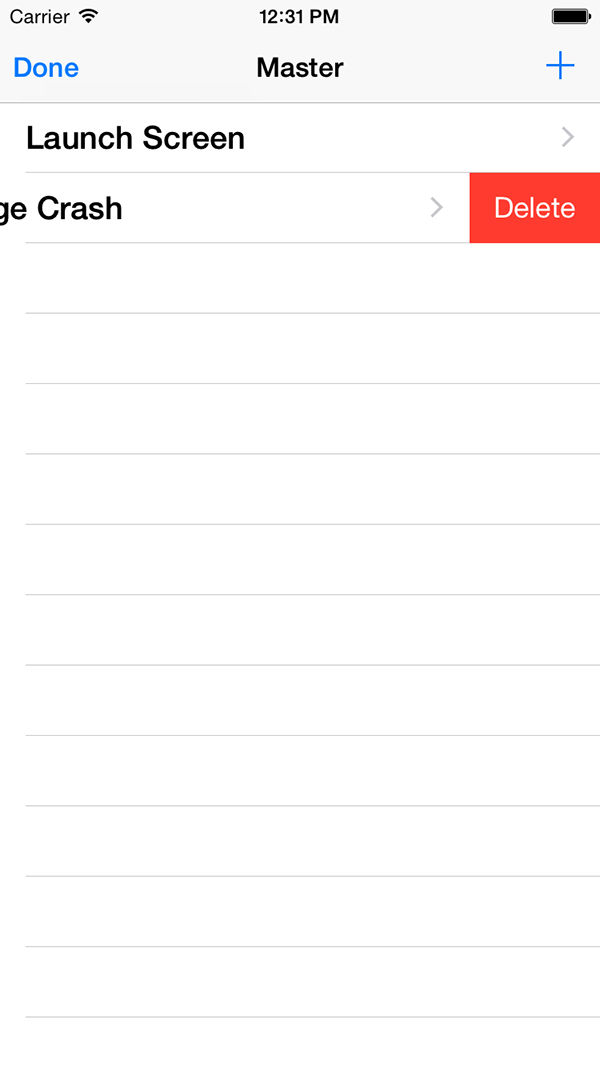
Build and run the application, and delete one of the bugs either by swiping to the right or by tapping the Edit button.
Revisit the CloudKit dashboard to see if the bug you selected has indeed been deleted.
Conclusion
In this tutorial, you created your first CloudKit application by linking your application to iCloud. You learned how to create record types and records in the CloudKit dashboard, and how to load them in your application. In addition to adding and deleting records in the CloudKit dashboard, we also covered adding and deleting records using the CloudKit framework. If you have any comments or questions, leave them in the comments below.

Comments