Acuity Scheduling's Developer Solutions
Today, I'll be introducing you to Acuity Scheduling's developer platform for embedded booking and, separately, its API for customized integration. If you haven't seen it, I encourage you to read our basic introduction to Acuity Scheduling's calendar booking and appointment service from episode one.
Embedding provides a lightweight way to add scheduling and appointment booking to any website. With Acuity's Appoint Scheduling API, you can integrate all of its sophisticated calendar features into your own website, service, or mobile application.
Acuity Scheduling prides itself on being the most developer-friendly scheduling solution available. But it's also an extremely effective web service for all of your scheduling, booking and calendar appointment making needs.
If you'd like to learn more about its consumer-facing scheduling capabilities, watch the scheduling video below:
As space is limited here, I encourage you to sign up at Acuity and explore more on your own. But now, let's dive into Acuity's developer portal.
Before I get started, I want to encourage you to reach out with any questions you may have about Acuity Scheduling and our tutorial series. Please post them in the comments below or feel free to reach out to me @lookahead_io on Twitter.
Embedding Acuity's Calendar Booking
You don't need to be a programmer or use Acuity's API to integrate its scheduling and calendar booking features into your website. There are several simple approaches.
Linking to Acuity's Scheduling Features

It's quite simple to just link from your website or application to Acuity's website. This takes customers to your configured scheduling interface at the Acuity website. Here's one of the examples from the first episode:

Acuity's developer embedding documentation also provides instructions to deliver common fields from your application to the Acuity Scheduler, saving your users time.
Here's a sample URL passing values to Acuity from your website:
https://example.acuityscheduling.com/schedule.php?
firstName=First&lastName=Last&phone=Phone&[email protected]
And you can send a variety of fields:
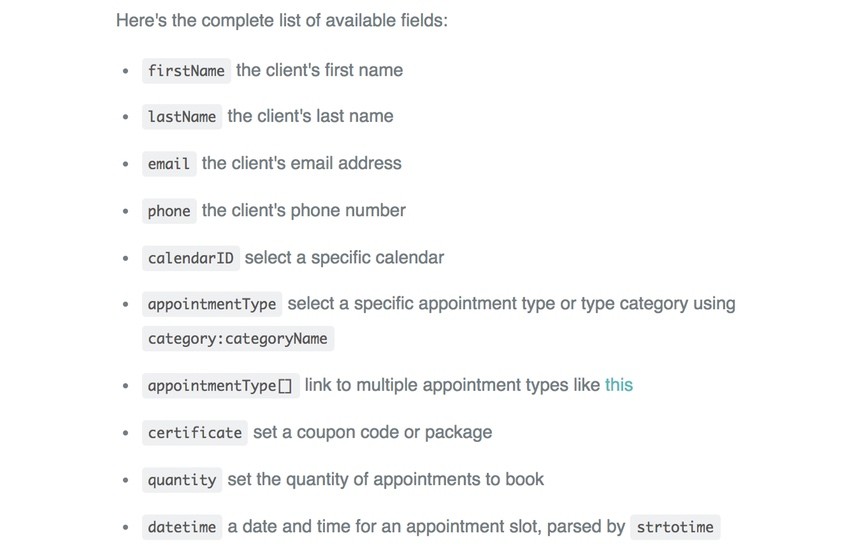
If you've set up custom intake form fields at Acuity, you can also transfer these via linking:
https://example.acuityscheduling.com/schedule.php?
field:1=Wonderful
They even support sending pre-configuration of dropdown fields and checkboxes.
Embedding the Scheduler in Your Website
You can also place an iframe from your Acuity account into your own website.
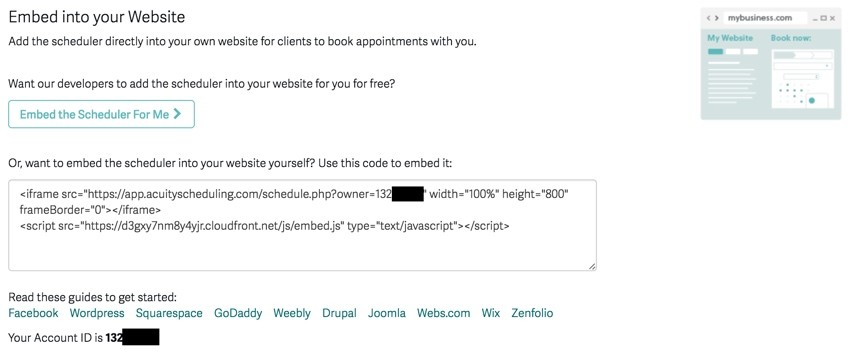
The code for my account looks like this:
<iframe src="https://app.acuityscheduling.com/schedule.php?owner=132xxxx" width="100%" height="800" frameBorder="0"></iframe>
<script src="https://d3gxy7nm8y4yjr.cloudfront.net/js/embed.js" type="text/javascript"></script>
They offer guides for common platforms:
And their developers will also do the embedding for you, if you ask. They have a simple web form for this (it does require you share your login information, which of course you can change after the integration):

Embedding in Apps
You can also easily embed Acuity's scheduler in iOS and Android apps. Acuity's HTML embed code can also be used to embed the scheduler into native apps using a WKWebView on iOS or WebView on Android.
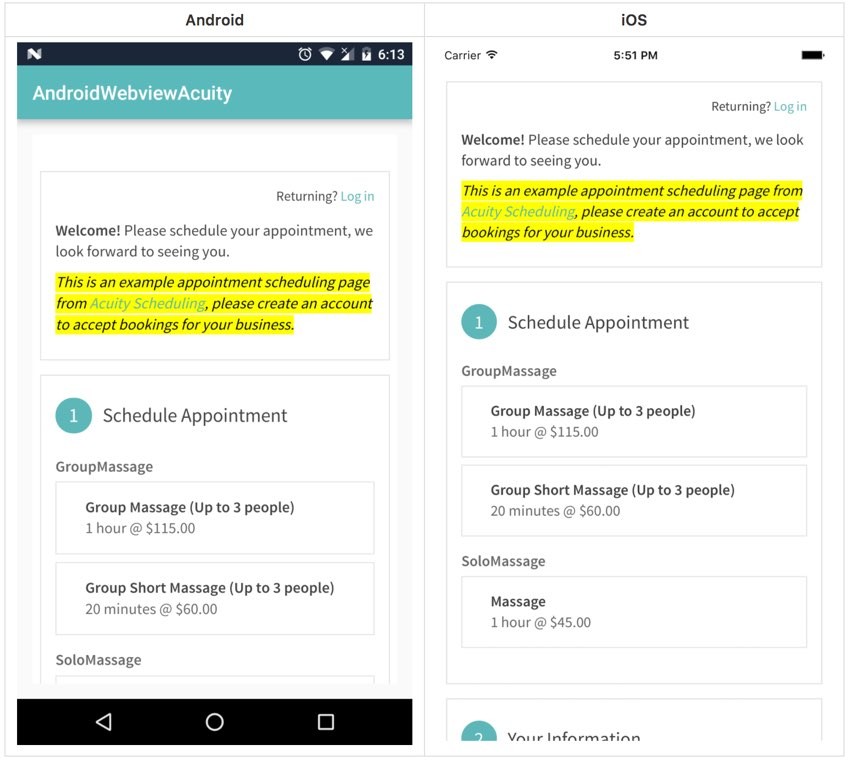
Acuity provides a GitHub-hosted sample code for iOS and Android embedding. Basically, you just download the repository and open iOSWebviewAcuity with Xcode, or AndroidWebviewAcuity with Android Studio.
Now, let's talk about Acuity's developer-friendly scheduling and booking API.
The Acuity Scheduling Developer API

We've covered the client linking and embedding of Acuity's Developer Platform, so let's move on to the Scheduling API aspect.
If you'd like to expand your own website, service or mobile application's capabilities with Acuity's scheduling, calendar and booking capabilities, you can use the API to grow the set of features and services that you offer. And you can customize the scheduling user interface as you choose.
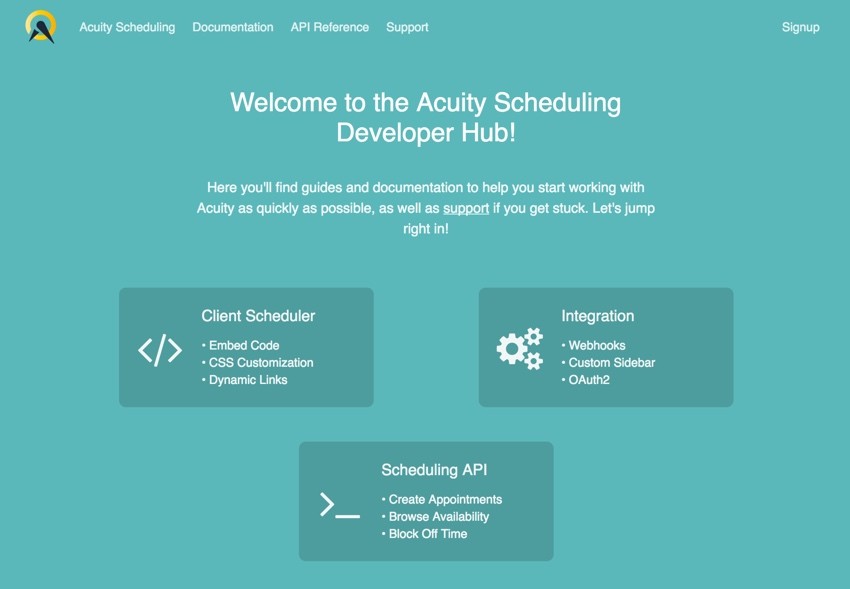
Acuity's Developer Documentation
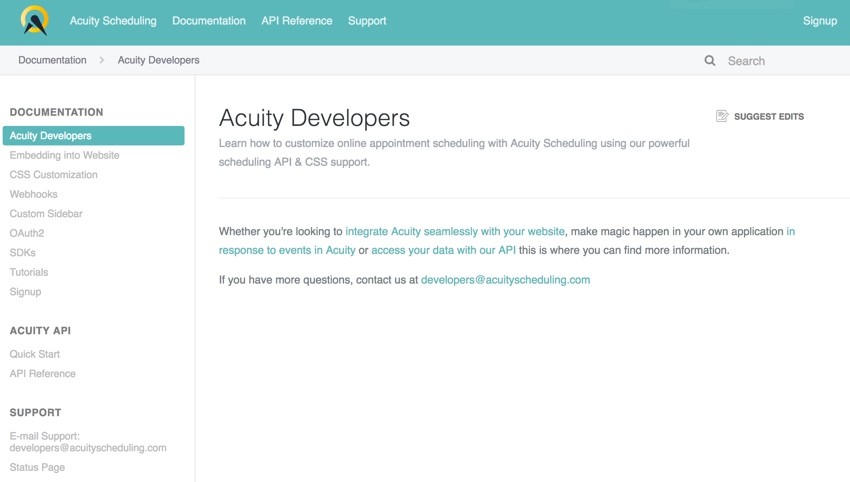
I recommend beginning with the Scheduling API documentation (shown above) and its tutorials that describe how to use its API for common scenarios.
Acuity Scheduling API Resources
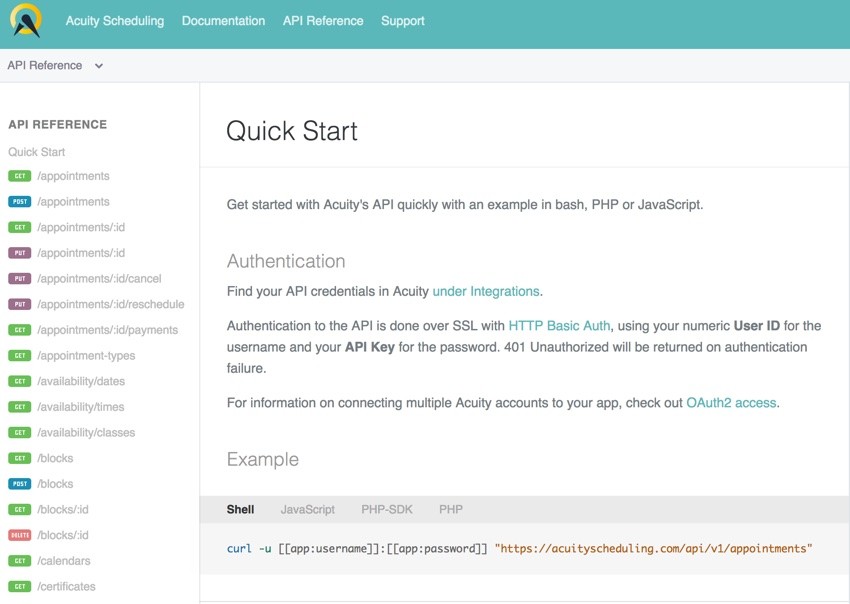
There's also an excellent API Quickstart:
And there's a detailed functional API reference guide:
Acuity provides language-specific development kits for PHP and Node.js.
Each contains a common interface for the API and utility methods as well as plenty of examples.
Scheduling an Appointment With the Acuity Scheduling API
Let's walk through the basics of scheduling an appointment using the PHP SDK.
Getting Started
To get started, you'll need your Acuity User ID and API Key. If you don't have an account, you can sign up with a free trial.
Setting up Acuity's PHP SDK is super simple using composer. Just run the composer require command:
$ composer require acuityscheduling/acuityscheduling
Creating an Instance
Using your API keys, you'll instantiate the library:
<?php

require('./vendor/autoload.php');

$acuity = new AcuityScheduling(array(
  'userId' => YOUR_USER_ID,
  'apiKey' => 'YOUR_API_KEY'
));
I'll skip over fetching availability today, but you can find more detail on this example in their tutorial, How to Schedule an Appointment with the Acuity Scheduling API.
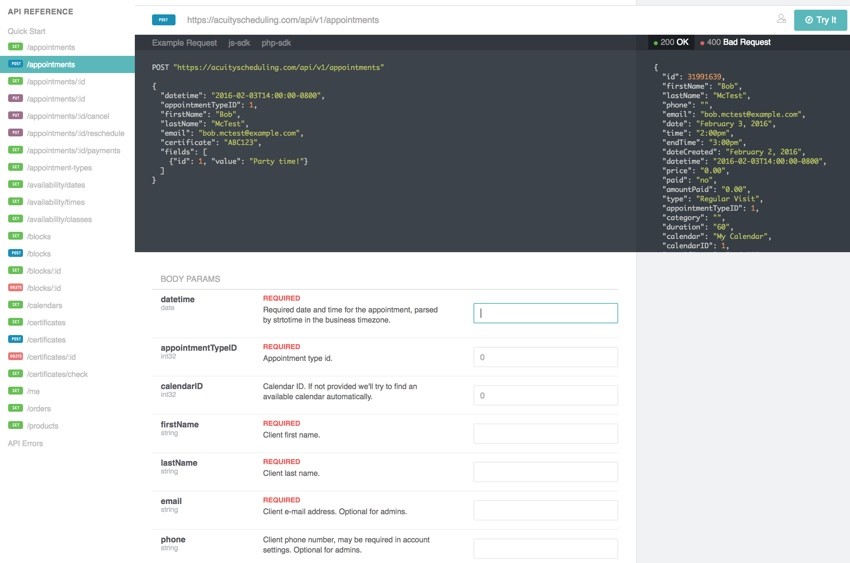
Scheduling an Appointment
Once you have an available time slot, you'll be able to schedule an appointment. Creating an appointment has a few required client fields by default: firstName, lastName, and email. You'll also need the appointmentTypeID and the available datetime time slot.
If your appointment type has any custom intake forms, you can set those as well using the fields attribute.
Here's how you make the appointment using the library:
$appointment = $acuity->request('/appointments', array(
  'method' => 'POST',
  'data' => array(
    'firstName' => 'Sam',
    'lastName' => 'Greenbeans',
    'email' => '[email protected]',
    'datetime' => '2016-04-26T19:00:00-0700',
    'appointmentTypeID' => 5,
    'fields' => array(
      array(
        'id' => 4,  // Field ID of my intake form address question
        'value' => '1600 Pennsylvania Avenue'
      )
    )
  )
));
Once a new appointment is in the system, Acuity's back-end services manage the important stuff. Admins can view the appointment on the back end, and they send out automatic confirmation emails and perform any integrations such as Acuity's two-way calendar syncing.
In Closing
We've learned a lot about Acuity Scheduling's capabilities in this series to date. I continue to be personally impressed at their breadth and depth.
So far, we've reviewed the front-end consumer-facing scheduling service, and today we covered embedded scheduling, mobile integration, and an introduction to Acuity's developer-friendly API. We've even shown you how to schedule your first appointment.
As we wrap up this episode, it's worth noting that once a new appointment is in the system, Acuity's backend services manage the important stuff. Admin's can view the appointment on the backend and they send out automatic confirmation e-mails and perform any integrations such as Acuity's 2-way calendar syncing.
In the next episode, I'll describe some remaining aspects of the Acuity scheduling and booking platform. We'll touch on Acuity's native OAuth integration, which is helpful if you have a team of people registered with Acuity using your custom application for calendar operations. And we'll look at how you can get data back out of Acuity, either for custom reporting, adding it to your own database, or a third-party program such as creating Salesforce events for appointments created in Acuity. We'll also look at webhook notifications to know when scheduling activity has taken place, as well as reporting APIs.
Please keep letting us know which areas you'd like to see covered in more detail in upcoming episodes. Post your ideas and questions in the comments below or reach me on Twitter @lookahead_io.
If you liked this tutorial, please be sure to check out my Envato Tuts+ instructor page to see some of my other tutorials and series.

Comments