In this series, we're taking a complete look at the WordPress Theme Customizer.
Specifically, we're understanding exactly what it is as well as why it benefits us, how to integrate it into our theme, how to work with it in the context of other themes, and how to introduce our own sections, settings, and options into the Customizer.
As mentioned in the last article, we've taken a look at the Theme Customizer in previous articles, but we wanted to revisit it since it's been out for some time. Additionally, we wanted to take another look at how it can be used to help close to the gap between what the user expects to happen versus what actually happens. After all, it is our jobs to try to make the user's experience as pleasant as possible.
So in this article, we're going to continue our discussion on working with the Theme Customizer by learning how to integrate it into a theme that doesn't already have it available.
Wait, We're Integrating Theme Customizer? Why?
I know, I know - most themes that are currently on the market today - at least those that have been updated to WordPress 3.4 onwards - already include the theme customizer, and it's easy to take advantage of what's already present.
In fact, I'd venture to say that a portion of those of you reading this article are used to including the Theme Customizer into your work by doing a bit of copying and pasting to make it happen and then moving on with whatever tasks you have to implement in your theme.
I say that not as a dig, nor in a sense of pessimism, but in recognizing that this is the way that a lot of developers work: They find a solution that someone else has already created, implement it into their work, then continue moving forward.
There's nothing inherently wrong with this - in fact, it's part of what makes open source so great - but we're not here to discuss "how to copy and paste the Theme Customizer." We're hear to learn how to integrate it.
So in the following steps, we're going to take a look at a theme that does not natively include the Theme Customizer, and then look - line by line - at what's required to get it in place so that we can begin using it in our themes.
The goal is that by the end of this article you not only know how to integrate the Theme Customizer, but you know what each bit of code does.
First, Let's Make a Theme
For the purposes of this article, we're going to be working with a very basic WordPress theme. The source will be provided in full at the end of the article but, until then, let's go ahead and work on creating a theme step-by-step.
Note that everything that we're going to do is part of the Theme Development practices as outlined in the respective WordPress Codex article.
First, in your local installation of WordPress, create a directory in wp-content/themes called theme-customizer-example. From here, we'll begin adding our source code.
The Stylesheet
First, we need to create a stylesheet so that WordPress recognizes the theme within the 'Appearance' dashboard menu. To do this, we need to provide style.css with a comment block at the top of the file.
For example, here's what I am using:
/*
Theme Name: Theme Customizer Example
Theme URI: http://github.com/tommcfarlin/theme-customizer-example/
Version: 0.1.0
Description: A basic theme used to demonstrate how to integrate the Theme Customizer into a WordPress Theme.
Author: Tom McFarlin
Author URI: http://tommcfarlin.com
License: GPLv2
License URI: http://www.gnu.org/licenses/gpl-2.0.html
*/
Next, let's add a few more template files to flesh out the theme.
The Header Template
Next, we want to define a header template. This can be done using header.php and adding the following source code:
<!DOCTYPE html>
<html <?php language_attributes(); ?>>
	<head>
		<meta charset="UTF-8">
		<link rel="profile" href="http://gmpg.org/xfn/11" />
		<link rel="pingback" href="<?php bloginfo( 'pingback_url' ); ?>" />
		<title><?php wp_title( '' ); ?></title>
		<?php wp_head(); ?>
	</head>
	<body <?php body_class(); ?>>

		<div id="header">
			<h1>
				<?php bloginfo( 'title' ); ?>
			</h1>
			<h2>
				<?php bloginfo( 'description' ); ?>
			</h2>
		</div><!-- /#header -->
Nothing too complicated, right? Simply put, we've defined our head element, the opening body tag, then a simple div element that's used to represent the header.
We've then included an h1 to display the title of the blog as well as an h2 to display the description of the blog.
The Index Template
For all intents and purposes in this series, we're going to be working with a single template for displaying content. Specifically, everything that we display will be done so using index.php.
This will be a simple template that displays the header, the footer, and a single line of text:
<?php get_header(); ?>

	<div id="content">
		This is the content.
	</div><!-- /#content -->

<?php get_footer(); ?>
Arguably, this is the simplest template of them all, isn't it?
The Footer Template
We're almost done - the next thing that we need to do is introduce a basic footer template that will serve as a place to, say, display the copyright date of the blog.
To that end, we'll implement the following code:
<div id="footer"> © <?php echo date( 'Y' ); ?> <?php bloginfo( 'title' ); ?> All Rights Reserved </div><!-- /#footer --> </body> </html>
Notice that the output of this template reads "Copyright 2013 [Name of the Blog] All Rights Reserved." Of course, if you're reading the article in another year then the code will be different as well.
Don't Forget the Screenshot!
Note that if you want your theme to have a nice - or even funny - image in the dashboard, then you can provide a screenshot.png file in the root of the theme directory.
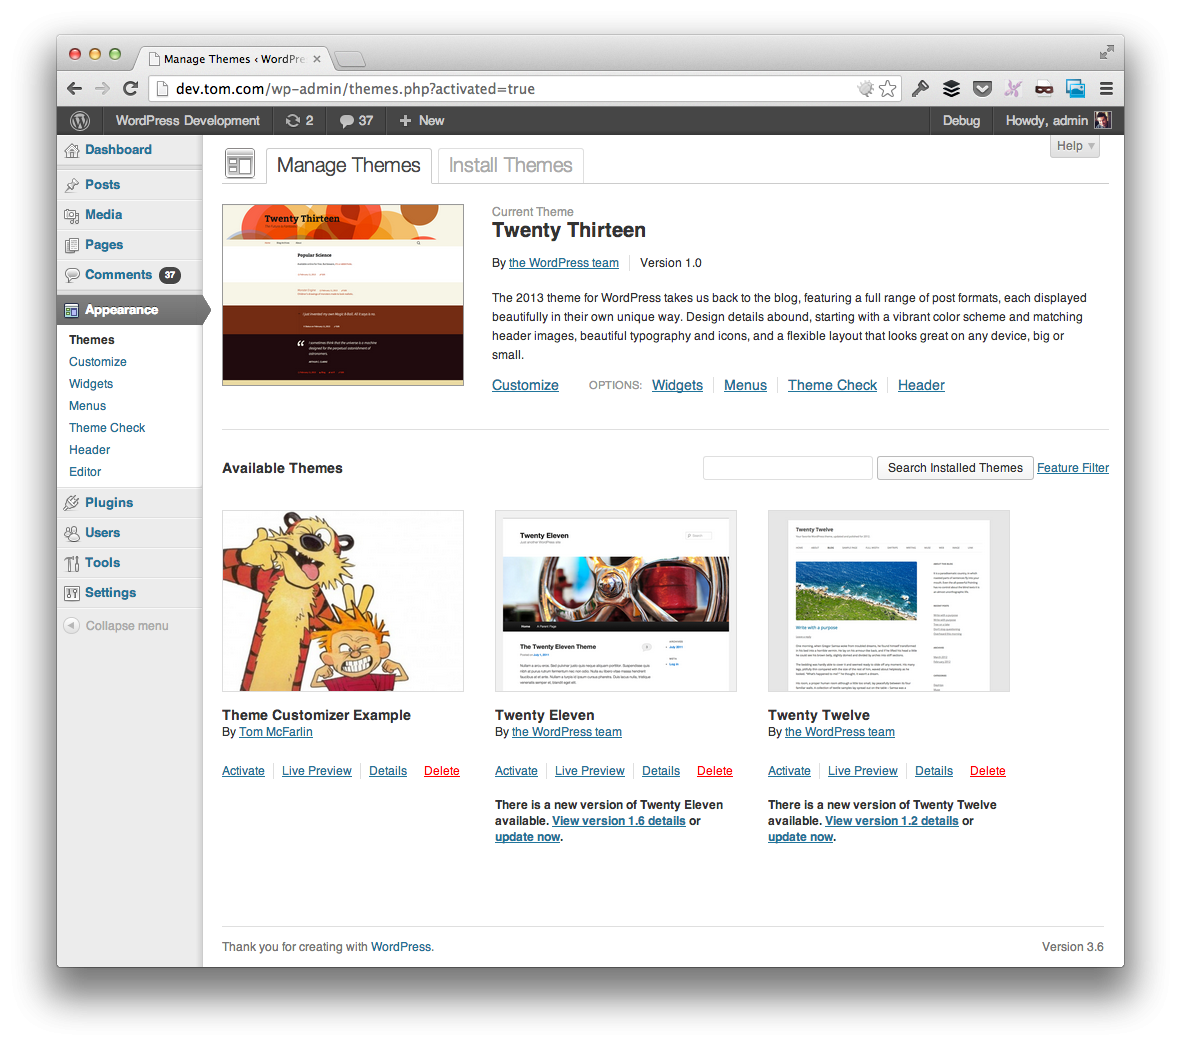
The dimensions should be 300x225 (or double that for HiDPI displays). As you can see in the example above, I've opted to use one from one of my favorite comics, ever.
Of course, you can opt to go with whatever you want - or nothing at all.
A First Look at the Theme
At this point, we're ready to take a look at the theme. So activate the theme in your dashboard and you should see something similar to the below screenshot:
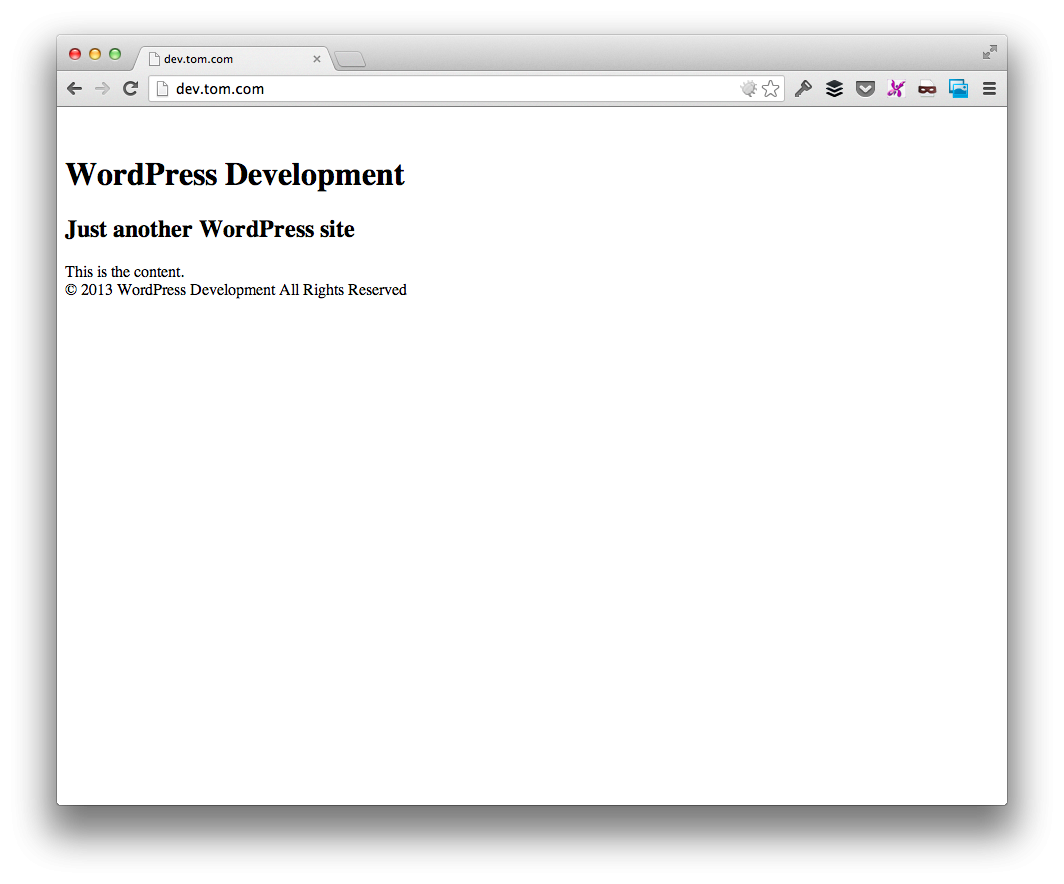
Like I said - it's nothing too complicated, but it will serve our purposes moving forward.
And here's the thing: The Theme Customizer is already built into all default themes moving forward. No, you can't exactly customize all aspects of the theme, but let's take it for a test drive.
Launch the Theme Customizer
From the 'Appearance' menu in the dashboard, click on the 'Themes' menu item, then click on the 'Customize' link that appears below your theme description.
This will launch the Theme Customizer and you should see something like this:
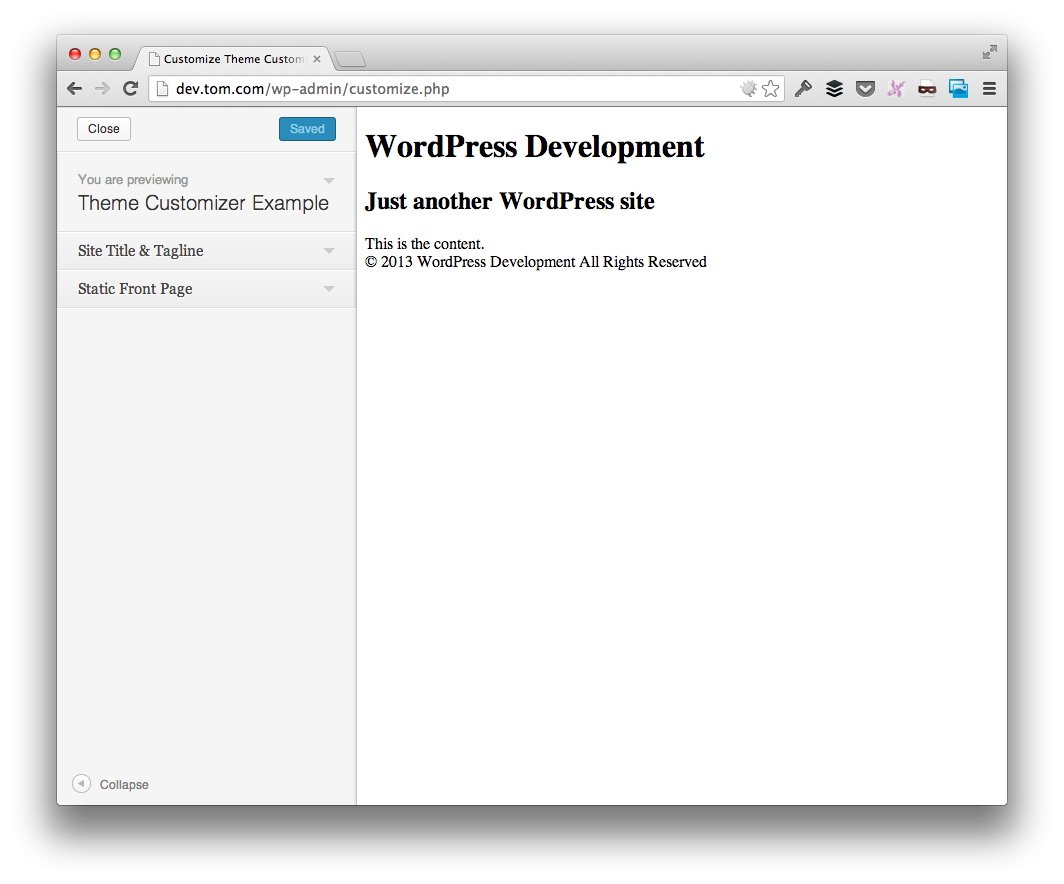
From here, expand the Site Title & Tagline section and then modify the contents of each of those fields. Permitting everything is wired up correctly, then you should see your changes reflected immediately within the preview pane.
Pretty neat, huh?
But That's Not All!
Obviously, we're just getting started as we've not even scratched the surface of what the Theme Customizer can do nor how we can add additional options to the customizer.
But for now, you should have the foundation in place that gives you the theme with which we'll be working and the basic functionality of the Theme Customizer.
We'll be taking a significantly deeper dive into this in the next article. For now, you can grab a working copy of this theme using this link to the GitHub repository.
Up Next...
As we mentioned earlier in the article, the purpose of this post is to explain the how and the why of the Theme Customizer. In short, you should be able to describe to someone else how to integrate the Theme Customizer into their work, and what each line of code does.
But this is only half the challenge.
In the next article, we're going to take a deep dive into what sections, settings, and controls are and how they relate to the Theme Customizer. This should give a solid foundation off of which we can begin building our own features into the Theme Customizer and ultimately our own theme.

Comments