3D graphics in the browser have been a hot topic since they were introduced. But if you were to create your apps using plain old WebGL it would take ages. That's why some really useful libraries have come about. Three.js is one of the most popular of them, and in this series I will show you how to make the best use of it to create stunning 3D experiences for your users.
I expect you to have a basic understanding of 3D space before you start reading this tutorial, as I won't be explaining topics like coordinates and vectors.
Preparation
As usual, we will start from the code that you created earlier. Download and unpack the assets I provided and you'll be ready to go.
Step 1: A Word About Exporting Models in Blender
Before we start the programming part, I will explain something that many people have problems with. When you have a model created in Blender, and you want to export it to Three.js format, you should keep the following in mind:
- First, remove the parenting. The Three.js exporter won't export any animations if you leave it (this also applies to the Armature Modifier)
- Second, group vertices. If you want the bone to move any vertices you have to group them, and name the group with the name of the bone.
- Third, you can have only one animation. This may sound like a big problem, but I will explain the workaround later.
Also, when exporting you have to make sure that these options are selected in the exporter: Skinning, Bones and Skeletal Animation.
Step 2: Importing the Model
As with pretty much everything in Three.js, importing models is very simple. There is a special class, THREE.JSONLoader that will do everything for us. Of course it only loads JSON models, but it's recommended to use them so I will only cover this loader (others work pretty much the same way). Let's initialize it first:
var loader = new THREE.JSONLoader;
var animation;
No arguments needed. We also need to define a variable for animation, so we can access it later. Now we can load the model:
loader.load('./model.js', function (geometry, materials) {
	var skinnedMesh = new THREE.SkinnedMesh(geometry, new THREE.MeshFaceMaterial(materials));
	skinnedMesh.position.y = 50;
	skinnedMesh.scale.set(15, 15, 15);
	scene.add(skinnedMesh);

	animate(skinnedMesh);
});
The load method accepts two parameters: a path to the model and a callback function. This function will be called when the model is loaded (so in the meantime you can display a loading bar to the user). A callback function will be called with two parameters: the geometry of the model and its materials (these are exported with it). In the callback, we are creating the mesh—but this time it's THREE.SkinnedMesh, which supports animations.
Next, we move the model 50 units up to put it on the top of our cube, scale it 15 times (because I tend to create small models in Blender) and add it to the scene. Next we call the animate function that will set up and play the animation.
Step 3: Animation
Now we set up the animation. This is the source for the animate function:
function animate(skinnedMesh) {
	var materials = skinnedMesh.material.materials;

	for (var k in materials) {
		materials[k].skinning = true;
	}

	THREE.AnimationHandler.add(skinnedMesh.geometry.animation);
	animation = new THREE.Animation(skinnedMesh, "ArmatureAction", THREE.AnimationHandler.CATMULLROM);
	animation.play();
}
First we have to enable skinning (animations) in all materials of the model. Next, we have to add the animation from model to THREE.AnimationHandler and create the THREE.Animation object. The parameters are in the following order: the mesh to animate, the animation name in the model and interpolation type (useful when you have a complicated model like a human body, where you want the mesh to bend smoothly). Finally, we play the animation.
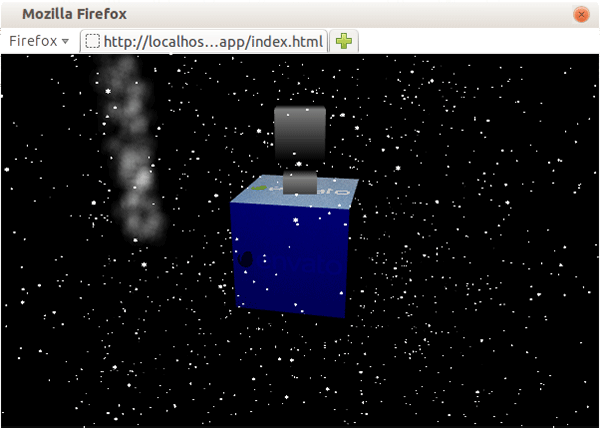
But if you open the browser now, you would see that the model is not moving:

To fix this, we have to add one line to our render function, just below the particleSystem rotation:
if (animation) animation.update(delta);
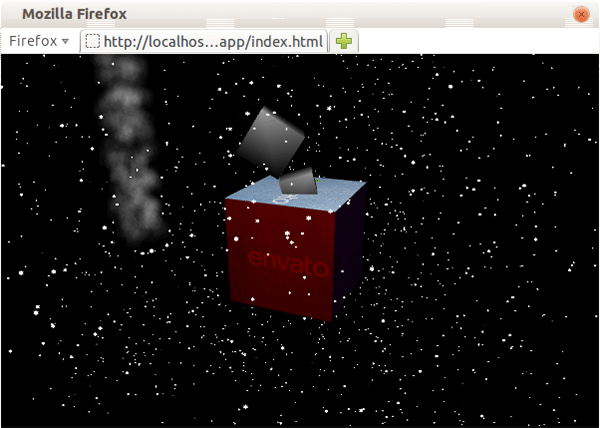
This will update the time on the animation, so THREE.AnimationHandler knows which frame to render. Now open the browser and you should see the top cube bend to the left and to the right:

Step 4: Multiple Animations
Yes, there is a workaround for only a one animation sequence in a model, but it requires you to edit it. The idea is that you add each animation to one sequence, then, when that one ends, the next one begins. Next, after you've exported your model, you need to change the animation code. Let's say we have a standing animation from the beginning to the third second, and a walking animation from the third second to the end. Then in our render function we have to check on which second the animation is, and if it reaches the end time of the current sequence, stop it and play it from beginning:
var currentSequence = 'standing';

function (render) {
...
	if (animation) animation.update(delta);
	if (currentSequence == 'standing') {
		if (animation.currentTime > 4) {
			animation.stop();
			animation.play(false, 0); // play the animation not looped, from 0s
		}
	} else if (currentSequence == 'walking') {
		if (animation.currentTime <= 4 || animation.currentTime > 8) {
			animation.stop();
			animation.play(false, 4); // play the animation not looped, from 4s
		}
	}
...
}
You have to remember to start the animations not looped and from the correct time. This will of course be buggy if the user's frame-rate is really low, because the delta will be higher and animation.currentTime may be much higher than the limit for any particular sequence, resulting in playing some part of the next sequence. But it will be noticeable only if deltas are about 300-500ms.
Now to change the animate function to play the walking animation, just add these arguments to the animation.play function:
animation.play(false, 0);
Also, let's allow the user to switch between animations using the a key. Add this code at the end of the file, just before the render() call:
document.addEventListener('keyup', function (e) {
	if (e.keyCode == 'A'.charCodeAt(0)) {
		currentSequence = (currentSequence == 'standing' ? 'walking': 'standing');
	}
});
Step 5: Attach to Bone
This technique is particularly useful in RPGs, but it can apply to other genres as well. It involves attaching another object to the bone of the animated object: clothes, weaponry, etc.
Let's start by modifying our loader.load callback. Add this code under the scene.add(skinnedMesh'):
item = new THREE.Mesh(new THREE.CubeGeometry(100, 10, 10), new THREE.MeshBasicMaterial({ color: 0xff0000 }));
item.position.x = 50;
pivot = new THREE.Object3D();
pivot.scale.set(0.15, 0.15, 0.15);
pivot.add(item);
pivot.useQuaternion = true;
skinnedMesh.add(pivot);
The item mesh simulates something you may want to attach to an animated object. To make it rotate around a specific point, and not around the center, we will add it to a pivot object and move it 50 units (half of the width) to the right. We have to scale it to 0.15, because it will be added to the skinnedMesh that has a scale of 15. Finally, before it's added to our animated object we tell it to use quaternions.
Basically, quaternions are a number system, but since Three.js handles everything for us, you don't have to delve into this topic if you don't want to (but if you do, take a look at its Wikipedia page). They are used to rotate objects without the risk of gimbal lock.
Now, in the render function we have to update the object's position and rotation:
pivot.position = new THREE.Vector3().getPositionFromMatrix(skinnedMesh.bones[2].skinMatrix);
pivot.quaternion.setFromRotationMatrix(skinnedMesh.bones[2].skinMatrix);
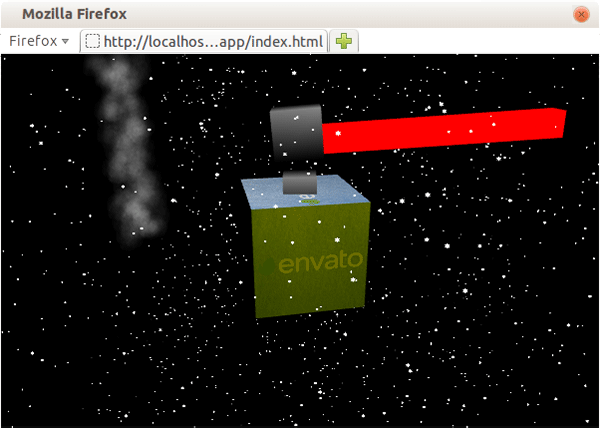
Let me explain what is happening here. First, we set the position to be the same as on the last bone in the model. We are using the skinMatrix property to calculate it. Then we use the same property to calculate the quaternion for the pivot's rotation. After that, you can open the browser and you should see the red beam attached to our model:

Conclusion
I hope you've learned a few new interesting techniques from this tutorial. As always, feel free to experiment with the app that we've created. In the next (and last) tutorial in this series, I'll show you the true power of OpenGL/WebGL—Shaders.


Comments