This is the second part of a series sponsored by CodeGuard. Although I'll walk you through the basics of adding your site in this tutorial, I suggest beginning with our detailed first episode: How to Back Up a WordPress Website With CodeGuard.
What Is CodeGuard?
CodeGuard is an automated cloud-based backup service for websites and databases, and it's well suited to securely backing up your WordPress sites in real time and restoring them. CodeGuard can restore your website automatically, which is recommended, or through several manual processes you can choose from.
When it comes to backing up WordPress, we need to consider all the files in our WordPress configuration, e.g. WordPress itself, themes, plugins, image uploads et al., as well as our database. CodeGuard can manage backups and restoration for all of these.
Every day, CodeGuard watches for changes and updates its backups:

In this tutorial, I'm going to briefly recap using CodeGuard to configure backups for a typical self-hosted WordPress site and then describe the various restoration options available to you. Again, I suggest beginning with our detailed first episode: How to Back Up a WordPress Website With CodeGuard.
In case you're wondering, CodeGuard used to offer a WordPress plugin but has moved away from that solution for security and reliability issues. If you're interested in WordPress Multisite, there are a couple of ways to configure CodeGuard to back up WordPress Multisite.
Backing Up WordPress With CodeGuard
For this demonstration, I'm going to configure CodeGuard to back up my Yii2x Developer Exchange website which runs on WordPress.

Add Your Website
Your configuration may differ, but I'm using Ubuntu with SFTP and a custom port configuration. I've described my WordPress installation before as well as my security configurations in Securing Your Server Login (Tuts+).
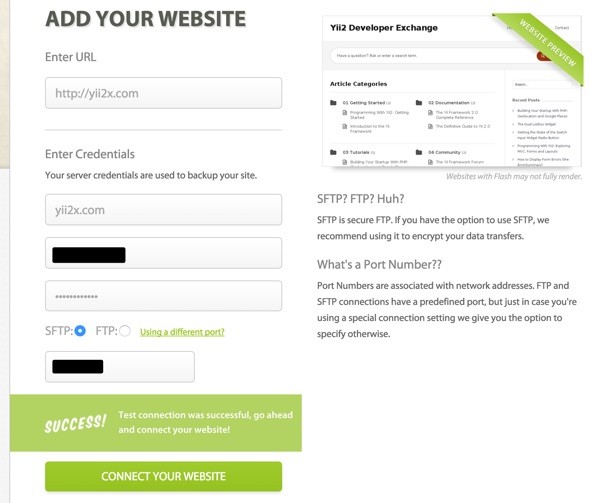
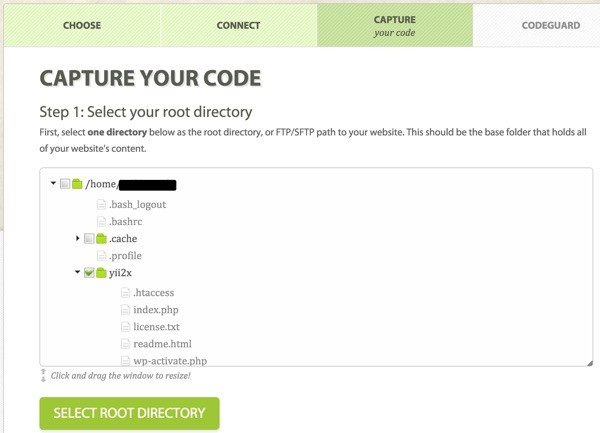
Then I select the path to my WordPress site which appears via SFTP in my home directory from a symbolic link. All of this is described in detail in How to Back Up a WordPress Website With CodeGuard.
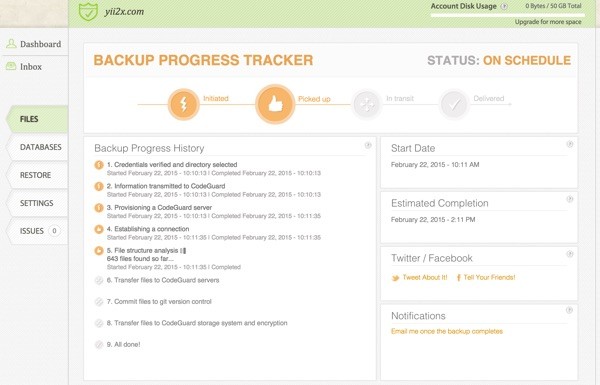
Then CodeGuard will begin backing up your site and showing its Backup Progress Tracker:
Add Your Database
Then we add our database. I'm using my SSH account to tunnel into MySQL:

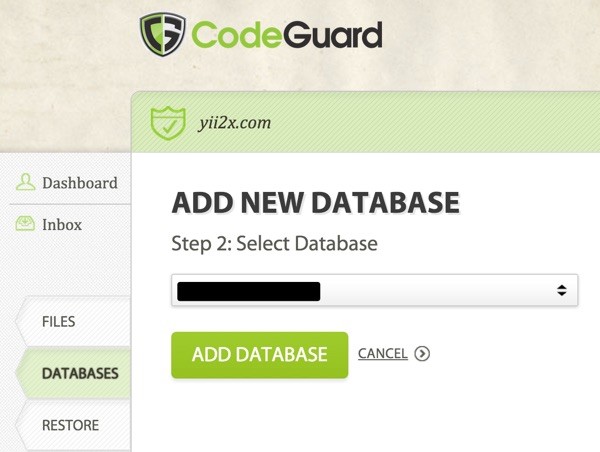
Select your database:
Then CodeGuard will begin backup of your database tables and show you its progress:
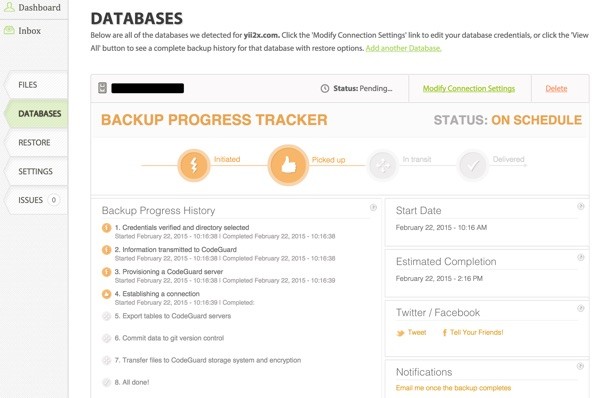
When complete, you'll see the summary in the dashboard—which eventually will include a history of recent backups:

Here's the latest backup:
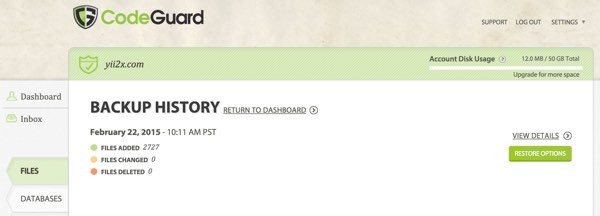
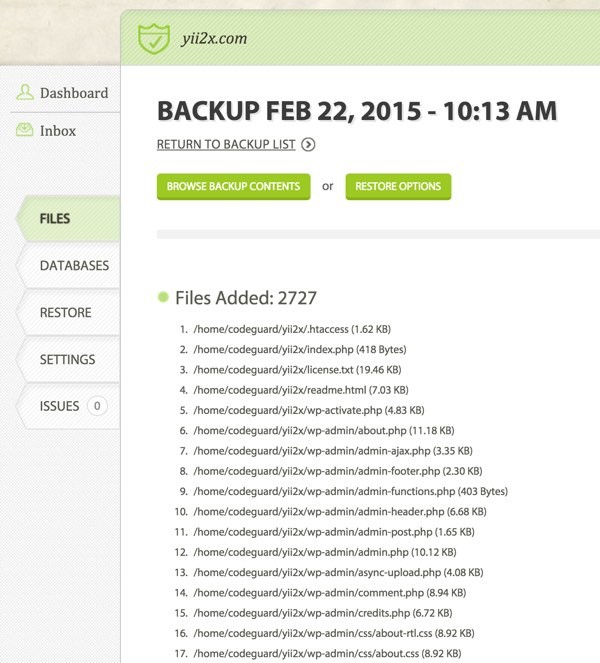
CodeGuard's restore options can be quite granular. You can see individual files listed from specific backups.
Now let's walk through CodeGuard's built-in restoration process.
Restoring Your WordPress Website
If you click on your website from the CodeGuard dashboard, you'll see a reference to recent backups and buttons which link to restoration options:

Website Restoration Options
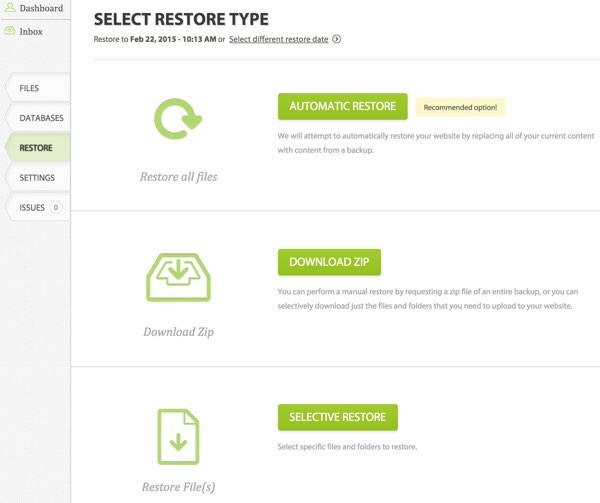
First, let's click through to our website, e.g. yii2x.com. You'll see three restore options: Automatic Restore (recommended), Download Zip, and Selective Restore:

Let's begin with Automatic Restore, which incorporates your database restore into the process as well.
Using Automatic Restore
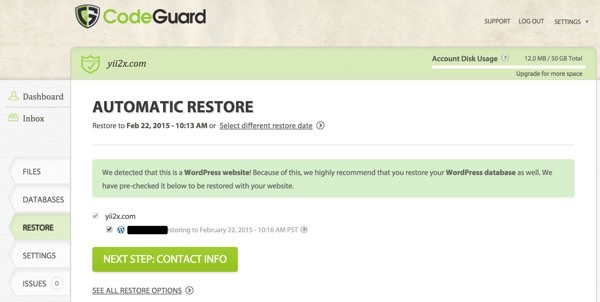
Click the Automatic Restore button. You'll be asked to select the WordPress website and its accompanying database:
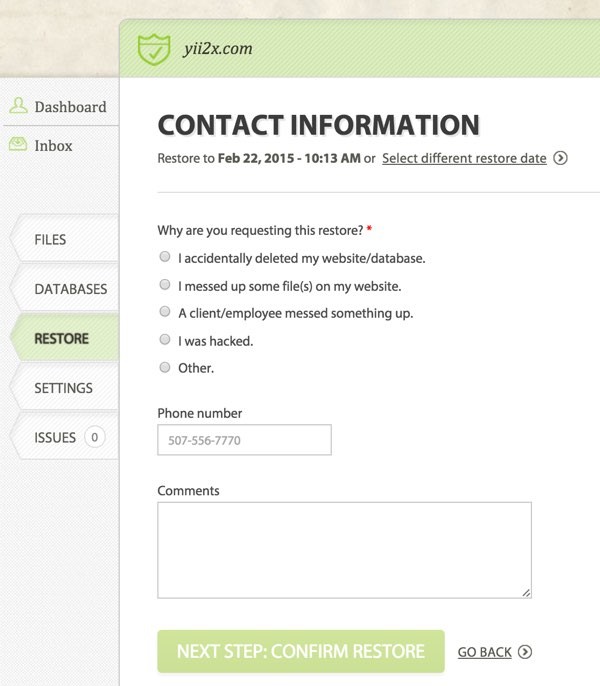
Then you'll be asked to verify your contact information and provide a reason for the restore:
Finally, you'll be asked to confirm your restore to begin the process:
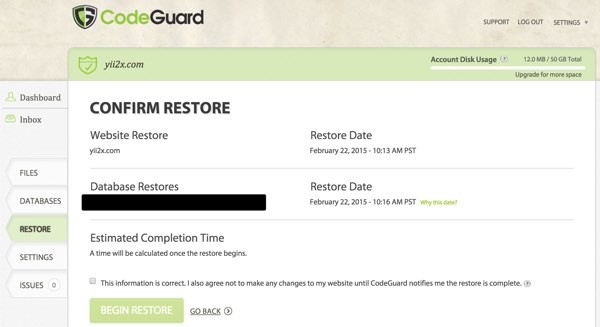
Before performing the restoration, CodeGuard will perform one final backup in case you need to switch back to the pre-restore version.
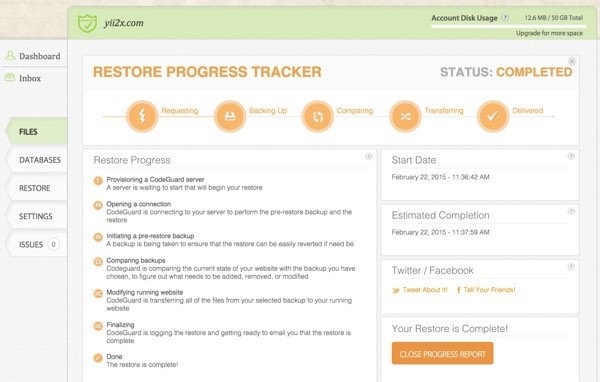
Here's the CodeGuard automatic restoration progress tracker:
Pretty easy, right? Here's a brief video demonstration of the automatic restoration process in action.
Another option is to download a zip of your WordPress website files.
Using Download Zip
From the restore options page, click on the Download Zip button. You'll be asked to select which content to back up—or you can click the Download Entire Backup button in the upper right:
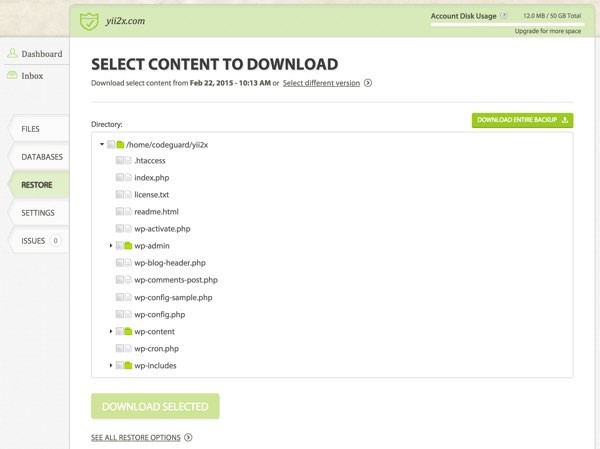
CodeGuard will perform the zip backup in the background, providing you a progress tracker.

It will send you an email when it's complete and available for download:
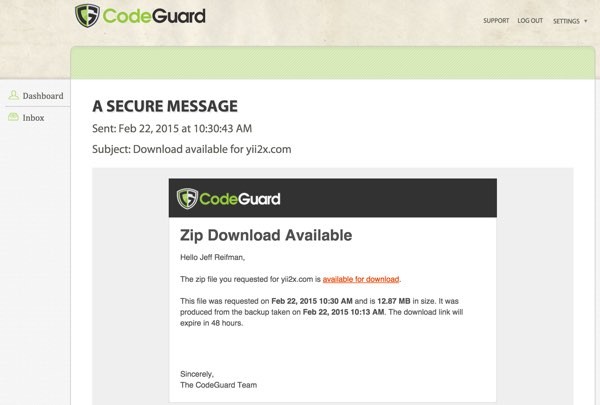
You can use the zip file to restore your site to any location you wish.
Selective Restore
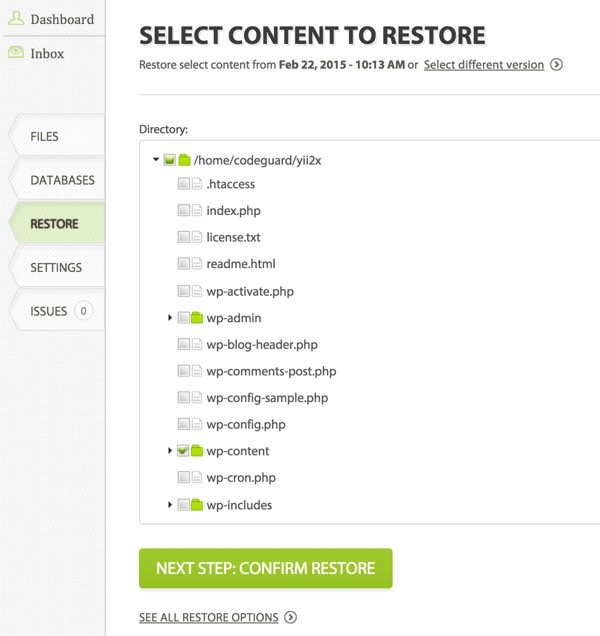
If you just need a single file or need to replace a corrupted directory, Selective Restore is ideal.
First you're asked to select which directories and files to restore:
Then you need to confirm the selections:
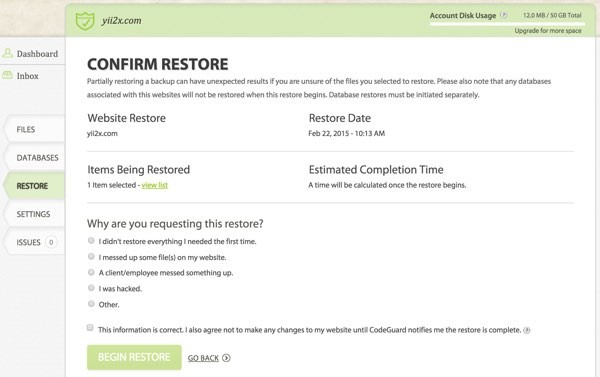
And then CodeGuard will begin the restoration process automatically, as it did for the complete restoration earlier.
Restoring Your Database
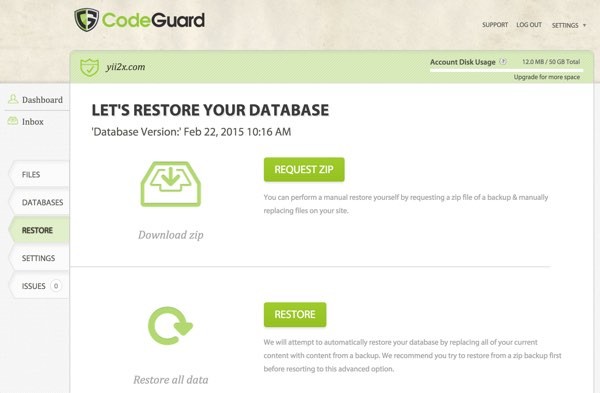
If you click on your database from the restore page, you'll see two options: Request Zip and Restore (which works automatically).
Request Zip
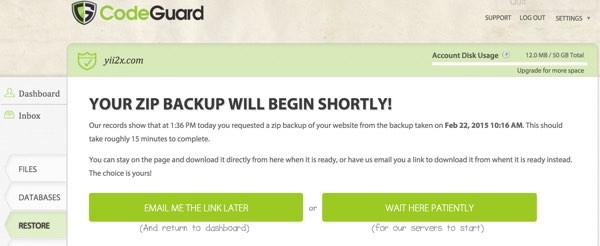
If you want a zip file of your WordPress database, CodeGuard will provide it in just a few minutes. You can choose to wait for a download link or have it emailed to you when complete.
Automatic Database Restore
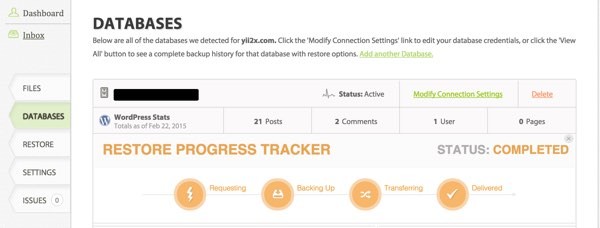
Or you can automatically restore your database. Click the Restore button and CodeGuard will show its Progress Tracker as it performs the database restoration:
In Closing
CodeGuard is a great solution for reliably maintaining WordPress websites and their databases. Whatever your need, CodeGuard has a variety of options to ease the backup and restore process.
I hope you've found these two CodeGuard for WordPress tutorials useful. Please feel free to post corrections, questions and comments below. I do keep up with the Tuts+ discussions. You can also reach me on Twitter @reifman or email me directly.


Comments