If you're asking, "What's Yii?" check out my earlier tutorial: Introduction to the Yii Framework, which reviews the benefits of Yii and includes an overview of what's new in Yii 2.0, released in October 2014.
In this Programming With Yii2 series, I'm guiding readers in use of the newly upgraded Yii2 Framework for PHP. In this tutorial, I'm going to introduce you to using the rich text editor Redactor within the Yii Framework.
For these examples, we'll continue to imagine we're building a framework for posting simple status updates, e.g. our own mini-Twitter.
Just a reminder, I do participate in the comment threads below. I'm especially interested if you have different approaches or additional ideas, or if you want to suggest topics for future tutorials.
What Is Redactor?
Redactor is a powerful rich text editor created by Imperavi. It has an extremely clean and fast user interface, while also providing a platform for powerful extensions. It offers a JQuery API and has a wide set of plugins such as for image management, table formatting, and fullscreen editing.
Fortunately, the Yii community purchased an unlimited license to Redactor for any application built on the framework. With Yii2, you can install Redactor and integrate rich text editing into your forms in just a few minutes.
You might also take a look at the tutorial I've written on Squire, an alternative, more lightweight rich text editor, which can also be integrated with Yii.
Installing Redactor
We'll begin by installing a Yii2 extension for Redactor (yii2-redactor) using composer:
Admins-MBP:hello Jeff$ composer require --prefer-dist yiidoc/yii2-redactor "*"
./composer.json has been updated
Loading composer repositories with package information
Updating dependencies (including require-dev)
  - Installing yiidoc/yii2-redactor (2.0.0)
    Downloading: 100%

Writing lock file
Generating autoload files
In our web/config.php file, we'll add the module definition for Redactor:
    ... end of components array ...
    ],
    'modules' => [
          'redactor' => 'yii\redactor\RedactorModule',
      ],
    'params' => $params,
];
Using Redactor on Our Forms
Let's replace the standard text input field with Redactor. Here's the plain text form:
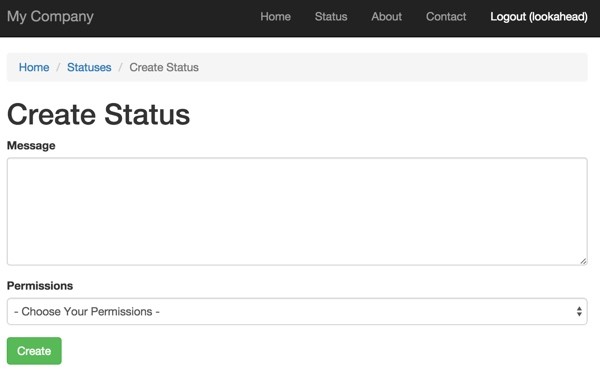
When we change the standard textarea to use the Yii2 Redactor widget in views/status/_form.php:
<div class="status-form">

    <?php $form = ActiveForm::begin(); ?>

    <? // = $form->field($model, 'message')->textarea(['rows' => 6]) ?>
    <?= $form->field($model, 'message')->widget(\yii\redactor\widgets\Redactor::className()) ?>
It's transformed into this:

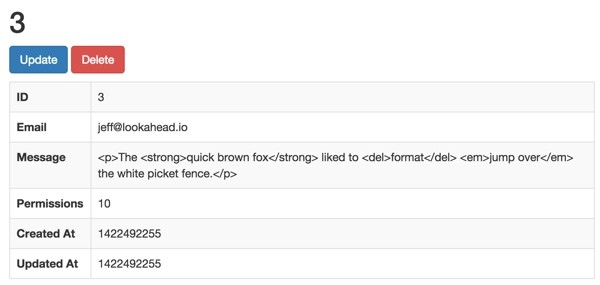
Redactor submits HTML. So, when you submit the form, you'll see the HTML generated by what we typed and formatted:
Adding Image Support to Redactor
To add support for uploading images, we need to create a /web/uploads directory in our tree. Then, we need to modify the module definition for Redactor in /config/web.php:
'modules' => [
          'redactor' => 'yii\redactor\RedactorModule',
          'class' => 'yii\redactor\RedactorModule',
          'uploadDir' => '@webroot/uploads',
          'uploadUrl' => '/hello/uploads',
      ],
Then we add an imageUpload option to the Redactor widget:
    <?= $form->field($model, 'message')->widget(\yii\redactor\widgets\Redactor::className(),
    [
       'clientOptions' => [
           'imageUpload' => \yii\helpers\Url::to(['/redactor/upload/image']),
       ],
    ]
      ) ?>
I also found that the plugin did not properly set the uploadUrl at this time. So I manually edited /vendor/yiidoc/yii2-redactor/models/RedactorModule.php to set the uploadUrl here:
class RedactorModule extends \yii\base\Module
{

    public $controllerNamespace = 'yii\redactor\controllers';
    public $defaultRoute = 'upload';
    public $uploadDir = '@webroot/uploads';
    public $uploadUrl = '/hello/uploads';
I've reported this to the plugin developer.
Note: It's best to fork the plugin from GitHub and place it in your own code tree before you make changes.
With this change, you'll see an image icon in the Redactor toolbar:

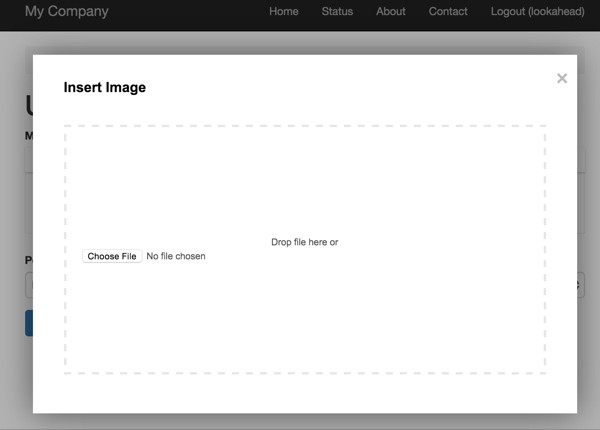
Clicking it brings up this file upload dialog:
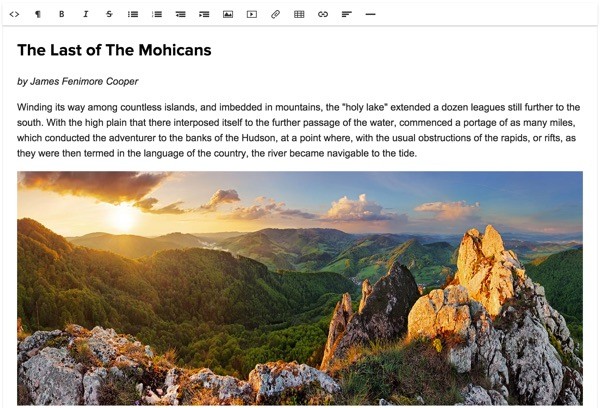
Here's what it looks like with an uploaded image:
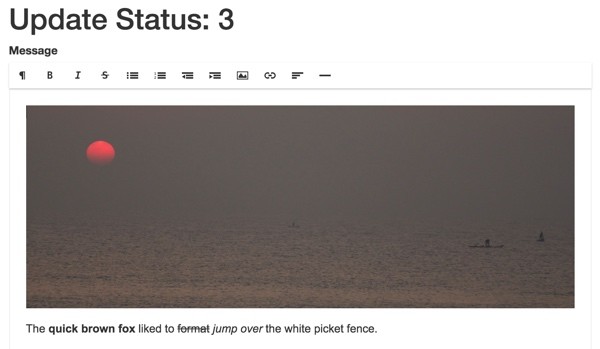
The photo is from a sunrise I was fortunate to witness in Chenai, India, in early 2014.
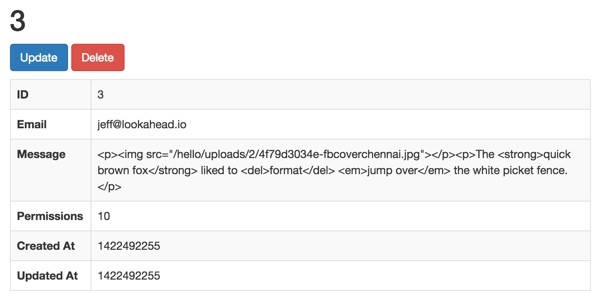
When you submit the status with the image, it appears as HTML in the record:
The plugin developer wisely recommends that you secure your image uploads directory before you host a project with this capability: How to Setup Secure Media Uploads.
I've found that Redactor is an incredibly robust and polished rich text option for my web applications. I hope you enjoy using it.
What's Next?
Watch for upcoming tutorials in our Programming With Yii2 series as we continue diving into different aspects of the framework. You may also want to check out our Building Your Startup With PHP series, which is using Yii2's advanced template as we build a real world application.
I welcome feature and topic requests. You can post them in the comments below or email me at my Lookahead Consulting website.
If you'd like to know when the next Yii2 tutorial arrives, follow me @reifman on Twitter or check my instructor page. My instructor page will include all the articles from this series as soon as they are published.
Related Links
- Imperavi's Redactor Website
- The Yii2 Redactor Plugin
- Yii2 Developer Exchange, my Yii2 resource site


Comments