In this series, we're exploring affiliate marketing in the context of OpenCart. In the first part, we went through the back-end section of the affiliate management. Today, we'll go ahead and discuss the options available in the front-end to manage an affiliate account. Starting with the affiliate signup process, we'll inspect each and every section, and we'll conclude with how affiliates can start product tracking.
I assume that you're using latest version of OpenCart, which is 2.0.x. Also, if you've not gone through the first part of this series, I would recommend that you have a quick look at it!
Quick Recap
Before we move ahead, I would like to quickly summarize the things which we discussed in the first part:
- We explored the back-end Affiliates interface, which lists all the affiliates in the site. It also displays the basic information of an affiliate along with other fields like Balance and the status of the affiliates.
- Then, we created a demo affiliate account, which allowed us to enter the basic and payment-related information of an affiliate.
- Finally, we approved an affiliate so that tracking of the products can be started right away!
Now, let's dive in to the front-end!
Go Through the Front-End Affiliate Signup Process
Go to the front-end of OpenCart, and click on Extras > Affiliates in the footer. It'll take you to the Affiliate Program screen as shown below.
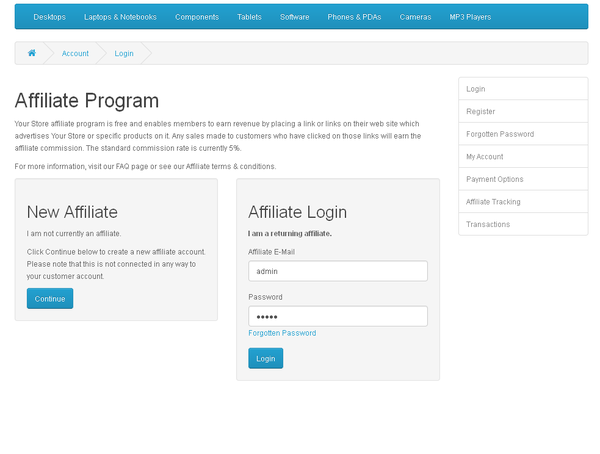
As you can see in the screenshot, you're presented with different options like New Affiliate, Affiliate Login and other options in the right sidebar. The links in the right sidebar make sense once you're logged in as an affiliate. So, let's start creating an affiliate account by clicking on the Continue button in the New Affiliate box.
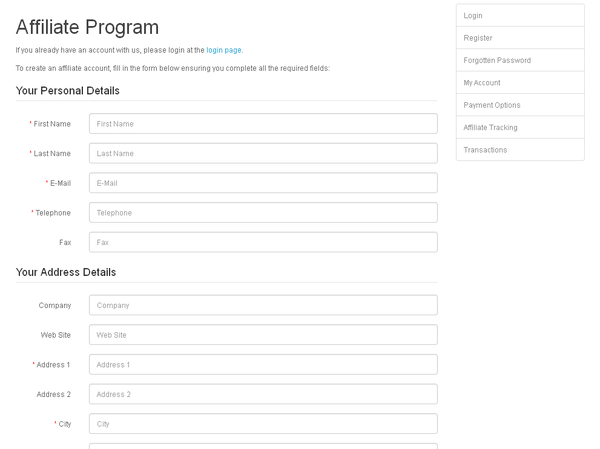
Fill in the required information and hit the Continue button to create an affiliate account. If everything goes fine, you should see the following screen.
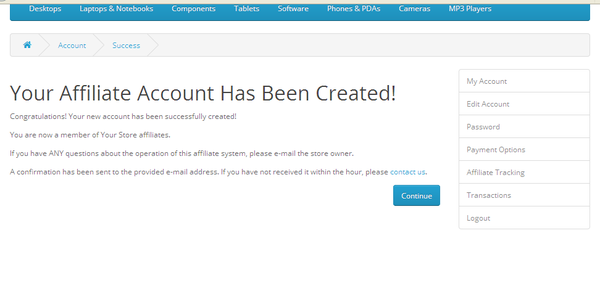
You're already logged in as soon as your account is created!
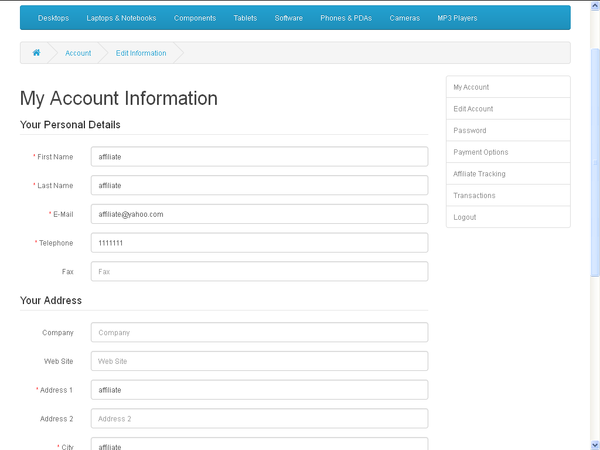
Explore "My Account" Options
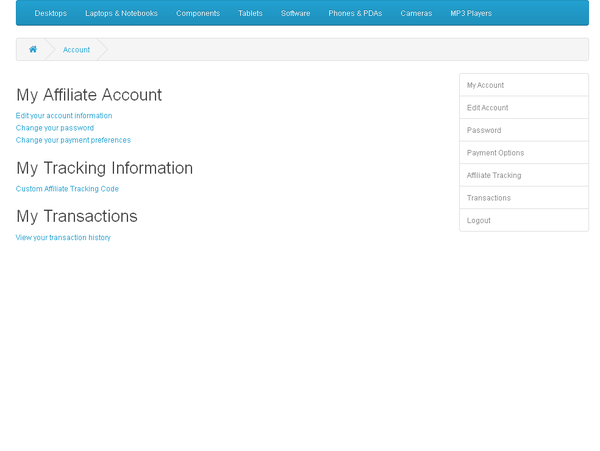
Now, once you're logged in as an affiliate and click on My Account, it should display a simple dashboard kind of interface as shown above. Basically, it's just an easy way to reach the different sections linked in the right sidebar!
Let's go through the important sections! Click on Edit Account to update account-related information.
Next, the Password link allows an affiliate to change the password. Further, Payment Options allows an affiliate to change the payment preferences.

We'll get back to the Affiliate Tracking link in the next section. The Transactions link allows an affiliate to see his or her involvement in the orders of the store and the current account balance. And I'm sure the Logout link doesn't need any explanation!
How to Start Tracking Products
Now, what you should be interested in as an affiliate is how to start tracking products, so you can start earning commissions! Let's see how to create product tracking links. Click on the Affiliate Tracking link in the right sidebar of the affiliate dashboard interface.
The interface shown in the above screenshot allows you to create tracking links per product. The Your Tracking Code field shows your unique tracking code. So, you should keep as it is.
Next, the Tracking Link Generator field allows you to select the product for which you want to create an affiliate tracking link. It's an auto-complete field, so as you start typing, it'll suggest to you the products already available in the store.
Now, once you select the product, it'll right away populate the field Tracking Link for you! And yeah, this is your affiliate tracking link for the product you've selected just above. So now, you want to place a related image on your site with this link, and it will take a user to the product detail page. If the user buys that product, you'll get your commission!
So that's it for today's article. In the next and final article we'll see exactly how the commission is calculated by going through a complete order process in the front‑end.
Conclusion
Today, we went through the front-end affiliate section in OpenCart. We explored all available options in the affiliate dashboard and created a product tracking link. I hope you're enjoying this series so far, and don't hesitate to shoot your queries using the comments feed!

Comments