This tutorial is the third in a four part series in which you'll learn some techniques for working with images in attachments in WordPress which give you advanced options.
In this series, I cover:
- Assigning categories and taxonomies to attachments
- Querying media files by taxonomy so you can output them in a custom loop Using taxonomy queries for images to display them on archive pages
- Adding an image to a category or taxonomy term as the category or term's 'featured image'
In Part 1 I demonstrated how to create new taxonomies for attachments. In Part 2 I showed you how to create a custom template file for documents and add a loop which displays a link to the media file for each document. In this third part I'll create a custom template file for thegallery-category taxonomy, which will display all images with a given term as a gallery-style archive page. Note: If you want to apply existing categories and tags to your media, see my tutorial on assigning categories and tags to attachments.
What You'll Need
To follow this tutorial you'll need the following:
- A development installation of WordPress
- FTP access (or MAMP or similar if you're working locally)
- A code editor
In Part 1 I created a plugin to register the taxonomies and in Part 2 I created a child theme of twenty fourteen with the template file for documents. In this part I'll be using that theme and adding another template file to it.
If you're following this series, you'll need the source files for Part 2, as that includes the plugin as well as the theme. If you create a custom theme using the steps I work through here you'll also need to make sure the plugin created in Part 1 is activated - the new template file won't work without it. You'll also need to add the functions file from Part 2 of this tutorial, or add the function in it to your theme's functions file. The code bundle for this tutorial includes the plugin and the new child theme with both template files added, which will only work if you have twenty fourteen installed.
1. Creating the Template File
In your theme, create a new file called taxonomy-gallery-category.php. This will display archives for terms in the gallery-category taxonomy. Copy the code from yourdocument-category template file and edit it to remove the loop and alter the output page title, or copy the code below:
<?php
/**
 * template for displaying galleries
 * uses a custom loop which displays the attached image
 */

get_header(); ?>

<div id="main-content" class="main-content">


    <div id="primary" class="content-area">
		<div id="content" class="site-content" role="main">

		<header class="page-header">

			<?php $queried_object = get_queried_object();
				echo '<h1 class="page-title">Gallery - ' . $queried_object->name . '</h1>'; ?>
		</header><!-- .page-header -->

		</div><!-- #content -->
	</div><!-- #primary -->
	<?php get_sidebar( 'content' ); ?>
</div><!-- #main-content -->

<?php
get_sidebar();
get_footer();
?>
2. Adding a Custom Loop
The next step is to add a loop. This loop will output the image inside a link to its attachment page. After the closing </head> tag, add the following:
<?php
    if ( have_posts() ) : ?>

		<section class="gallery <?php echo $queried_object->name; ?>">

			<?php // Start the Loop.
				while ( have_posts() ) : the_post();

				// define attributes for image display
				$imgattr = array(
					'alt'   => trim( strip_tags( get_post_meta( $attachment_id, '_wp_attachment_image_alt', true ) ) ),
				); ?>

				<div class="gallery-image"><a href ="<?php echo get_attachment_link(); ?>"><?php echo wp_get_attachment_image( $post->ID, 'thumbnail', $imgattr ); ?></a></div>

				<?php endwhile; ?>

		</section>


	<?php else :
		// If no content, include the "No posts found" template.
		get_template_part( 'content', 'none' );

	endif;
?>
This is different from the loop in the file you created last time in a few ways:
- Instead of using a list to contain the attachments, you're using a series of
divelements (with thegallery-imageclass for styling) inside a section element. - Instead of linking to the attachment file itself, the link is to the attachment page, using
echo get_attachment_link() - Instead of wrapping this link around the attachment's title, it is linked around the image itself, which is displayed using
echo wp_get_attachment_image(). This has an attribute for the alt tag which is set using the$imgattrvariable.
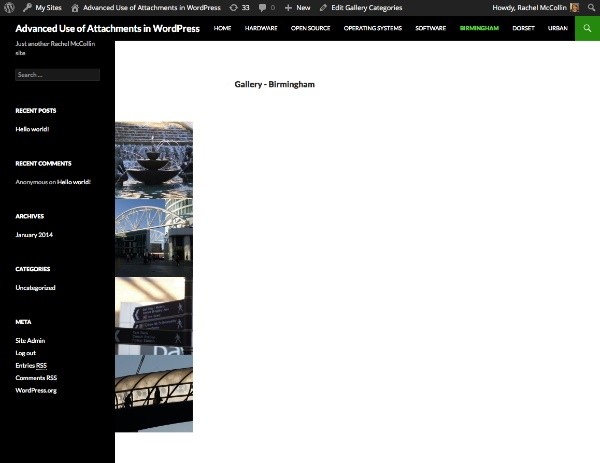
This displays all of the images in an archive page, as shown below for my archive page for Birmingham:


3. Styling the Gallery
At the moment my gallery doesn't look too good with all of the images below each other, so I'll add some styling. In your theme's stylesheet, add the following:
 /* style gallery images */
.gallery-image {
    float: left;
	margin: 10px 2%;
}
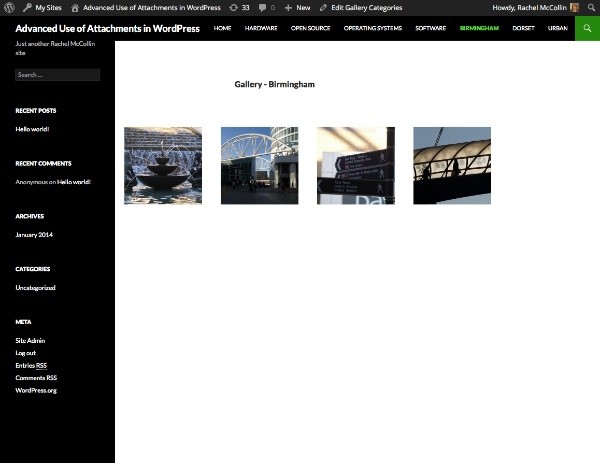
Now save your stylesheet and view the gallery page again. It's looking much better:

Summary
In this part of the series I've shown you how you can use an archive page to display a gallery by querying attachments in a custom loop. This saves you manually creating lots of galleries if your site needs to include multiple galleries with each image in more than one of them. Just upload your images, assign gallery categories to them, and you're done! In the final part of this series I'll show you how you can assign a category to an image and effectively use it as the 'featured image' for that category.


Comments