3D graphics in the browser have been a topic of interest since its introduction. But if you were to create your apps using plain old WebGL, it would take ages. Recently, some really useful libraries have come available. Three.js is one of the most popular, and in this series I will show you how to make the best use of it, to create stunning 3D experiences for your users.
I do expect you to have a basic understanding of 3D space before you start reading this tutorial, as I won't be explaining things like coordinates, vectors, etc.
A Word About Shaders
If you already know what shaders are, you may skip this step. Shaders are basically programs written in GLSL (Graphics Layer Scripting Language), that are executed on the GPU. This makes them extremely useful, as we can take some work from the CPU and put it on the GPU to increase performance. There are two kinds: vertex and fragment shaders. Vertex shaders are used to modify the structure of the object (move the vertices), and fragment shaders make changes to the pixels that are being drawn.
Step 1: Vertex Shader
We will start with the simpler one. This shader will modify the placement of the vectors in the mesh, resulting in moving faces. Insert this code into <head> of your app:
<script id="cubeVertexShader" type="x-shader/x-vertex">
	uniform float time;
	varying vec2 vUv;

	void main() {
		vUv = uv;
		vec3 newPosition = position + normal * vec3(sin(time * 0.2) * 3.0);
		gl_Position = projectionMatrix <i> modelViewMatrix </i> vec4(newPosition, 1.0);
	}
</script>
The type attribute of this script won't be understood by the browser, so it will not get executed (we will pass its contents to the Three.js material later). In the first two lines we are defining two variables. The first one is uniform float time. Uniforms are passed to both vertex and fragment shaders. Next, there is varying vec2 vUv. Varyings are the interface between the vertex and the fragment shader. time will hold the time in milliseconds since the app was started, which we will use to calculate new positions of vertexes. In vUv we will store the UV (texture vector) of each vertex, so we can use it in the fragment shader.
Next, there is the void main() declaration. All shaders must have this function. In here we are passing the UV of the vertex to our vUv and calculating the vertex's new position. Finally, we set the gl_Position, which in fact sets the position of the vertex. But also, we have to multiply the position calculated earlier by the projectionMatrix and modelViewMatrix, two matrices that Three.js supplies to us. This is necessary because if we don't do this, the GPU will not consider the point from which we are looking at the vertex. Now let's move to the fragment shader.
Step 2: Fragment Shader
Now this is the place where all the magic happens. Fragment shaders are responsible for all of those good looking games. The one we will use is pretty simple, so don't expect to see a scene from Crysis 3 after using it. Insert the following code under your vertex shader:
<script id="cubeFragmentShader" type="x-shader/x-fragment">
		uniform float time;
		varying vec2 vUv;

		void main() {
			vec2 position = -1.0 + 2.0 * vUv;

			float red = abs(sin(position.x * position.y + time / 5.0));
			float green = abs(sin(position.x * position.y + time / 4.0));
			float blue = abs(sin(position.x * position.y + time / 3.0 ));
			gl_FragColor = vec4(red, green, blue, 1.0);
		}
	</script>
As you can see at the top of the shader, there are our two variables again. You have to keep in mind that all variables you use (except the ones from Three.js) must be defined in each shader they are used in.
In the void main() function, we are calculating the colors based on the time and UV of the fragment (fragment shaders operate on fragments, which are composed from vertices, so the values of varying variables are interpolated in the fragment shader). Feel free to mess with those numbers and functions (just remember that the color values must be positive).
Finally, we are setting the gl_FragColor variable which sets the fragment's color.
If you open your browser now, nothing will change, because we have to change the material of the object so it uses shaders.
Step 3: THREE.ShaderMaterial
This special material is used whenever we need to use shaders. Let's change the material of the object that we attached to our model in the previous part of this series. First, define the uniforms array which will be used to pass variables to the shaders:
var uniforms = {
	time: { type: "f", value: 0 },
	resolution: { type: "v2", value: new THREE.Vector2 },
	texture: { type: "t", value: THREE.ImageUtils.loadTexture('./box.png') }
};
Next, in the loader.load define the item's material and use it:
var itemMaterial = new THREE.ShaderMaterial({
	uniforms: uniforms,
	vertexShader: document.getElementById('cubeVertexShader').innerHTML,
	fragmentShader: document.getElementById('cubeFragmentShader').innerHTML
});
item = new THREE.Mesh(new THREE.CubeGeometry(100, 10, 10), itemMaterial);
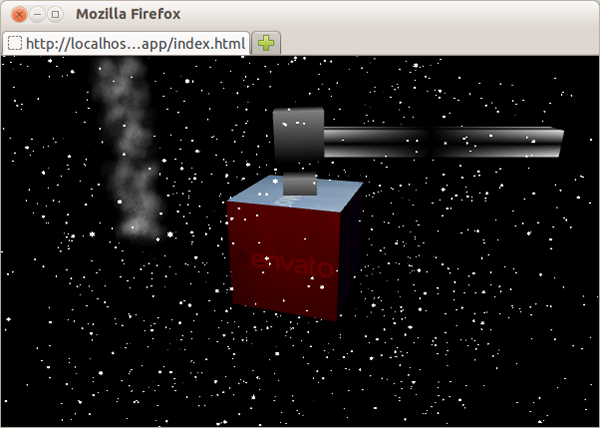
Now, if you open the browser, you should see that the red beam changed its colors:
But the colors are not changing, and the mesh is not animated either. To change that, we have to update the time variable in the shaders each time a frame is drawn. Go to the render function and add this line after the clock.getDelta() call:
uniforms.time.value += delta * 10;
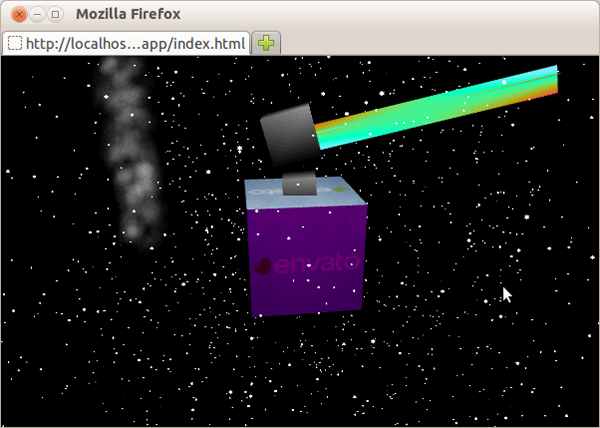
Now if you open the browser, you should see a nicely animated and colorful object:
A Word About Performance
If we were to create such a texture effect using, for example, HTML5 Canvas, the process would take too much of the CPU's cycles, resulting in lags. But all shaders are executed on the GPU, which is optimized for all operations on graphics and is focused only on them. Separating graphic and non-graphic calculations is the key to a good performing app.
If you want to create something real using WebGL, allow me to assure you, that you will have to move as much work as possible to the GPU, to make your application smooth and responsive.
Conclusion
As you can see, using Three.js allows us to create 3D graphics in the browser very easily, and the results are actually pretty good. But, they can be even better, take a look at these examples from Three.js's site:
With enough time, a creative mind and Three.js, you can create amazing apps like those too. I will be more than happy to see your Three.js creations. Thanks for reading.

Comments