If you're just joining the series, we've been discussing the topic of code smells, how to refactor them, and tools that are available to help us automate some of the monotony that comes with doing so, especially within PHP programming.
If you've not read the first two articles in the series, I recommend it as they cover a few prerequisites we have in place before moving forward with the remainder of the article.
The articles are:
- Using PHP CodeSniffer With WordPress: Understanding Code Smells
- Using PHP CodeSniffer With WordPress: Installing and Using PHP CodeSniffer
In short, the articles above will introduce the concept of code smells, which we've been defining as the following:
[A] code smell, also known as a bad smell, in computer programming code, refers to any symptom in the source code of a program that possibly indicates a deeper problem.
And I will walk you through the steps needed to install PHP CodeSniffer on your machine.
But if you've made it this far, I assume you're a WordPress developer, and you're interested in getting PHP CodeSniffer configured such that it can sniff out any problems in your code as it relates to the WordPress Coding Standards.
That's good! Because in the remainder of this article, that's exactly what we're going to cover.
Prerequisites
This should be a very short list. If you've followed along with the series up to this point, you need to have:
- a version of PHP (preferably 5.6.10 or later)
- PHP CodeSniffer
- Composer
All of this is covered in detail throughout the previous articles in the series, but if you've gotten this far and are comfortable with the command line then this should be a cinch in comparison to what we've done so far.
With all of that said, let's get started.
The WordPress Rules for PHP CodeSniffer
First, locate the WordPress Coding Standards rules on GitHub. They're easy to find.
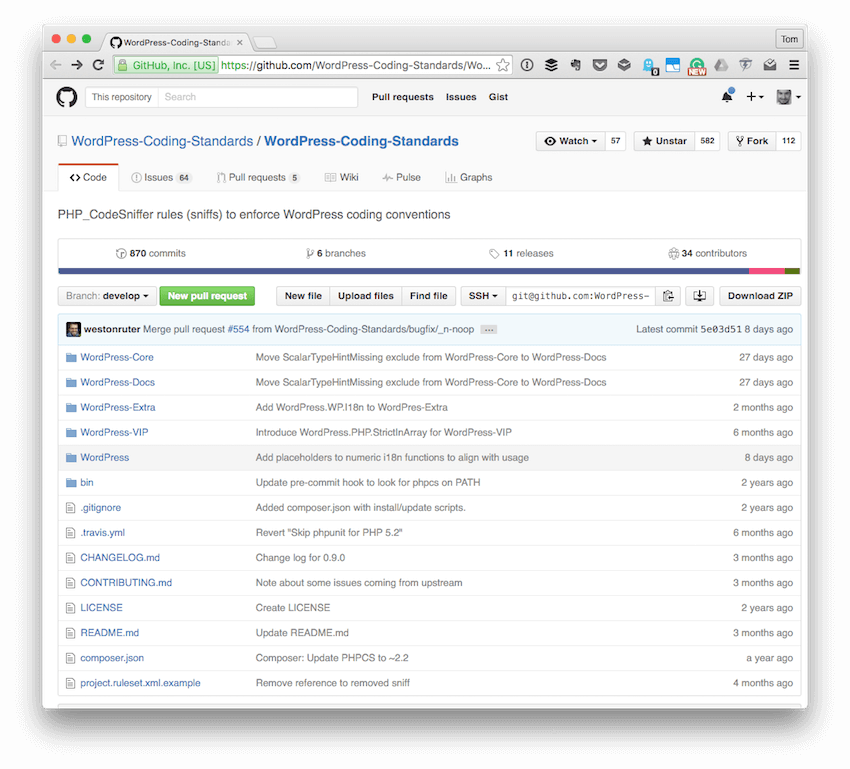
You can read all about the details of the project from the project page, but the most important thing I'd like to share is as follows:
This project is a collection of PHP_CodeSniffer rules (sniffs) to validate code developed for WordPress. It ensures code quality and adherence to coding conventions, especially the official WordPress Coding Standards.
I'd like to bring your attention to the phrase that this references the "official WordPress Coding Standards." Note that these rules are based on the WordPress Coding Standards. That is, you can't officially reference them.
If you're looking to find a way to look through the rules that WordPress defines, check out this article in the Codex. It's easy to follow, easy to read, but a lot to remember. Thankfully, we have the rule set linked above.
The important thing to note is that even if you aren't familiar with the rules, the CodeSniffer will find the problems with your code and will notify you of what you need to fix. Though you don't have to read the Codex article, it can sometimes help in identifying what's needed based on the errors or warnings the sniffer generates.
1. Install the WordPress Rules
Assuming you've properly installed PHP CodeSniffer, let's add the WordPress rules to the software. For this tutorial, I'm going to do everything via the command line so as to be as platform agnostic as possible. I'll offer a few words regarding IDEs and rules at the end of the series.
Open your Terminal and navigate to where you have your copy of PHP CodeSniffer installed. If you've been following along with this series of tutorials, then you likely recall we have a composer.json file that will pull this in for us. If not, remember to create composer.json in the root of your project and add this to the file:
{
    "require": {
        "squizlabs/php_codesniffer": "2.*"
    }
}
Once done, run $ composer update from your Terminal and you'll have everything you need to get going. To verify the installation, run the following command:
$ vendor/bin/phpcs --version
And you should see something like the following output:
PHP_CodeSniffer version 2.6.0 (stable) by Squiz (http://www.squiz.net)
Perfect. Next, let's install the WordPress rules. Since we're using Composer (and will continue to do so), this is very easy to do.
Run the following command from within the root directory of your project:
composer create-project wp-coding-standards/wpcs:dev-master --no-dev
Note that you may be prompted with the following question:
Do you want to remove the existing VCS (.git, .svn..) history? [Y,n]?
If you know what you're doing, then feel free to go ahead and select 'n'; otherwise, you'll be fine hitting 'y'.
2. Add the Rules to PHP CodeSniffer
Now that PHP CodeSniffer is installed, and the WordPress rules are installed, we need to make sure PHP CodeSniffer is aware of our new ruleset. To do this, we need to enter the following command in the command line.
From the root of your project directory, enter the following command:
$ vendor/bin/phpcs --config-set installed_paths wpcs
To verify that the new rules have been added, we can ask PHP CodeSniffer to report to us the sets of rules that it currently has available. In the Terminal, enter the following command:
$ vendor/bin/phpcs -i
And you should see the following output (or something very similar):
The installed coding standards are MySource, PEAR, PHPCS, PSR1, PSR2, Squiz, Zend, WordPress, WordPress-Core, WordPress-Docs, WordPress-Extra and WordPress-VIP
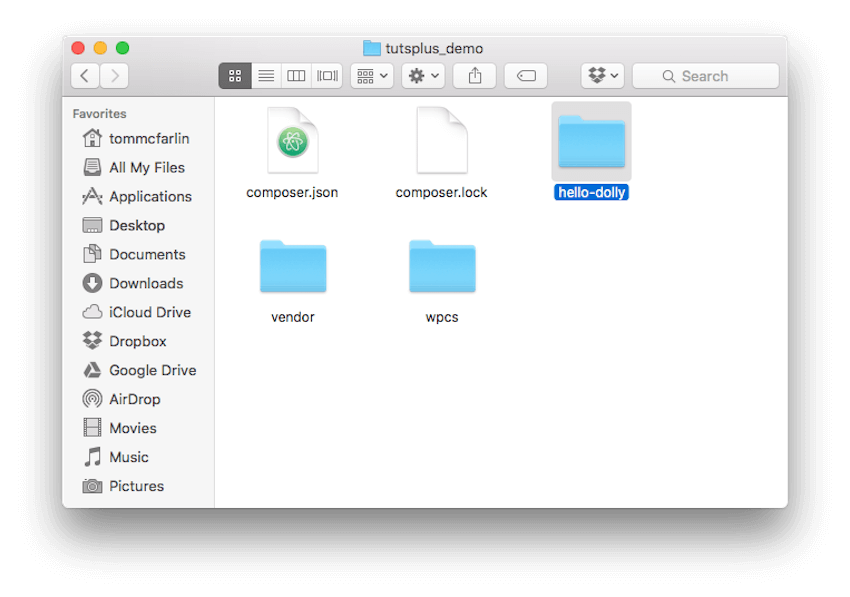
Notice in the line above that we have several sets of rules regarding WordPress. Pretty neat, isn't it? Of course, let's see how this stacks up when we run the rule sets against a plugin like Hello Dolly.
3. Running PHP CodeSniffer Against WordPress Projects
Assuming you're working out of a directory that includes a WordPress plugin, then you can skip the following step. If, on the other hand, you do not have a copy of a WordPress script, file, theme, or plugin installed in the project directory, go ahead and copy one over to your project directory now.
As mentioned, we'll be testing the Hello Dolly plugin.
To run PHP CodeSniffer with the WordPress rules against the files in the plugin directory, enter the following command in the Terminal:
$ vendor/bin/phpcs --standard=WordPress hello-dolly
This will result in output that should correspond to what you see here:
FILE: /Users/tommcfarlin/Desktop/tutsplus_demo/hello-dolly/hello.php
----------------------------------------------------------------------
FOUND 14 ERRORS AFFECTING 14 LINES
----------------------------------------------------------------------
  2 | ERROR | Missing short description in doc comment
  5 | ERROR | There must be exactly one blank line after the file
    |       | comment
  6 | ERROR | Empty line required before block comment
 15 | ERROR | You must use "/**" style comments for a function
    |       | comment
 46 | ERROR | Inline comments must end in full-stops, exclamation
    |       | marks, or question marks
 49 | ERROR | Inline comments must end in full-stops, exclamation
    |       | marks, or question marks
 53 | ERROR | Inline comments must end in full-stops, exclamation
    |       | marks, or question marks
 54 | ERROR | You must use "/**" style comments for a function
    |       | comment
 56 | ERROR | Expected next thing to be an escaping function (see
    |       | Codex for 'Data Validation'), not '"<p
    |       | id='dolly'>$chosen</p>"'
 59 | ERROR | Inline comments must end in full-stops, exclamation
    |       | marks, or question marks
 62 | ERROR | Inline comments must end in full-stops, exclamation
    |       | marks, or question marks
 63 | ERROR | You must use "/**" style comments for a function
    |       | comment
 64 | ERROR | Inline comments must end in full-stops, exclamation
    |       | marks, or question marks
 67 | ERROR | Expected next thing to be an escaping function (see
    |       | Codex for 'Data Validation'), not '"
    |       | '
----------------------------------------------------------------------
Of course, some of these things may change depending on when you're reading this tutorial.
The errors should be pretty clear as to what needs to be fixed:
- The first column denotes the line in which the problem exists.
- The second column determines if there is an error or a warning.
- The third column explains the problem and what's expected of the code.
Note that although these are errors or warnings, the code will obviously still work. But let's pull this through end-to-end and see what it's like to fix up a plugin, arguably the most popular since it comes with each installation of WordPress, and review the differences in the quality of the code.
4. Refactoring Hello Dolly
Note the plugin, before we begin working on it, includes the following source code:
<?php
/**
 * @package Hello_Dolly
 * @version 1.6
 */
/*
Plugin Name: Hello Dolly
Plugin URI: https://wordpress.org/plugins/hello-dolly/
Description: This is not just a plugin, it symbolizes the hope and enthusiasm of an entire generation summed up in two words sung most famously by Louis Armstrong: Hello, Dolly. When activated you will randomly see a lyric from <cite>Hello, Dolly</cite> in the upper right of your admin screen on every page.
Author: Matt Mullenweg
Version: 1.6
Author URI: http://ma.tt/
*/

function hello_dolly_get_lyric() {
    /** These are the lyrics to Hello Dolly */
	$lyrics = "Hello, Dolly
Well, hello, Dolly
It's so nice to have you back where you belong
You're lookin' swell, Dolly
I can tell, Dolly
You're still glowin', you're still crowin'
You're still goin' strong
We feel the room swayin'
While the band's playin'
One of your old favourite songs from way back when
So, take her wrap, fellas
Find her an empty lap, fellas
Dolly'll never go away again
Hello, Dolly
Well, hello, Dolly
It's so nice to have you back where you belong
You're lookin' swell, Dolly
I can tell, Dolly
You're still glowin', you're still crowin'
You're still goin' strong
We feel the room swayin'
While the band's playin'
One of your old favourite songs from way back when
Golly, gee, fellas
Find her a vacant knee, fellas
Dolly'll never go away
Dolly'll never go away
Dolly'll never go away again";

	// Here we split it into lines
	$lyrics = explode( "\n", $lyrics );

	// And then randomly choose a line
	return wptexturize( $lyrics[ mt_rand( 0, count( $lyrics ) - 1 ) ] );
}

// This just echoes the chosen line, we'll position it later
function hello_dolly() {
	$chosen = hello_dolly_get_lyric();
	echo "<p id='dolly'>$chosen</p>";
}

// Now we set that function up to execute when the admin_notices action is called
add_action( 'admin_notices', 'hello_dolly' );

// We need some CSS to position the paragraph
function dolly_css() {
	// This makes sure that the positioning is also good for right-to-left languages
	$x = is_rtl() ? 'left' : 'right';

	echo "
	<style type='text/css'>
	#dolly {
		float: $x;
		padding-$x: 15px;
		padding-top: 5px;
		margin: 0;
		font-size: 11px;
	}
	</style>
	";
}

add_action( 'admin_head', 'dolly_css' );

?>
It should be relatively easy to follow as it uses only a few basic PHP features and Matt's done a good job of commenting the code.
But given the 14 errors that the CodeSniffer found, let's refactor the plugin. Taking into account the errors they presented and what it's expecting to see, let's address each of them.
Once done, the plugin should look like the following:
<?php
/**
 * This is a plugin that symbolizes the hope and enthusiasm of an entire
 * generation summed up in two words sung most famously by Louis Armstrong.
 *
 * @package Hello_Dolly
 * @version 1.6
 *
 * @wordpress-plugin
 * Plugin Name: Hello Dolly
 * Plugin URI: https://wordpress.org/plugins/hello-dolly/
 * Description: This is not just a plugin, it symbolizes the hope and enthusiasm of an entire generation summed up in two words sung most famously by Louis Armstrong: Hello, Dolly. When activated you will randomly see a lyric from <cite>Hello, Dolly</cite> in the upper right of your admin screen on every page.
 * Author: Matt Mullenweg
 * Version: 1.6
 * Author URI: http://ma.tt/
 */

/**
 * Defines the lyrics for 'Hello Dolly'.
 *
 * @return string A random line of from the lyrics to the song.
 */
function hello_dolly_get_lyric() {
    /** These are the lyrics to Hello Dolly */
    $lyrics = "Hello, Dolly
Well, hello, Dolly
It's so nice to have you back where you belong
You're lookin' swell, Dolly
I can tell, Dolly
You're still glowin', you're still crowin'
You're still goin' strong
We feel the room swayin'
While the band's playin'
One of your old favourite songs from way back when
So, take her wrap, fellas
Find her an empty lap, fellas
Dolly'll never go away again
Hello, Dolly
Well, hello, Dolly
It's so nice to have you back where you belong
You're lookin' swell, Dolly
I can tell, Dolly
You're still glowin', you're still crowin'
You're still goin' strong
We feel the room swayin'
While the band's playin'
One of your old favourite songs from way back when
Golly, gee, fellas
Find her a vacant knee, fellas
Dolly'll never go away
Dolly'll never go away
Dolly'll never go away again";

	// Here we split it into lines.
	$lyrics = explode( "\n", $lyrics );

	// And then randomly choose a line.
	return wptexturize( $lyrics[ mt_rand( 0, count( $lyrics ) - 1 ) ] );
}

add_action( 'admin_notices', 'hello_dolly' );
/**
 * This just echoes the chosen line, we'll position it later. This function is
 * set up to execute when the admin_notices action is called.
 */
function hello_dolly() {

	$chosen = hello_dolly_get_lyric();
	echo "<p id='dolly'>$chosen</p>"; // WPCS: XSS OK.

}

add_action( 'admin_head', 'dolly_css' );
/**
 * Add some CSS to position the paragraph.
 */
function dolly_css() {

	/**
	 *This makes sure that the positioning is also good for right-to-left languages.
	 */
	$x = is_rtl() ? 'left' : 'right';
	echo "<style type='text/css'> #dolly { float: $x; padding-$x: 15px; padding-top: 5px; margin: 0; font-size: 11px; } </style> "; // WPCS: XSS OK.

}
Notice that the plugin continues to work and the code is a bit cleaner. Lastly, let's verify that this passes the PHP CodeSniffer test. Let's re-run the code that we used above to initially evaluate the plugin.
$ vendor/bin/phpcs --standard=WordPress hello-dolly
And the output that we see:
Skyhopper5:tutsplus_demo tommcfarlin$
Exactly: There should be no output. Instead, it should be a return to the standard command prompt.
Excellent. The plugin has been brought up to standard. This is why having a code sniffer is so valuable: It finds the errors in your code based on the rules you define and then reports any errors that may exist.
Ultimately, this ensures that you're releasing the highest quality written code into a production-level site. Now, this does not mean you should avoid unit testing or other types of testing, nor does this mean bugs don't exist. It just means that your code is up to a high standard.
Conclusion
And with that, we conclude the series on using PHP CodeSniffer. Recall that throughout the series, we have covered the idea of code smells, how to refactor them, and what tools are available to us when working with PHP applications.
In this article, we saw how we can use a provided set of rules for the WordPress Coding Standards to evaluate our code while working on a new or an existing project. Note that some IDEs support the ability to execute the rules while writing code.
Although that's beyond the scope of this particular tutorial, you can find resources for this in various places throughout the web. Simply search for your IDE by name, determine its support for PHP CodeSniffer, and then make sure to install the WordPress rules as we've detailed in this tutorial.
If you enjoyed this article or this series, you might be interested in checking out other things I've written both on my profile page or on my blog. You can also follow me on Twitter at @tommcfarlin where I often talk about and share various software development practices within the context of WordPress.
With that said, don't hesitate to leave any questions or comments in the feed below and I'll aim to respond to each of them.

Comments