React is a JavaScript library built by Facebook for building user interfaces. If you are new to React, I would recommend reading one of our earlier tutorials on getting started with React. In this tutorial, we'll discuss how to handle nested routing in a React web application.
Setting Up the App
We'll start by setting up our React web application. Let's create a project folder called ReactRouting. Inside ReactRouting, create a file called app.html. Below is the app.html file:
<html>

<head>
    <title>TutsPlus - React Nested Routing</title>
</head>

<body>
    <div id="app"></div>
    <script src="bundle.js"></script>
</body>

</html>
Inside the ReactRouting folder, initialize the project using Node Package Manager (npm).
npm init
Enter the project-specific details or press Enter for defaults, and you should have the package.json file inside the ReactRouting folder.
{
  "name": "reactroutingapp",
  "version": "1.0.0",
  "description": "",
  "main": "app.js",
  "scripts": {
    "test": "echo \"Error: no test specified\" && exit 1"
  },
  "author": "",
  "license": "ISC"
}
Install the react and react-dom dependencies using npm.
npm install react react-dom --save
Install the babel package using npm and save it to the package.json file.
npm install --save-dev webpack-dev-server webpack babel-core babel-loader babel-preset-react babel-preset-es2015
babel packages are required to transform the JSX code into JavaScript. Create a webpack config file to handle the webpack configurations. Here is how the webpack.config.js file would look:
module.exports = {
  entry: './app.js',

  output: {
    filename: 'bundle.js',
  },

  module: {
    loaders: [
      { exclude: /node_modules/, loader: 'babel-loader?presets[]=es2015&presets[]=react' }
    ]
  }
}
app.js is the file where our React code would reside. Create a file called app.js inside the ReactRouting folder. Import the required react libraries in app.js. Create a component called App having a div with some text. Render the component using the render method. Here is how the basic app.js file would look:
import React from 'react'
import { render } from 'react-dom'

const App = () => {
    return (
        <h2>{'TutsPlus - Welcome to React Nested Routing App'}</h2>
    );
};

render((
    <App />
    ),document.getElementById('app'))
Restart the webpack development server.
webpack-dev-server
Once the server has been restarted, you should be able to view the React app running on http://localhost:8080/.
Handling Routing in React
We'll be making use of react-router to implement routing and nested routing. First, install react-router in our project.
npm install react-router --save
Now we have react-router installed in our project. Let's create a couple of views to implement routing. Inside the app.js file, create two components called view1 and view2. Here is how the code would look:
const View1 = () => {
    return(
        <h3>{'Welcome to View1'}</h3>
    );
};

const View2 = () => {
    return(
        <h3>{'Welcome to View2'}</h3>
    );
};
Create a Menu component to display View1 and View2 on clicking. Here is how it looks:
const Menu = () => {
    return(
		<section>

            <ul>
                <li>{'Home'}</li>
                <li>
                    <Link to="/view1">{'View1'}</Link>
                </li>
                <li>
                    <Link to="/view2">{'View2'}</Link>
                </li>
            </ul>
        </section>
	)
};
Let's use the react router to display the default route for our application. Make the Menu component the default route. Also define the route for the View1 and View2 components. Here is how it looks:
render(
    <Router history={hashHistory}>
        <Route component={Menu} path="/"></Route>
        <Route component={View1} path="/view1"></Route>
        <Route component={View2} path="/view2"></Route>
    </Router>,
document.getElementById('app'));
Save the above changes and restart the webpack server. You should have the vertical navigation menu displayed at http://localhost:8080/webpack-dev-server/.
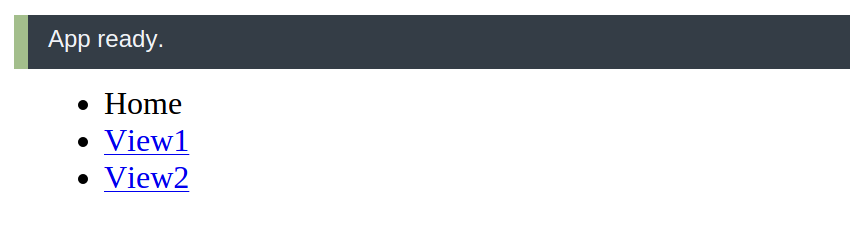
Try clicking on the View1 and View2 links, and it should navigate to the appropriate components.
Nested Routes in React
We already have an App component which displays the header text. Suppose we want the menu click to display the appropriate view, but we want it to be rendered inside the App component.
We want the navigation menu to be available across all pages. In order to achieve this, we'll try to nest our react components View1 and View2 inside the App component. So whenever the View1 is rendered, it's displayed inside the App component.
Now modify the router config and place the View1 and View2 route config inside the App component route.
render(
    <Router history={hashHistory}>
        <Route component={App} path="/">
            <Route component={View1} path="/view1"></Route>
            <Route component={View2} path="/view2"></Route>
        </Route>
    </Router>,
document.getElementById('app'));
Modify the App component to nest the Menu component inside it.
const App = () => {
    return (
        <div>
            <h2>{'TutsPlus - Welcome to React Nested Routing App'}</h2>
            <Menu />
        </div>
    );
};
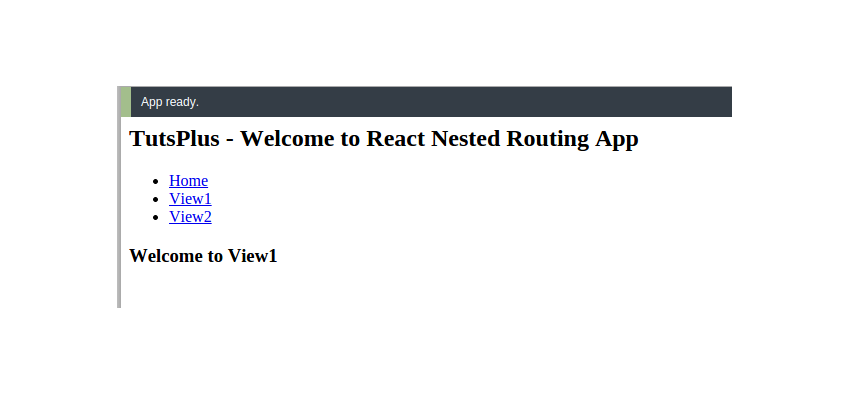
To render the nested routes inside the App component, we'll add props.children to the App component. Pass in props as a function argument to the App component.
const App = (props) => {
    return (
        <div>
            <h2>{'TutsPlus - Welcome to React Nested Routing App'}</h2>
            <Menu />
            {props.children}
        </div>
    );
};
Let's also add one Home component to our application.
const Home = () => {
    return(
        <div>
            <h3>{'Welcome Home !!'}</h3>
        </div>

    );
};
Include the Home component in the nested route list.
render(
    <Router history={hashHistory}>
        <Route component={App} path="/">
            <Route component={Home} path="/home"></Route>
            <Route component={View1} path="/view1"></Route>
            <Route component={View2} path="/view2"></Route>
        </Route>
    </Router>,
document.getElementById('app'));
Save the above changes and restart the server, and you should be able to view the application. Click on the menu items listed, and each when clicked should render nested inside the App component.
Wrapping It Up
In this tutorial, you saw how to implement nested routing in a React application using react-router. You can develop small independent components and then use the components to create larger applications. Making it possible to stitch up small components into large applications is what makes React really powerful.
React is becoming one of the de facto platforms for working on the web. It’s not without its learning curves, and there are plenty of resources to keep you busy, as well. If you’re looking for additional resources to study or to use in your work, check out what we have available in the Envato marketplace.
Source code from this tutorial is available on GitHub. Let us know your suggestions and thoughts in the comments below.

Comments