
The theme customizer is a great tool to allow your users more freedom to tweak a theme without having to edit the code. But if you want to let your users change the colors of their site, things can get complicated. Adding a control for every single element they can change will make things cumbersome and users may end up with a site which looks like a garish mess.
Instead of adding lots of controls for all of the elements you want users to be able to change, you can simply create a color scheme, allowing users to select a few colors and then applying those to a range of elements in the theme.
In this tutorial, I'll take you through the first part of this process, which is setting up the theme customizer controls. In the next part, I'll show you how to link these controls to your theme so that when users select colors, they're carried through to the theme.
The Starting Point
Start by installing the starting theme and activating it. The theme customizer will look like this:
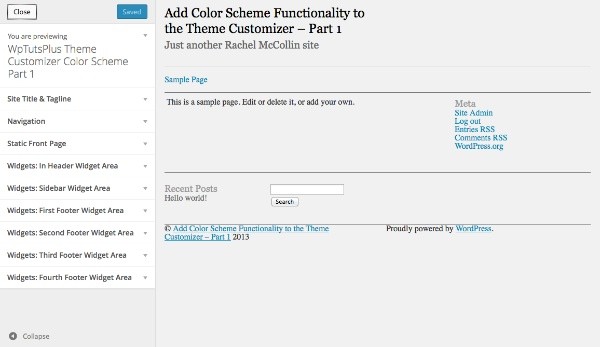
After completing the tutorial, your customizer will have two extra sections.
Setting Up the Theme Customizer
The first step is to create a file in your theme to hold your customizer functions. I'm going to be working with a basic starting theme, based on the theme created during my series on creating a WordPress theme from static HTML. I've made a few modifications to it so it will work with the color scheme functions, so if you want to work through this tutorial, I suggest you download the starting theme.
In your theme's main folder, create a folder called inc and in that, create a file called customizer.php.
Open your functions.php file and add the following, which will include the new file you've just created:
include_once( 'inc/customizer.php' );
Now in your customizer.php file, add this function:
function wptutsplus_customize_register( $wp_customize ) {

}
add_action( 'customize_register', 'wptutsplus_customize_register' );
This creates a function which will contain all of your settings and controls, and hooks it to the customize_register action hook. Your theme is ready to go!
Creating Color Scheme Settings and Controls
The first step is to add the settings and controls for your color scheme. You'll add controls for four color pickers, the main color, the secondary color and two link colors.
Adding a New Section
Inside the function you just created, add the following:
/*******************************************
Color scheme
********************************************/

// add the section to contain the settings
$wp_customize->add_section( 'textcolors' , array(
    'title' =>  'Color Scheme',
) );
This creates an empty section for your color scheme controls.
Defining Arguments For Your Colors
Immediately below, add:
// main color ( site title, h1, h2, h4. h6, widget headings, nav links, footer headings )
$txtcolors[] = array(
	'slug'=>'color_scheme_1',
	'default' => '#000',
	'label' => 'Main Color'
);

// secondary color ( site description, sidebar headings, h3, h5, nav links on hover )
$txtcolors[] = array(
	'slug'=>'color_scheme_2',
	'default' => '#666',
	'label' => 'Secondary Color'
);

// link color
$txtcolors[] = array(
	'slug'=>'link_color',
	'default' => '#008AB7',
	'label' => 'Link Color'
);

// link color ( hover, active )
$txtcolors[] = array(
	'slug'=>'hover_link_color',
	'default' => '#9e4059',
	'label' => 'Link Color (on hover)'
);
This adds a new section to the theme customizer called 'Color Scheme'. It then sets up the arguments for the four colors you'll be working with: a slug, default value and label. The default value is the color used in the theme, so you may want to change yours to the colors in your theme.
Creating Color Settings
Next you need to create settings for your colors using the arguments you just defined. Below the last code block, type:
// add the settings and controls for each color
foreach( $txtcolors as $txtcolor ) {

    // SETTINGS
	$wp_customize->add_setting(
		$txtcolor['slug'], array(
			'default' => $txtcolor['default'],
			'type' => 'option',
			'capability' =>	'edit_theme_options'
		)
	);

}
This uses a foreach statement to work through each of the colors you just defined, creating a setting for each using the arguments you defined. But you still need to add controls so that users can interact with these settings using the theme customizer.
Adding Controls
Inside the foreach braces and below the add_setting() function you just added, insert the following:
// CONTROLS
$wp_customize->add_control(
    new WP_Customize_Color_Control(
		$wp_customize,
		$txtcolor['slug'],
		array('label' => $txtcolor['label'],
		'section' => 'textcolors',
		'settings' => $txtcolor['slug'])
	)
);
This adds a color picker for each of your colors, using the WP_Customize_Color_Control() function, which creates color pickers for the theme customizer.
Your entire foreach statement will now look like this:
// add the settings and controls for each color
foreach( $txtcolors as $txtcolor ) {

    // SETTINGS
	$wp_customize->add_setting(
		$txtcolor['slug'], array(
			'default' => $txtcolor['default'],
			'type' => 'option',
			'capability' =>
			'edit_theme_options'
		)
	);
	// CONTROLS
	$wp_customize->add_control(
		new WP_Customize_Color_Control(
			$wp_customize,
			$txtcolor['slug'],
			array('label' => $txtcolor['label'],
			'section' => 'textcolors',
			'settings' => $txtcolor['slug'])
		)
	);
}
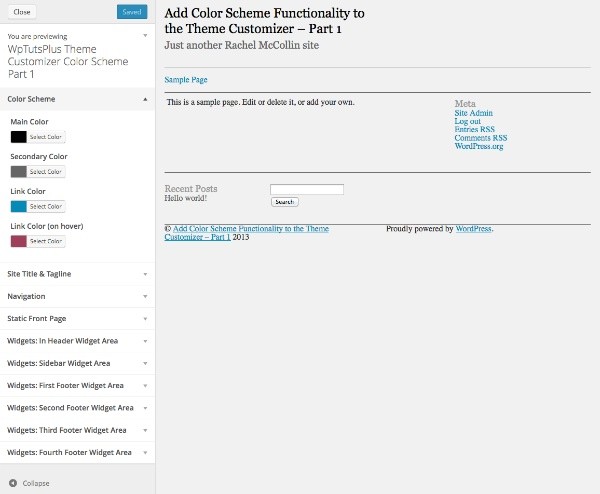
You will now be able to see your new section when you open the theme customizer with your theme activated:
And when you expand one of the controls, you'll be able to see the color picker:
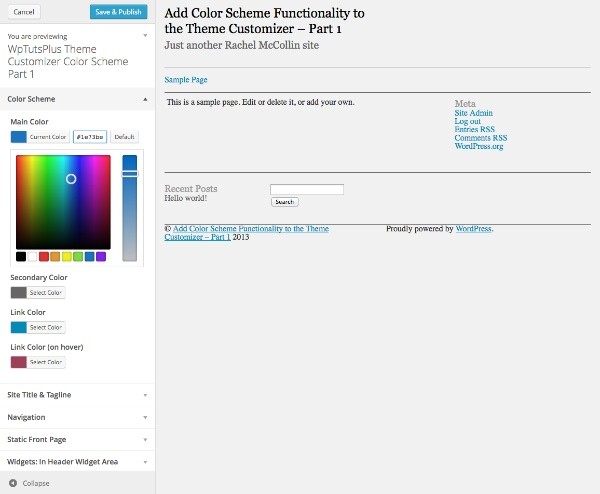
At the moment nothing you do with the color picker will actually be reflected in your theme as you haven't added any CSS to make it work - we'll come to that in part 2 of this series. For now we'll add another section to give users a bit more control over their color scheme.
Creating Solid Background Settings and Controls
The next section won't allow users to pick colors, but instead will give them the option to add a solid background to the header and/or footer of their site. If they select this, the background and text colors of those elements will change.
Below the code you just added, but still inside your wptutsplus_customize_register() function, add the following:
/**************************************
Solid background colors
***************************************/
// add the section to contain the settings
$wp_customize->add_section( 'background' , array(
    'title' =>  'Solid Backgrounds',
) );


// add the setting for the header background
$wp_customize->add_setting( 'header-background' );

// add the control for the header background
$wp_customize->add_control( 'header-background', array(
	'label'      => 'Add a solid background to the header?',
	'section'    => 'background',
	'settings'   => 'header-background',
	'type'       => 'radio',
	'choices'    => array(
		'header-background-off'   => 'no',
		'header-background-on'  => 'yes',
) ) );


// add the setting for the footer background
$wp_customize->add_setting( 'footer-background' );

// add the control for the footer background
$wp_customize->add_control( 'footer-background', array(
	'label'      => 'Add a solid background to the footer?',
	'section'    => 'background',
	'settings'   => 'footer-background',
	'type'       => 'radio',
	'choices'    => array(
		'footer-background-off'   => 'no',
		'footer-background-on'  => 'yes',
		)
	)
);
This adds a second new section called 'Solid Backgrounds' and then adds two controls to it, both of which are radio boxes. In each case there are two choices: yes and no. In the second part of this series I'll show you how to define variables based on those choices and use those to alter the CSS in the theme.
You can now see the new section in the theme customizer:
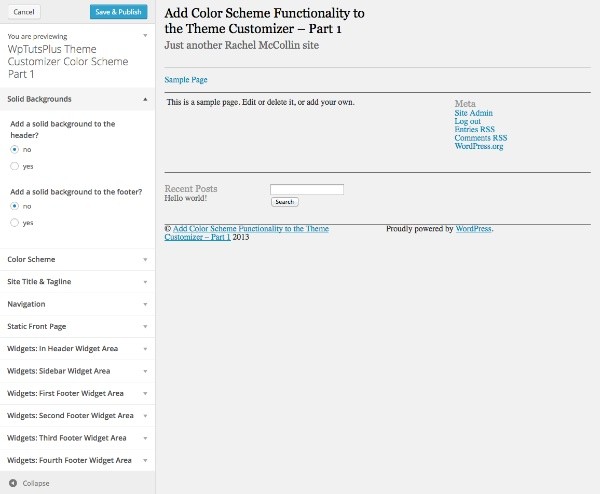
Again, nothing will happen if you select one of the radio boxes as you haven't linked this to the theme's CSS yet, but that will come.
Summary
In this first part, you've added the settings and controls needed to create the theme customizer interface for your color scheme.
In the next part I'll show you how to define variables based on the choices your users make in the theme customizer, and then use those variables to set the CSS.

Comments