Static sites are popular for many reasons. Avoiding overkill solutions and keeping a project simple without databases, too many dependencies, or specific server-side configurations (no PHP, no MySQL/MSSQL, .NET, Python, Ruby, and so on) make it very simple to deploy and be robust against numerous possible vulnerabilities. Ultimately, these become basic HTML pages served to the user.
In this guide, I will show you how to setup your development environment with Hugo and build your first static Hugo website.
A Brand New Approach to Static Websites
The legendary design acronym KISS - Keep It Simple, Stupid - can be applied to Hugo and how it approaches the static website generator space.
Built in Go, Hugo is rapidly compiles your static pages (it takes fractions of milliseconds to compile a small site - and can do thousands of pages in seconds).
Also, Hugo provides essential tooling to the static website workflow (including deployment and migration tools), allowing developers and designers to focus on the fun parts such as exercising their creativity and implementing said creativity in the construction of the website.
Why Static Websites?
When we build content-based websites, we can assume some generalities across all sites and Hugo gives a framework for just that. Specifically, we can take content types such as posts, categories, reviews or products and organize the data. Then, we can give each a specific look via templates and stylesheets.
Going forward, we can then really drive it anywhere we need within the HTML/CSS/JS static website space. When you think about it pragmatically, that's a large space allowing a lot of room for creativity.
jQuery will run fine and there is nothing stopping you using third-party services on your static page, if you need them. So don't limit yourself by thinking you cannot integrate other libraries or applications into your static sites. It's really not the case - you can use any of the JavaScript libraries available.
So for a few pages of a company brochure type website, with a link to a Google Forms for a Contact Us page. And if you need to display other types of data, you can use JavaScript for that aspect of your site.
How Can It Work for My Business and My Clients?
Take, for example, a small store or freelancer with a few products or services that do not require an entire eCommerce solution. Instead, they require only product information and a "contact" link on the page. Hugo can do it by the end of a morning. Hosting isn't even a big deal - it's an afterthought, really, because we're just serving up basic HTML pages.
Hugo also works well for project documentation on GNU projects. For example, think of start-ups or SMEs who need a simple presence.
What Are the Limitations of Static Sites?
What Hugo cannot do is dynamic content, e.g database-driven forms, searching or user systems. If that is what your looking for, then Hugo certainly is not what you want. But for the other times, when you find yourself saying "can't we just put up a basic page for this?" Static website generators are a solid option. Also, be aware that Hugo is not the only static site generator. There are many out there and have been around for a long time, here is a list of them.
For building live content blogs like news sites, Hugo could be a great solution to quickly knock up a page for that coverage to be linked from your main site, getting it online in minutes meaning you can continue to add to it fast and redeploy the changes very quickly. But for making an entire news site with search and many writers, it would be really not suitable to use Hugo.
Hugo also lacks in using more advanced tools for its asset pipeline such as ES6 and Sass - if you want to utilize that technology, you will need to include Gulp or Grunt to get the job done; otherwise, vanilla CSS and JavaScript works best.
Your Home Development Environment
Hugo is written in Go and has support for many platforms, to view all the releases you can go here
For macOS users with HomeBrew, installation can be done as follows:
brew update && brew install hugo
More information on installation for Mac OSX and Windows
Once Hugo is installed, we can test the installation by running hugo help in the command prompt or hugo version
Making Your First Static Website With Hugo
Now that we have Hugo installed we can start creating the website. Run the following command replacing 'your-sitename-here' with your project name:
$ hugo new site your-sitename-here
This will create a scaffolding for your site you can view it in your finder
or in your terminal via the tree command
Hugo has created 5 sub-directories and 1 file, which it uses to create the final website from here's what they all mean:
archetypes: here we define what our content is, we can set default tags or categories and define types such as a post, tutorial or product here
config.toml: main configuration is in here, we can define all of the websites title, language, urls etc here
content: the content pages of the site are stored here, sub directories are used for sections to help organize the content, create a content/products for your products content for example
data: Site data such a localization configurations go here
layouts: layouts for the Go html/template library which Hugo utilizes go here
static: Any static files here will be compiled into the final website, total freedom is allowed so you can serve any css,js or image file for example.
themes: Create new themes or clone themes from github into this directory to use them with your site.
"Hello World" in Hugo
We need to add a post to see the site we just created, do so by using the following command:
$ hugo new post/first-post.md
Now edit the file in content/post/first-post.md, it will contain something similar to the following by default:
+++
date = "2016-09-26T13:19:03+07:00"
title = "first post"

+++
Front Matter
The content inside +++ is the TOML configuration for the post. This configuration is called front matter. It enables you to define post configuration along with its content. By default, each post will have the configuration properties shown above.
Add some text after the +++like so:
+++
date = "2016-09-26T13:19:03+07:00"
title = "first post"

+++

Hello world!
Serving Data and Live Reload
So we can see the live reload functionality that is inbuilt with Hugo, let's make some changes to the site and see what happens.
First start the server by running
$ hugo server
Now if you make some changes to your file, you will see Hugo instantly reload.
Your website will be available at http://localhost:1313 but hold on - you will still only see a blank white page at this point, because we have not defined a theme!
Add a Theme
Hugo has a very robust and versatile theme library as it uses Go's html/template library. Themes are easy to work with, installation is done by simply cloning the repository of a theme into the themes directory for your Hugo site.
Hugo does not come with a default theme, so you must set one.
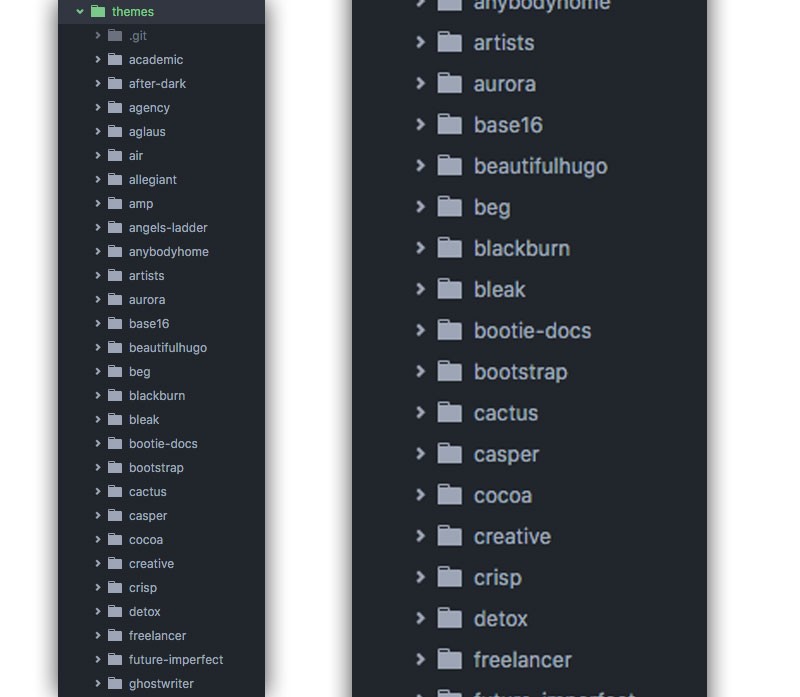
Let's add loads of themes to our site so we can have a play with all of them and see what we like. Do so by running the following in our Hugo directory:
You will now see a whole heap of themes being cloned into your site. There are a lot so you will have time for a break while it clones...
Using a Theme
To use a theme just start Hugo with the -t or --theme parameter like so
$ hugo -t ThemeName
Or you can add to your config.toml :
theme: "ThemeName"
The ThemeName must match the name of the directory inside /themes.
When you have chosen a theme name from the directory, start you server with hugo server --theme=ThemeName and take a look on http://localhost:1313
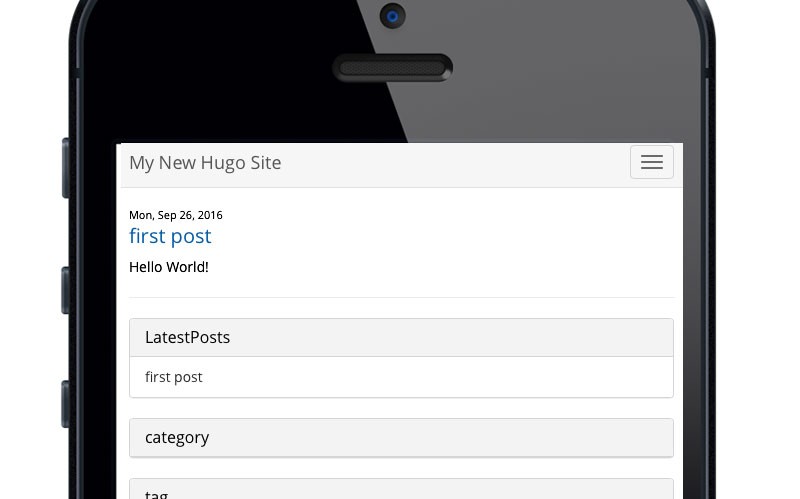
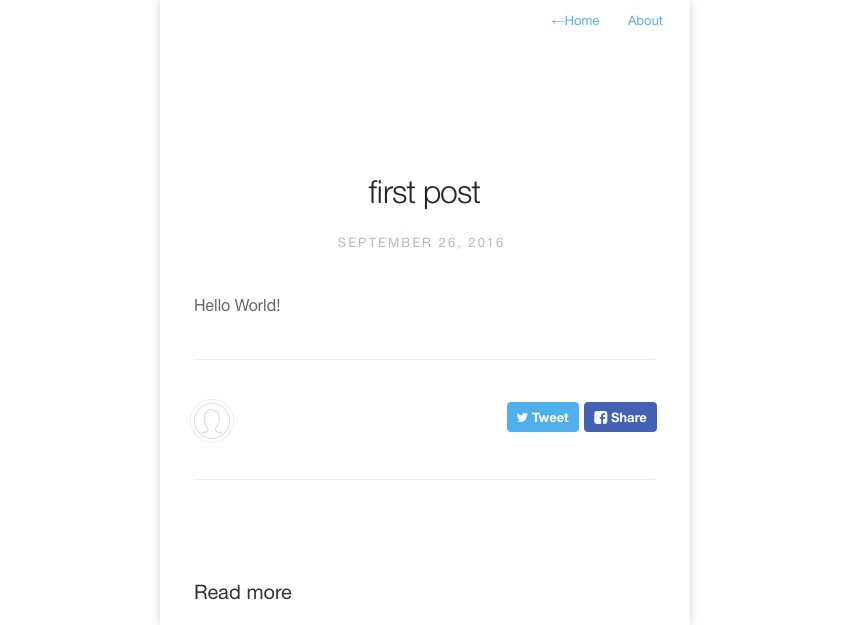
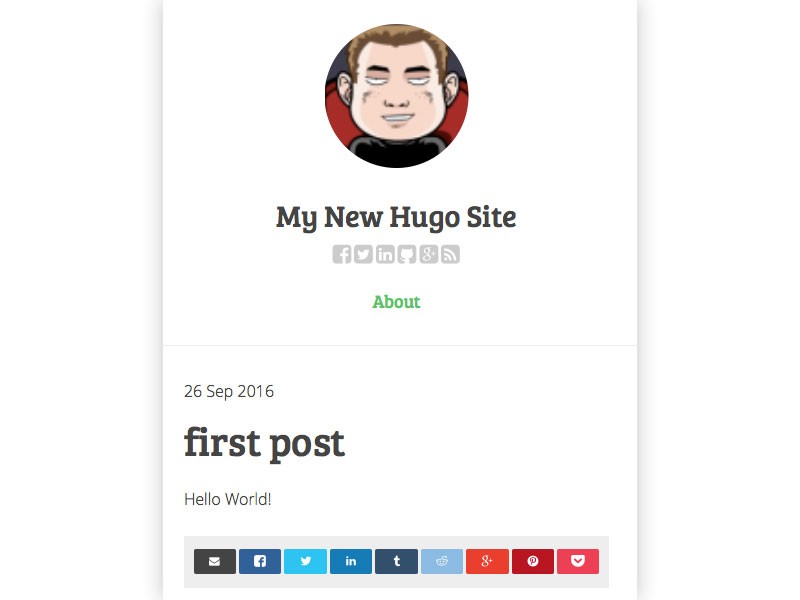
Here are some examples from some of those themes we cloned, I used beg, crisp andcactus have a look around there are so many to choose from!
So you have now generated a website with a hello world post, what else can we do?
Building a Blog
Making a basic blog is really easy to do with Hugo. First, you will need to define a archetype for the default post, so create a new file in archetypes/default.md and add the following as front matter:
Here we set some default tags, for a blog on welding we can be sure we want these tags on all our posts, and we make a category called posts just so we have a default when we create a post.
Now add your first post via the terminal like so:
$ hugo new post/tig-welding-a-bike-frame.md
This will create a post with the archetype you defined before, you can now open it in a text editor and start writing away in markdown format!
Let's add some more posts:
$ hugo new post/welding-a-roll-cage.md
Again to add content, just open the file Hugo created and start adding content to the end of the file after the front matter.
Building a Photo Gallery
To build a photo gallery with Hugo we will use the excellent tool hugo-gallery available on GitHub.
The hugo-gallery tool will create a new posts directory containing a markdown file for each image in source directory allowing for an ordered slide show. It will read all of the files out of the Source Path directory and save them in the static directory of the Hugo site.
It will create a new directory inside of the content directory based on the Title provided e.g content/welding
For example:
$ hugo-gallery static/images/welding-photos welding "Photos of my insane welding skills"
Visit localhost:1313/welding to view the content.
Deployment
Hugo has several tools for deployment such as hugomac which is a OSX menubar app enabling the user to easily publish to EC2 hosting. No command line needed.
Static site generators have been around for a while, and Hugo really builds on the tool set making it fast and easy to knock up sites, or even migrate an existing site from WordPress to Hugo. There are a lot of tools for Hugo, including front-end editors check them out.
Going forward, it will be nice to see more modules for Hugo giving support for things like a contact form and gallery support, or related posts for example.
The Hugo roadmap does have a lot of exiting ideas like dynamic image resizing, support for rsync and image import from hosting providers and easier hosting with AWS EC2 and GitHub integration.
If you are not using Hugo yet be sure to check back on the project as it develops!


Comments