Provisioning an application for testing on a physical device or for App Store distribution can be a nightmare for beginners. Every iOS developer has to tackle this hurdle at some point, though. In this article, I give you a good understanding of how to provision an application for testing on a physical device.
This tutorial covers two scenarios:
- deploying an application with a free Apple ID
- deploying an application as a member of the Apple Developer Program
Introduction
In 2015, Apple revamped their developer offering. Two changes in particular are worth pointing out.
In the past, Apple had separate programs for OS X, iOS, and Safari development. This is no longer the case. With the release of watchOS and tvOS, Apple merged their existing developer programs into one program, the Apple Developer Program.
This means that you no longer need to enroll in multiple programs if you want to develop for OS X and iOS. If you enroll in the Apple Developer Program, you can develop for OS X, iOS, watchOS, tvOS, and Safari.
Another significant change relates to Apple's free developer offering. In the past, it was possible to create a free developer account. With such an account, however, you weren't able to deploy iOS applications to a physical device.
This restriction has now been lifted. Anyone with an Apple ID can start developing for Apple's platforms and can deploy applications to physical devices. This is very good news for anyone interested in developing for one of Apple's platforms.
If you plan to publish an application to one of Apple's App Stores, then you need to enroll in the Apple Developer Program. This is something we discussed in the previous article of this series.
1. Apple ID
Deploying an application to a physical device with an Apple ID is straightforward. But keep in mind that the types of applications you can deploy with a free Apple ID are limited to some extent. I recommend that you take a look at Apple's overview if you want to know more about what's possible and what isn't.
Let's see what steps are involved to run an iOS application on an iPhone or iPad with a free Apple ID. If you don't have an Apple ID, then I suggest you create one on Apple's website before continuing with this tutorial. It only takes a few minutes to create one.
Step 1: Register as a Developer
Visit Apple's developer website and click Member Center at the top. After signing in with your Apple ID, you are asked to agree to Apple's Developer Agreement. Read the agreement, check the checkbox if you agree, and click Submit. You are now a registered Apple developer.
Step 2: Create a Project
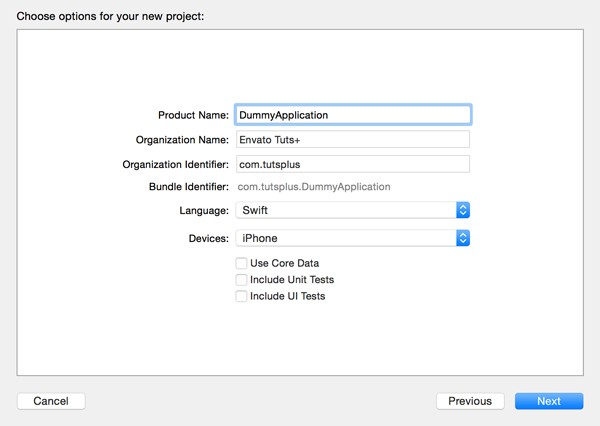
Fire up Xcode and create a project like we did in the previous tutorial. I've chosen for the Single View Application template and configured the project as shown below. Tell Xcode where you'd like to store the project's files and click Create.
Step 3: Add an Account
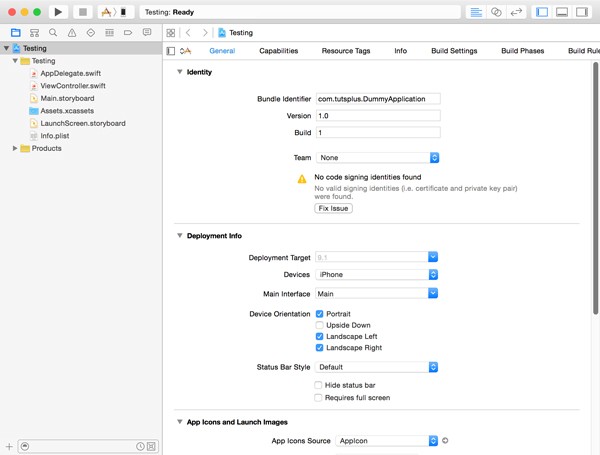
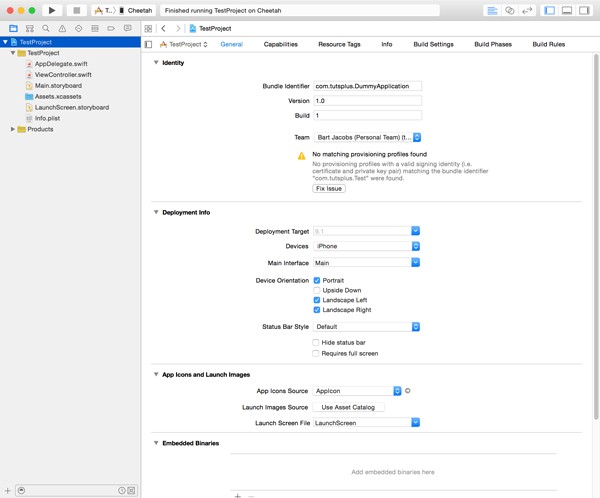
After creating the project, Xcode shows you the General tab of the project's only target. In the Identity section, Xcode warns us that we cannot run the application on a device. The warning at the bottom of the Identity section tells us that Xcode is unable to find a code signing identity and Team is set to None. You can easily fix this by signing in with your Apple ID.
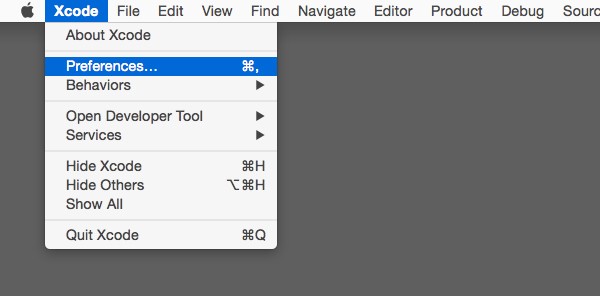
Select Xcode from the menu bar and choose Preferences... to open Xcode's preferences window.
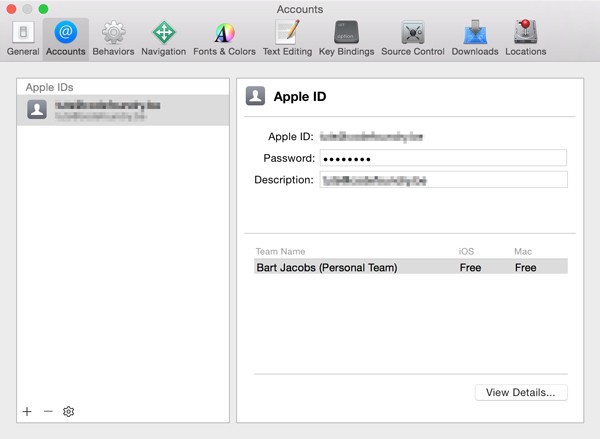
If you open the Accounts tab, you can see that no accounts are listed yet.
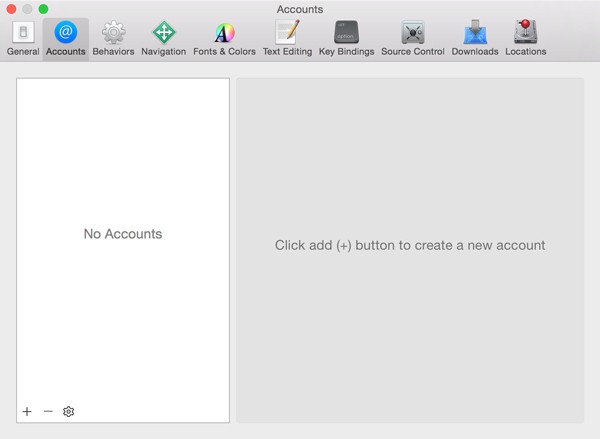
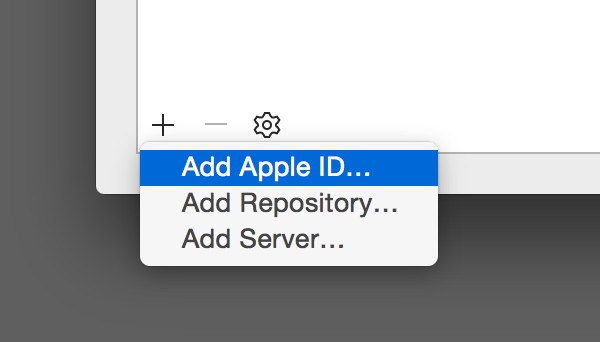
Click the plus button in the bottom left and choose Add Apple ID... from the list of options.
Enter your Apple ID and password in the dialog and click Add. If this doesn't work for you, then make sure you've first registered as an Apple developer as I showed you earlier. If adding your Apple ID is successful, then it should now show up in the list of accounts on the left.
Step 4: Update Team
Close the preferences window and head back to the General tab of the project's target. In the Identity section, set Team to the account you added a moment ago. Even though you've now specified a team, Xcode still shows you a warning.
Wait a second? Why don't we try clicking the Fix Issue button. There's a reason why it's there. Right? If you click the Fix Issue button, Xcode will take care of the nitty gritty details to make sure you can run your application on a physical device.
Step 5: Trust the Developer
If you try to run the application on your device, then you will still run into a problem. Do you also see the following dialog?

Xcode shows us a pretty cryptic error message and it took me a few minutes to figure out what was going on. If you look at your device, then you'll see that the application is installed. If you tap the icon to launch it, you'll find out what the problem is. The operating system tells us that the application is from an untrusted developer.
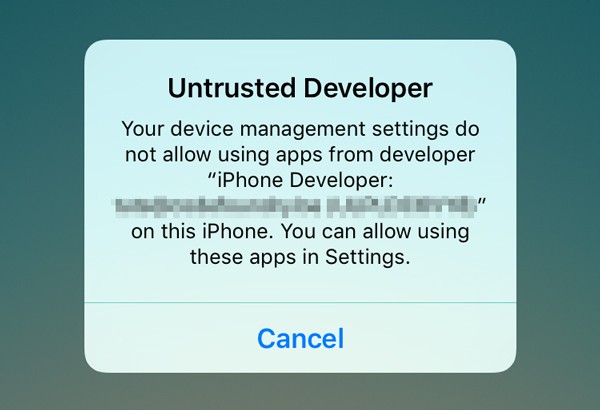
Fortunately, the operating system also gives us a hint. Open the Settings application and navigate to General > Profiles. Select the profile with your Apple ID and tap Trust "<Apple ID>". Choose Trust from the dialog that shows up to finish the process. You should now be able to run the application on your device.

Remember that you need to trust the developer again, if you delete every application from that particular developer.
2. Apple Developer Program
If you've chosen to enroll in the Apple Developer Program, then the steps you need to take to provision an application are different. The upside is that the restrictions imposed on a free developer account are absent for members of the Apple Developer Program. The first thing you need to do is create a development certificate.
Step 1: Create a Certificate Signing Request
A certificate is an electronic document that links your digital identity with other information, such as your name, email, and organization information. A development certificate consists of a secret private key and a shared public key. If you are familiar with SSL certificates for securing websites, then you probably already know what a certificate is and how it works.
Xcode uses the private key of the certificate to cryptographically sign your application binary. To obtain a development certificate, you first need to create a certificate signing request or CSR.
You can create a CSR using OS X's Keychain Access utility, which you can find in the Applications > Utilities folder. Open the Keychain Access menu, select Certificate Assistant and choose Request a Certificate From a Certificate Authority....
Fill out the form by entering your name and the email address with which you signed up for the Apple Developer Program. Leave the certificate authority email address (CA Email Address) blank and make sure to check Saved to disk to save the certificate signing request to your machine. Leave Let me specify key pair information unchecked.

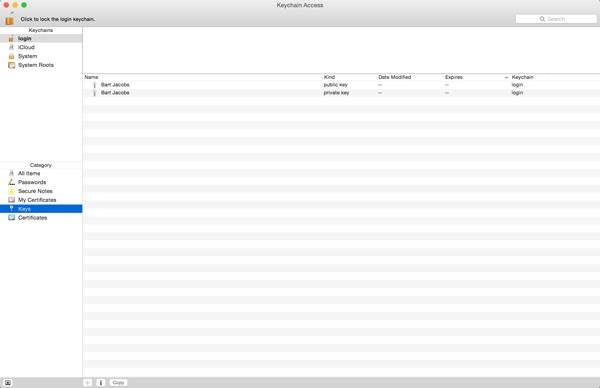
Click Continue, specify a location to save the CSR, and click Save. Browse to the location you specified to make sure the CSR was generated. In Keychain Access, under the Keys category, you can see that the private and public keys have been added to your login keychain.
Step 2: Create a Development Certificate
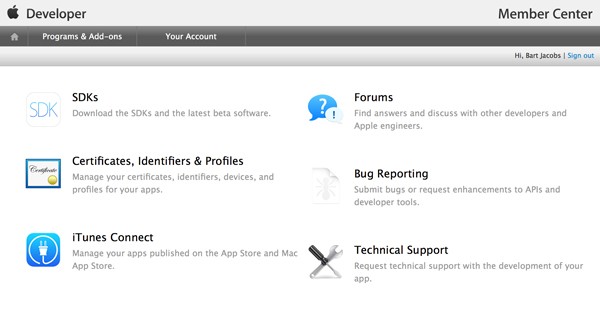
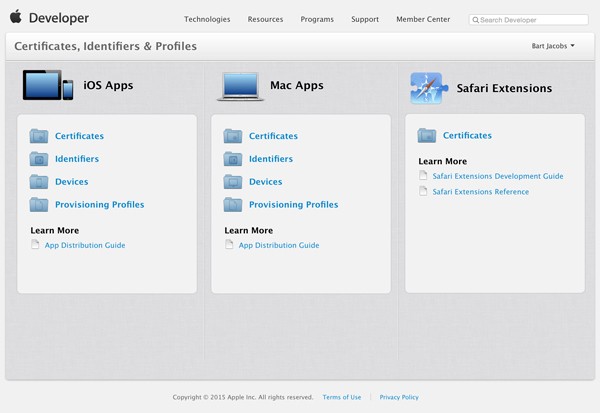
Open a browser and navigate to Apple's developer website. Click Member Center at the top, sign in with your developer account, and choose Certificates, Identifiers & Profiles.
On the next page, select Certificates from the iOS Apps section.
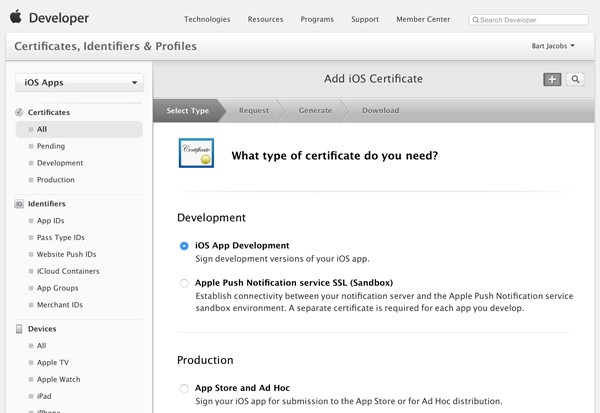
Click the plus button in the top right to add a new certificate. From the list of options, choose iOS App Development. That's the type of certificate we're interested in. Click Continue at the bottom.
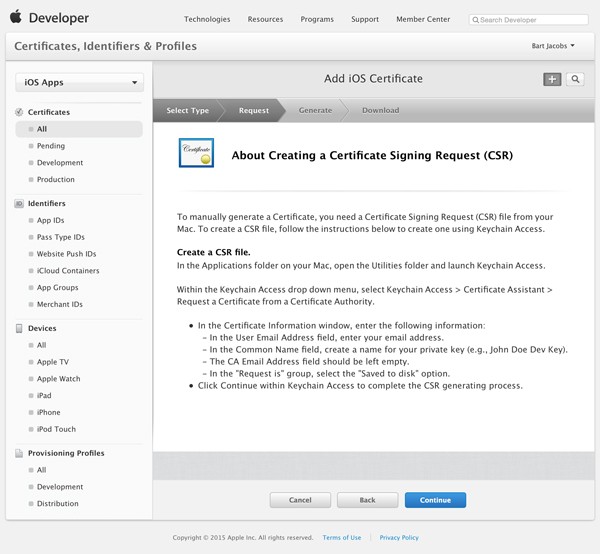
The next page outlines the steps to create a CSR. Since we already have a CSR you can click Continue at the bottom.
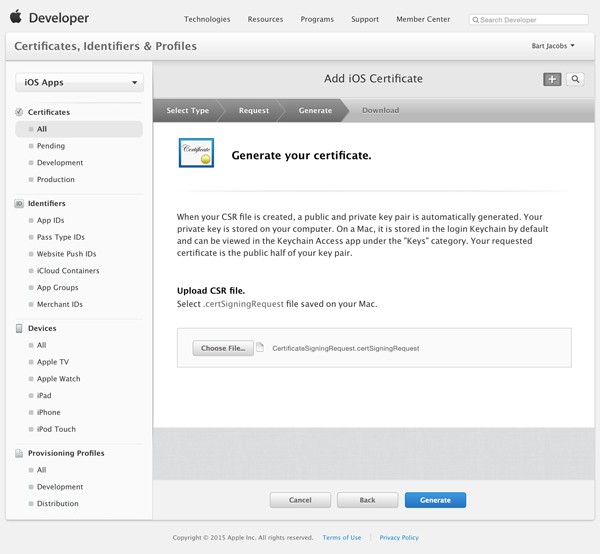
Upload the CSR and click Generate at the bottom.
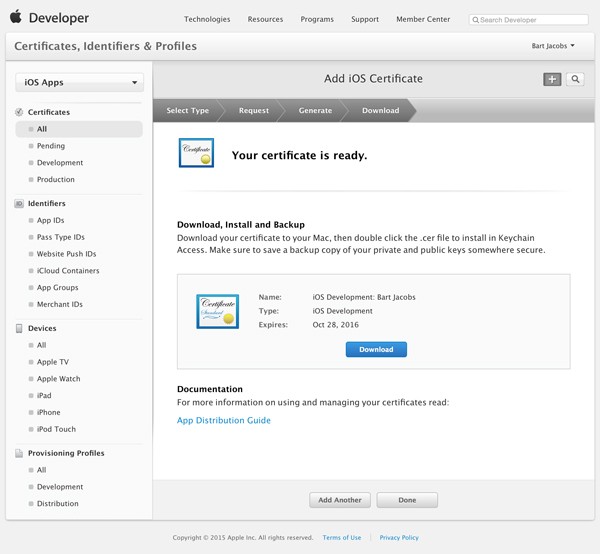
That's it. Click the Download button to download the development certificate. After downloading the development certificate, double click it to install it in Keychain Access. Make sure to back the certificate up, because you don't want to lose it.
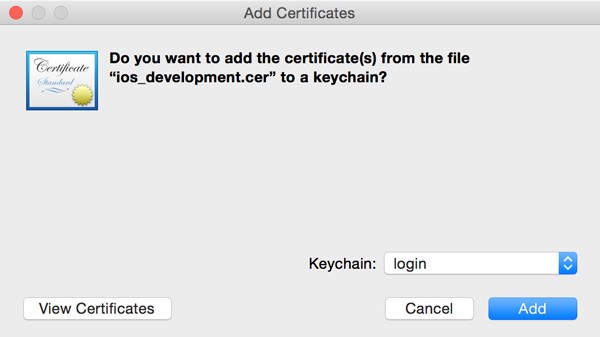
If Keychain Access prompts you to add the certificate to the login keychain, then you can safely click Add.
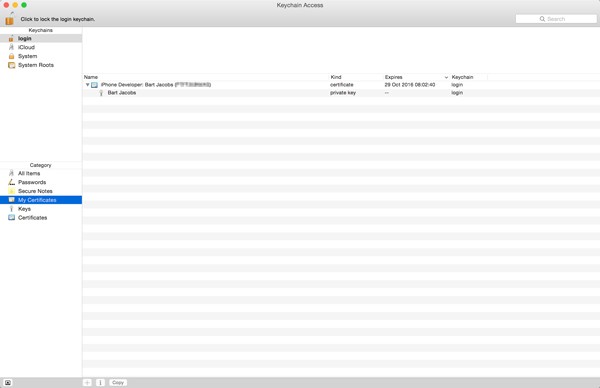
In Keychain Access, select My Certificates on the left and locate the certificate you added to make sure you've installed it correctly.
Step 3: Add a Device
You cannot run an iOS application on a random device. You need to specify which devices can run your iOS application by marking one or more iOS devices for development in the developer portal.
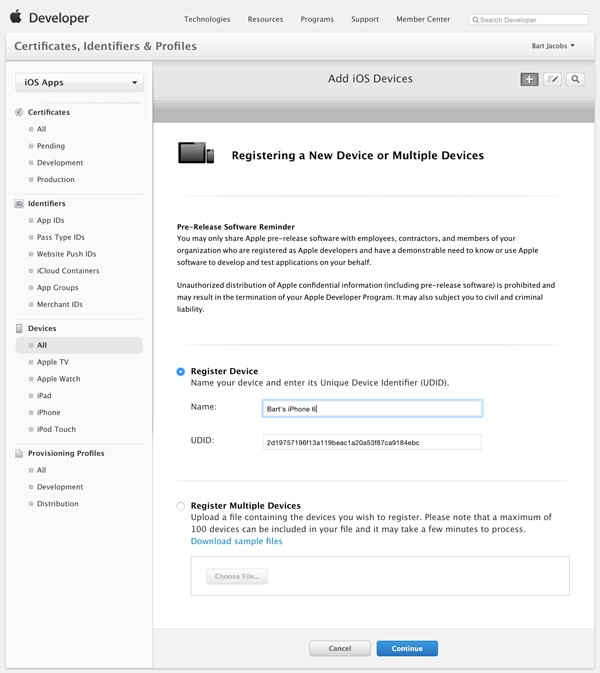
Navigate to the Certificates, Identifiers & Profiles section of the developer portal, select the Devices tab in the iOS Apps section, and click the plus button in the top right. To register a device, enter a name for the device and its UDID. The UDID is an identifier that uniquely identifies an iOS device. Note that the UDID is not the same as the device's serial number.
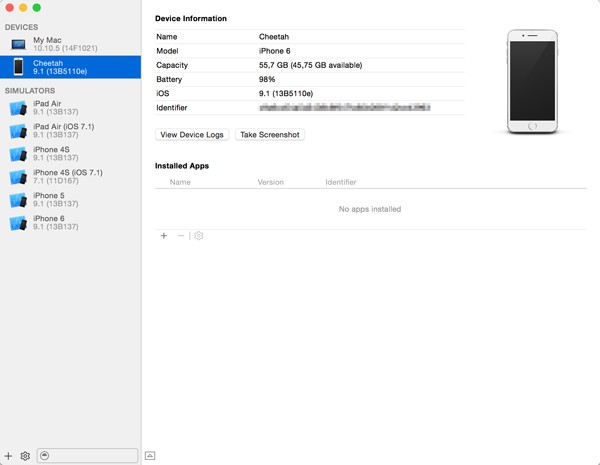
You can find the UDID of a device by connecting the device to your machine, launching Xcode, and choosing Devices from the Window menu. The forty character alphanumeric string next to Identifier is the device's UDID.
Step 4: Create an App ID
An App ID is an identifier that uniquely identifies an application on iOS. It's much like the device's UDID, which uniquely identifies a device. The App ID is used by the operating system for security reasons and it's an essential component of Apple's Push Notification and iCloud services, among others.
The App ID of an application consists of your application's bundle identifier prefixed with a unique ten character bundle seed ID generated by Apple. What is a bundle identifier? Think back to the first project you created in the previous tutorial. Even though I didn't cover the bundle identifier in detail, you implicitly specified a bundle identifier for your project by giving your application a name and specifying an organization identifier.
By default, the bundle identifier is your application's name prefixed with your project's organization identifier. You can change the bundle identifier to whatever you like. It's recommended to adopt the reverse domain name notation, for example, com.tutsplus.my-first-application. The complete App ID would then be xxxxxxxxxx.com.tutsplus.my-first-application.
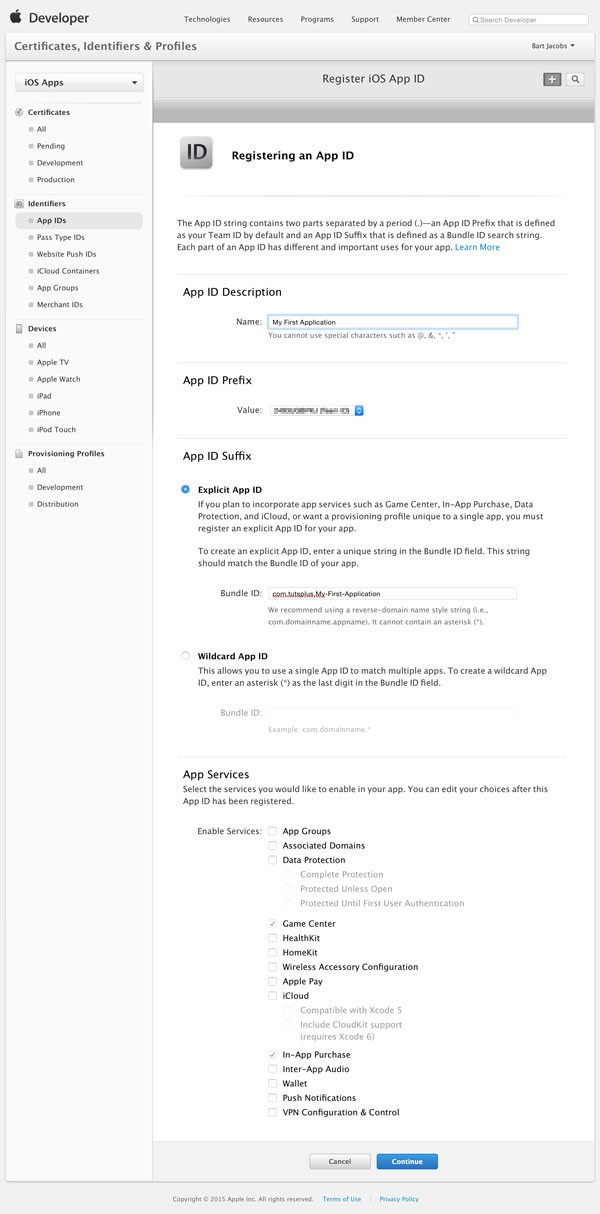
To create a new App ID in the developer portal, navigate to the Certificates, Identifiers & Profiles section, click iOS Apps, and choose App IDs from the menu on the left. To create a new App ID, click the plus button in the top right.
Start by giving your App ID a descriptive name so you can find it later. Leave the App ID prefix field untouched. In the section App ID Suffix, enter your application's bundle identifier. Make sure you enter it in the section labeled Explicit App ID.
You can also opt for a Wildcard App ID and replace the application name in the bundle identifier with an asterisk, for example, com.tutsplus.*. This is useful if you intend to create a suite of applications that need to share keychain access or don't require keychain access at all. The asterisk or wildcard character needs to be the last component of the bundle identifier.
Step 5: Create a Provisioning Profile
With the development certificate and the App ID in place, it's time to create a provisioning profile for your application. Before we start, it might be useful to explain what a provisioning profile is, because this is something that confuses many new iOS developers.
Apple's documentation defines a provisioning profile as "a collection of assets that uniquely ties developers and devices to an authorized iOS Development Team and enables a device to be used for testing." In other words, a provisioning profile contains the information that the operating system needs to verify whether an application is permitted to run on a specific device. This implies that the provisioning profile needs to be installed on each device the application needs to run on.
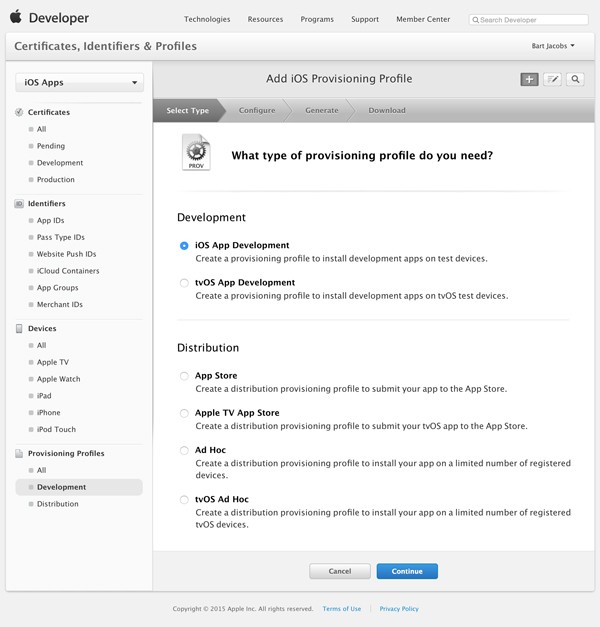
Let's create a provisioning profile for your application. In the Certificates, Identifiers & Profiles section of the developer portal, select the Provisioning Profiles tab in the iOS Apps section. Click the plus button in the top right to create a new provisioning profile. Select iOS App Development in the Development section and click Continue.
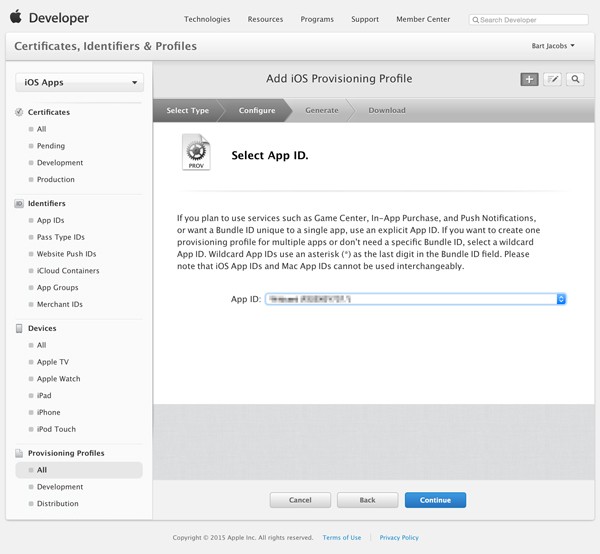
In the next step, select the App ID you created a few minutes ago and click Continue.
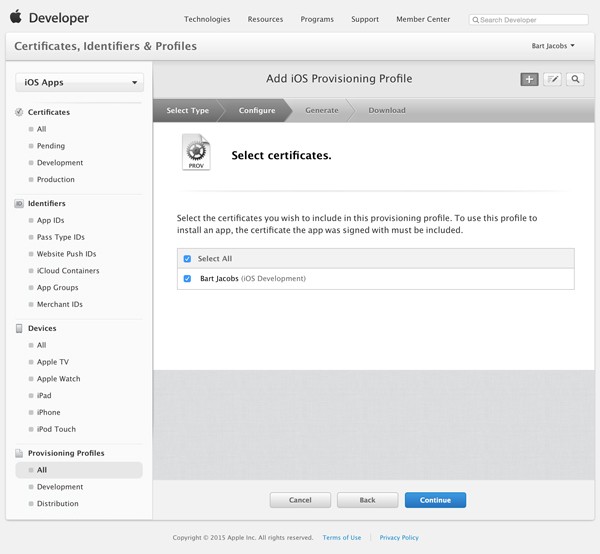
Select the development certificate from the list of certificates to associate the new provisioning profile with the correct certificate. Click Continue.
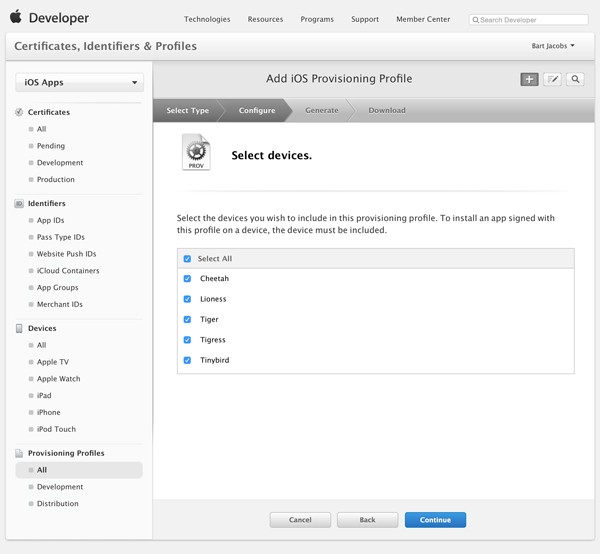
You now need to select the devices you wish to link to the provisioning profile. Remember that only these devices will be able to run your application during development.
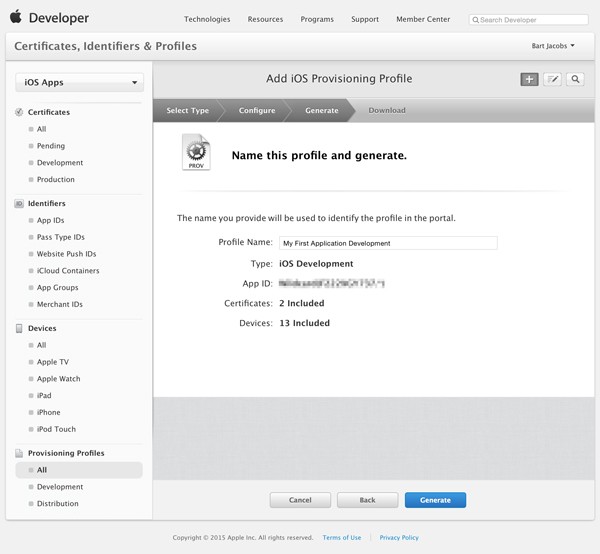
Give the provisioning profile a descriptive name so you can easily find it later. Click Generate and download the provisioning profile to your development machine. Double click the provisioning profile to add it to Xcode.
If you wish to add more devices to an already existing provisioning profile, then you can do so by editing the provisioning profile. All you need to do is download the new provisioning profile and install it on every device you wish to test with. In other words, you don't need to create a new provisioning profile if all you want to do is add or remove devices.
Step 6: Configure the Project
Before you can build and run your application on your device, you need to update the build settings of the target in your Xcode project.
Open the Xcode project you created in the previous tutorial and select the project from the Project Navigator on the left. Select My First Application in the Targets section and open Build Settings at the top.
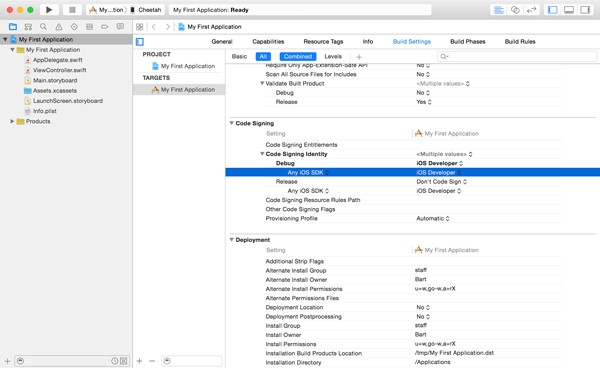
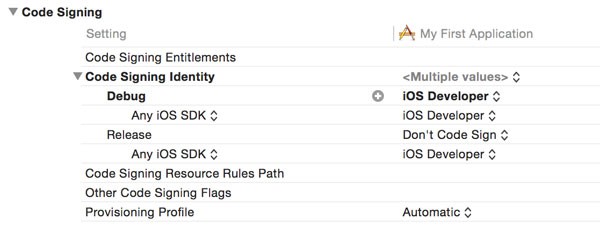
Don't be overwhelmed by the numerous build settings. Scroll through the list and search for the Code Signing section. In this section, search for the Code Signing Identity subsection and set the Debug configuration to match iOS Developer. It's usually located under the Automatic heading.
Step 7: Build & Run
If you've followed the above steps, then you should now be able to build and run your application on your device. Before you run your application, make sure that you correctly set the active scheme and destination as shown below.

3. Add a Developer Account
With regards to application provisioning, Xcode can do some of the heavy lifting for you. For that to work, you need to add your developer account to Xcode. You can add your developer account by selecting Preferences... from the Xcode menu and opening the Accounts tab.
Click the plus button in the bottom left and choose Add Apple ID... from the list of options. Enter your credentials and click Add.
By adding your developer account to Xcode, it can communicate with the developer portal on your behalf. This makes some tasks a lot easier.
Conclusion
Creating and managing certificates, provisioning profiles, App IDs, and test devices can be a daunting task—and it often is for most developers. I hope that this article has given you a sturdy foundation.
Don't hesitate to read this article a few times to really understand how the different pieces fit together. It will make debugging issues related to provisioning much easier and I can guarantee you that you will run into such issues at some point in your iOS development career.
If you have any questions or comments, you can leave them in the comments below or reach out to me on Twitter.

Comments