Introduction
With iOS 10, Apple now allows app developers to create custom interfaces for notifications delivered to their users. The possibilities of this framework are shown in the Messages app, where you can view the conversation interface as if you were in the app itself.
The framework that makes all of this functionality possible is the new UserNotificationsUI framework. By using this framework, you can adapt any UIViewController subclass to present your notification content.
In this tutorial, I will be showing you how to use this new framework to create a custom interface to your own app's notifications.
This tutorial requires that you are running Xcode 8 with the iOS 10 SDK. You will also need to download the starter project from GitHub.
Please note that the starter project is using the new UserNotification framework in iOS 10 to schedule the local notifications for testing. We'll be using that framework throughout the tutorial, so if you're not familiar with it, check out my post covering it here:
1. Notification Content Extension
Like many other kinds of extra iOS app functionality such as sharing and custom keyboards, notification interfaces begin with an extension.
With the starter project open in Xcode, navigate to File > New > Target... in the menu bar. In the dialog that appears, select the iOS > Application Extension > Notification Content extension type:

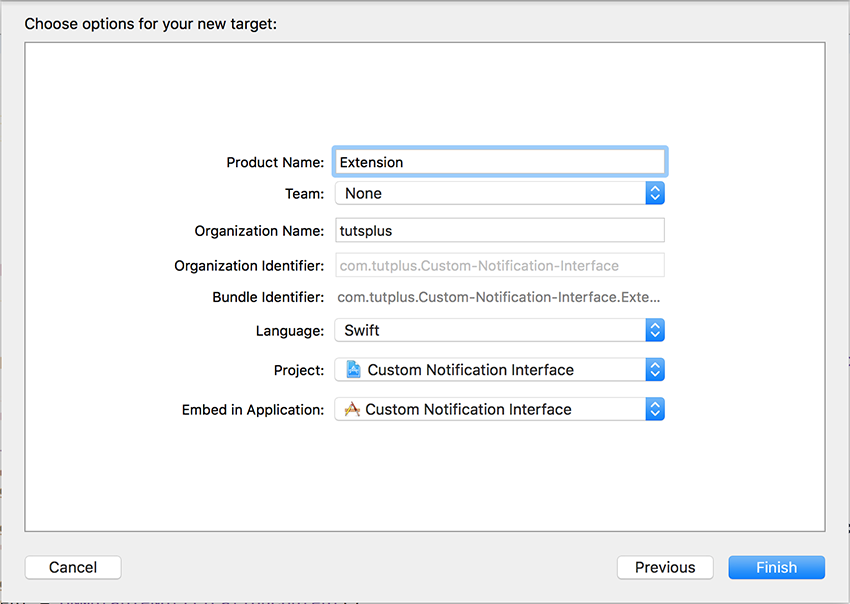
Name your extension whatever you want and click Finish:
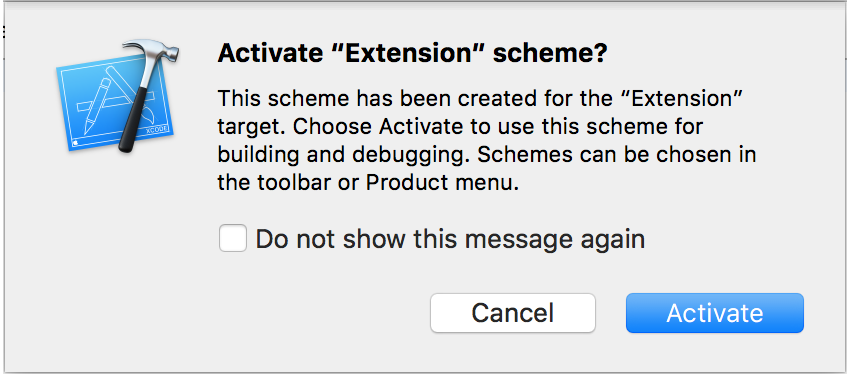
If a popup appears asking you to activate your new scheme, click the Activate button to set it up for debugging:
You will now see a new folder with the name of your extension in the Xcode File Navigator for your project. This folder contains the following files:
-
NotificationViewController.swift which contains the
NotificationViewControllerclass (aUIViewControllersubclass) for your custom interface. By default, Xcode also automatically makes this class conform to the required protocol from the UserNotificationUI framework. We will look at this protocol in more detail later in the tutorial. -
MainInterface.storyboard which is a storyboard file containing a single view controller. This is the interface that will be shown when a user interacts with your notification. Xcode automatically links this interface up to the
NotificationViewControllerclass so that does not have to be done manually. - Info.plist which contains many important details about your extension. If you open up this file, you will see it contains a lot of items. The only one you need to worry about, however, is the NSExtension dictionary which contains the following:

You will see that Xcode automatically links your notification content extension to the correct system extension point, com.apple.usernotifications.content-extension, and storyboard interface file, MainInterface. Within the NSExtensionAttributes sub-dictionary, there are two attributes you must define:
-
UNNotificationExtensionCategory which is a string value identical to the notification category you want to display the custom interface for. In your Info.plist file, change this value to com.tutplus.Custom-Notification-Interface.notification so that it matches the category used by the starter project.
-
UNNotificationExtensionInitialContentSizeRatio which is a number between 0 and 1 defining the aspect ratio of your custom interface. The default value of 1 tells the system that your interface has a total height equal to its width. A value of 0.5, for example, would result in an interface with a height equal to half of its total width. It is important to note that the height of your interface can be changed dynamically when it is loaded. The value in the Info.plist is just an estimate number so that the system can display a better-looking animation.
In addition, you can also define the UNNotificationExtensionDefaultContentHidden attribute in this NSExtensionAttributes dictionary. This attribute requires a boolean value which tells the system whether or not it should display the default notification view along with your interface. The title bar at the top containing your app's icon and name as well as a dismiss button will always be shown. For any custom action you have defined for your notification category, a button for the user to perform this action will also always be shown. Defining a value of true for this attribute will result in the system only showing your custom interface and not the default notification view. If you do not define this attribute, or provide a value of false, then the default notification view will be shown below your interface.
2. Creating the Interface
Creating the interface for your custom notification content is identical to when you are creating an interface for any regular iOS view controller.
One very important thing to keep in mind when designing your interface, however, is that your view controller will not receive any touch events when being displayed to the user. This means that your view controller should not include any interface elements the user would expect to be able to interact with including buttons, switches, sliders, etc. Please note that you can still include items such as UITableViews and UIScrollViews in your interface and scroll them programmatically if your content doesn't fit within the whole interface.
The only exception to this is that, if your interface contains some sort of media associated with the notification, you can ask the system to display a media play/pause button.
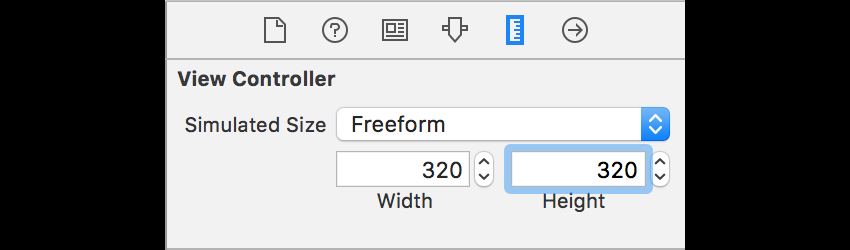
To create the interface for this tutorial, open up your MainInterface.storyboard file. Firstly, select the view controller and in the Attributes inspector, change its height to be equal to its width:
Next, change the background colour of the main view to white. Lastly, change the existing label's text colour property to black and the text size to 96. When done, your interface should look similar to the following:
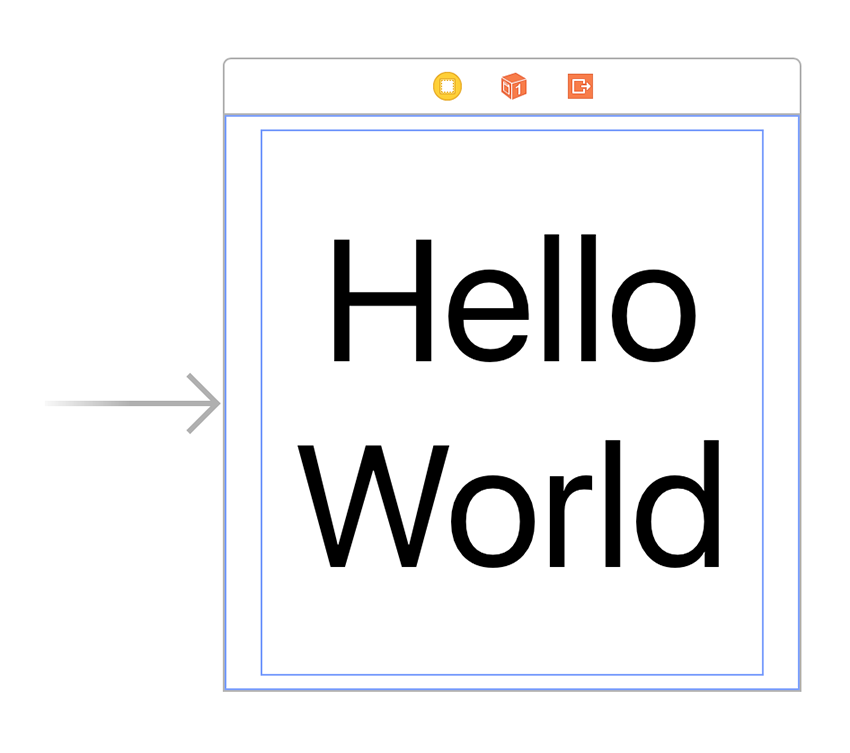
While we have only slightly modified the default interface provided by Xcode, depending on what sort of content your app contains, you can easily create any UIKit based interface to present with your notifications.
3. Programming the View Controller
Now with our interface complete, open up your NotificationViewController.swift file to begin implementing functionality within the view controller.
What sets your notification content view controller apart from any other regular UIViewController subclass is its conformance to the UNNotificationContentExtension protocol. This protocol is part of the UserNotificationsUI framework and defines the following methods:
-
didReceive(_:)which is called whenever your app receives a new notification. It contains a singleUNNotificationobject as a parameter which you can use to access all the content of the incoming notification. It is important to note that this method can be called multiple times if your app continues to receive notifications when your interface is open so your app should be able to handle this. -
didReceive(_:completionHandler:)which is called when the user taps one of your notification's custom action buttons. This method contains aUNNotificationResponseobject which you can use to determine which action the user selected. When you are done processing the notification action, you must call the completion handler with aUNNotificationContentExtensionResponseOptionvalue.
The UNNotificationContentExtensionResponseOption enumeration defines the following options:
-
doNotDismisswhich you should use when your notification view controller handles all the logic for that action, and you want your interface to remain on-screen. -
dismisswhich you should use when your notification view controller handles all the logic for that action, and you want your interface to be closed.
-
dismissAndForwardActionwhich you should use when you want to close your interface and let your app delegate (or whatever yourUNUserNotificationCenterDelegateobject is) handle the custom action.
Another piece of functionality that the UNNotificationContentExtension protocol provides is the ability for you to add a system-generated media playback button to your interface. This is the only exception to the interface design limitations that I mentioned earlier. By overriding the following properties and methods, you can add this button to your interface and detect when it is pressed by the user:
-
mediaPlayPauseButtonType: aUNNotificationContentExtensionMediaPlayPauseButtonTypevalue -
mediaPlayPauseButtonFrame: aCGRectvalue -
mediaPlayPauseButtonTintColor: aUIColorvalue -
mediaPlay: called when your interface should play its media -
mediaPause: called when your interface should pause its media
The local notification that the starter project creates includes a custom number in the notification's userInfo property, and this is what we are going to display in the custom interface. To do so, replace your NotificationViewController class's didReceive(_:) method with the following:
func didReceive(_ notification: UNNotification) {
    if let number = notification.request.content.userInfo["customNumber"] as? Int {
        label?.text = "\(number)"
    }
}
Now it's time for us to test out our custom interface. Firstly, make sure that your iOS application target is currently selected by Xcode in the top left corner:
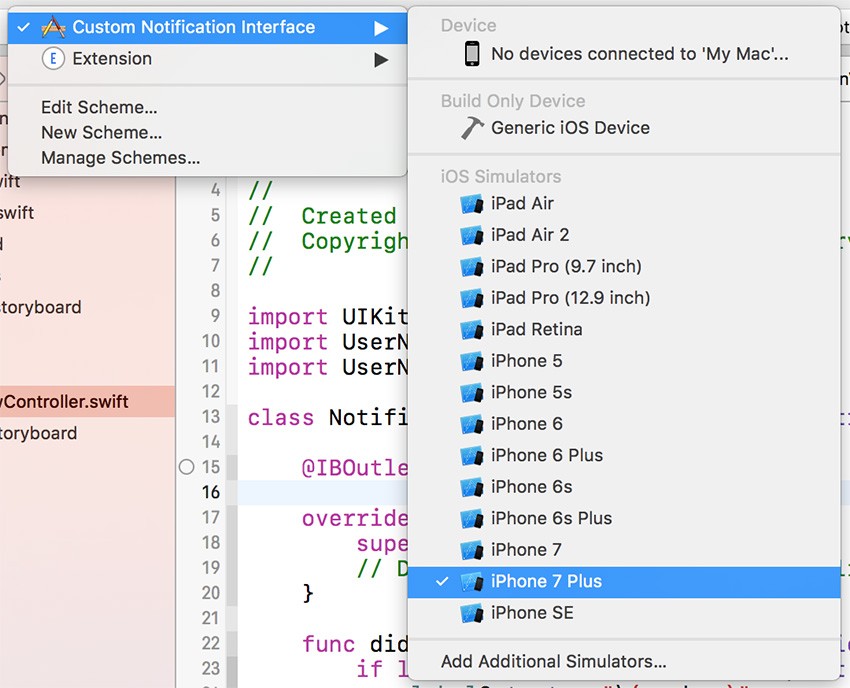
When your app has been selected, press Command-R or the play button in the top left corner to run your app. Upon the first run of your app, you will see the following alert to allow for notifications:
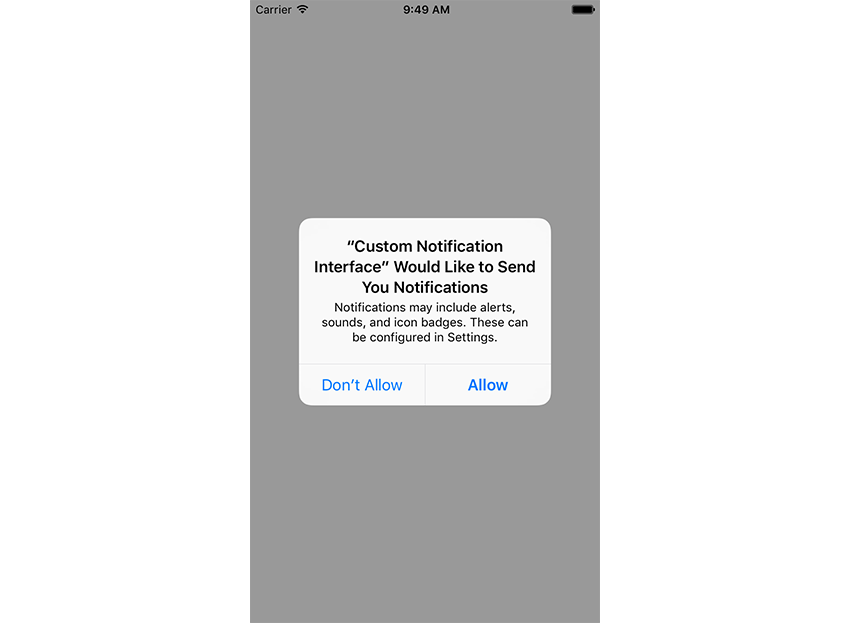
Click Allow and then press the home button on your device (or Command-Shift-H if using the simulator) to close the app. Wait approximately 30 seconds and the following notification will appear on your device:
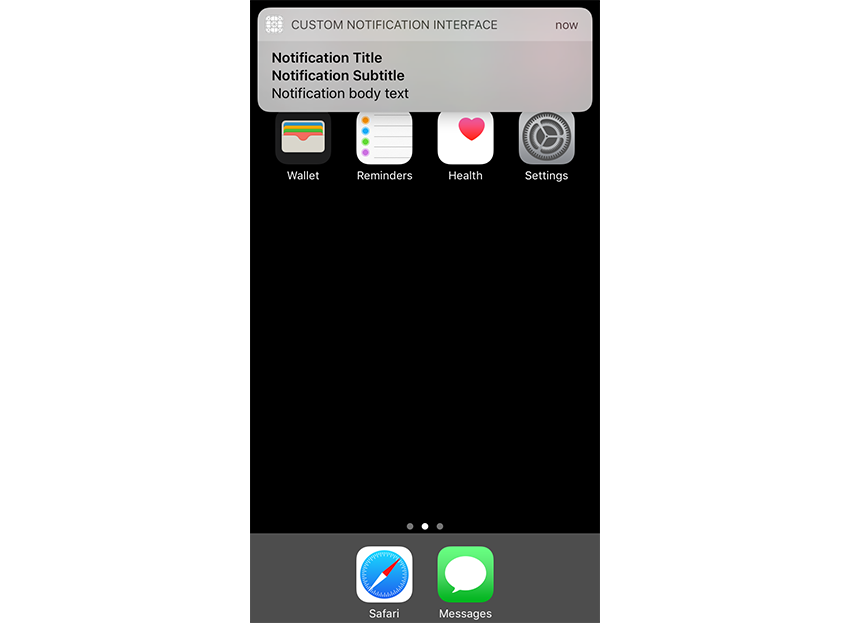
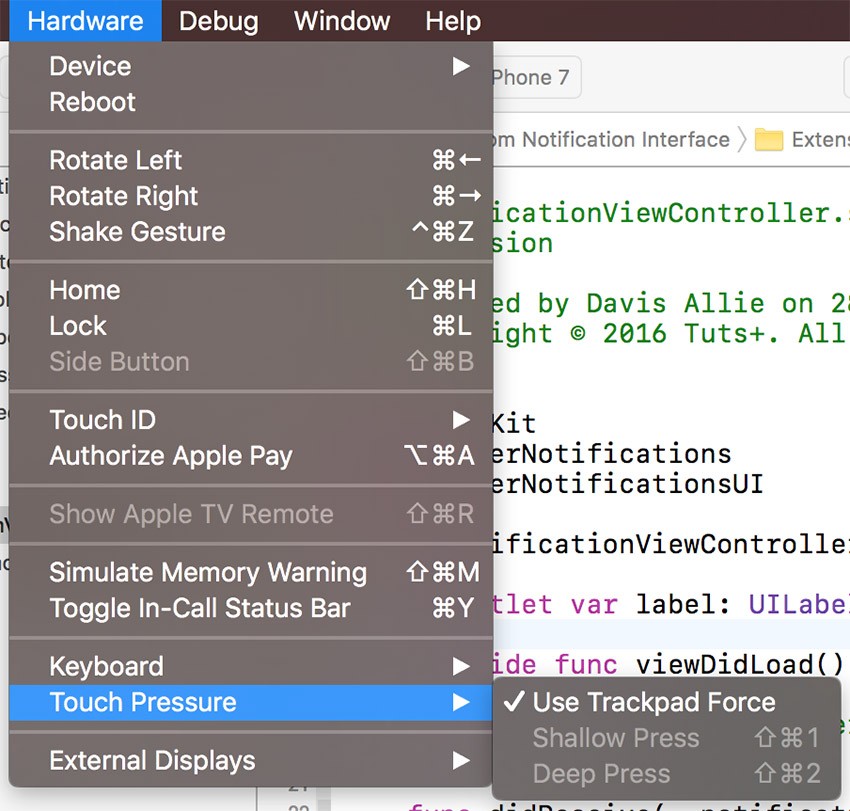
To view the custom interface, you can then either click and pull down on this notification or use 3D Touch on it if using an iPhone 6s or 7 device or simulator. If using the simulator, you can simulate 3D touch features by using the options in the Hardware > Touch Pressure menu:
Once your notification interface loads, it should look like the following screenshot:
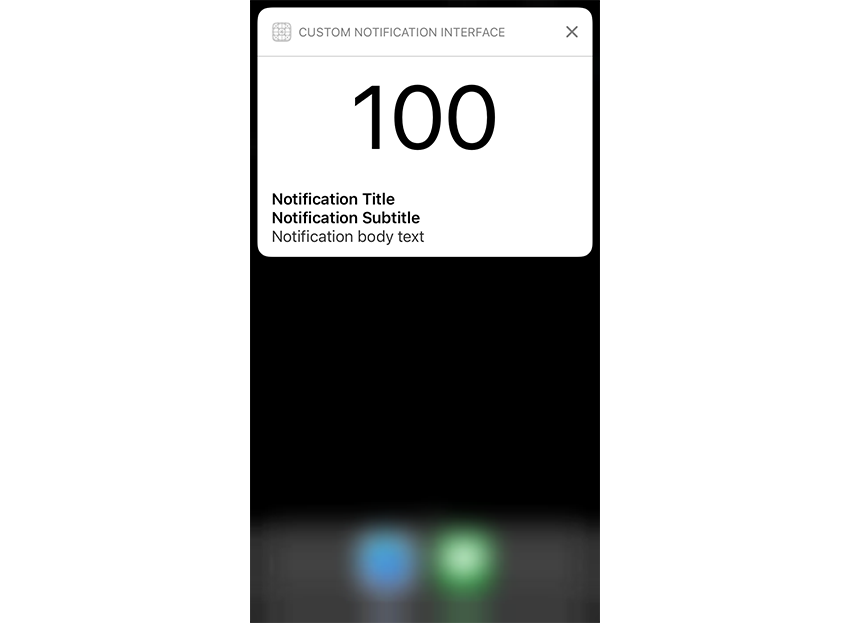
You will see that the notification title, subtitle and body are shown below the custom interface, and this is because we didn't specify a value of true for the UNNotificationExtensionDefaultContentHidden key.
You will also notice that the notification interface starts out as a square, because of the UNNotificationExtensionInitialContentSizeRatio value we set earlier, and then animates down to fit the label showing 100. The resizing of the notification interface is all handled by the iOS Auto-layout system so, for example, if you wanted your interface to remain square, you could just constrain a view in your interface to have a 1:1 aspect ratio.
Conclusion
Overall, the UserNotificationsUI framework allows you to easily create feature-rich interfaces for your notifications which allow users to interact with your app without closing what they're currently working on. While we only created a very simple example in this tutorial, anything you can put in a regular iOS app view controller you can put into your notification interface, including detailed and complex elements such as SceneKit and SpriteKit views.
As always, please be sure to leave your comments and feedback in the comments section below. And check out some of our other articles and tutorials about new features in iOS 10 and watchOS 3!


Comments