A few years ago I, like many people, began to hear more and more about Node.js. I had been building server-side applications in ColdFusion for over a decade but was always curious to see how other platforms worked as well. I enjoyed JavaScript on the client and using it on the server seemed fascinating. (Although not necessarily new. I'm old enough to remember when Netscape released SSJS back in the 90s.) I read a few tutorials, sat in a few sessions, and in general came away... unimpressed.
Every time I read something about Node it ended up coming back to the same story: building a web server. Frankly, that wasn't exciting. Even back when I first did web applications in Perl CGI scripts I didn't have to worry about that. I could see the potential in small, lightweight API providers, but would I build a simple site in it? No way!
But then one day I got lucky. I had decided to sit in one more Node presentation (mainly because I knew the presenter well) and during his presentation the speaker demonstrated Express. A light bulb went off. Here was the Node framework I was waiting for! Yes, in theory, you're still building your own web server, but that aspect is minimized and instead you can focus on your site logic and content. Even better, I saw how integrating templating engines allowed for an almost ColdFusion (or PHP) type experience. In this article I'll show you how to install Express and how to get started building web applications using the framework.
Installation
Most likely you're already a Node developer. If you're new to the platform, then you may still be in awe of the power of npm. I know I am. As I said, most of my life I spent doing ColdFusion. There is a rich, if not large, ecosystem of open source for that platform. But discovering and installing is a manual affair. The first few times I used npm I was in awe. Frankly, I have a hard time now imagining using a platform without a tool like npm. Let's start with a package.json file where we'll add the Express dependency.
{
	"name": "demo1",
	"description": "First Express app",
	"version": "0.0.1",
	"dependencies": {
		"express": "3.x"
	}
}
Again, this should be fairly standard to Node developers. Drop down to the command line and run:
npm install
Which will install Express and its dependencies.
Conversely, you can also install Express as a command line tool to quickly generate skeleton apps. This can be done by running:
npm install -g express
Once you've done that, you can run express at the command line to generate an application.
First Steps
Let's go back to the application we created with the previous package.json file and add an app.js file. At minimum, your application will create a new instance of the Express object and begin listening on a particular port. Let's start with this:
var express = require('express');
var app = express();

app.listen(3000);
Personally, I tend to take things pretty slowly when learning a new framework, so it might make sense to quickly run node app just to ensure nothing was screwed up.
Defining Our Routes
Now let's try adding a few simple routes to the application. Express apps can respond to various HTTP verbs as API methods. So as an example:
//Regular HTTP get
app.get(some url, do something);

//Some other page
app.get(some other url, do something else);

//I can respond to a form post
app.post(some url, do more stuff);
Let's create a real example of this and add a home page to the application:
app.get('/', function(request, response) {
	response.send("This would be some HTML");
});
Note that Express adds a simple send() method to the response object. This abstracts away some of the boilerplate code to handle responses. If you've done everything right, now you can restart your application and open your browser to port 3000.
The request.send() API also intelligently handles different types of data. Imagine you want to add a simple JSON-based API to your site. By simply returning an object instead of a string, Express will handle converting the result to JSON as well as setting the appropriate response headers.
app.get('/api', function(request, response) {
	response.send({name:"Raymond",age:40});
});
As you can imagine, at this point, building an application would consist of adding more and more routes to handle whatever your needs may be. Let's build a very simple static site that uses what we've learned so far.
Generic Blog App 9000
For our first site, we'll build a blog. Yeah, this isn't terribly new or exciting, but it's also something that everyone conceptually understands. You can find the complete source code for this application in the attached download in the blog1 folder. We'll skip the package.json file as it is exactly the same, except for the name. Let's instead look at app.js.
var express = require('express');
var app = express();

app.get('/', function(req, res) {
	res.sendfile('./views/index.html');
});

app.get('/about', function(req, res) {
	res.sendfile('./views/about.html');
});

app.get('/article', function(req, res) {
	res.sendfile('./views/article.html');
});

app.listen(3000);
One of the first things you'll notice is that we've switched from the send api to sendfile. While we could embed large HTML strings into our app.js file, that would get messy pretty darn quickly. We've got three routes for this application. One for the home page, one for an "About" page, and one for an article. Typically the article page would represent one blog entry, but for now, we're keeping things simple.
Adding in the HTML
The HTML for our pages is also rather simple. Here's the home page:
<html>
<head>
	<title>Home Page</title>
</head>

<body>
<h1>Blog!</h1>

<footer>
<p>
	<a href="/">Home</a> ~ <a href="/about">About Me</a> ~ <a href="/article">Some Article</a>
</p>
</footer>

</body>
</html>
Notice there isn't anything special here yet. It's plain static HTML that will be returned by the Express application as is. Both the About and Article pages are the same outside of changes to the title and h1 values.
Once again, fire this up at the command line and open your browser. (By the way, one of the common mistakes I made when first learning Node was to forget to kill my previous demos. If you are still running the last application, it will be holding port 3000. Either kill it or use another port for this application.) You should be able to browse around this simple application in a few simple clicks.
Now let's move from static to dynamic.
From Static to Dynamic
Express supports a variety of templating engines. Template engines are like many things in the technology world - one step lower than religion and politics. The express command line can add support for Jade, EJS, JSHTML, and Hogan. According to the Express documentation, any templating engine that conforms to a particular signature will work with it. They also recommend checking the consolidate.js library for a list of supported template engines.
Personally, I'm a huge fan of Handlebars (handlebarsjs.com). I've used it in many client-side applications and it was a natural fit for me to use on the server side. In order to use Handlebars you need to install a wrapper library called hbs. Let's add this to our application.
{
	"name": "blog2",
	"description": "Blog app",
	"version": "0.0.1",
	"dependencies": {
		"express": "3.x",
		"hbs":"*"
	}
}
Now let's update our app.js to use this engine:
var express = require('express');
var app = express();

var hbs = require('hbs');

app.set('view engine', 'html');
app.engine('html', hbs.__express);

app.get('/', function(req, res) {
	res.render('index');
});

app.get('/about', function(req, res) {
	res.render('about');
});

app.get('/article', function(req, res) {
	res.render('article');
});

app.listen(3000);
We've done a few important things here. To use Handlebars, we load in (via require) the HBS wrapper library. We then need to tell Express to use it. By default, Handlebars will work with files that contain an extension matching the particular engine. In our case, something.hbs. But we can tell Express to treat HTML files as dynamic by using the "view engine" directive, you see above. This is not required, but I prefer working with HTML files. My editor can then provide nicer code hinting and syntax highlighting. Actually loading the engine is then done via app.engine.
Finally, the routes all switch to using the new render method. Express defaults to using the views folder, so we can leave that off. Since Express also knows the extension we prefer, we can forget about that as well. Essentially, res.render('something') equates to telling Express to look for views/something.html, parse it based on the rules of our templating engine, and return it to the browser.
You can find this example in the blog2 folder, in the attached source code. As I said before, I like to take baby steps, so even though we're not actually doing anything dynamic, I recommend firing this up at the command line and ensuring you can still browse the site.
Displaying Blog Entries on the Home Page
Given that we now support dynamic templates, lets actually make them dynamic. Since we're building a blog, we should add support for listing a set of blog entries on the home page and allowing you to link to a particular blog engine. While we could fire up a connection to MySQL or Mongo, let's create a static set of data as well as a simple wrapper library for it. Here is a blog.js file that provides both for getting a set of entries as well as getting just one.
var entries = [
{"id":1, "title":"Hello World!", "body":"This is the body of my blog entry. Sooo exciting.", "published":"6/2/2013"},
{"id":2, "title":"Eggs for Breakfast", "body":"Today I had eggs for breakfast. Sooo exciting.", "published":"6/3/2013"},
{"id":3, "title":"Beer is Good", "body":"News Flash! Beer is awesome!", "published":"6/4/2013"},
{"id":4, "title":"Mean People Suck", "body":"People who are mean aren't nice or fun to hang around.", "published":"6/5/2013"},
{"id":5, "title":"I'm Leaving Technology X and You Care", "body":"Let me write some link bait about why I'm not using a particular technology anymore.", "published":"6/10/2013"},
{"id":6, "title":"Help My Kickstarter", "body":"I want a new XBox One. Please fund my Kickstarter.", "published":"6/12/2013"}];


exports.getBlogEntries = function() {
	return entries;
}

exports.getBlogEntry = function(id) {
	for(var i=0; i < entries.length; i++) {
		if(entries[i].id == id) return entries[i];
	}
}
Typically, we would also have methods for adding, editing, and deleting, but for now this is sufficient. Let's now look at an updated app.js file that uses this engine.
var express = require('express');
var app = express();

var hbs = require('hbs');

var blogEngine = require('./blog');

app.set('view engine', 'html');
app.engine('html', hbs.__express);
app.use(express.bodyParser());

app.get('/', function(req, res) {
	res.render('index',{title:"My Blog", entries:blogEngine.getBlogEntries()});
});

app.get('/about', function(req, res) {
	res.render('about', {title:"About Me"});
});

app.get('/article/:id', function(req, res) {
	var entry = blogEngine.getBlogEntry(req.params.id);
	res.render('article',{title:entry.title, blog:entry});
});

app.listen(3000);
Let's tackle the updates one by one. (This version can be found in the blog3 folder.) First, we load in our engine using a quick require call. This gives us the ability to call it and get entries. You may notice a new line calling bodyParser, but ignore that for now.
In our home page router, we've passed a second argument to the render API. The argument is an object with two keys, title and entries. The value for title is just a string, but entries calls our blogEngine API. Here's where things get interesting. Any data we pass here will be available to our templates. Depending on your template language, the particulars in how you use it may change, but lets look at the home page.
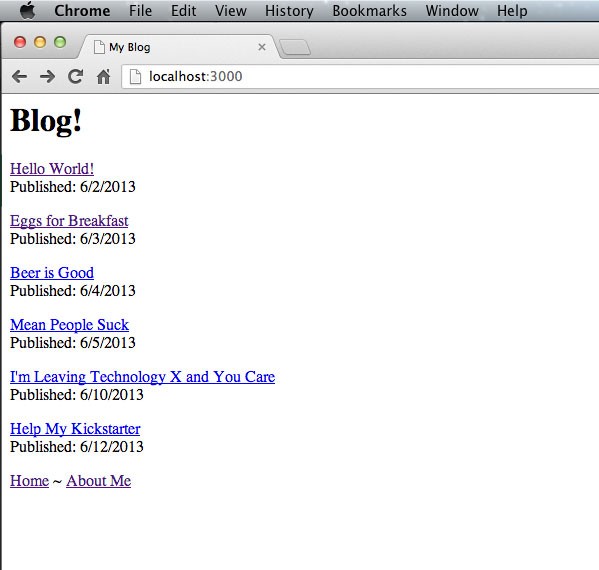
<h1>Blog!</h1>

{{#each entries}}
	<p>
		<a href="/article/{{id}}">{{title}}</a><br/>
		Published: {{published}}
	</p>
{{/each}}
If you've never used Handlebars before, you can still probably take a good guess as to what is going on here. The #each directive will iterate over an array. Inside of the block I've used a combination of Handlebar tokens that point back to my blog data as well as HTML to generate a simple list of blog entries. Coming from a ColdFusion background, this is very familiar.
Creating a Layout
I bet you're also wondering where the rest of the HTML went. When using templating engines in Express you get automatic layout support. That means I can create a generic layout with my site design and Express will inject a particular page's output within it. By convention, this is called layout.something where "something" is the particular extension you are using. Since we used HTML, this will just be layout.html:
<html>

<head>
	<title>{{title}}</title>
</head>

<body>

	{{{body}}}

	<footer>
		<p>
			<a href="/">Home</a> ~ <a href="/about">About Me</a>
		</p>
	</footer>

</body>
</html>
Pretty slick, right? The About page isn't interesting so we will skip it, but check out the article route. It now includes a token, :id, in the URL. Express allows us to create dynamic URLs that can then map to request arguments. You'll notice that back in the home page, we defined links that looked like this: /article/{{id}}.
We would, in theory, add one route for every blog entry we have, but it is much better to create an abstract route that will match any request of that particular form. To get access to this value, we also add in another piece, the bodyParser line we defined earlier. (This particular feature comes from the Connect framework and actually provides quite a bit of help to you in supporting both query string and form bodies. Almost every Express app will want to include this.)
Displaying Individual Articles
Because we get access to the dynamic value at the end of the URL, we can simply then pass this to the blogEngine object and use the result as an argument to the view.
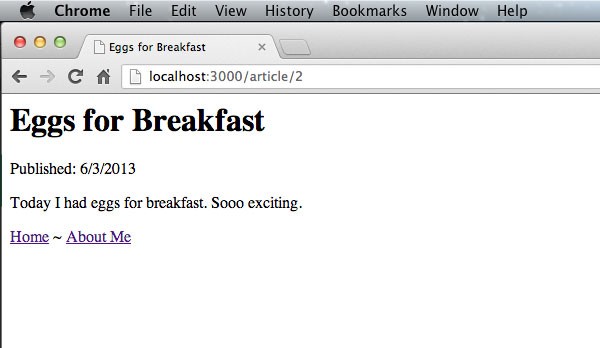
Here's the article.html file:
<h1>{{blog.title}}</h1>
Published: {{blog.published}}

<p/>

{{blog.body}}
Now we've got a truly dynamic, but ugly, application. Here's our new home page:
And here's one of a particular blog entry:
Put Some Lipstick on That Pig!
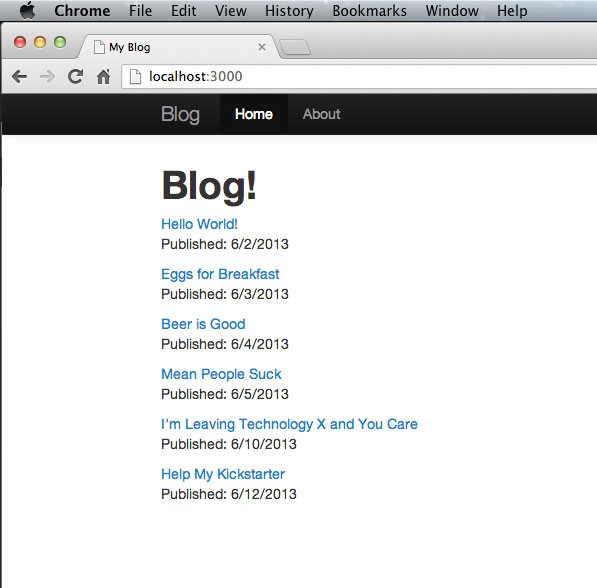
Let's add some basic styling to our application to make it a bit prettier. Express provides a simple way to add support for static resources like images, JavaScript libraries, and style sheets. By simply defining a static folder, any request will for a file will be checked against that particular folder before being compared to routes. Here is an example from the final version of our blog engine (which may be found in the blog4 folder):
app.use(express.static('public'));
At this point, if you request /foo.css, and the file foo.css exists in the public folder, it will be returned. Since my design skills are as good as any developer, I took the easy way out and grabbed a copy of Bootstrap (http://twitter.github.io/bootstrap/). I dropped it and a copy of jQuery, into my public folder.
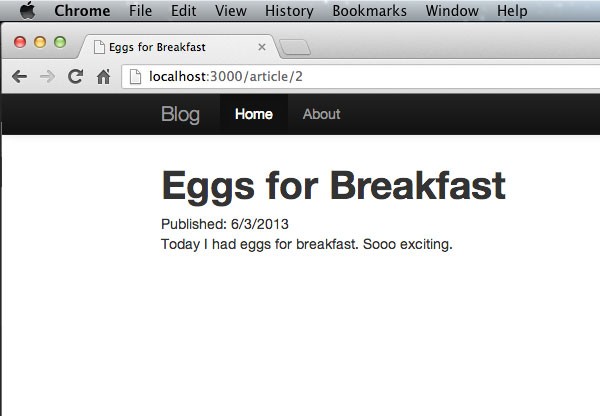
Then within my layout.html, I can refer to these resources. Here is one example of linking in bootstrap.css:
<link href="/bootstrap/css/bootstrap.css" rel="stylesheet">
Express will now automatically check for this file within the public folder. You can have multiple static folders like this and can even set up custom URL prefixes for them. The result is - stunning. (Ok, compared to the first version, it is a huge improvement!)
The Home page:
And an article:
What Next?
Want to learn more? Here are some links that may be helpful.
- Obviously your first stop should be to the Express homepage.
- You can join the Google group to talk with other developers.
- If you want to be truly hip, join the IRC channel: #express.
- Finally, you can look at a whole bunch of examples over on GitHub.

Comments