Google Fit is a platform that allows developers to build applications that are focused on user fitness data. One of the tools Google has provided is Google Fit for Android, which is available as a package in Google Play Services.
While there are many different APIs available for Google Fit, as discussed in this Envato Tuts+ overview article, this tutorial focuses on getting you set up and using Google Fit to read sensor data on an Android device. A sample project for this tutorial can be found on GitHub.
1. Setting Up the Developer Console
In order to use Google Fit for Android, you need to:
connect to the Fitness API in your Android application
This section shows you how to set up your Android application and the Fitness API. You can start by visiting the Google Developers Console. If you already have a project to work with, you can skip the next step. If not, then follow along and create a new project for your Google Fit application.
Step 1: Create a Project
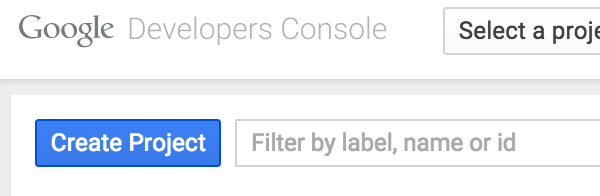
To create a new project, click the blue Create Project button in the top left corner of the screen.
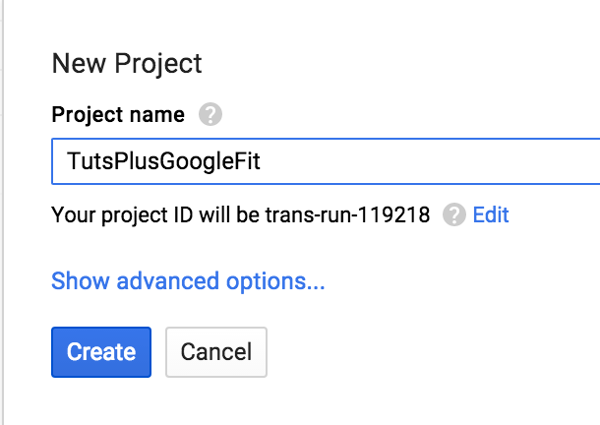
This presents you with a dialog that asks for a project name. For this tutorial, I have created a project and named it TutsPlusGoogleFit. There are some restrictions on what you can name your project. Only letters, numbers, quotes, hyphens, spaces, and exclamation marks are allowed.
Once you hit Create, a dialog appears in the lower right corner of the page, indicating the project is being created.
Step 2: Enable the Google Fit API
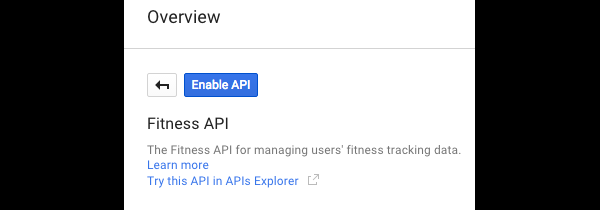
With the project set up, you are taken to the project Overview page. The easiest way to find the Google Fit API is by searching for the keyword "fit". Select Fitness API from the results that appear.
Click Enable API to enable to Fitness API.
After enabling the Fitness API, you receive a warning that informs you that you also need to create credentials to use the Fitness API. Fortunately, the warning includes a button that takes us to the Credentials page.
Step 3: Create Credentials
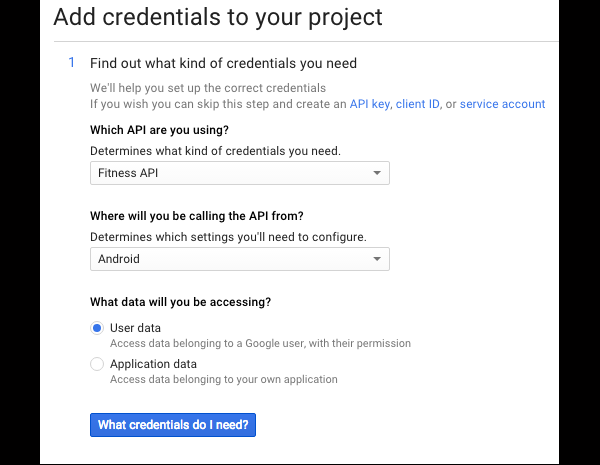
On the Credentials page, you need to provide some general information about your application in the Credentials Wizard. Specify that you are using the Fitness API, that the API is called from an Android application, and that the application needs access to User data.
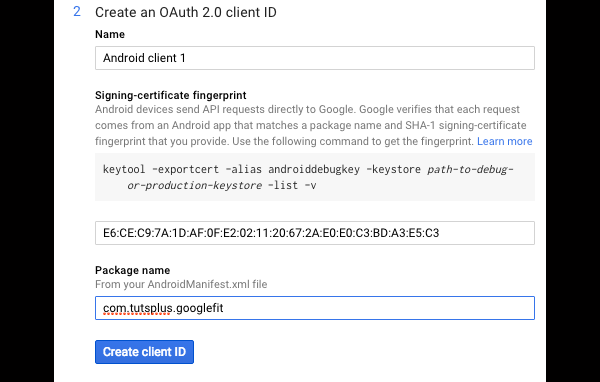
Next, click What credentials do I need? at the bottom to continue and create an OAuth 2.0 client ID for your Android application. You need two important pieces of information for this step:
signing-certificate fingerprint
package name for the application
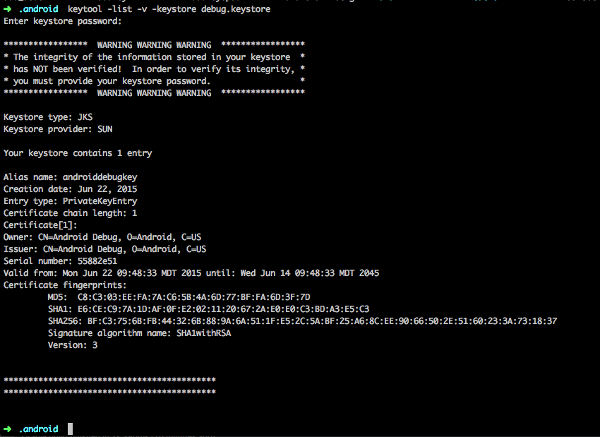
You can get the signing-certificate fingerprint by opening a terminal or command prompt, and navigating to the location of your application's signing-certificate. This is either your release key or the default debug.keystore certificate that Android Studio uses. Once you have navigated to your keystore, you can generate the necessary SHA1 with the following command, where debug.keystore is the name of the signing-certificate.
keytool -list -v -keystore debug.keystore
Paste the SHA1 key into the SHA1 field and enter com.tutsplus.googlefit into the package name field.
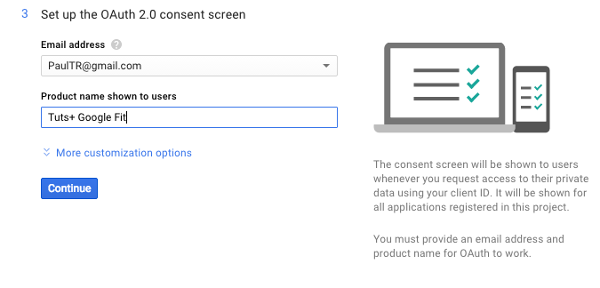
Finally, you need to configure the OAuth 2.0 consent screen. This is the screen that is displayed to the user so that they can grant your app permission to use their fitness data. This step requires your email and a product name to show to users. For this tutorial, I have entered Tuts+ Google Fit.
Click Continue and, on the next page, click Done to finish the setup process.
Step 4: Android Project Setup
With your project set up and configured on the Google Developer Console, you can start creating a new Android project. Make sure the package name matches the one you entered in the Google Developer Console and set the application to use the Phone and Tablet platforms with a minimum SDK version of 14. The minimum API level for Google Fit is 9. Create an Empty Activity to keep the base project clean so that you can focus on the Google Fit API in this tutorial.
After setting up the project, open the project's build.gradle file and import the fitness package from Google Play Services by adding the following line to the dependencies node.
Next, open MainActivity.java and add the following interfaces:
OnDataPointListener
GoogleApiClient.ConnectionCallback
GoogleApiClient.OnConnectionFailedListener
Once you have added the required methods for these interfaces, your class should look like the following:
public class MainActivity extends AppCompatActivity implements OnDataPointListener,
        GoogleApiClient.ConnectionCallbacks,
        GoogleApiClient.OnConnectionFailedListener {

    @Override
    protected void onCreate(Bundle savedInstanceState) {
        super.onCreate(savedInstanceState);
        setContentView(R.layout.activity_main);
    }

    @Override
    public void onConnected(Bundle bundle) {

    }

    @Override
    public void onConnectionSuspended(int i) {

    }

    @Override
    public void onConnectionFailed(ConnectionResult connectionResult) {

    }

    @Override
    public void onDataPoint(DataPoint dataPoint) {

    }
}
Last but not least, create the member variables that you will use for this tutorial. You can copy the following lines to the top of the class:
private static final int REQUEST_OAUTH = 1;
private static final String AUTH_PENDING = "auth_state_pending";
private boolean authInProgress = false;
private GoogleApiClient mApiClient;
In the next step, you will connect to Google Play Services and learn how to access the user's fitness data within your app.
2. Using the Fitness API
Step 1: Connecting to Google Play Services
With the project set up in Android Studio and the Google Developer Console, it is time to dive into the Fitness API. In the onCreate(), method, you check if your app is already attempting to authorize against the Fitness API. You then initialize the GoogleApiClient instance by adding the Fitness Sensors API, defining a scope, and registering the application callbacks. If you do not request a scope, your app will fail to authorize against the Fitness Sensors API.
The first time the user runs the application, the connection to the Fitness API will fail because the user must authorize your app to access their fitness data. You can listen for this event in onConnectionFailed() and react accordingly by checking to see if authorization is in progress. If it is, call startResolutionForResult() so that Google Play Services can properly handle the user granting permission to use their information.
If you run your application now, you may be presented with a dialog that asks you to select a Google account to use if you have used multiple accounts on your device.
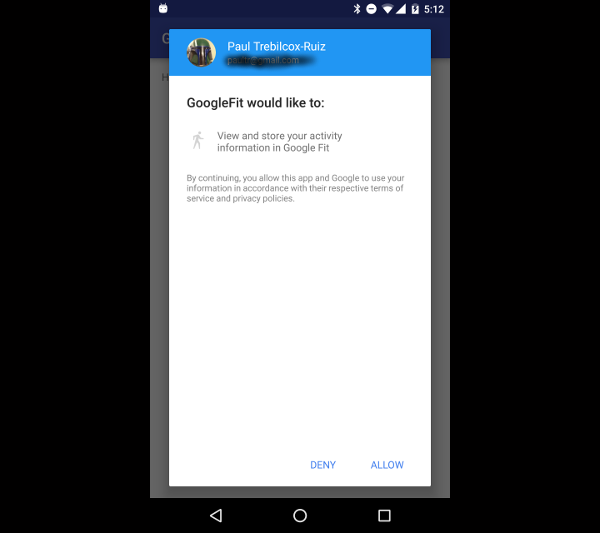
When the operating system knows which account to use, your application presents a new dialog that asks the user to grant permission to the app to read fitness data.
At this stage, the user either grants your application permission to use their data or they close the dialog, canceling the process. You can listen for both events in onActivityResult() and handle the result. If the user grants your application permission, your app receives a RESULT_OK response and it can then attempt to connect to the Google API client.
Your application should now be able to successfully connect to Google Play Services. With that out of the way, you can begin focusing on the Fitness API.
Step 2: Accessing Step Data With the Fitness API
When your GoogleApiClient instance has connected to Google, the onConnected() callback is triggered. In this callback, you need to create a new DataSourcesRequest object that defines the type of data your application is interested in. You also need to create a ResultCallback that handles what the app should do if steps can be retrieved from the device. With the objects created, call Fitness.SensorsApi.findDataSources() to start searching for a valid step data source.
You may notice that the registerFitnessDataListener() method doesn't actually exist. This is a helper method that is called when the data source for the step counter is found, which then creates a SensorRequest object for requesting data from the step count sensor.
In the following code snippet, the SensorRequest object attempts to find the step count every three seconds. The Fitness.SensorApi then adds the request with a new OnDataPointListener so that, when new data is available, the listener is triggered. If no new data is found, the OnDataPointListener is not triggered and the Fitness API waits another three seconds before checking again.
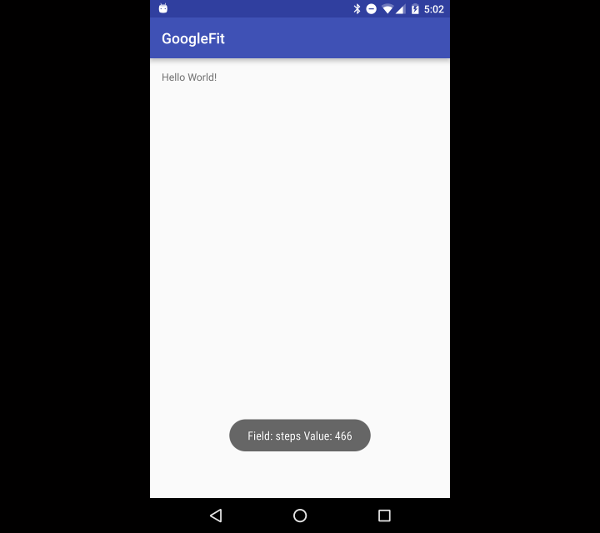
When a change in the step count is detected, onDataPoint() is invoked. In this method, you loop through the fields in the DataPoint parameter and display a Toast message with the field name and value. In this example, that will be the step counter. In your own apps, you would use more appropriate logic to perform your task. You'll notice that the Toast command is wrapped in a Runnable that is passed to runOnUiThread. This is because the callback is not triggered on the main UI thread.
@Override
public void onDataPoint(DataPoint dataPoint) {
    for( final Field field : dataPoint.getDataType().getFields() ) {
        final Value value = dataPoint.getValue( field );
        runOnUiThread(new Runnable() {
            @Override
            public void run() {
                Toast.makeText(getApplicationContext(), "Field: " + field.getName() + " Value: " + value, Toast.LENGTH_SHORT).show();
            }
        });
    }
}
There are two more things you need to do for this sample. The first is disconnecting from the SensorApi and Google Play Services when you're done using them. In this example, you do that when onStop() is called. The second is storing the authInProgress value that's checked by onCreate() in onSavedInstanceState().
In this tutorial, you have learned how to connect to the Google Play Services Fitness API and read fitness sensor data from the user's device. Even something as simple as step data for your user can prove to be incredibly valuable for applications such as Android Wear watch faces or goal trackers. There are dozens of other types of data sources you can use and many other APIs within Google Fit to make your apps even better.


Comments