Have you ever got excited by your idea for a website, but found yourself becoming miserable when trying to make it dynamic and actually run it on a server?
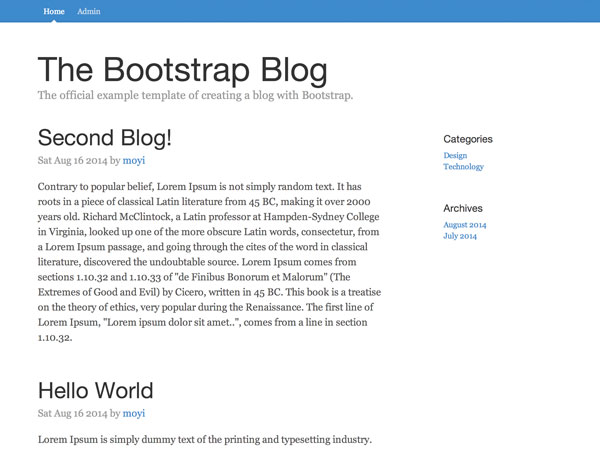
With Parse.js, everyone who understand the basics of HTML, CSS, and JavaScript can create dynamic websites and working web apps. This tutorial is going to take you through the process of creating a blog system step by step with Parse.js. And by the end of this series, you should be able to create your own CMS site with ease.
In the past three sessions, you've built the groundwork of the blog system. You created a Blog class and a User class on Parse.com, you are rendering blogs in the front end, and you enabled user login. From this session on, we are going to build out different functions of that admin panel, starting with "Add a New Blog."
1. Create and Render AddBlogView
Step 1: Prepare an HTML Template
First things first, let's prepare an HTML template for that page so that we have something to play with. Again, you can use existing elements of Bootstrap to speed up the process:
<script type="text/template" id="add-tpl">
  <h2>Adding a New Blog</h2>

  <form class="form-add" role="form">
    <div class="form-group">
      <label for="title">Title</label>
      <input type="text" name="title" class="form-control" id="title" placeholder="Enter Your Blog Title">
    </div>
    <div class="form-group">
      <label for="content">Content</label>
      <textarea name="content" class="form-control" rows="20"></textarea>
    </div>
    <button class="btn btn-lg btn-primary btn-block" type="submit">Submit</button>
  </form>
</script>
Add that to admin.html.
Notice that we are making it a template, although there is no dynamic value at this point. I am doing that because:
- I'd like to keep my HTML very structured and everything is its own template block.
- In future sessions we are going to build the category dropdown, so potentially there could be dynamic content on this page.
- The same page template would be reusable when we build the "Edit" function, and we definitely need to pull the existing content in
EditBlogView.
Step 2: Create AddBlogView
Moving on, go to admin.js and create a new View: AddBlogView. We can keep it very minimal for now, since we are just rendering the template:
var AddBlogView = Parse.View.extend({
    template: Handlebars.compile($('#add-tpl').html()),
    render: function(){
        this.$el.html(this.template());
    }
});
Step 3: Link to AddBlogView
Now that we have AddBlogView, we want to link to it from the admin panel. Go ahead and add a button to the WelcomeView:
<script type="text/template" id="welcome-tpl">
  <h2>Welcome, <%=username %>!</h2>
  <button class="add-blog btn btn-lg btn-primary">Add a New Blog</button>
</script>
And then, you need to bind an event on that button click. Usually you might do something like this in your admin.js:
$('.add-blog').on('click', function(){
    // function
});
However, that's not necessary when you are using Parse.js. You can just add an event to a View object and bind a function like this:
WelcomeView = Parse.View.extend({
template: Handlebars.compile($('#welcome-tpl').html()),
events: {
'click .add-blog': 'add'
},
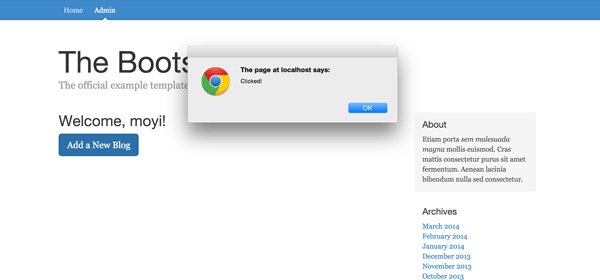
add: function(){
alert('Clicked!');
},
...
}),
You can give it a try before we move on:
And now we can change the function to render a new instance of AddBlogView.
add: function(){
    var addBlogView = new AddBlogView();
    addBlogView.render();
    $('.main-container').html(addBlogView.el);
}

Feels awesome.
2. Write to the Database
Now all you need is to bind a function to the submit button on this page and write the blog into your database on Parse.com.
Step 1: Add a Submit Event
Add a submit event to your AddBlogView—it's not very different from the click event we just added.
AddBlogView = Parse.View.extend({
    template: Handlebars.compile($('#add-tpl').html()),
	events: {
		'submit .form-add': 'submit'
	},
	submit: function(e){
		// submit function goes here.
	}, ...
});
Step 2: Include the Blog Class
Then, because we are trying to write to the Blog table on Parse.com, we need to include the Blog class:
var Blog = Parse.Object.extend('Blog');
Step 3: Add a create() Function to the Blog Class
After that, let's add a create() function to the Blog class, so we can call it from any view object. It should take two parameters, title and content, and save it into the database.
Parse.js made it very simple. Once a new instance of the Blog class is created, we can just set the values we want it to have and call the save() function to save it to the database.
var Blog = Parse.Object.extend('Blog', {
create: function(title, content) {
this.set({
'title': title,
'content': content,
'author': Parse.User.current()
}).save(null, {
success: function(blog) {
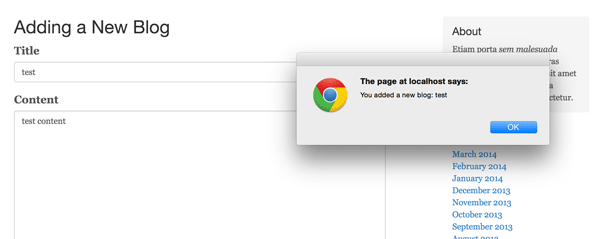
alert('You added a new blog: ' + blog.get('title'));
},
error: function(blog, error) {
console.log(blog);
console.log(error);
}
});
}
});
Or you can also just write the data in the save() function:
var Blog = Parse.Object.extend('Blog', {
    create: function(title, content) {
        this.save({
            'title': title,
            'content': content,
            'author': Parse.User.current()
        }, {
            success: function(blog) {
                alert('You added a new blog: ' + blog.get('title'));
            },
            error: function(blog, error) {
                console.log(blog);
                console.log(error);
            }
        });
    }

});
Both would work.
Notice that I also include author in the database with Parse.User.current(). That's the method you should use to get the current user logged in.
Step 4: Call blog.create() from AddBlogView
Now, as the final step to make it work, you need to call blog.create() from the AddBlogView we just created.
Let's add it to the submit() function:
submit: function(e){
    // Prevent Default Submit Event
    e.preventDefault();
    // Take the form and put it into a data object
    var data = $(e.target).serializeArray(),
    // Create a new instance of Blog
        blog = new Blog();
    // Call .create()
    blog.create(data[0].value, data[1].value);
}
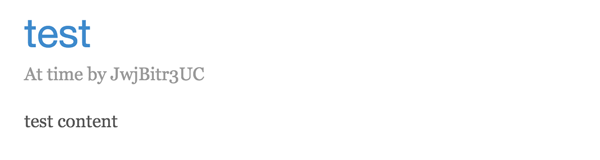
Give it a test run. Looks like it's working!
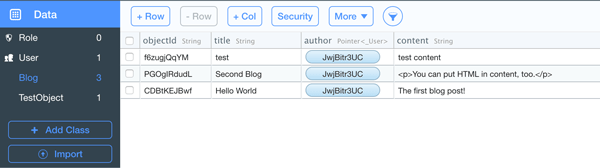
And if you check it on Parse.com, you will see it's stored in the Blog table.
Congrats! You are writing to the database.
3. Store Author Name and Time of Post
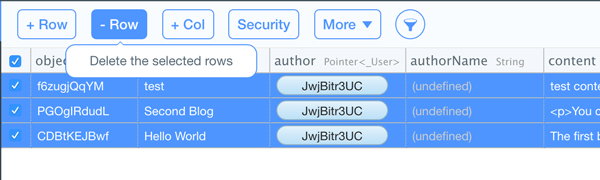
Now let's take a look at the blog list again:
You will notice that instead of the user name, we are showing the user ID. And we are not showing the time when the blog is created. We do have createdAt and updatedAt values in the back end, but they are not very readable for the user.
If we want to fix that, there are two general approaches:
- When we read from the database, we get the username by the ID, and we change the format of the time of post.
- When we write to the database, we add two more fields to store the username and the time.
If we take the first approach, we are doing the same thing over and over again, and that's using the visitor's time and resources. Therefore, we want to do it while writing to the database. Don't worry about things like "what if the user changed his/her name?" yet—we can always do a group update when that happens.
Step 1: Add Two More Columns in the Blog Table
You should be really familiar with this process now. Let's set the name and the type of those two fields as following:
-
authorName(String) -
time(String)
Step 2: Add Data Fields to the create() function
Then you need to modify the create() function to record those values:
this.save({
    'title': title,
    'content': content,
    'author': Parse.User.current(),
    'authorName': Parse.User.current().get('username'),
    'time': new Date().toDateString()
},...);
Notice that I just use the .toDateString() function here; you can use other date functions to get the time format you want.
Step 3: Update the Blogs Template to Use Those Values
Lastly, let's update #blogs-tpl in index.html to pull the new values:
<script id="blogs-tpl" type="text/x-handlebars-template">

{{#each blog}}
<div class="blog-post">
  <h2 class="blog-post-title"><a href="#">{{title}}</a></h2>
  <p class="blog-post-meta">At {{time}} by {{authorName}}</p>
  <div>{{{content}}}</div>
</div>
{{/each}}

</script>
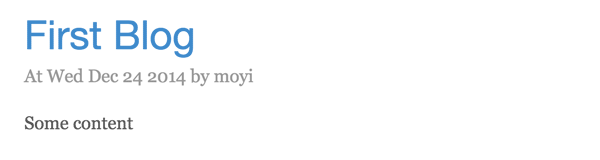
Now you can delete those existing posts, and add some more from the new "Adding a New Blog" page.
Now all the fields should be working.
4. Bonus: WYSIWYG Editor
Because we use {{{content}}} in the template, you will find you can already put HTML tags in your content <textarea> and it will render correctly in the front end. However, most people, myself included, don't feel it's the most natural way to write a blog.
I will show you how to add a simple WYSIWYG editor very quickly, so you know it's readily doable.
Step 1: Download Plugin
First, download the plugin.
It has been updated already, but for the demo and tutorial purpose, let's just use the old one.
Step 2: Link CSS and JS Files
Unzip the files, copy /dist/bootstrap-wysihtml5-0.0.2.css and put it in your CSS folder. Similarly, copy /dist/bootstrap-wysihtml5-0.0.2.min.js and /lib/js/wysihtml5-0.3.0.min.js into your JS folder.
Then, link those files in admin.html:
<link href="css/bootstrap-wysihtml5-0.0.2.css" rel="stylesheet">
...
<script src="js/wysihtml5-0.3.0.min.js"></script>
<script src="js/bootstrap-wysihtml5-0.0.2.min.js"></script>
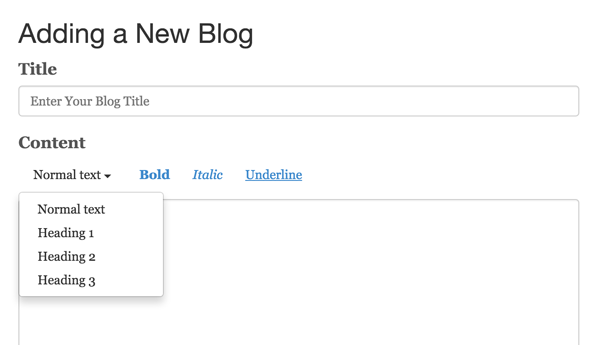
Step 3: Enable Wysihtml5 in JavaScript
To enable wysihtml5, all you need is to call wysihtml5() on the <textarea> element. Let's just add that to the render() function in AddBlogView:
render: function(){
	this.$el.html(this.template()).find('textarea').wysihtml5();
}
Then, instead of getting the plain text from the serializeArray() function, we can get the HTML from val(). Let's change the create() call to use that:
blog.create(data[0].value, $('textarea').val());
The code here is really simple; feel free to modify it to be more efficient if you want. (Use a class name as the selector, store $('textarea') as a variable, etc.)
Now if you refresh and test, it should be working already!
As it's not the focus of this tutorial, I will stop here. wysihtml5 offers many options beyond this, so take a look at these two repos if you are interested:
Conclusion
In this session, you enabled users to add a new blog. You prepared a user interface, and linked it to the back-end database. You also added more fields to the Blog class, so it's more readable in the list. Lastly, you also implemented a simple WYSIWYG plugin. I think that's a lot, and hopefully you feel it this way, too!
In the next session, we will lay the groundwork for a more functional admin panel. You will learn the concept of a router, and you will merge index.html and admin.html into one. Moreover, we will output the blog list in the admin panel, so the user can edit and delete them. Stay tuned.

Comments