In the previous part of the series, we built a custom directive for listing posts on the front end. This directive takes arguments directly in the HTML attribute as well as in the URL to fetch posts from the server. Building the directive has allowed us to show the post listing feature anywhere in our application by reusing the business logic and the rendering logic provided by the directive.
In this concluding part of the series, we will work on the remaining portion of our application and build controllers for post listing, single post, author, and the category page. We will also work on the templates of these controllers and display on them the data provided by the controllers.
To be specific, in the current part of the series, we will:
- introduce ourselves to AngularJS controllers
- build controllers for posts, categories, and users
- link templates to the data provided by the controller
So let’s start by introducing ourselves to AngularJS controllers.
Introducing AngularJS Controllers
Controllers in AngularJS are one of the main building blocks of the application. They contain business logic that decides what data to display to the user. They drive much of the UI-related functionality of the application and also provide support for user interaction.
Controllers are tightly linked to DOM and they glue the model of the application—where the data resides—to the application view.
In our case, in which we are building the application powered by the WP REST API, the controllers are where we show the data retrieved through the API and different services to the end user.
Building a Controller for the Post Listing View
Controllers in AngularJS are defined in the module, and we will use the same notation of the safe style of dependency injection as we did for declaring the custom directive. Consider the following code, in which we are declaring a controller for the post listing page:
/**
 * Controller for Post Listing
 */
quiescentApp.controller( 'PostListing', [function() {
    var self = this;
}] );
Controllers are defined in a module using the .controller() method that’s available in the module. The name of the controller we defined above is PostListing.
Any data that we need to expose to the outside world should be set on the this keyword inside the controller constructor function. Hence we cache the this keyword by creating a self variable.
The controller for post listing is the simplest of all the controllers that we will make, in the sense that it doesn’t need to have any data. It just needs to have a template linked, and we will place the <post-listing></post-listing> directive in that template to begin listing posts. The directive will fetch posts on its own using the Posts service and list them using its own rendering logic.
So as the first step, we will link the views/listing.html template to the PostListing controller, and we do so in the .config() section of our application. The .config() section is where we configured the routes for the application, and we need to modify the /wp/v2/posts route to the following:
$route.when( '/posts', {
    templateUrl: 'views/listing.html',
    controller: 'PostListing',
    controllerAs: 'postListing'
} )
In the above code, we placed two additional properties in the route definition, and these properties are:
-
controller: The name of the controller we need to link to this route and its template. -
controllerAs: The keyword by which we refer to the controller in our template.
Hence we passed PostListing as the controller name, and we will be referring to it in the template using the postListing keyword.
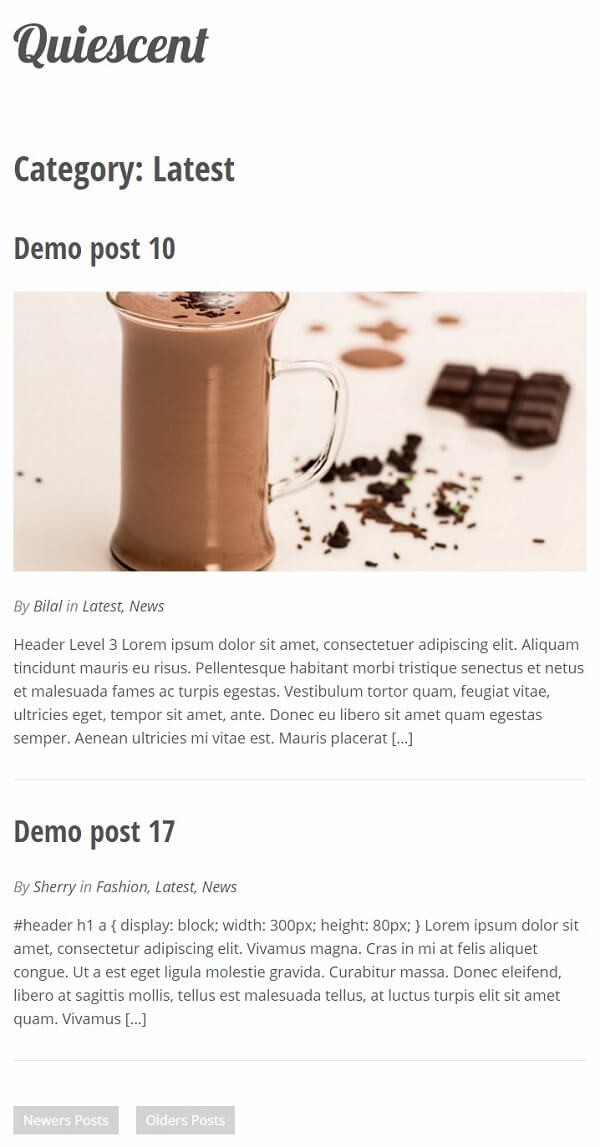
Having linked the controller with the route and the template, we now need to modify the template to properly list posts. So open the views/listing.html template file and replace its contents with the following code:
<post-listing></post-listing>
Below is a screenshot of the completed template:

And that’s it! The above line of code exhibits the power of AngularJS directives. With just one line of code, we have been able to mimic the functionality for post listing that includes business logic as well as rendering logic. And we will further see how flexible this AngularJS directive can be when building controllers for the category and user listing views in the following sections.
Building a Controller for the Category View
Having familiarized ourselves with controller declaration syntax and having built a very simple controller for post listing, we are ready to begin working on a more advanced controller for the categories view.
The categories view controller we are building will use the $routeParam service to access the category ID in the URL, and using that ID, the controller will use the Categories service to fetch category information and a list of its associated posts. However, the controller will not directly fetch the posts using the Posts service, but rather it will use the postListing directive and pass it the category ID to retrieve a list of posts associated with that category.
Below is the code for the CategoryListing controller:
/**
 * Controller for Categories
 */
quiescentApp.controller( 'CategoryListing', ['$routeParams', 'Categories', function( $routeParams, Categories ) {
    var self = this;
    self.categoryInfo = {};

    Categories.get( {'id': $routeParams.id}, function( data, headers ) {
        self.categoryInfo = data;
    });
}] );
The CategoryListing controller above has two dependencies for the $routeParams service and the Categories custom service. Using the $routeParams service, it retrieves the ID of the category from the URL, and then it queries using that ID for the category information through the Categories service.
The controller has a variable defined on the $scope object named categoryInfo. This variable holds the category object returned by the server, and its value is set after the query has been successful.
The next thing we need to do is to link a template to this controller that will display the data to the user. And we do this in the .config section of the application, just as we did for the PostListing controller in the previous section.
So modify the /categories/:id route to contain the following code:
// category profile route
.when( '/categories/:id', {
    templateUrl: 'views/category.html',
    controller: 'CategoryListing',
    controllerAs: 'categoryListing'
} )
In the above code, we link the route to the CategoryListing controller and also define the categoryListing keyword through which we refer to it in the template.
It’s now time to modify the views/category.html template so that it displays data dynamically instead of showing static HTML code.
<h2>Category: {{categoryListing.categoryInfo.name}}</h2>

<post-listing post-args="{'filter[cat]': categoryListing.categoryId}"></post-listing>
In the code above, we replaced the hard-coded category name with {{categoryListing.categoryInfo.name}}, where categoryListing is an instance of the CategoryListing controller. The categoryInfo variable holds the category object returned by the server, and this object contains the name property for the name of the category.
For the post listing feature, we use the postListing directive and pass it the category ID through the post-args attribute. For this purpose, we use the filter[] syntax supported by the /wp/v2/posts route of the WP REST API. We are already familiar with the filter[] syntax from the fourth part of the introductory series about the WP REST API.
Below is a screenshot of the completed category view:
Let’s now work out the controller for users, which is very similar to the categories controller.
Building a Controller for the User View
The controller for the user view is very similar to that of categories. We will begin by modifying the routing configuration to link the controller with the template:
// author profile route
.when( '/users/:id', {
    templateUrl: 'views/author.html',
    controller: 'UserListing',
    controllerAs: 'userListing'
} )
Here we link the UserListing controller with the route and its template. The keyword by which we refer to the controller instance is userListing.
Following is the code for the UserListing controller:
/**
 * Controller for Users
 */
quiescentApp.controller( 'UserListing', ['$routeParams', 'Users', function( $routeParams, Users ) {
    var self = this;
    self.userInfo = {};
    self.userId = $routeParams.id;

    Users.get( {'id': self.userId}, function( data, headers ) {
        self.userInfo = data;
    });
}] );
The UserListing controller takes $routeParams and Users services as dependencies. Using the $routeParams service, it accesses the user ID in the URL. The Users service is then used to fetch the user object using the user ID. The userInfo variable holds the user object returned by the server.
Let’s now modify the views/author.html template to render this data to the user. Replace all of the contents of the author.html file with the following:
<!-- author box starts -->
<div class="author-box row">
    <figure class="author-gravatar columns medium-4">
        <img ng-src="{{userListing.userInfo.quiescent_avatar_url}}" alt="{{userListing.userInfo.name}}">
    </figure>
    <div class="author-info columns">
        <h2 class="author-title">About {{userListing.userInfo.name}}</h2>
        <p>{{userListing.userInfo.description}}</p>
    </div>
</div>
<!-- author box ends -->

<h2>Posts by {{userListing.userInfo.name}}</h2>

<post-listing post-args="{author: userListing.userId}"></post-listing>
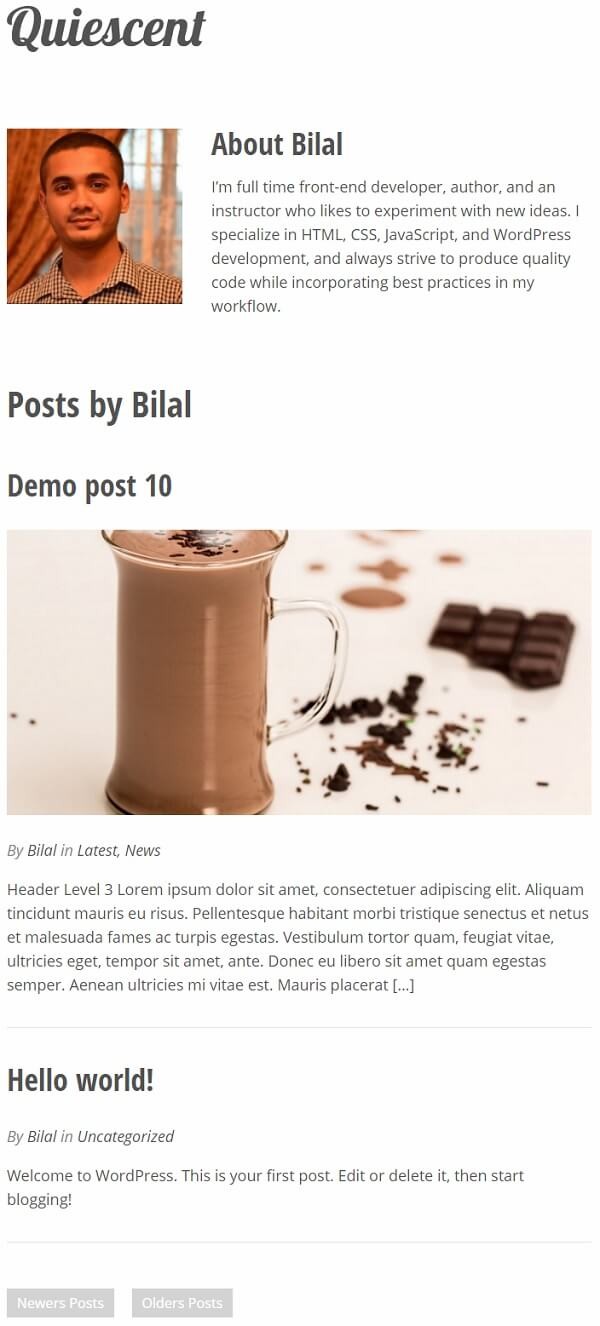
In the above code, we access the userInfo variable defined on the controller’s scope that contains the user information object. Using various properties of this user object, we replace the hard-coded username, user gravatar, and user description.
For listing the posts authored by the user, we use the postListing directive and pass it the user ID as the value of the author parameter. The directive then fetches posts using the Posts service.
Here is what the completed view should look like:
The fourth and final controller that needs to be worked on now is for the single post listing view, and we do that in the following section.
Building a Controller for the Single Post View
The view for the single post is slightly different than the others as it won’t use the postListing directive because the directive uses a template that’s more suitable for the post listing page. Additionally, we will be adding support to show comments for a single post in the future, so we need to have a separate template for a single post instead of using the same template as for post listing.
Due to the above reasons, we will use the Posts service manually in the controller for a single post to retrieve the post based on its slug.
Let’s first do a quick modification in the single post route to link the controller and the template:
// single post route
.when( '/posts/:slug', {
    templateUrl: 'views/single.html',
    controller: 'SinglePost',
    controllerAs: 'singlePost'
} )
So the name of the controller for a single post will be SinglePost. We will use the singlePost keyword to refer to it in its template.
Below is the code for the controller declaration:
/**
 * Controller for Single Post
 */
quiescentApp.controller( 'SinglePost', ['$routeParams', 'Posts', function( $routeParams, Posts ) {
    var self = this;
    self.postSlug = $routeParams.slug;
    self.post = {};

    Posts.query( {'slug': self.postSlug}, function( data, headers ) {
        self.post = data[0];
    });
}] );
In the above code, we first retrieve the post slug using the $routeParams service and save it in the self.postSlug property on the controller’s scope. Then we query the database using the Posts service by providing the post slug as a query argument. The data returned is an array containing a single object, and we set the self.post property on the scope using this returned data. Simple!
Now for the template, below are the contents of the views/single.html file:
<!-- post listing starts -->
<article class="post-entry">
<h2 class="post-title"><a ng-href="#/posts/{{singlePost.post.slug}}">{{singlePost.post.title.rendered}}</a></h2>
<figure class="post-thumbnail" ng-show="singlePost.post.quiescent_featured_image">
<img ng-src="{{singlePost.post.quiescent_featured_image}}" alt="Featured Image">
</figure>
<p class="post-meta">
By <a ng-href="#/users/{{singlePost.post.author}}">{{singlePost.post.quiescent_author_name}}</a>
in <a ng-href="#/categories/{{category.term_id}}" ng-repeat="category in singlePost.post.quiescent_categories">{{category.name}}{{$last ? '' : ', '}}</a>
</p>
<div class="post-content" ng-bind-html="singlePost.post.content.rendered"></div>
<p class="back-to-listing">
<button class="button" onclick="window.history.back()">Back to posts listing</button>
</p>
</article>
<!-- post listing ends -->
The above code is pretty simple as we bind various properties of the post object to different elements, just as we have been doing in the last few sections.
Below is a screenshot of the completed single post view:
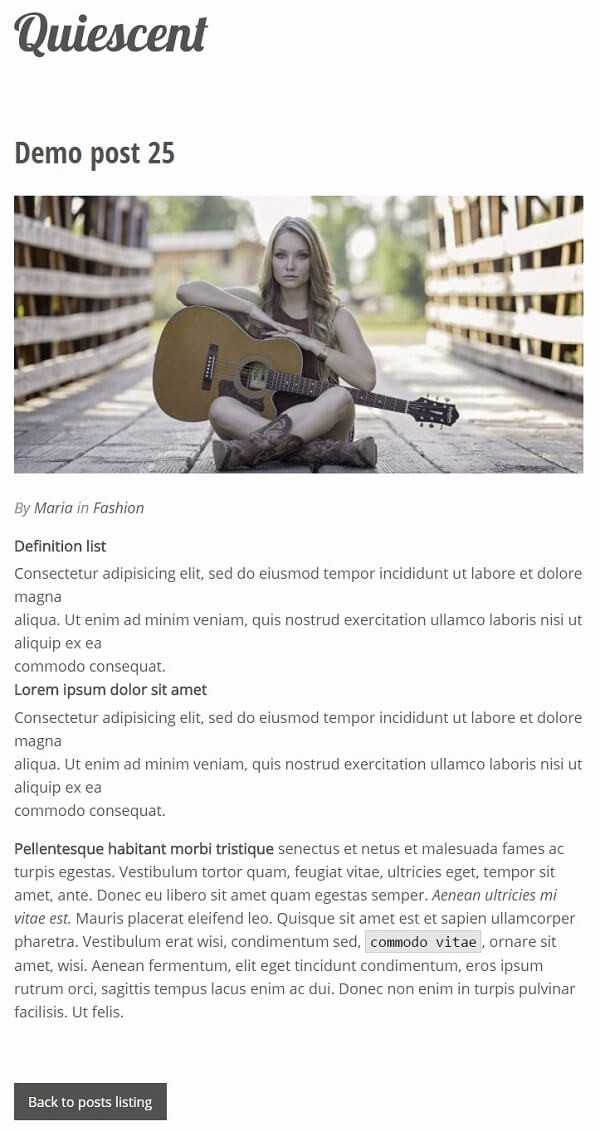
The application is now complete (not quite yet!) and provides views for the post listing, single post, user, and category pages.
Conclusion
Here we conclude our four-part series, in which we built a front-end powered by the WP REST API and AngularJS. We started out by analyzing the requirements and reviewing wireframes. Then we built a companion plugin that provides some additional fields in standard responses that will be needed in our front-end.
In the following parts, we bootstrapped our AngularJS application, dissected templates for different views, and configured application routing. We also built a custom AngularJS directive for the post listing feature that abstracts away the functionality for listing posts and provides a flexible way for us to retrieve a set of posts for different requirements.
In the final part of the series, we built controllers for post listing, single post, category, and user views and linked them with their respective templates through the .config() section of our application.
The application is not complete and can be improved in many ways. Some ideas are listed below:
- comments thread on the single post view
- No Posts by Author message when there is no post by the user on the author profile page
- numbered pagination on post listing pages
- better SEO with AngularJS Single Page Applications
We will try to build on these features in future tutorials. But for now, I’m leaving it up to you to play around with the application and extend it with some awesome features. Be sure to provide an online demo for the application in the comments as I’m eager to learn from my readers.

Comments