In the introductory series about the WP REST API, we learned to use the basic functionality provided by the API and the flexibility it offers when building apps with the WordPress back end. We looked at the resources, routes, and methods it supports for performing CRUD operations.
In this series about building a WordPress-powered front end with the WP REST API and AngularJS, we will put the knowledge acquired in the introductory series to use. We will learn how we can leverage this knowledge to decouple the conventional theme-admin model supported by WordPress until now. We will plan and build a single-page application (that I've named Quiescent) with a WordPress back end which will feature posts, users, and categories listing pages. We will configure AngularJS routing and build a custom directive and controllers for the resources mentioned above.
In the first part of the series, we will:
- assess the requirements for building the front end with the help of wireframes
- download and install the bare-bones HTML package to begin working with
- build a companion WordPress plugin based on the above assessments
So let’s begin by assessing the requirements for building the front end.
Planning Things Out
The initial part when beginning any project should be assessing the project requirements and planning things out accordingly. This lays a solid foundation for the project and helps us think clearly in terms of the functionality and features of the application.
As mentioned before, we need listing pages and single pages for the following three resources:
- Posts
- Categories
- Users
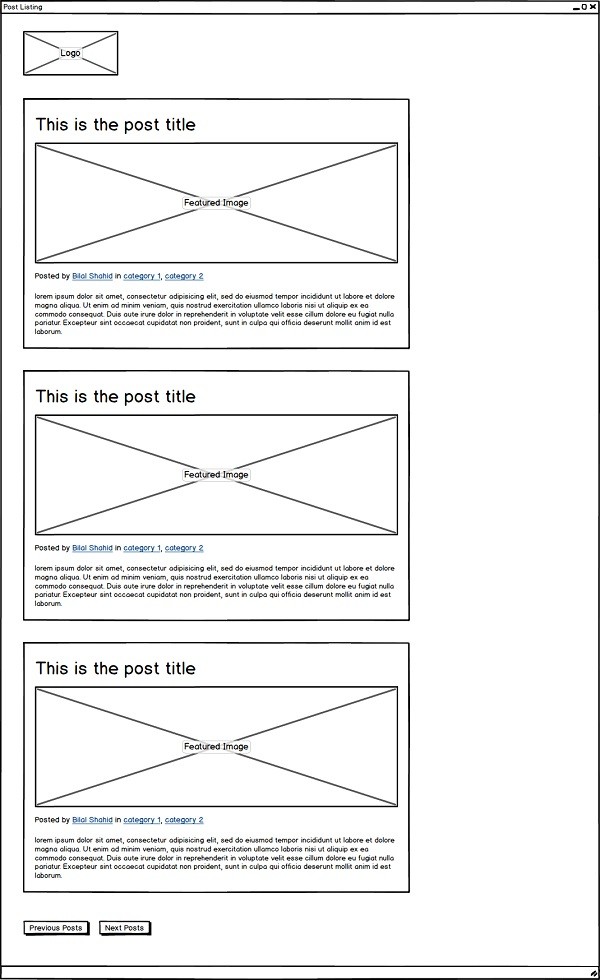
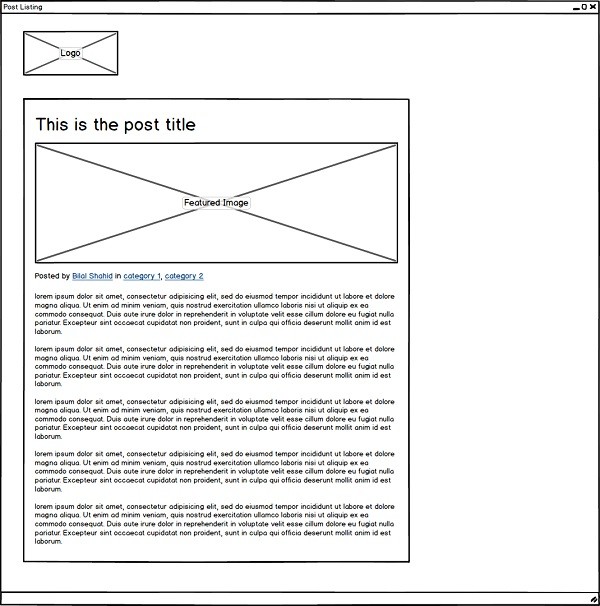
Let’s first talk about creating templates for the Posts resource. We will need two templates for this resource, i.e. a listing template and a single post template. The listing template will show a particular number of posts with pagination links for going to the next or previous sets of posts. The single post template will display a single post on the page.
Below is the wireframe for the post listing page:
And the following is the wireframe for the single post template:
As we can see in the above wireframes, the requirements are pretty simple, just like any standard blog template. But when we compare the above wireframes with the standard response the WP REST API provides for posts, we come across the conclusion that the following items are missing from the standard response object:
- featured image link
- author name
- category names and links
Hence we need to modify the response for the Posts resource to include these items. We will do that later in this tutorial by creating a companion plugin for WordPress.
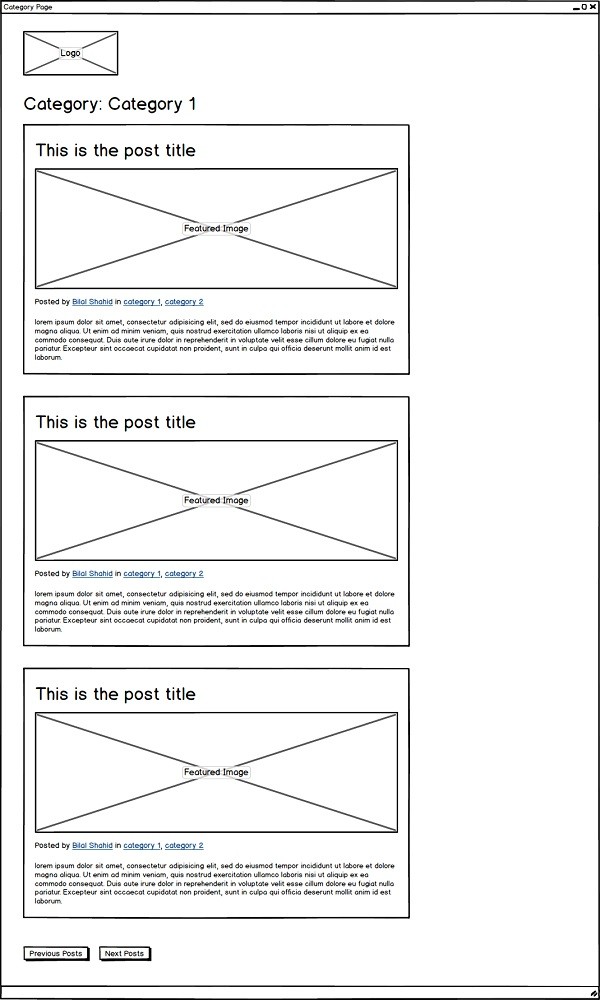
Let’s now analyze the requirements for the Categories and Users resources by looking at the following two wireframes.
Below is the wireframe for the category template:
And here is the wireframe for the user template:
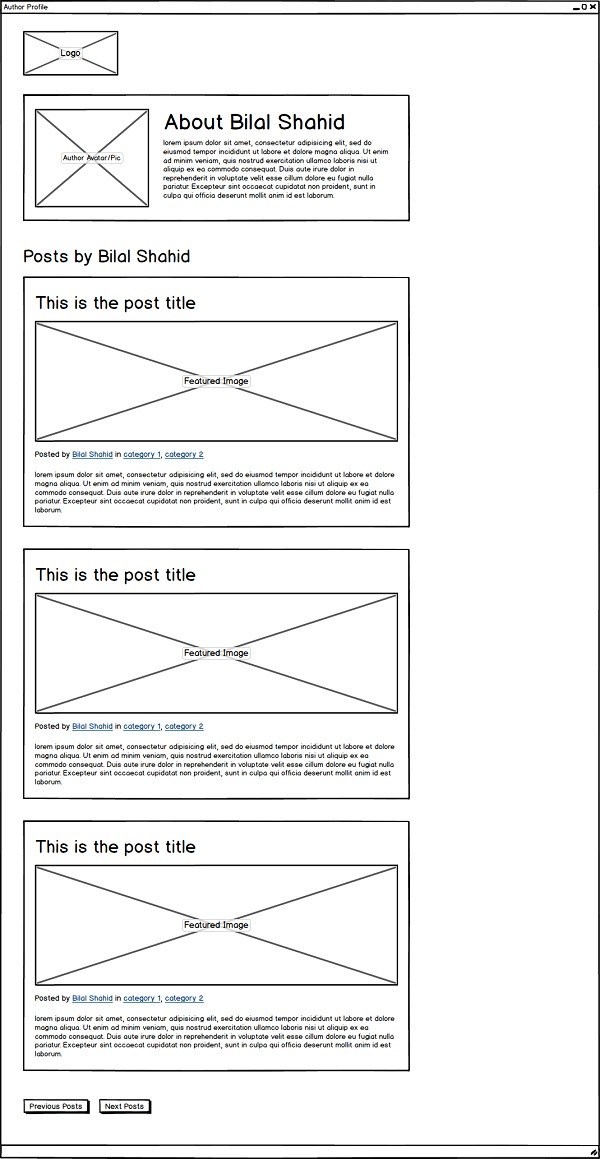
By looking at the above two wireframes, it’s clear that they don’t require registering any additional fields in their standard responses. But if we look closely at the author profile page, we need to add an additional gravatar size to account for the image size in our HTML. This functionality can also be achieved in the companion plugin.
One of the fundamental and most advocated principles of software engineering is the DRY (Don’t Repeat Yourself) principle. By analyzing the mockups above, we see that the post listing is being repeated on almost all of the listing templates in one form or another. So we will go ahead and make a common AngularJS directive for posts listing to use on all of the above templates, and this directive will include functionality including post pagination and retrieving a subset of posts for given parameters.
Now that we have assessed the general requirements for building the application, we can delve into the coding part starting from the next section.
Tutorial Requirements
Before we begin working to build the application, you need to have certain applications installed on your system. These applications are:
- a WordPress installation with the WP REST API plugin enabled and some demo data
- Git for cloning the HTML repository (not necessary, though, since you can also download the repository directly from the GitHub site through GUI)
- Node.js for working with
npmandgulpcommands
- GulpJS for running minification and optimization tasks in the HTML package
If you have been developing for the web for a while, there is a good chance that you already have this stuff installed on your system. Otherwise, I recommend that you take a look at their official sites and documentation to have them set up.
Downloading and Installing the HTML Package
To make things easier for you to follow, I’ve already built basic HTML templates for the wireframes we analyzed above.
First of all, you need to clone the HTML package repository from GitHub:
$ git clone https://github.com/bilalvirgo10/quiescent-rest-api-html.git
After you have cloned the repository, you need to navigate into the directory using the following command:
$ cd path/to/cloned/repository
It doesn’t matter if you are using OS X, Windows or Linux, because the above cd command will work on almost all the operating systems.
Now you need to install Node.js modules using:
$ npm install
The above command will take some time to complete, depending on the speed of your internet connection.
Having installed the necessary modules, you can finally compile the source using the gulp command:
$ gulp
This produces a new folder called dist that contains the compiled source for HTML and its assets.
The npm install command we ran above also installs a Node.js module called http-server that provides a fast and easy way to set up a basic HTTP server inside any directory. You can check the compiled source by navigating into the dist directory and running the following command:
$ http-server
This will echo some addresses on the screen for the server which you can enter in your browser to start viewing the HTML.
$ http-server
Starting up http-server, serving ./
Available on:
    http:192.168.0.104:8080
    http:192.168.56.1:8080
    http:127.0.0.1:8080
Hit CTRL-C to stop the server
That’s all about downloading and compiling the basic HTML package that will work as the backbone for our future development.
Building the Quiescent Companion Plugin
Having downloaded and installed the necessary modules for the HTML package, we are now ready to build the server-side functionality to support the front end.
In a previous section, we analyzed the requirements for building the front end with the WP REST API and AngularJS. Let’s take a look again at the required items that we need for building the front end:
- Featured image for the post. We also need to register a new image size in WordPress to account for the image size in our HTML.
- Author name of the post. This can be retrieved by using the author ID that is available in the standard response object.
- List of categories associated with the post. This can be achieved by using the post ID.
- A new image size for the gravatar to account for the author profile image size in our HTML.
So we need three additional fields for the Posts resource and also need to add new image sizes for the featured image and the user gravatar.
Let’s begin by creating a new directory for our plugin in the /wp-content/plugins folder and naming it quiescent-companion. Inside that directory, create a new PHP file named quiescent-companion.php and paste in the following code for plugin definition:
<?php
/**
 * Plugin Name: Quiescent Companion
 * Description: Plugin to work with the Quiescent WP REST API theme
 * Author: Bilal Shahid
 * Author URI: http://imbilal.com
 */
If you have been following along with me since my introductory series about the WP REST API, then you have already learned to modify the server response for a particular resource using the register_rest_field() method. If you haven’t taken a look at it, I recommend you do so by checking out the article about modifying server responses.
The register_rest_field() method accepts three arguments for the name of the resource to modify, the name of the field, and an array of arguments for the field. This array of arguments contains the retrieval callback, the update callback, and the schema of the field.
Here is the code for adding a custom field for the featured image of the post:
<?php
/**
 * Modifying the response for the Post object
 */
function quiescent_modify_post_response() {
    // adding a field for the featured image
    register_rest_field( 'post', 'quiescent_featured_image', array(
        'get_callback'		=> 'quiescent_get_featured_image',
        'update_callback'	=> null,
        'schema'                => null
    ) );
}
add_action( 'rest_api_init', 'quiescent_modify_post_response' );
The register_rest_field() method is called with the rest_api_init action.
It’s always a good practice to prefix the name of the custom field so it doesn’t conflict with any other field in the future. Hence we named our custom field quiescent_featured_image. The method responsible for retrieving this featured image is quiescent_get_featured_image, and we define it as the following:
<?php
/**
 * Function to retrieve featured image link
 */
function quiescent_get_featured_image( $post, $field_name, $request ) {
    $attachment_id = $post['featured_media'];
    $attachment_info = wp_get_attachment_image_src( $attachment_id, 'quiescent_post_thumbnail' );
    return $attachment_info[0];
}
This method gets passed three arguments for the post array, the field name, and the request object. The post array contains necessary information about the current post including its ID, title, content, etc. By using this information, we can retrieve any arbitrary information associated with the post. Hence we use the post featured media ID to retrieve the link of the featured image of the post using the wp_get_attachment_image_src() method.
In addition to the above code for registering the custom field for the featured image link of the post, we also need to register a custom image size accordingly:
<?php
/**
 * Adding image size for the featured image
 */
function quiescent_add_image_size() {
    add_image_size( 'quiescent_post_thumbnail', 712, 348, true );
}
add_action( 'init', 'quiescent_add_image_size' );
The above code uses the add_image_size() method for registering a new image size of 712 px by 348 px, and we use quiescent_post_thumbnail as the name of the new image size.
Save the code and make sure that the Quiescent Companion plugin is activated in your WP admin. Send a test request to the /wp/v2/posts route and the server will return the link of the featured image in the quiescent_featured_image field in the response object:
...
"tags": [],
"quiescent_featured_image": "http://localhost/wordpress/wp-content/uploads/2016/02/hot-chocolate-1058197_1920-712x348.jpg",
"_links": {
...
Now that we have successfully added the featured image link in the response, the two other fields remaining to be added are for the author name and categories name list.
For adding the display name of the post author, we modify the quiescent_modify_post_response() function to include another call to the register_rest_field() method like the following:
<?php
// adding a field for author name
register_rest_field( 'post', 'quiescent_author_name', array(
    'get_callback'      => 'quiescent_get_author_name',
    'update_callback'   => null,
    'schema'            => null
) );
We call this custom field quiescent_author_name and the callback function for retrieving the value of this field is as follows:
<?php
/**
 * Function to retrieve author name
 */
function quiescent_get_author_name( $post, $field_name, $request ) {
    return get_the_author_meta( 'display_name', $post['author'] );
}
Here we use the get_the_author_meta() method to retrieve the display name of the post author.
For the last field for category names, the call to the register_rest_field() method is as follows:
<?php
// adding a field for categories
register_rest_field( 'post', 'quiescent_categories', array(
    'get_callback'      => 'quiescent_get_categories',
    'update_callback'   => null,
    'schema'            => null
) );
The above call should go inside the quiescent_modify_post_response() function. The quiescent_get_categories() retrieval callback method is:
<?php
/**
 * Function to retrieve categories
 */
function quiescent_get_categories( $post, $field_name, $request ) {
    return get_the_category( $post['id'] );
}
The above code uses the get_the_category() method for retrieving the categories for the current post. This method returns an array of objects, with each object representing a category that belongs to the current post.
Now that we've written all the above code, three new fields are now added to the standard response object for the Posts resource. These three new fields are:
quiescent_featured_image-
quiescent_author_name
-
quiescent_categories
By default, the standard response for the Users resource contains avatar URLs for sizes of 24 px, 48 px, and 96 px. The last thing we need to do now is to add a URL for an additional gravatar size of 207 px for the Users resource. So create a new function named quiescent_modify_user_response() and hook it to the rest_api_init action:
<?php
/**
 * Modifying the response for the User object
 */
function quiescent_modify_user_response() {

}
add_action( 'rest_api_init', 'quiescent_modify_user_response' );
Inside this function, we add a call to the register_rest_field() method to add a field named quiescent_avatar_url for the user object:
<?php
/**
 * Modifying the response for the User object
 */
function quiescent_modify_user_response() {
    // adding a field for 207 X 207 avatar
    register_rest_field( 'user', 'quiescent_avatar_url', array(
        'get_callback'      => 'quiescent_get_user_avatar',
        'update_callback'   => null,
        'schema'            => null
    ) );
}
The quiescent_get_user_avatar() callback method is as follows:
<?php
/**
 * Retrieving the avatar for the user
 */
function quiescent_get_user_avatar( $user, $field_name, $request ) {
    $args = array(
        'size'  => 207
    );

    return get_avatar_url( $user['id'], $args );
}
This method uses the get_avatar_url() method to return the URL for a gravatar of size 207 px by 207 px.
Send a GET request to the /wp/v2/users route and the server will return an additional field named quiescent_avatar_url along with the standard response object:
...
"quiescent_avatar_url": "http://0.gravatar.com/avatar/?s=207&d=mm&r=g",
...
That's all about building the companion plugin. The completed source code can be grabbed from the Envato Tuts+ GitHub repository.
Now that the plugin has been completed, we are now ready to go ahead and begin working with AngularJS to create templates, routes, and services for resources, which we'll do in the very next part of the series.
What’s Up Next?
In this tutorial, we laid a foundation for creating a WordPress-powered front end using the WP REST API and AngularJS. We analyzed project requirements with wireframes and created a companion plugin for backing the front end.
In the next part of the series, we will begin working with the HTML package we downloaded earlier in this tutorial. We will bootstrap the AngularJS app, configure routing, and create RESTful services for Posts, Users, and Categories resources, so stay tuned...

Comments