Early last year, a local concert promoter came to me and asked me to build his company a ticketing website. He wanted to be able to sell tickets for the concerts that he promotes. Last year, the volume of his shows was too high to just write the occasional blog post promoting them or tweet links to an online box office.
He wanted a place where everyone who wanted to watch live music in my city (Cardiff, UK) could go to buy tickets for great shows.
We decided that WordPress would be the best way to meet his needs and I set about thinking about how to best implement the idea. This two-part tutorial will show you how you can run a similar website.
In part one, we'll talk about the planning stages of the project and consider what is really necessary for a ticketing system, take a look at how to use WordPress to build a pleasant environment for your users/customers, and we'll take a look at building a skeleton ready for part two.
In part two we'll build on the decisions we made in the first part of the series, and take a look at custom fields and how we can automate 'Buy Tickets' buttons to be generated on each concert. We'll also use the custom field idea to look at how we can sell merchandise for the concert (specifically, the poster art that we've commissioned for advertising) and how we can eliminate the need to use categories to differentiate between future and past events.
Then we'll take a look at TicketTailor who provide a brilliant premium service for ticketing websites and build a custom store for you using the stylesheet of your WordPress install.
Step 1 First Thing's First
To begin with, we need to plan our project. The simplest way for us to do this is to work out our demands. Unlike other projects that we might work on for clients, a ticketing website is very simple because we don't have to deal with many different kinds of content or much styling of text. In fact, we'll only be using two or three text styles in this whole tutorial. Our CSS will mainly deal with the structure of our archives.
A ticketing website has three requirements:
- Selling tickets - if our website doesn't do this, we're doing it wrong!
- Giving information about events - Using posts to make sure that the customer knows as much as they can know about the event
- Ease of use - The easier a website is to use, the more likely people will be to part with their cash
Should we separate our normal content and ticketing?
When I started the design job for my client, I thought that the easiest way to manage a separation between upcoming events that customers could buy tickets for and general information about the promotions company that I was working for, would be to register different taxonomies/post types.
You're probably already familiar with WordPress' great custom post type feature which allows you to create a way to process all kinds of information. But don't forget your user here!
We're not looking to make the most of the WordPress Codex! We want to make it easy for our user to use the website. In actuality, a clever use of meta fields and custom queries would eliminate even the need to use categories in our ticketing system.
Let's get to business!
Having talked about what we're going to need to consider before getting to work, we can now think about how we're going to build our website. For this tutorial, we're going to assume you're putting on quite a few concerts and that on the home page, you want people to be able to see your posters so that they know exactly where to click.
For this tutorial, we'll be using a super basic install of WordPress and working with the TwentyEleven theme that comes as standard. We'll use this because it's already nicely styled and is really flexible if we're just wanting to get on with our work.
Step 2 Setting Up Our Theme
To start, let's clean out some of the code that comes as default with TwentyEleven. We don't need a random image as supplied by WordPress so, open up the header.php and take out the following code:
	<?php
					// Check to see if the header image has been removed
					$header_image = get_header_image();
					if ( ! empty( $header_image ) ) :
				?>
				<a href="<?php echo esc_url( home_url( '/' ) ); ?>">
					<?php
						// The header image
						// Check if this is a post or page, if it has a thumbnail, and if it's a big one
						if ( is_singular() &&
								has_post_thumbnail( $post->ID ) &&
								( /* $src, $width, $height */ $image = wp_get_attachment_image_src( get_post_thumbnail_id( $post->ID ), array( HEADER_IMAGE_WIDTH, HEADER_IMAGE_WIDTH ) ) ) &&
								$image[1] >= HEADER_IMAGE_WIDTH ) :
							// Houston, we have a new header image!
							echo get_the_post_thumbnail( $post->ID, 'post-thumbnail' );
						else : ?>
						<img src="<?php header_image(); ?>" width="<?php echo HEADER_IMAGE_WIDTH; ?>" height="<?php echo HEADER_IMAGE_HEIGHT; ?>" alt="" />
					<?php endif; // end check for featured image or standard header ?>
				</a>
				<?php endif; // end check for removed header image ?>

You could just remove the header image using the TwentyEleven theme options if you prefer
Of course, you could just remove the header image using the TwentyEleven theme options if you prefer, but I like to clean out code that I'll never use whenever I can so I always delete this from header.php straight away. The other thing that we won't be using is the sidebar because we want to make a rich use of our poster artwork. So we'll just remove that from the code as well.
Open up index.php and delete this line:
<?php get_sidebar(); ?>
Now, if you preview that, it looks a bit weird because our CSS file still thinks that there's a sidebar. Let's remedy that and open up style.css.
The line number of the code that controls our space for the sidebar is 89. So search for that line in the CSS and change it from this:
#content {
	margin: 0 34% 0 7.6%;
	width: 58.4%;
}
to this:
#content {
	margin: 10px;
	}
Now press save, refresh the homepage of your site in your browser and you'll see that the space for the sidebar has disappeared. Awesome. Now we can get to work on how to display our concerts. For ease of explanation, I've included an XML file with some sample posts in it as well as a mockup poster image that we're going to use in the rest of this tutorial.
Step 3 Setting up our posts
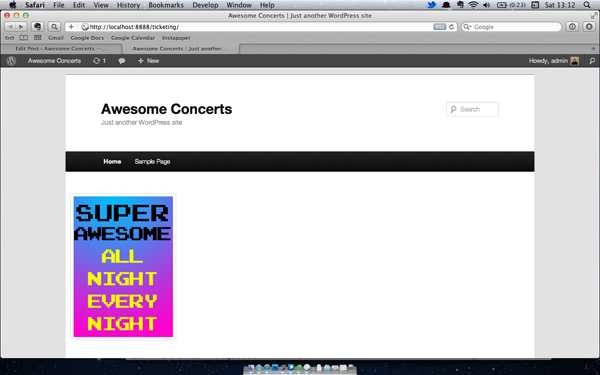
Import the posts into the admin area of WordPress and then take a look at your site and you'll see you've now got 8 concert dates with posters as the only content in the body of the post. This is OK.
Later on we'll be using a concert ticketing service called TicketTailor to handle the information about the shows and so the only important thing as far as content for WordPress is concerned, is the poster for the concert.
Now let's display it in a neat way. Open up content.php so that we can take out all the stuff we don't need from here. Strip away everything other than the post content and you'll be left with this:
	<?php
	/**
	 * The default template for displaying content
	 *
	 * @package WordPress
	 * @subpackage Twenty_Eleven
	 * @since Twenty Eleven 1.0
	 */
	?>

		<article id="post-<?php the_ID(); ?>" <?php post_class(); ?>>


				<?php the_content( __( 'Continue reading <span class="meta-nav">→</span>', 'twentyeleven' ) ); ?>

		</article><!-- #post-<?php the_ID(); ?> -->
Step 4 Cleaning up our template
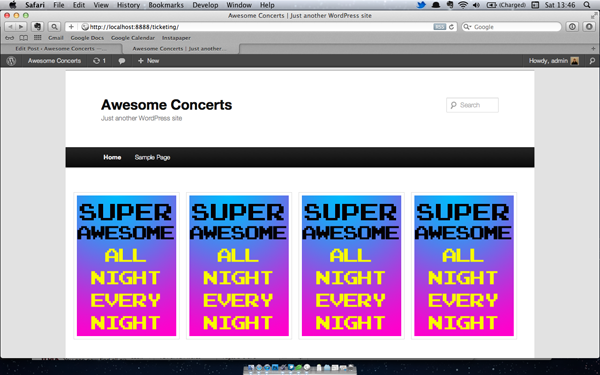
For now, this is all we need to include in content.php. Now that we've only got the poster images, we've got a lot of focus on the concerts themselves rather than the information around them. That makes it really simple for us and our users. But we don't want the user to have to scroll for hours to see the content they really want to see. Let's use a neat CSS trick to get everything to look a bit tighter.
Go to line 701 in your CSS file and you should find the .hentry classes. They look like this:
.hentry,
.no-results {
	border-bottom: 1px solid #ddd;
	margin: 0 0 1.625em;
	padding: 0 0 1.625em;
	position: relative;
}
.hentry:last-child,
.no-results {
	border-bottom: none;
}
We'll change the values of the first property and then delete the last-child altogether as we won't need a style for that anymore. Here's some updated CSS to give us a nice clean layout:
.hentry,
.no-results {
	margin: 0.5em;
	padding: 0 0 1.625em;
	float: left;
}
Conclusion
For now, that's all we're going to do. In the second half of the tutorial, we'll be doing the following:
- Setting up some custom fields for our posts
- Writing a cheeky little query that eliminates our need for categories
- Implementing call to action buttons
- Setting up TicketTailor to handle our sales and guest lists

Comments