Most mobile apps are missing that extra bit of design detail that could help them stand out from the App Store crowd. While there is no replacement for having a talented designer polish your app's pixels for hours on end, the purpose of this series is to teach those with limited Photoshop experience and a low-to-no budget how to make apps that shine!
This series is aimed at the developer who doesn't have the budget to hire a professional designer. It will teach you how to create eye-catching elements with very limited Photoshop knowledge and effort.
In this post, we're going to focus on altering existing PSD files to get the look you're after for your app.
How to Learn Design
If you're a programmer, have you ever read someone else's code to learn how they accomplished a particular task? Almost all programmers do, and learning design is no different. Just as in the development world, there are many web sites filled with PSDs that you can experiment with and learn from. Some of these sites even allow you to alter the PSDs and use them in your own work. The keyword is alter. While many of the PSDs I'm referring to could actually be copied and used commercially without modification, I would advise against it. You won't learn that way, and you won't be releasing a design that is truly unique to your application.
As mentioned, there are hundreds of sites offering free PSDs. However, if you're looking to create a real-world project, the trick is to find the sites that will allow you to reuse those PSDs in your own work. Unless I'm simply surfing for educational purposes, I usually only review sites that provide both high quality work as well as flexible usage terms. Below are my five favorite PSD related sites:
- PSDTuts+ - Free, but with Premium Available
- PixelBeam - Free
- 365 PSD -Free
- Premium Pixels - Free
- GraphicRiver - Paid
The point here is simple: as a developer, you likely lack the skill necessary to create extremely polished applications on your own. However, you can quickly mashup the designs of others to create your own unique feel with very little knowledge of Photoshop.
Mashup a Polished UINavigationBar

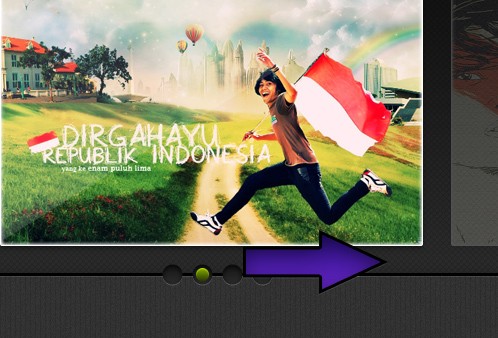
Using the PSD "Mashup" technique discussed above, we'll be designing a custom UINavigationBar using a PSD from www.pixelbeam.net. We're going to alter several elements in the PSD to create our own unique feel.
Step 1
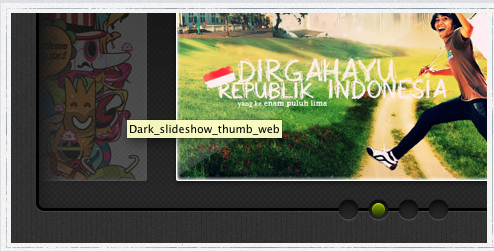
Download the PSD here and open the file in Photoshop.
Step 2
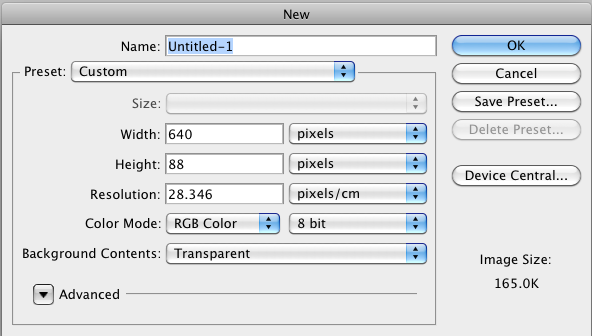
Create a new project that is 640 x 88.
Step 3
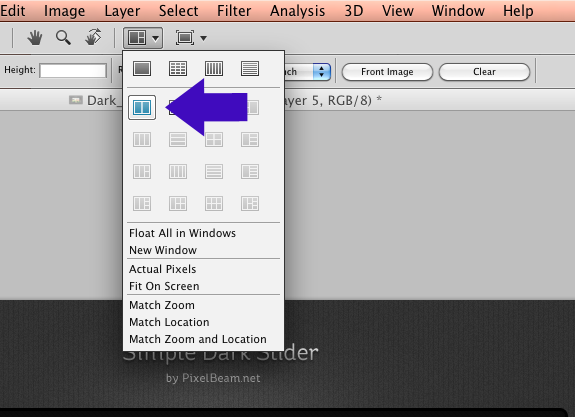
Now use the Arrange Documents button to split the screen between both projects.
Step 4

For this part of the process, make sure you have Auto-Select Layer checked. This means that Photoshop will automatically select the layer of the item you have just clicked on. This helps when navigating through larger PSD's. You can turn it on an off when needed during this project.
Step 5
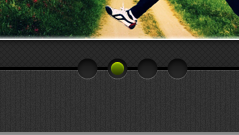
Using the move tool, select the active bullet pictured above. You will notice that Photoshop automatically selected that layer.
Step 6
While still in split screen mode, drag the active bullet layer onto the the screen of your UINavigationBar. You will notice that its layer and layer styles have been copied to your UINavigationBar project.
Step 7
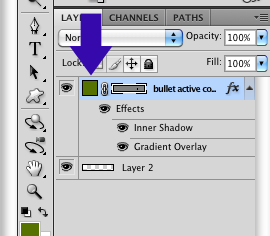
Now double-click on the Layer thumbnail. This will bring up the color picker. From here you can change the color of the bullet.
Step 8
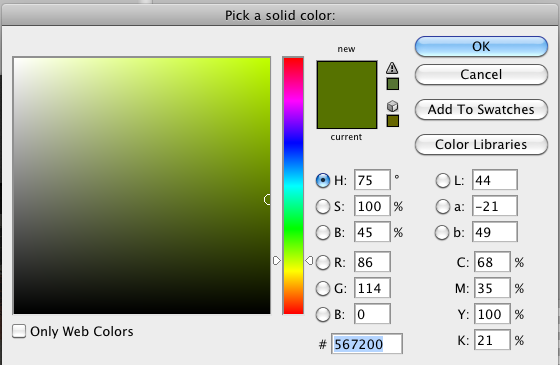
Copy the Bullet Color #567200 and set it as your foreground color.
Step 9
Use the Paint Bucket Tool to fill your project with the #567200 color.
Step 10
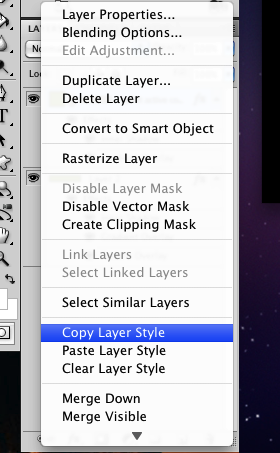
Right-click on the Active Bullet Layer. Select Copy Layer Style.
Step 11
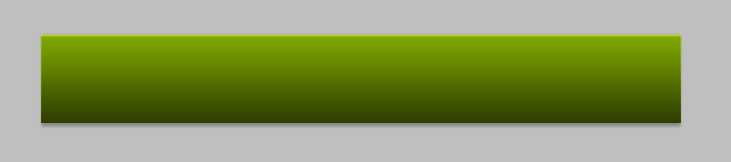
Right click on your UINavigationBar layer and select Paste Layer style.
What You Should See:
Step 12
Select the background of the slide area. Similar to Step 6, Photoshop will automatically select the layer (Auto-Select Layer must be checked). Now move the layer to your UINavigationBar project.
Step 13
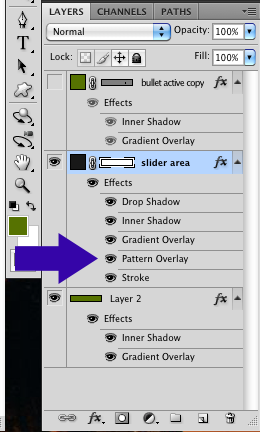
Mouse over the "Pattern Overlay" layer style. Click and drag it to your UINavigationBar layer.
Step 14
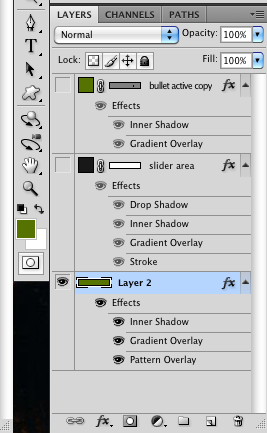
Make sure all layers except for your UINavigationBar layer are invisible.
Step 15
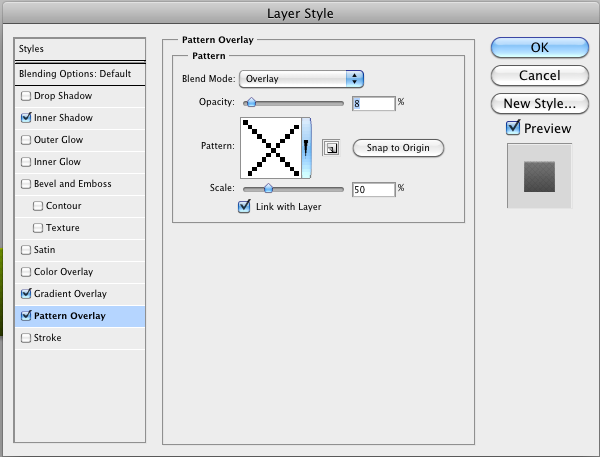
Double-click on the Pattern Overlay layer style. The Pattern Overlay layer style box will appear. Bring the opacity down to 8.
Final Product:

Integrating the Design in Code
If you would like to integrate a custom UINavigationBar into your project, you can review the sample code in this github project.
Wrap Up
Take some time to look through the PSD. You'll quickly realize that good design is both hard and time consuming. At the same time, it's worth the hard work for the end aesthetic achieved. If you have the budget for a great designer, I highly recommend that you find and hire one. If you don't have the budget, Mashup your own design elements using different PSDs. I also recommend studying designs found on sites like Creattica Mobile, Pattrns, and Beautiful Pixels.
I hope you find this tutorial helpful. If you create anything awesome, tweet it to me at @williamherring.
Credits
*The preview image for this post was created by modifying the Leatherly - One Page Template which can be found here. The UINavigationBar was created by modifying the Simple Dark Slider theme which can be found here.

Comments