In this tutorial, we'll cover how to do five quick CSS customizations that make your blog stand out. Even if you don't know what CSS is, you'll be able to follow the instructions and change the standard look of your theme.
Before We Start, You Need...
- a theme with custom CSS options
- or a custom CSS plugin
- or a child theme
If you don't already know how, I'll show you how to find and set up these things. That way you can safely edit the layout of your website or blog. If your website is already live and getting traffic, it can be a good idea to use a "down for maintenance" plugin so visitors don't become confused by the ever-changing layout.
Another alternative would be to set up a development environment on your local machine, and then upload the changes to the server once they are completed.
Ultimately, it's up to you.
Your Theme's Options
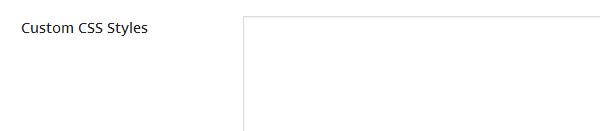
Some themes already have the option to override parts of the CSS stylesheet, enabling you to create your own layout without installing extra plugins or creating a child theme. This can be found under the Appearance > Theme Options menus.
Sometimes it is in one of the subcategories, but look for a box that has "Edit CSS" as a headline.
Custom CSS Plugins
If your theme has no such option, the Jetpack plugin comes with a CSS editor function, but to use it, you have to connect the plugin with your WordPress.com account, or create a new one.
It saves your revisions, which makes it easy to go back to a previous layout if you feel like you messed up somewhere along the road, but if you're not interested in the other functions of the Jetpack plugin, a quicker alternative would be the simple custom CSS plugin.
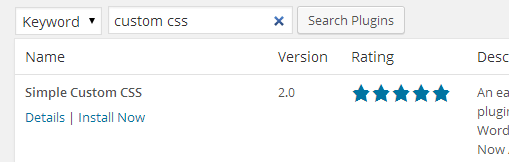
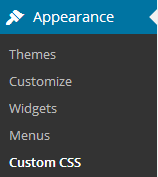
Once you've installed and activated the plugin, you can edit the css from Appearance> custom css. (In Jetpack, it's located under the Appearance > Edit CSS menu option.)
Make a Child Theme
If you're prepared to make extensive changes, the best idea is to set up a child theme. The problem with customization through override is that you get superfluous lines of code, and for an extensive edit it may make the blog or website load slower.
Plus, it's a lot easier to keep track of things when you edit the code in one place. You can use a plugin like Orbisius Child Theme Creator or duplicate theme to instantly create a child theme.

Alternatively, you can simply create a new theme folder, call it THEMENAME child, create style.css in the new theme folder and import the main stylesheet. (THEMENAME should be replaced by the theme you want to edit.)
@import url("../THEMENAME/style.css");
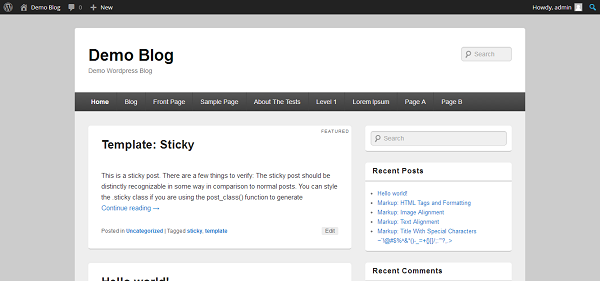
For more info on how to create a child theme, you can check out our guide. Now that you're all set up, it's time to start getting our hands dirty. We're going to start with something very basic: changing the background of your blog/website. I'll also show you how to add a stylish background image.
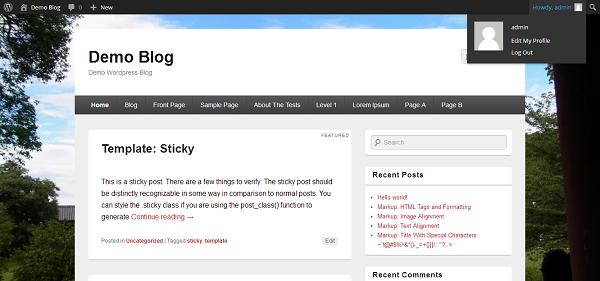
Changing Background Color
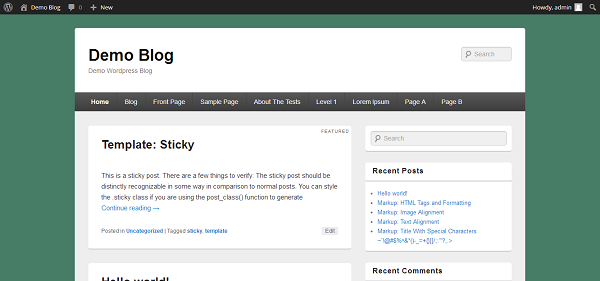
To change the background of your website, you first have to get familiar with the styling of the theme. Is the background color simply under body, or is it built into its own frame?
Some themes are not as intuitive as others, so if the one you are currently using is intelligible, you might want to change to a different theme before you start editing. (The one I'm using in the example is the free Catchbox Theme and a very common starting theme is twentyeleven.)
With most non full-width themes, the background color is simply under body. And overruling it is quite simple.
body {
  background-color: #477C67;
}
You can use the W3Schools HTML color picker to get your colors, or install a Chrome extension, aFirefox plugin, or a WordPress plugin to speed things along when you're editing on the go.
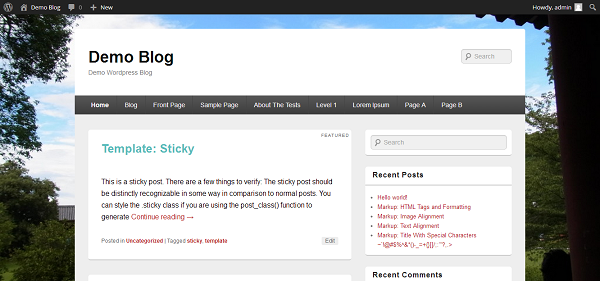
I chose a deep teal background color: #477C67:
If this code snippet does not change the background color of your blog, it is likely that it utilizes stylized empty containers to fill the background.
If you want to set an image as the background, first upload the picture. Make sure it is high resolution otherwise it won't look very good. Then copy the URL. You only need the part after the blog, so if you uploaded the file via WordPress, then the path should look something like this: "wp-content/uploads/2014/01/IMAGE.jpg"
body {
  background: url(location/img.jpg) no-repeat center center fixed;
  -webkit-background-size: cover;
  -moz-background-size: cover;
  -o-background-size: cover;
  background-size: cover;
}
The finished result should look something like this:
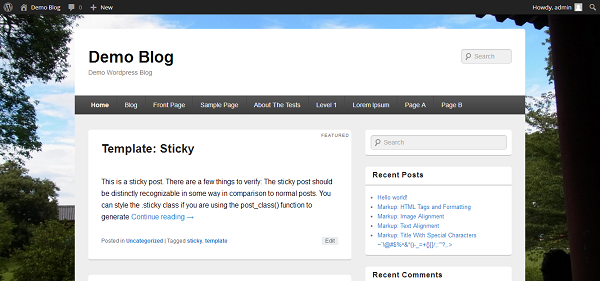
The cool thing is that the picture remains static even when you scroll down through the page. For great photos that you are free to use without giving credit (although it is probably welcome), you can visit unsplash.com.
Improving Readability
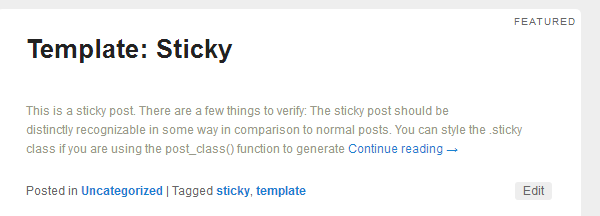
Sometimes you stumble across a great theme. It looks awesome, but there's just one problem. The font is small and grey so it's almost unreadable. But don't worry, you can change this in one simple step.
body {
  font-size: 16px;
  color:#000
}
Add this short snippet of code to the custom CSS, and it will fix the problem. (Put it after the code about the background if you changed yours.)
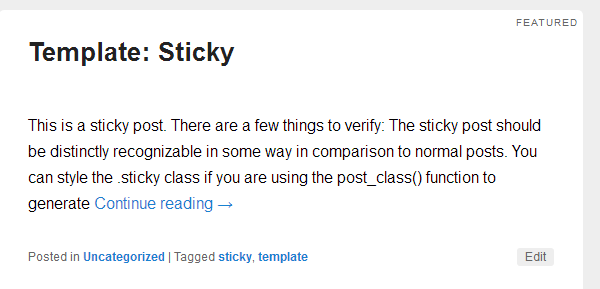
A good size for the standard font of your website or blog is 14-16 pixels. Avoid the 12 pixels that were mandatory on, say, school reports, as your main goal isn't to save paper. You want your content to breathe, and to make it more readable. If you feel like the standard font of your theme looks unprofessional, you can add this line:
body {
  font-family: Arial, Helvetica, sans-serif;
}
Making the whole thing look like this:
body {
  font-family: Arial, Helvetica, sans-serif;
  font-size: 16px;
  color:#000
}
Changing the Look of Links
If you want to change the color of the links, you can do this quite easily. All you have to do is to use the parameter for links in css "a" and then change the color to what you want.
a {
	color: #BA2323;
}
I decided to go for a red (#BA2323) and it ended up looking like this.
There are a couple of more options for how you want to style your links. For example, you can decide how you want the link to react when someone hovers over it. The most common is underline, but you could make it change its primary color or background color.
a:hover {
  color: #222;
  background-color:#BA2323;
}
For example, changing the text into gray, and changing the background color into the usual text color. Then you can change the style of visited links. Most commonly there's a change of color, but you can use any of the previous changes as well.
a:visited {
  color: #004A4A;
}
Changing the Look of Headlines
The headline of a post is typically in an h1 element, and the sub-headline used within posts is typically in an h2 element (although this is something you choose yourself when creating a post). But if your theme specifically styles the color of post titles, changing the style of h1 tags won't help. So you have to find out whether or not the theme you use does this.
You can check whether or not your theme uses a specific style for post titles by opening the page source and searching (press Control-F) for "post title". If the results show "<h1 style="some-style"></h1>" then you don't style h1, you have to provide styling in the "some-style" attribute.
Alternatively, if you're going to be making several changes, you could install a browser extension that shows you the CSS style of the selected text. It will typically be "entry-title" as that is the standard for WordPress development.
To do this, go to the Editor under the Appearance menu. and search for "some-style". As I mentioned, that style is usually "entry-title". Then see which lines you need to override. Sometimes, there is a style specifically for the linked title so you might have to change that as well. This shows up as "h1 a {" or "some-style a {".
To edit the color and size of my headline, I would have to add these lines:
.entry-title {
	color: #WANTEDCOLOR;
	font-size: WANTEDSIZEpx;
}

.entry-title a {
	color: #WANTEDCOLOR;
}
I chose a light blue (#5CBDBD).
Please note that I'm using quite glaring colors to make it obvious what changes I've made to the theme. You probably want to be a little more subtle and find a better color scheme.
If you want to edit the style of headlines that you use in your content, then instead of .some-style, you open with h1{} or h2{} or h3{}.
Rounding and Flattening Corners
If there are any pesky corners that you feel that should be rounded, or some that have been rounded off too much, here's a quick fix.
Locate the container in question's style in the original stylesheet. (Open the original stylesheet inside the WordPress dashboard, or in a text file and then search for some text that is unique to the container you want to edit. Or you can use a plugin.) Widgets are usually under .widget, and the post container is usually under content.
The code to use here is:
	-moz-border-radius: SIZEpx;
	border-radius: SIZEpx;
If you want to override a current curved corner and turn it flat, simply set the size to 0. If you want to see how curves look for a particular container, start out with 5 and see how that looks.
Generally, you could search the page if you want to edit the corners of the entire page. You can generally find the content container by searching for .hentry if you want to edit the corners of the content. You might have to edit the header and the footer separately. Or find the widget by searching for widget.
Changing the Color Scheme of Widgets
One of the easiest ways to set up a cool color scheme for your widgets is to have a different background color for the widget itself that the widget title. You do this by identifying the style class of the widget title. (If you don't remember how, copy the title of a widget and search for it in the page source. In the h1 caption around the title, the class is revealed.)
It tends to be simply widget-title. And if you want to change the background color of the widget itself, find the style for the widget, which is usually under .widget. Then you pick a color and add this code to your custom css or child theme:
.widget {
  background: #COLOR;
}
.widget-title {
  background-color: #COLOR;
}

I chose orange and teal for no particular reason. As you can see, if there is no title, it doesn't include the title part of the color scheme, so if you want consistency you should add titles to all of your widgets.
Conclusion
While at first it might seem incredibly daunting to start playing around with the code of your website, most stylesheets are intuitive enough that if you have basic knowledge of Wordpress functionality, you'll be able to stay on top of things.
Of course, with this we've just barely scraped the surface, but you know enough to make some choice edits for the better.

Comments