Making a Magento website live is not child’s play. If you are a Magento developer you know that this a daunting task for even a seasoned developer. It's the final step of a long and stressful journey, and this makes it even more stressful. In this tutorial, I'll keep it simple by giving you a pre-launch checklist, and a brief explanation of each point.
1. General Checklist
Let's start with a few key points that you need to get right before going live.
A. Base URL
Before making your Magento website live (or moving it), you should update the base URLs of your website.
Otherwise your URLs will redirect visitors to your development website. To access the store
pages, you need the base URLs. This can be edited in the store view.
The base URL can be modified in two ways: through the back end, or by applying a SQL query.
To modify the base URL from the back end, go to the Magento
Admin Area. Then modify the option of Base URL like System >
Configuration > Web > Unsecure > Base URL to System >
Configuration > Web > Secure > Base URL. Do not forget to include
trailing forward slashes.
If you are unable to access the back end because of some
erroneous update of the Base URL then you need to update it directly in the
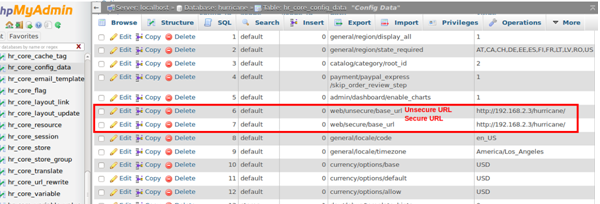
database table. These URLs are stored inside the table core_config_data of
MySQL database. Change the field values of the web/unsecure/base_url and web/secure/base_url paths:
Flush the Magento cache
under the directory of var/cache to apply the changes.
B. Favicon
Before launching your Magento website, you should
create Favicons. This minor point is often overlooked. Most often users keep
open multiple tabs while browsing. For ease of browsing, do not forget to
include Favicons for your website. This also reinforces visual branding. The
path for the favicon is as follows: /skin/frontend/default/favicon.ico.
C. HTML Head
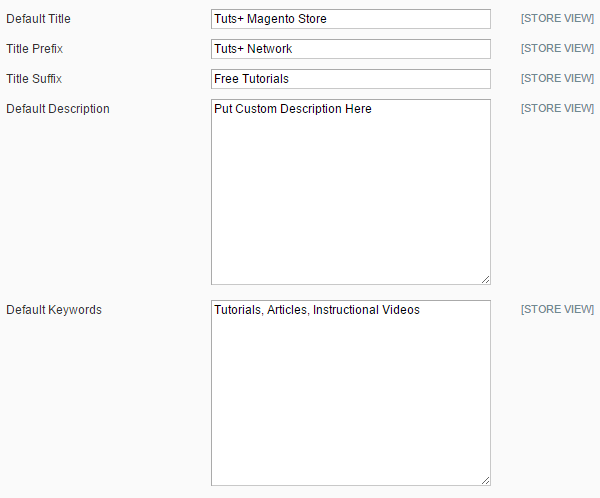
Change the original setting of the HTML head
for better SEO purposes. Change the ‘Title’, and set Meta descriptions and
keywords. The path for these changes is System > Configuration > General > Design.
D. Placeholder Images
Placeholder images are default images
set for your site if products do not have their own images. By default Magento has a nice light grey set of default placeholder images, but for the purpose of branding, you can create a set of your own by going to System > Configuration > Catalog > Product Image Placeholders.
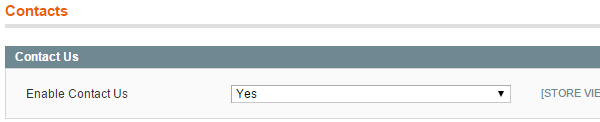
E. Contact Information
For customizing the Contact Us page, first of all enable it from System > Configuration > General >
Contacts.
To create a little advanced contact us page, remove the link at the default Contact Us Page. If your theme doesn't already have a local.xml file, then create a new
file of local.xml in your current theme’s layout folder. The content of the
file will be as follows:
Replace the path with the current URL. Now save this file and
clear the cache. Then you should create contact-us-form.phtml. This is your
form template. The next step is to place it into your current theme’s Template
folder. The path is as follows: app/design/frontend/your_namespace/your_theme/template/contact-us/contact-us-form.phtml.
The next step is to create a CMS page, and the path is CMS >
Pages > Add new page. To display your Contact Us page in the desired place,
paste the following code:
After this, save this page and add the link to the footer of
your web page. To edit the Contact Information, update your form.phtml and save
the file.
F. Copyright
It is essential that your copyright information in the footer is correct and up-to-date, as it will be displayed on all pages. You can change/reconfigure your copyright information by following this path: System > Configuration > General > Design >
Footer > Copyright.
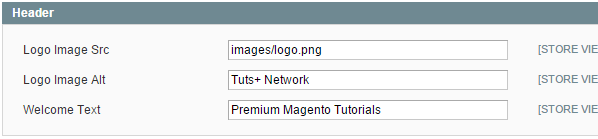
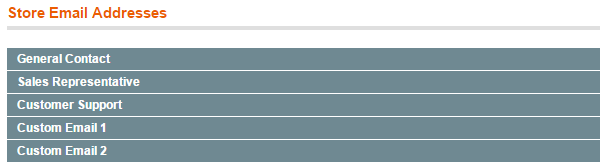
G. Store Logo and Email Addresses
Make sure that your store logo's file path is correct, and that it has the right alt text and Welcome text configured. To view these logo details,
go to System > Configuration > Design > Header.
Also make sure that all store information and business mail
addresses are correctly set. The required path for configuring these email addresses is System > Configuration > General > Store Email
Addresses.
In addition the transactional emails often use different
logos. Save that logo as logo_email.gif in your current theme directory.
2. Performance Checklist
This performance checklist will improve
your store’s speed and responsiveness, and ensure that your eCommerce store will be able to withstand
high traffic pressure without crashing.
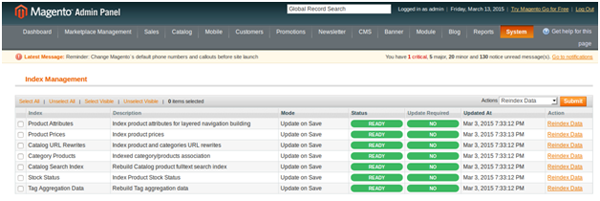
A. Index Management
Magento indexes data for faster access. To update a product in your store, you should re-index it so
that it will be displayed on the front-end.
To update the indexes follow the
path: System > Index Management. The indexes that need re-indexing will be
displayed in red font and Reindex Required will flash. Otherwise up to date
indexes will display Ready status in green font. Until you re-index the data, the sample products will not be displayed on the front end of your website.
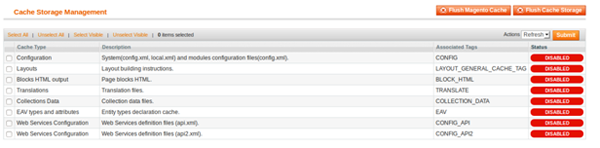
B. Cache
Full page caching has an immense impact
upon the performance of your store. A Magento store runs blocks of codes for
determining which HTML to run on the client browser. Full page caching stores
emitted HTMLs and resends them for every subsequent request. This cache feature
ensures variations of dynamic contents (Welcome message, cart count, etc.) from
customer to customer. Make sure that before launch, all your caches are enabled, by going to System > Cache Management.
C. System Compilation
To keep down the loading time of your
Magento web page, system compilation proves extremely helpful. Page loading
speed is increased up to 50% after you apply this step. The correct way
to use it is through the back-end of your website, and the path is System >
Tools > Compilation.
When a customer requests a page, the server spends a
considerable amount of time locating the exact files. This leads to higher I/O
operations that may create bottlenecks during high traffic cases. The compilation
process stores codes in one folder and compiles them into a smaller number of files on the disk. The compiled code should be refreshed for a single code
deployment.
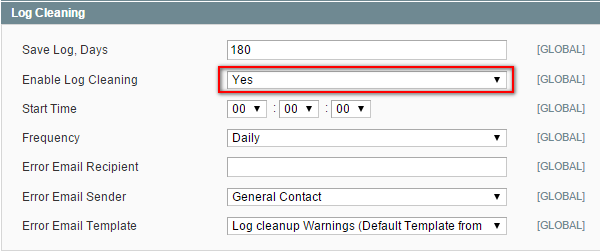
D. Log Cleaning
Log cleaning is a part of database
maintenance. Magento is an excellent CMS platform but its default
database maintenance ability is not up to the mark. A big database can make
your site sluggish.
The site latency and performance can be dramatically
improved through log cleaning. Frequently compared products and customer access
data are stored in these files. Enable this feature. The easiest way to do this
is through the back-end. The path is System > Configuration >
Advanced > System > Log cleaning. Then set Enable Log Cleaning to
Yes.
You can manually clean the log via PhpMyAdmin. The log cleaning
function of Magento manages the following tables.
log_customer
log_visitor
log_visitor_info
log_url
log_url_info
log_quote
report_viewed_product_index
report_compared_product_index
report_event
catalog_compare_item
Select your required table from PhpMyAdmin and then click Operations. Then click Empty the table (Truncate).
Then go to Structure on the top menu and click on Optimize in the With Selected option.
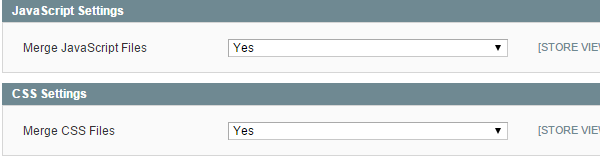
E. Minify JS and CSS
Minified versions of JS and CSS will
again help you speed up the loading speed of your website. For this the easiest
way is from your back end. The path is System > Configuration > Advanced >
Developer. First go to the JavaScript settings and click Yes to Merge JavaScript
Files. Do the same with the CSS settings.
You can also install User Interface Optimization for JS and CSS minification.
3. Error Management Checklist
A web page may undergo
maintenance processes. You must keep a default error page design and a default
structure of "page not found" to provide better user satisfaction.
A. 404 and Error Page Design
The 404 page is a great place to
advertise special offers, coupons and points to be generated by users. Change
the ‘Magento Store’ reference on the default 404 page, which can be found at
CMS > Pages.
Use a different theme design to display your 404 not found
page. Change the action of ‘print’ into ‘email’ in the errors/local.xml file.
Otherwise customers will view the default logo and theme.
4. Email Checklist
This function will help you to keep a
personalized communication with your customers.
A. Transactional Email
Admin can dynamically change the
content of the email. Transactional emails use a different logo to the default one. Make sure that the image that you want to use is saved in your theme directory as logo_email.gif.
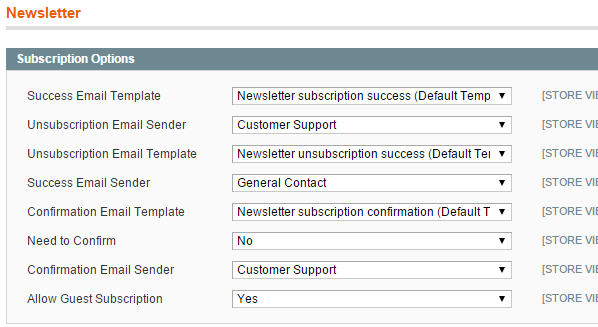
B. Newsletter
Make sure that your newsletter settings are correct and updated. You can access them at System > Configuration >
Customers > Newsletter > Subscription Options. Check out a more detailed article on correctly configuring a Magento newsletter.
5. Sale Setting Checklist
Make sure that your product shipment,
payment settings and tax settings are up-to-date and in accordance with the laws of your country.
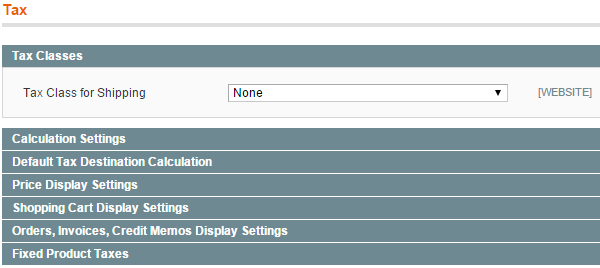
A. Tax
You can modify/view your tax settings at the following path in the Magento admin panel: System > Configuration > Sales > Tax > Tax Classes >
Tax Class for shipping.
Then choose between the Taxable Goods, Shipping and None options.
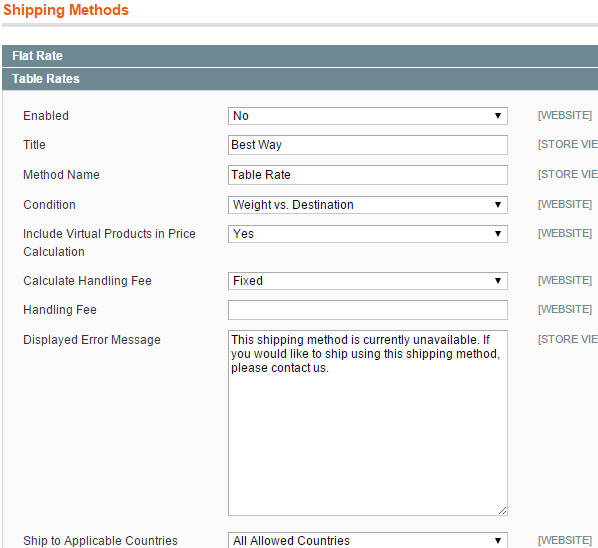
B. Shipping
Set the shipping settings for the Country,
Region/State, and Zip/Postal Code for your local or global eCommerce website from
System > Configuration > Sales > Shipping Settings.
Rates for shipping can be enabled through System >
Configuration > Sales > Shipping Methods > Shipping Table Rates and
many other available options. You can include them to enhance your store’s
shipping functionality.
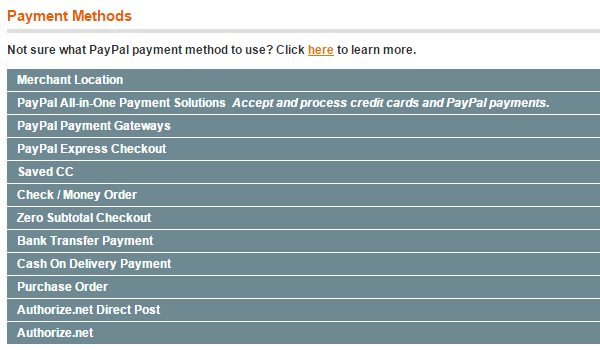
C. Payment Settings
You may choose different payment
gateways for your online store like PayPal, Authorize.Net, Stripe, etc. through
this path: System > Configuration > Sales > Payment Methods. You can
also set the mode of payment from here.
6. SEO Checklist
To optimize the web pages for different
Search Engine Results, make sure that your Google sitemap and Analytics are properly set up in your Magento store.
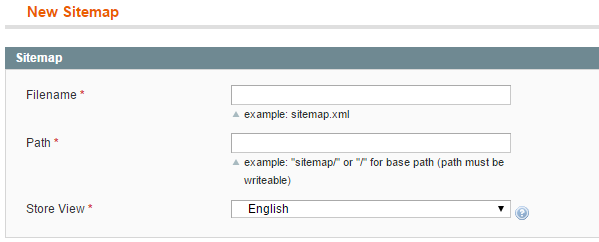
A. Google Sitemap
Search engines crawl the pages
using the xml file. The spiders read sitemap.xml and this improves your visibility and ranking in SERPs. The path for setting up an XML sitemap in Magento is Catalog > Google Sitemap > Add new sitemap. There you can set the
File Name (in xml extension) and Path for your xml file.
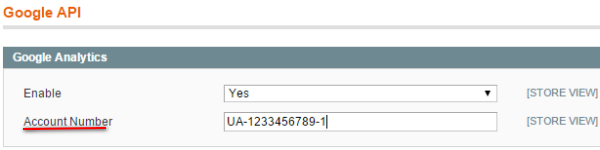
B. Google Analytics
Google Analytics helps you analyze the traffic of your website. For setting up Google Analytics in Magento, you can set up an account with Google Analytics and
then place it in the Analytics account ID. The path is: System > Configuration >
Sales > Google API > Google Analytics.
7. Legal Checklist
Website owners often underestimate
this checklist. But this is an important feature to include, for keeping your
business out of legal entanglements.
A. Privacy Policy
You can generate a privacy policy for your
online store by installing iubenda. It is a professional way to add one. A privacy policy is must for every website. Some countries like the U.K. legally require you to show a privacy policy on your website if you are storing users' information on your server, as is the case most of the time.
Just after setting up your website,
you can generate the Policy attached as a badge to the lower border. After installation, an email will be forwarded to you explaining how to integrate it
and customize it as you need.
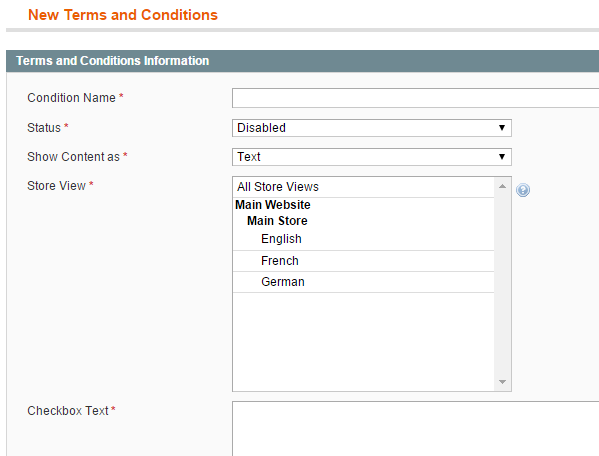
B. Terms and Conditions
If your store includes its own terms
and conditions and your visitors need to accept them to book an order, you can set that up from the admin panel. The path is: Sales > Terms and
Conditions > Add New Condition.
After you click Add New Content the following window
will open.
In the field Show Content As, you can give a styling effect
using HTML tags. Otherwise you can choose the option Text for simple text and
add the content into the Content field.
In order to agree with the terms and conditions you need to
provide a checkbox. In the Checkbox Text you can add text to be displayed
beside the checkbox like ‘I Agree’, etc. Put in the exact Terms and Conditions as text in the ‘Content’
field. In the ‘Content Height (CSS)’ you can set the height of the
text area in the front end in pixels. After specifying all the conditions, click Save
Condition.
You may also require setting up the Order Review for the
Checkout process. The path is System > Configuration > Sales >
Checkout. Then in the Checkout Options, set Enable Terms and Conditions to Yes.
C. Return Policy
You can add a CMS page for
setting the ‘Return Policy’ of the website, and you could also use an extension like Magento RMA Extension. Using this extension you can smoothly set up the
Return Management Authorization policies. After clients accept them, they can
create requests for RMA. The easy method for RMA Tracking helps you to take precautions against fraudulent returns.
Using this extension you can set up different ‘Request Types’
beyond the default types of refund or replacement. For example you can add
credit, repair or any other request type. For every status and request type you can also specify the
store view. In this way the extension supports multistore view.
D. Shipping Info Pages
The shipping info page can be created as a
separate CMS page from CMS > Pages > Manage Pages > Add New Page. If
you want, you may also use an extension like Custom Shipping Options.
The primary function of this extension is to enable your customers to have
their personal shipping accounts at the time of checkout.
You can create an option for Custom Shipping to be displayed
on the Shipping Method portion of the checkout page. Using this extension you can demand a surcharge for shipping.
The rate of surcharge will either be per order, or will be based on the number of items.
Final Words
In this article, I've listed important points
to be checked before launching your online Magento based store. In
addition to these points, you should also carefully check the functionality of all pages and extensions before launch. A small bug or extension
incompatibility can create a bad user experience. This may also cause valuable
loss to your business in the long run.
Did you like the article? Please let me know in your comments and your feedback for this article.


Comments