This is the fifth and final part of our beginning tutorial series on writing apps for the webOS SDK. In today's tutorial, we'll tie up some loose ends from previous tuts and then I'll wrap up by showing you how to submit your own applications to the App Catalog.
Orientation
Wouldn't it be nice if you could hold your phone sideways (landscape) to have a wider screen? Let's add orientation support to our App to allow users to do so.
Edit App/assistants/stage-assistant.js and add:
this.controller.setWindowOrientation("free");
just before
this.controller.pushScene("main");
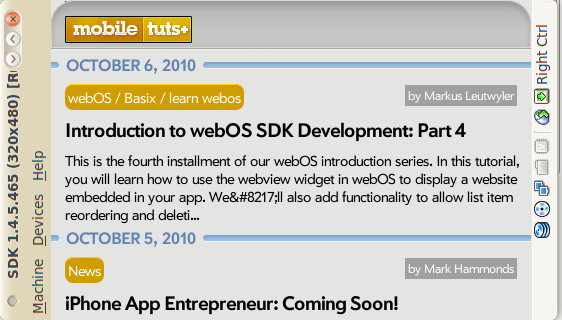
This will enable free orientation, meaning that you can hold your device any way and the App will rotate accordingly. That's it. We don't have to change anything else in our code to enable rotation! The application will simply have a wider but shorter viewport (480x320 on the palm pre) if the device is held in the landscape orientation. Since the relevant parts in the stylesheet (e.g width) are specified in percent (e.g width: 95%;), the app is able to adjust itself:
App Menu
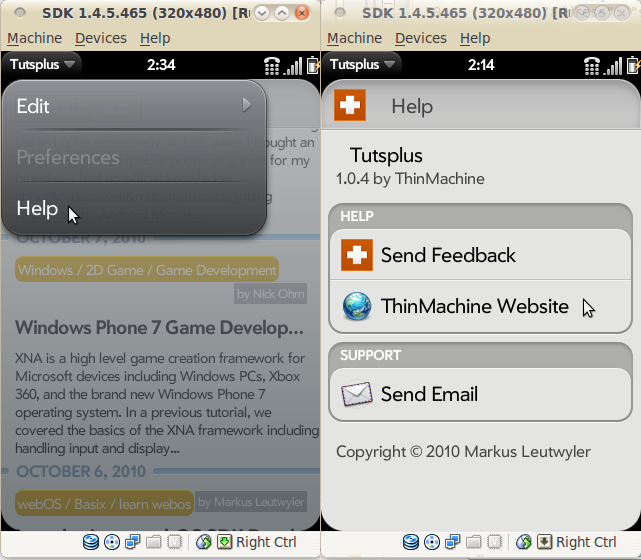
One last thing to add is the App menu that is displayed in the top-left corner. We need to add at least a help menu to be accepted into the App catalog. Let's go ahead and add the necessary code to App/assistants/stage-assistant.js:
StageAssistant.prototype.handleCommand = function(inEvent) {

  switch (inEvent.type) {

    case Mojo.Event.commandEnable:
      switch (inEvent.command) {
        case Mojo.Menu.helpCmd:
          inEvent.stopPropagation();
        break;
      }
    break;

    case Mojo.Event.command:
      switch (inEvent.command) {
        case Mojo.Menu.helpCmd:
          this.controller.pushAppSupportInfoScene();
        break;
      }
    break;

  }

};
For a menu entry to work, we need to react to two events: commandEnable and the command itself. commandEnable is used by Mojo to find out which menu entries are enabled and then the command event reacts to a tap on a menu entry. In our case we first enable the Help menu, and then react to it by pushing a special scene when we call by pushAppSupportInfoScene(). This will pull informations out of Appinfo.json to create a standard help and about scene. Edit Appinfo.json again and add the following:
        "support": {
          "email": {
            "address": "[email protected]",
            "subject": "Support"
          },
	  "resources": [
  	 {
	    "type": "scene",
	    "label": "Send Feedback",
	    "sceneName": "feedback"
	  },
	  {
	    "type": "web",
	    "label": "ThinMachine Website",
	    "url": "http://www.thinmachine.ch"
	  }
	  ]
	  }
As you can see, you can add different support information. A link to an email address that will open the e-mail client, a link to another scene, and a link to a website that will open the browser.
App Catalog
Now that we have a finished App, let's submit it to the Palm App Catalog for other people to download and enjoy! The Palm App Catalog has 3 parts: the official catalog, web-distribution, and beta-distribution. The main difference: applications submitted to web and beta are not reviewed by palm, and are consequently available a few hours after submission. The downside is they're not distributed in the official App catalog. You can only access those Apps through a direct link or through a third party (e.g Preware, Appscoop). Apps submitted to the catalog are subject to a review, where guidelines and code are checked by Palm staff. This process can take a few days. I usually submit new applications to the beta-distribution category first to collect feedback about the new app. I then submit the App to the catalog after reviewing that feedback. One note on having a beta-distribution app first: make sure that the app id of the beta app is different from the catalog version. I usually Append .beta to the app id for this purpose (e.g com.inorbit.tutsplus.beta).
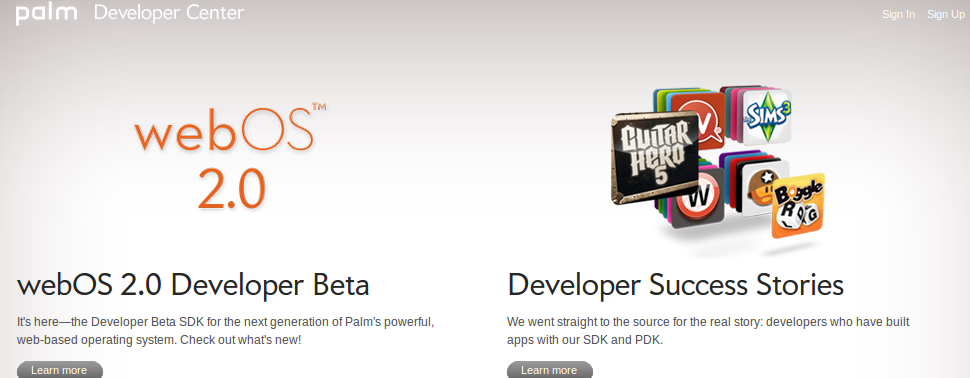
Go to developer.palm.com and click on "Sign up" to create a Developer Account. There is no charge to join the developer program. After signin up and logging in, go to the "My Apps" section of the developer portal. This is where you will manage your apps (download numbers, reports, etc.). Go ahead and click on "Upload New App."
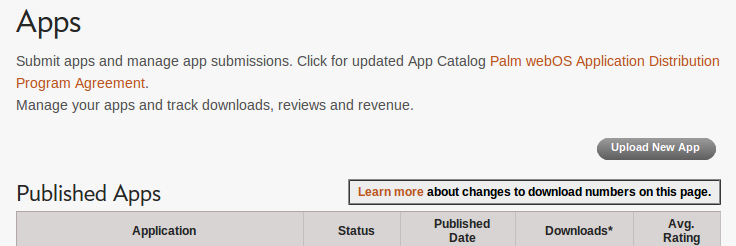
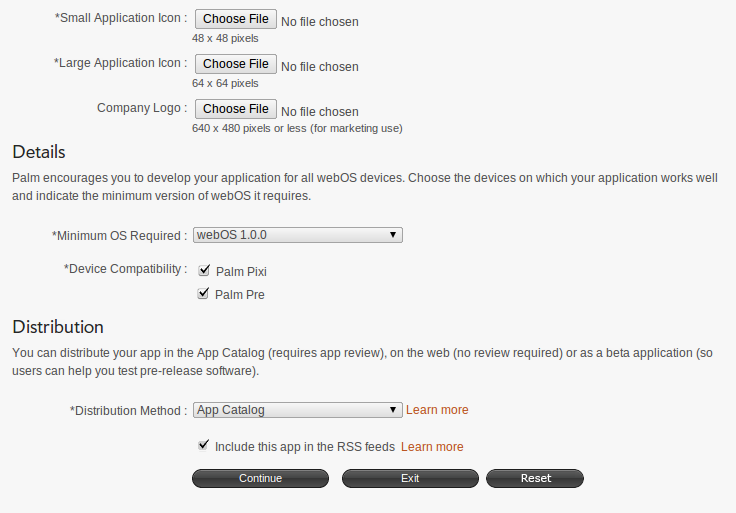
Upload your ipk file first, followed by its icons. Then specify the minimum OS required. At the time of this writing, I recommend 1.4.0 for most apps, since not every device has 1.4.5 yet.
Most apps should be device independent, so choose Pre and Pixi under device compatibility. For distribution method, you can choose between App Catalog, Beta Application and Web Distribution as described above. You can also choose if you want to appear in the RSS feed. There are many 3rd party sites (e.g cyrket.com, myAppbox.com, and apps.webosroundup.com) that consume the App Catalog feeds to display app information to their audiences.
On the next page, decide if your app will be paid or free. Paid apps can only be bought in Canada, France, Germany, Ireland, Mexico, Spain, UK and in the US at the moment. If you have a free app, be sure to select "Other" too, since that enables your app to appear in all app catalogs regardless of country.

Let's go ahead to the next page, Application Information. Supply a title, a company name (which can just be your name) and specify a primary and secondary category. Also describe your Application and add at least three screenshots. You can also add a URL to a youtube video of your app, showing it in action.
Sidenote: Press Option (the orange/grey key), Sym, and P to create a screenshot on your phone. The screenshot will end up in the screencaptures directory on your phone's media partition.
Next up are the translated App descriptions. If you just want to have english in your App, remove the other languages. Otherwise, fill out all the fields in the secondary languages (german,french and spanish). Depending on the app and the target audience, it might be a good idea to provide translations.
You also have to supply support information. Namely, a website, an optional phone-number or email-address, and also a website with company info and a marketing email adress. Most will probably have one set of information for all countries, but you can set different values for different countries if you choose.
I usually use the format "[email protected]" for support and "[email protected]" for marketing.
Next, you have to specify if your App either uses location services (which will be marked and asked if you install the App) or data encryption. Also add a copyright line and a URL to your terms of service (if applicable).
Almost done. You now have to agree that your app complies with every item on the checklist regarding marketing, content, data collection, technical and user interface criterias.
Just one more step before you'll be able to submit your app! If you have notes for the staff member who will review your app, now is your chance to provide them.
That's it! Double check your app information one more time and then hit "Submit."
After submitting your application, you should receive a confirmation e-mail. Pay special attention to the URL to your app supplied in that e-mail. It should be in the following form: http://developer.palm.com/Appredirect/?packageid=<app-id>. In our case, the app id is com.inorbit.tutsplus.beta. Go ahead and tweet, email, facebook that link as soon as the app is available for distribution. It should take approximately two hours for beta and web distribution and two-to-three days for a App Catalog distribution (pending a sucessful Palm review).
Wrap up
If you have followed me since part one of this tutorial, congratulations! You have now created a complete webOS application and learned how to submit applications to the Palm App Catalog. I look forward to seeing what webOS apps you come up with! Let me know if you have any questions on your webOS app development journey. I can be reached via e-mail at [email protected], and you can also message @twtomcat to reach me on Twitter.


Comments