In this series of articles, we are going study the step-by-step process of WordPress plugin development.
If you're a beginner looking to write your first plugin (that includes both shortcodes as well as widgets), then this series is especially for you.
In order to show this process in practice, we will develop a plugin for integration of the Owl Carousel into WordPress.
Owl Carousel is responsive carousel which plays well on desktop, tablets, and mobile. It was developed by Bartosz Wojciechowski and is distributed under the MIT license.
The Plugin Concept
Let’s have a look at the plugin concept to get a clear understanding of what exactly we are going to create.
Here is the idea:
- We're going to integrate Owl Carousel into our WordPress website.
- We'll be inserting featured images from certain posts into the carousel.
- Finally, we'll expose the carousel parameters on the Dashboard so that the user can offer customization.
Simply put, we're looking to introduce deep integration of Owl Carousel into WordPress with a user-friendly interface.
Starting Development
Naturally, the first question is, where do we begin?
Given that we're working to integrate one library (that is, Owl Carousel) into an existing application (that is, WordPress), we need to be able to outline the steps that we're going to follow in order to actually develop our plugin.
To begin, we'll outline exactly what Owl Carousel does:
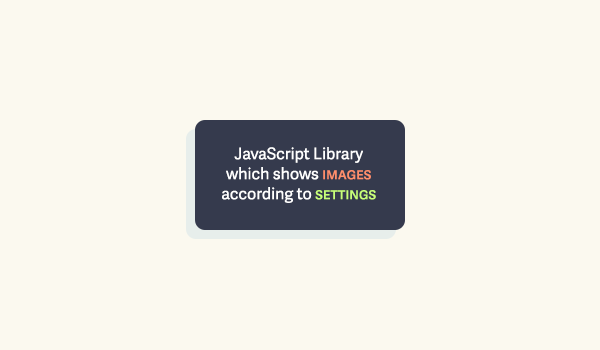
Here, you see our two keywords:
- Images
- Settings
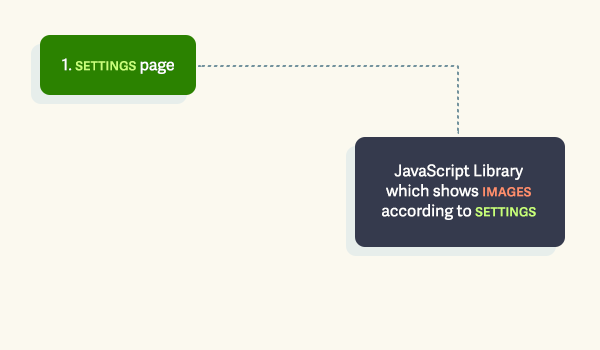
First, let’s take a closer look at "Settings". Settings can be defined as the Owl Carousel parameters which we will be exposing in the WordPress Dashboard.
To do this, we need to develop settings page in our Dashboard. As such, this will be the first step of plugin development. To that end, we'll add it to our diagram.
Now, let's turn our attention to featured images.
As I mentioned in the beginning of the article, we would like to show featured images from posts that we select. To do this, we need to be able to mark posts which should appear in the carousel.
There are several ways to do this:
- We can add a special category.
- We can add a special tag.
- We can add a custom field.
Both the Category and Tag implementations are poor ideas from an SEO perspective because they create additional pages on the website that ultimately duplicate existing content. Though can actually control this in a number of a different ways, those strategies are outside the scope of this tutorial.
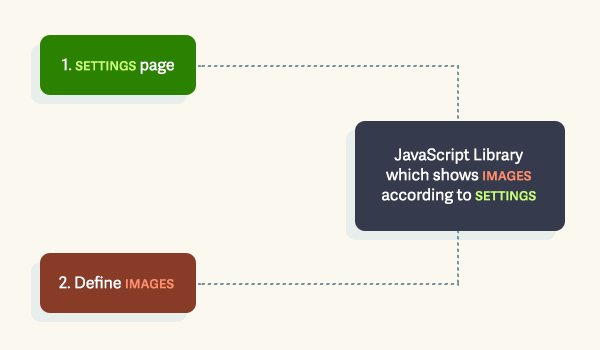
To avoid this, I recommend using custom fields. In this case, you mark a post and no additional pages appear. The second step is to define which images to add to carousel.
Let's add this step to our diagram:
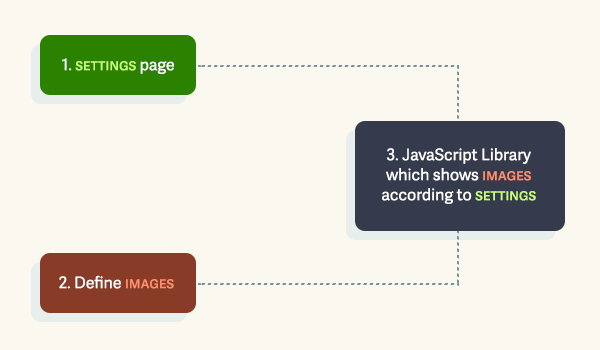
When we have parameters and images, we can finally implement the actual carousel functionality. And that will be our third step, so let's add it to our diagram:
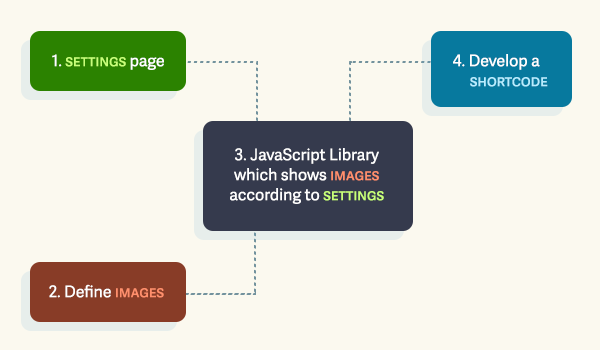
At this point, we have enough functionality to add Owl Carousel to theme as a template tag; however, it would be much better to be able to add the carousel to posts and pages.
In order to do this, we have to implement shortcode functionality. As with the rest of our steps, let's add it to the diagram:
Improving The Utility of the Plugin
To make plugin even more useful, we should add a widget for the Owl Carousel. Widgets allow us to show the carousel on multiple pages as an alternative to shortcodes.
Finally, let's add the development of a widget to the diagram of our development, as well.
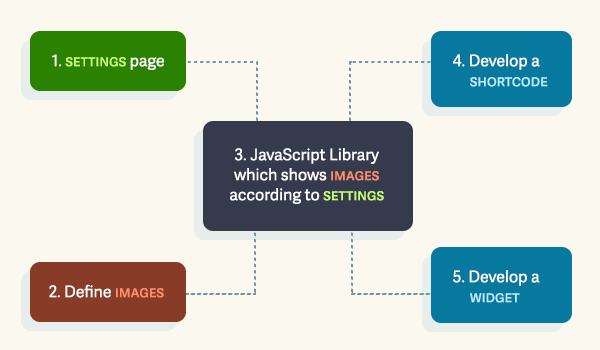
Above is the diagram of our entire process. Before development of the plugin functionality itself, we have to prepare our development workspace. In the next article, we will cover exactly that.
Conclusion
In this article, we defined the features of our plugin and planned out the steps of development.
The purpose of the planning process is all about divide and conquer. In other words, we're working to break down the idea of what we want to do into manageable steps that can be achieved through several iterations of development.
From there, you should be able to define the necessary dependencies, steps, APIs, and data required to actually implement the plugin. Starting in the next article, we are going to begin by setting up our development workspace, then moving forward with development of the plugin.


Comments