In our previous tutorial, we used the History Web API within a static site to serve smooth page transitions. In this tutorial we’re going to take things to the next level, by applying what we learned in a WordPress website. There’ll be one crucial difference; we’ll leverage SmoothState.js instead of building our own from scratch.
SmoothState.js will:
- Request pages asynchronously (AJAX) and replace the content accordingly.
- Update URLs and browsing history through the History Web API.
We’ll opt for SmoothState.js for a number of reasons:
- Ease of use: it is an extremely easy to use jQuery plugin, requiring barely any configuration to get it up and running.
- APIs: SmoothState.js is packed with methods, properties, and hooks which allow us to mould it into many possible situations.
- Prefetching and caching: these two features allow our page transitions to be much smoother and faster than what we built in the previous tutorial.
- It’s unopiniated: SmoothState.js does not dictate how we apply the animation–we can lean on CSS, jQuery, Vanilla JavaScript, or an animation library like Velocity.js.
- Tried and tested: Considering more than a hundred issues have been closed during its development, we can assume numerous bugs have been addressed.
Prerequisites
There are a couple of things you will need to have ready in order to follow this tutorial:
- WordPress: having a running WordPress site, either locally on your computer, or live on an online server is required. If you need help for this step, check out Tom McFarlin’s How to Get Started With WordPress to get up and running with a basic WordPress site.
- A theme: During this tutorial we are going to use the latest default WordPress theme: TwentySixteen. You can opt for any theme, but ensure the theme is compliant with WordPress standards.
1. Create a Child Theme
Using a “child theme” in WordPress (instead of working directly with the original theme files) allows us to safely introduce new, or override default functionality.
This is best practice when it comes to customizing a theme, since any changes you make will be preserved if the parent theme is updated.
In our case, the parent theme is TwentySixteen. The child resides in another new folder “twentysixteen-child” which contains a “functions.php” file and a stylesheet “style.css”, as follows.
.
├── twentysixteen
└── twentysixteen-child
The most important part of a child theme is the Template notation in the stylesheet header which states the theme relationship. Specify Template with the name of the parent theme directory, in our case twentysixteen
/**
Theme Name: Twenty Sixteen Child
Theme URI: https://webdesign.tutsplus.com
Author: Thoriq Firdaus
Author URI: https://tutsplus.com/authors/tfirdaus
Description: A child theme that adds an extra layer of glam to TwentySixteen
Version: 1.0.0
License: GNU General Public License v2 or later
License URI: http://www.gnu.org/licenses/gpl-2.0.html
Text Domain: twentysixteen

Template: twentysixteen
*/
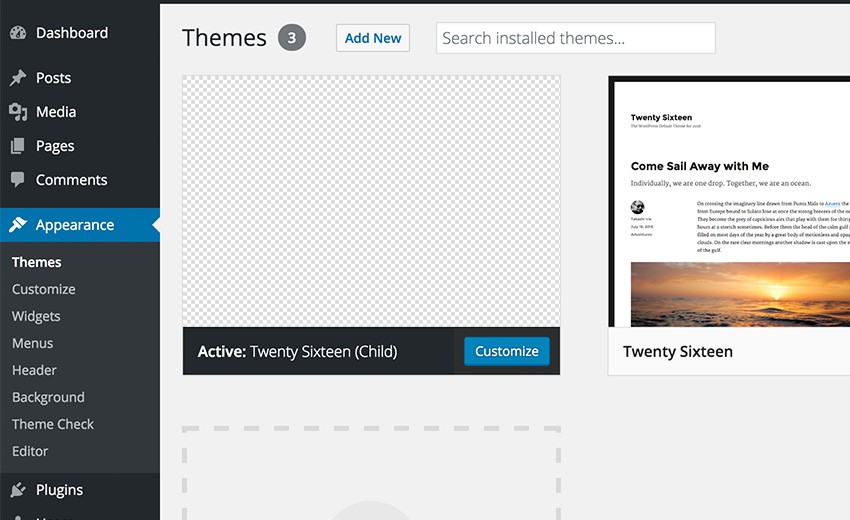
Once that is set, activate the child theme via the admin:
2. Enqueue the JavaScript Files
We need to load a number of JavaScript files into our WordPress theme. In principal we could do so by adding these JavaScript directly to the head tag in the “header.php” file of the theme. Following the WordPress standard, however, it is encouraged to use the wp_enqueue_script() function, added to the functions.php, in order to prevent conflicts:
wp_enqueue_script( 'smoothstate-js', 'assets/js/smoothstate.js', array( 'jquery' ), '0.5.2' );
wp_enqueue_script( 'script-js', 'assets/js/script.js', array( 'jquery', 'smoothstate-js' ), '1.0.0' );
The function also allows us to set the script dependencies. In our case, the “smoothstate.js” depends on jQuery, thus WordPress will load jQuery prior to loading “smoothstate.js”.
Our file “script.js” depends on both scripts, thus the loading sequence of all our scripts is as follows:
<script type='text/javascript' src='wp-includes/js/jquery/jquery.js'></script>
<script type='text/javascript' src='assets/js/smoothstate.js'></script>
<script type='text/javascript' src='assets/js/script.js'></script>
Take a look at the following tutorials to learn more about how file enqueuing in WordPress works:
 PluginsThe Ins and Outs of The Enqueue Script For WordPress Themes and Plugins
 Cheat SheetsThe Complete Guide to Proper JavaScript Usage With WordPress
3. Deploying SmoothState.js
Let’s add the following code to our “script.js”, in order to get SmoothState.js up and running:
( function( $ ) {

	$( function() { // Ready

		var settings = {
			anchors: 'a'
		};

		$( '#page' ).smoothState( settings );
	} );

})( jQuery );
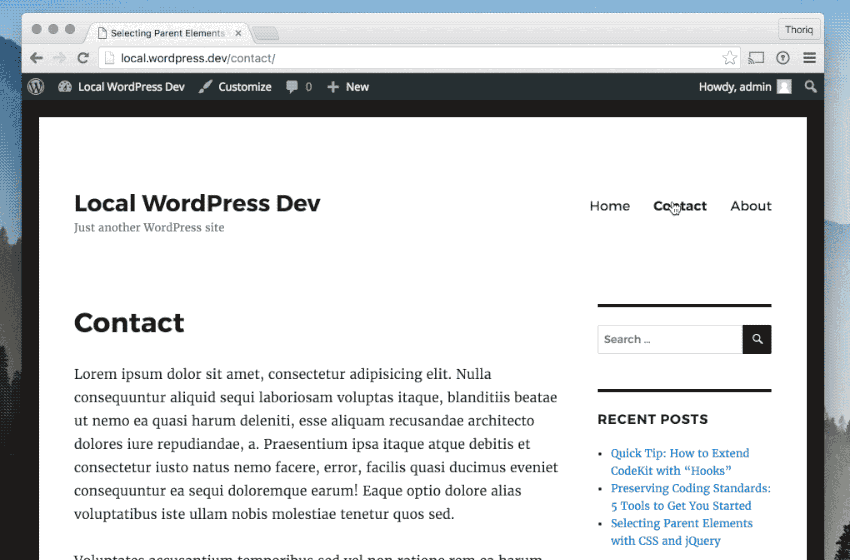
In the above code, we select #page (the element that wraps the site page content) and deploy SmoothState.js with its most basic configuration.
Our pages should be served without fully reloading the browser window as we navigate through our WordPress site. Our pages are now delivered asynchronously.
Basically, we are all set! However, there are a few details still worthy of attention:
- There are some URLs which should not be loaded asynchronously, such as the link within the
#pagethat is pointing to the WordPress Admin,wp-adminorwp-login.php. - Links with a trailing hash, for example
#respond, do not jump to the appointed sections on the page. - Our page load is blazingly fast. But it doesn’t yet feel smooth since we haven’t applied any animation to convey the transition.
4. WordPress Admin Links
There are a few links on the page that are pointing to the WordPress admin area, such as the Edit link in each post, the Logged in as admin, and the Log-out before the comment form.

One of the problems when SmoothState.js requests the Admin is that we won’t be able to go back to the previous page when we click on the browser Back button. This issue occurs because the SmoothState.js script is not present in the Admin area to request and serve the previous page.
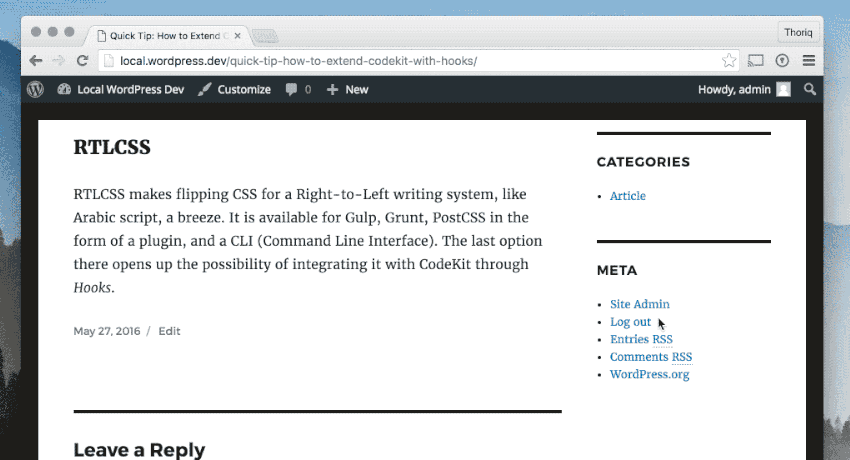
We will need to prevent SmoothState.js from requesting any URL pointing to wp-admin or wp-login. To do this we can utilize the blacklist parameter, as follows:
( function( $ ) {
	$( function() { // Ready
		var settings = {
			anchors: 'a'
			blacklist: '.wp-link'
		};
		$( '#page' ).smoothState( settings );
	} );
})( jQuery );
The blacklist parameter tells SmoothState.js to ignore the links with the specified class selector; and given the above code snippet, it will ignore the links with wp-link class. This class name is currently non-existent, so we’ll create a new class and add it dynamically to the necessary links:
function addBlacklistClass() {
	$( 'a' ).each( function() {
		if ( this.href.indexOf('/wp-admin/') !== -1 ||
			 this.href.indexOf('/wp-login.php') !== -1 ) {
			$( this ).addClass( 'wp-link' );
		}
	});
}
This function evaluates every anchor tag on the page, then adds wp-link class if the link URL includes /wp-admin/ or /wp-login.php.
We execute this function twice to effectively add the class to the page. First, on the initial page load. The second is after SmoothState.js has served the new page via the onAfter; a method that will run each time the new content and animation has been completely delivered.
function addBlacklistClass() {
	$( 'a' ).each( function() {
		if ( this.href.indexOf('/wp-admin/') !== -1 ||
			 this.href.indexOf('/wp-login.php') !== -1 ) {
			$( this ).addClass( 'wp-link' );
		}
	});
}

$( function() {

	addBlacklistClass();

	var settings = {
		anchors: 'a',
		blacklist: '.wp-link',
		onAfter: function() {
			addBlacklistClass();
		}
	};

	$( '#page' ).smoothState( settings );
} );
5. Handling the Link Hash
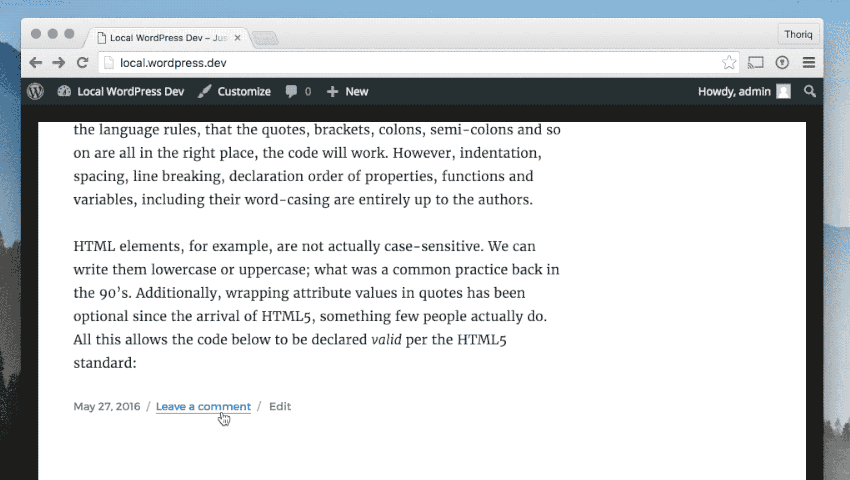
Next, we need to handle links with a trailing hash. In a WordPress theme, we will usually find one which links to the comment section of a Post or a Page.

As things stand, you will find the link won’t take us to the comment section because the page is not actually reloaded or refreshed. Therefore, we need to replicate the expected normal behavior.
( function( $ ) {
	...
	$( function() {
		...
			onAfter: function() {
				...
				var $hash = $( window.location.hash );

				if ( $hash.length !== 0 ) {

					var offsetTop = $hash.offset().top;

					$( 'body, html' ).animate( {
							scrollTop: ( offsetTop - 60 ),
						}, {
							duration: 280
					} );
				}
			}
		};
	} );
})( jQuery );
As you can see from the above code snippet, we’ve added a few lines of codes under the onAfter method. The code retrieves the URL hash, then scrolls to the section designated (if the section is present on the page) using jQuery Animation.
6. Applying Page Motion
We need to make the page transition feel more lively. First, we’ll add the CSS styles to animate the page, to our child theme’s “styles.css” as follows.
.site-content {
	-webkit-transition: -webkit-transform .28s, opacity .28s;
	-ms-transition: -o-transform .28s, opacity .28s;
	-o-transition: -o-transform .28s, opacity .28s;
	transition: transform .28s, opacity .28s;
}
.slide-out .site-content {
	-webkit-transform: translate3d( 0, 100px, 0 );
	-ms-transform: translate3d( 0, 100px, 0 );
	-o-transform: translate3d( 0, 100px, 0 );
	transform: translate3d( 0, 100px, 0 );
	opacity: 0;
}
The .site-content is the class name which wraps the main post or page content, while .slide-out is an additional class we’ve created to slide the content out.
( function( $ ) {
	...
	$( function() {
		...
		var settings = {
			...
			onStart: {
				duration: 280, // ms
				render: function ( $container ) {
					$container.addClass( 'slide-out' );
				}
			},
			onAfter: function( $container ) {
				...
				$container.removeClass( 'slide-out' );
			}
		};

		$( '#page' ).smoothState( settings );
	} );

})( jQuery );
Given the above code, we utilize the onStart method to add the class when SmoothState.js starts pulling in new content. Then through onAfter, we remove the class after the new content has been delivered.
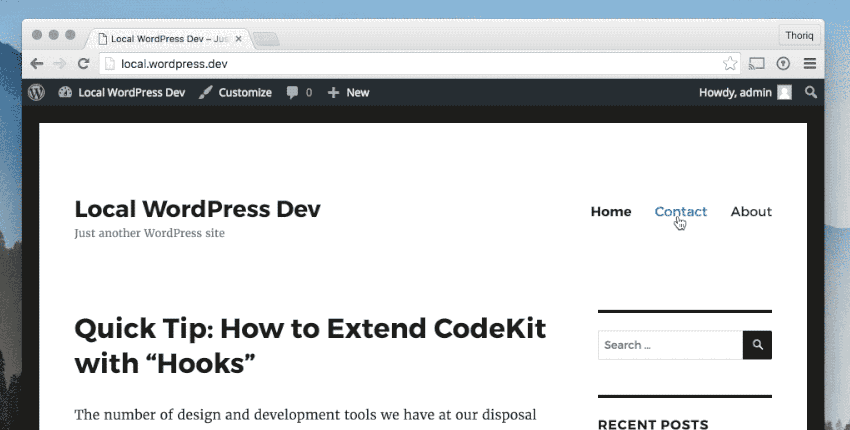
And that’s all there is to it! Still, there is one thing to bear in mind regarding compatibility with some WordPress plugins..
What’s Next?
There are more than 40.000 WordPress plugins available, not even including plugins which are hosted outside the official repository into account, like on CodeCanyon for example. There are many plugins out there which might not be compatible (or even break) our asynchronous loading, particularly ones which rely on scripting to any extent.
The following list is my rough estimate of some which you might need to look into when using them in conjunction with SmoothState.js:
- WordPress.com Stat (a Jetpack module)
- Carousel (a Jetpack module)
- Infinite Scroll (a Jetpack Module)
- Google Analytics for WordPress
- Disqus
- Lazy Load
Additionally, JavaScript is heavily used in the Customizer within the WordPress Admin. So, you may think about unloading SmoothState.js in the Customizer, if anything ever breaks.
Conclusion
We’ve learned how to integrate SmoothState.js into WordPress, as well as leverage a child theme as our development strategy. And this is just a start! We could, for example, extend what we’ve done into a plugin with options in the settings where regular users can easily customize the output.
Inspiration
If you’re looking for inspiration, check out these multi-purpose WordPress themes on Envato Market which use similar AJAX page loading techniques:


Comments