In this introductory series for how to achieve some tasks in WordPress, we've talked about themes and plugins and how to install our web server. The one thing we haven't covered, though, is how to install WordPress.
In this tutorial, I'm going to walk through the process of downloading a copy of the WordPress source code and how to set it up on your local machine. If you haven't read any of the other articles in this series, that's okay; however, you do need to read the article on How To Install WordPress: The Server Software. This particular tutorial will provide you with everything you need to know to get the necessary software set up so that you can install WordPress.
Once done, you'll be ready to proceed with this tutorial.
Prerequisites
Before proceeding with this tutorial, it's important that you've caught up with the previous article in the series. If not, go ahead and check it out.
This article assumes that you have:
- a web server, namely Apache, running on your local machine
- a database server such as MySQL set up on your machine
- PHP set up on your machine
It also assumes you're comfortable with extracting data from a zip file. It's also important to know the credentials of your database. Refer to the documentation of the package you installed (such as MAMP, WAMP, XAMPP, etc.). If you've set up all of your software on your own, then you should know the credentials you've specified.
With that said, let's go ahead and round out this series by installing WordPress on our machines.
1. Download WordPress
To set up WordPress on your computer, you have to obtain a copy of it. Unlike much software on the market, there's nothing to buy, no license to purchase, and no need to make a financial transaction of any sort.
WordPress is web software you can use to create a beautiful website, blog, or app. We like to say that WordPress is both free and priceless at the same time.
Nice, isn't it?
First, point your browser to the WordPress homepage.
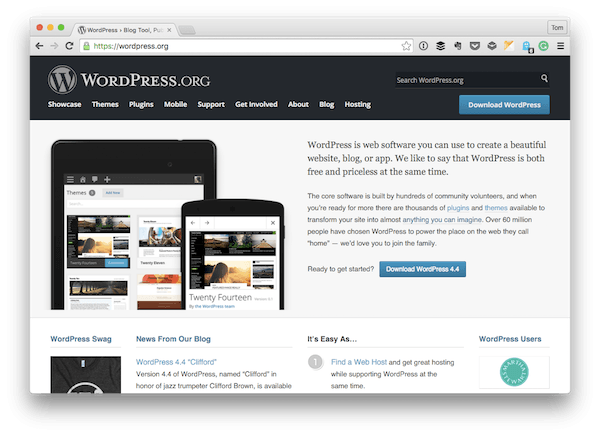
Next, click on the Download WordPress 4.4 button (at least, 4.4 is the current version at the time of this writing).
This will redirect you to a page that will provide you with the links to download either a zip file or a tar file. For this tutorial, we'll be downloading a zip file, so click on the corresponding link.
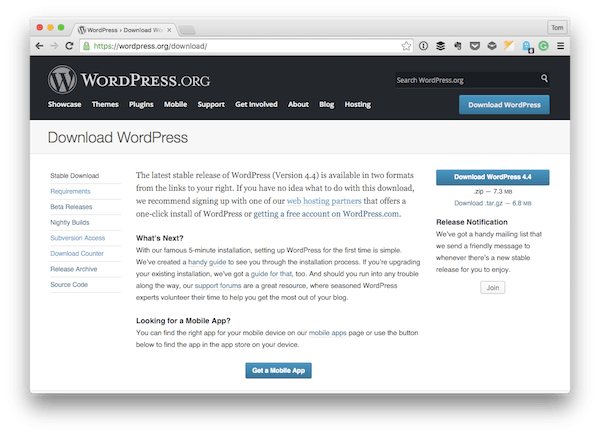
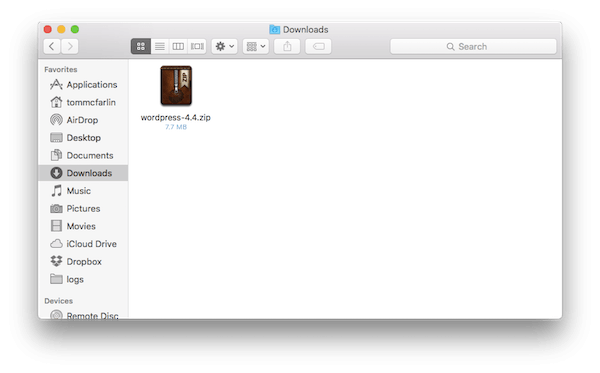
When the download is complete, you should have a copy of WordPress that you can extract. Go ahead and do that now and it will create a wordpress directory in the directory that you specify (often the directory in which it's downloaded).
Next, we're ready to install the application.
2. Move WordPress to the Web Server Directory
Before installing WordPress, it's important to note where your web server is serving its documents.
For example:
- XAMPP offers the
htdocsdirectory. - WAMP uses the
wwwdirectory. - MAMP also uses the
htdocsdirectory or another directory that you've specified in the control panel.
For this tutorial, I'm assuming that you're using either the htdocs or the www directory. Now, it's time to copy the contents of the wordpress directory into your htdocs or www directory.
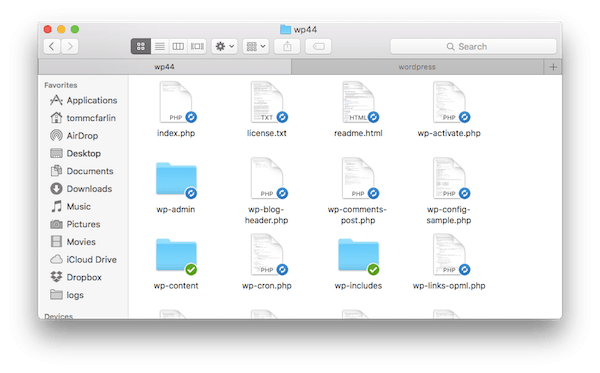
Note that I did not say to copy the wordpress directory itself, just the contents of the directory. This is so that it allows us to use clean URLs when working in our development environment.
For example, if we opted to copy the wordpress directory, then all of our URLs would need to include /wordpress/, but if we install the contents of the directory in the root of our web server directory, then we don't have to prefix the URL with wordpress. I could talk more about this, but it goes beyond the scope of this series.
3. Install WordPress
Now that we've copied the WordPress application files into our web server directory, we should be able to access it via our web browser. Depending on your setup, you will likely access it by pointing your browser to http://localhost/, but you may need to consult the documentation for your web server before doing so, as it may differ.
Assuming everything has gone well, you should see the following screen:
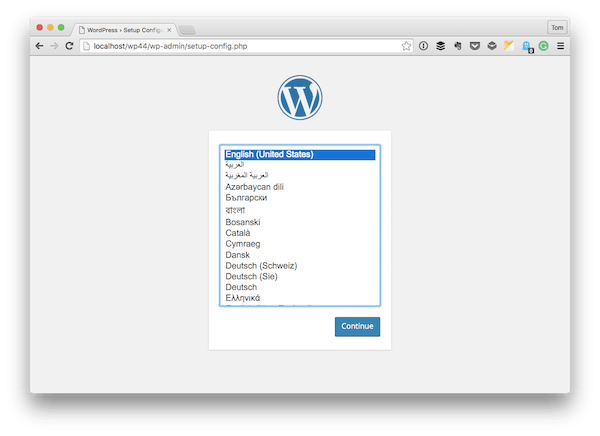
Select the language in which you want to install WordPress and then click Continue:
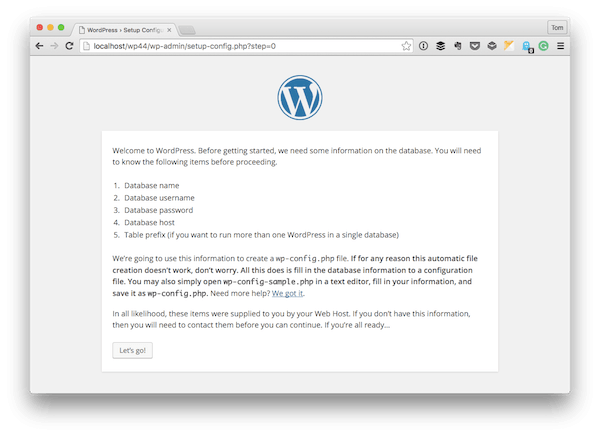
Here, you'll be asked to make sure you have the credentials mentioned earlier in this tutorial. This is nothing more than a page to make sure you have everything you need to proceed with installing WordPress.
If so, click Let's go! and then advance to the next screen:
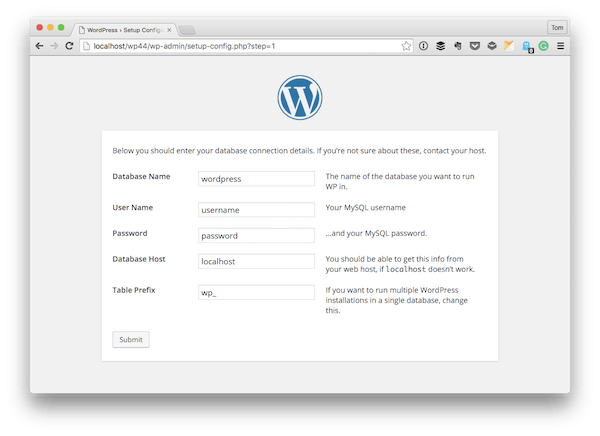
Notice that in the first field, it asks for the name of your database. Sometimes, web server software will provide this. Otherwise, it will not. If you're unsure, point your browser to http://localhost/phpMyAdmin/ and then click on the Databases tab. Next, create a database using whatever name you like. I've opted to go with devwp44.
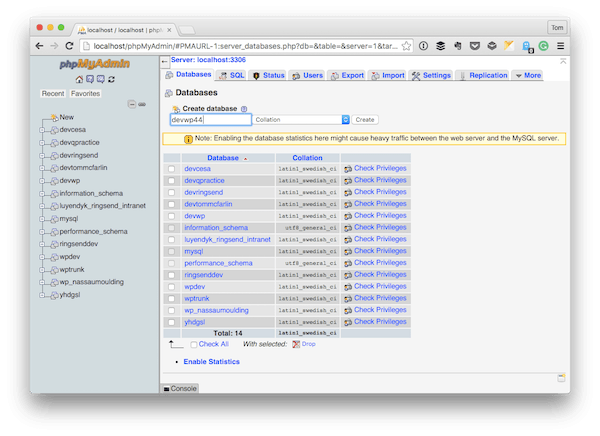
After that, return to the WordPress installation screen and populate it so that it looks something like this:
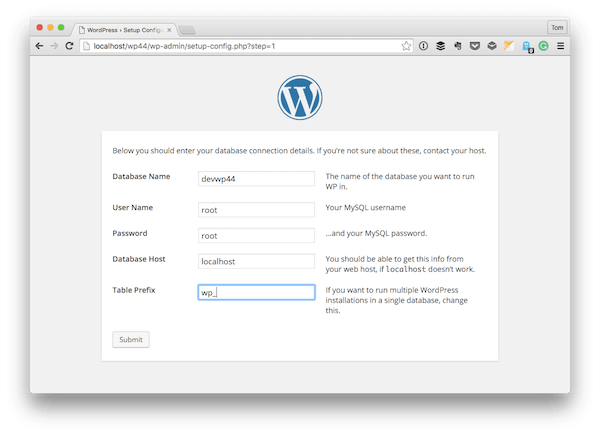
Once done, click on Submit. If you receive an error, you'll be able to return to the previous page and double-check what's entered; otherwise, you should see the following screen and will be ready to install the application. Click on Run the install.
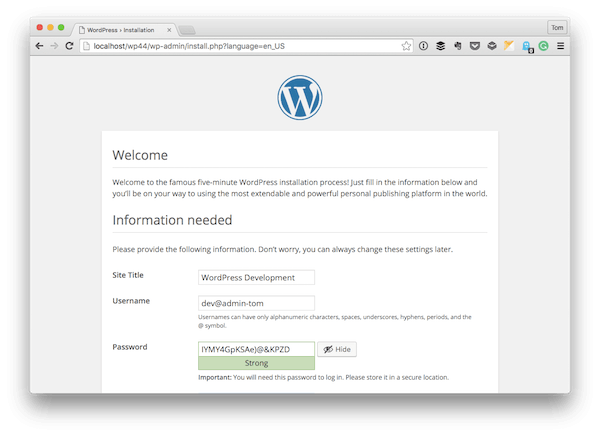
In the final screen, you can provide the name, username, and password that you want for your site. After you submit this information, you'll be presented with the WordPress login screen. Provide the username and password that you specified in the following screen and then log in to your dashboard.
4. Begin Your Work
At this point, you're ready to get to work.
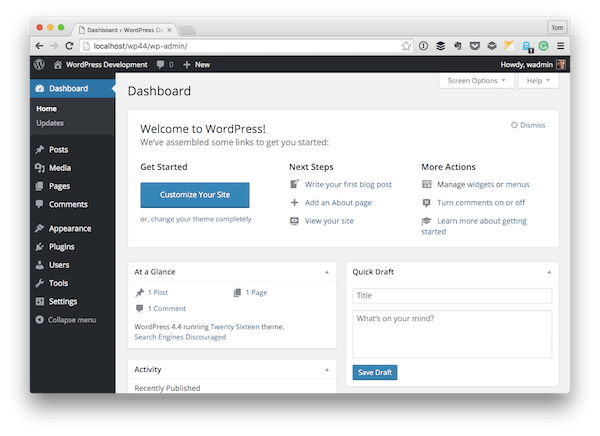
Specifically, you should be presented with the WordPress dashboard that gives you access to what you would expect from a standard WordPress installation.
Furthermore, this also gives you everything you need to begin looking for themes and plugins as well as everything you need to start building original work on top of the WordPress platform.
That topic, however, is reserved for a future set of articles.
Conclusion
In this series, we've covered the basic introductory material for getting up and running with a local development environment, how to search, locate, and install themes and plugins, and how to install WordPress.
Remember the purpose of this series is not to bring intermediate-to-advanced developers up to speed on WordPress. Instead, it's meant to provide a comprehensive introduction to WordPress and the software associated with it so those who are interested in it can get started with exploring the platform and ultimately building things with it.
As usual, we're already working on more content for the coming year that should help to further WordPress development skills. Some will be for beginners, some will be for more advanced developers. At any rate, we're looking to make sure we're providing the best source of content for aspiring and experienced WordPress developers.
If you're looking for additional plugins and utilities to expand your WordPress installation, then don't forget to take a look at what we have available in the marketplace.
Please don't hesitate to leave any questions or comments in the feed below, and I'll aim to respond to each of them as time permits.
For those who are interested in the rest of what I've written about development in the context of WordPress, you can see all of my courses and tutorials on my profile page, and you can follow me on my blog and/or Twitter at @tommcfarlin, where I talk about software development in WordPress.
Finally, remember to take a look at the other posts in this series, and leave any questions on the tutorial pages as necessary.


Comments