Having spent a large part of my time at Envato working for Tuts+ and telling people how much amazing stuff there is to learn, last year I decided it was time to dig a little deeper. I wanted to sample how well Tuts+ content actually served the needs of our community’s service providers and authors.
So I set a personal goal to create a product that could be sold on Envato Market, and would aim to use Tuts+ content to fill the knowledge gaps needed to get me there.
Right. Umm. So What Should I Make?
I thought about this for a while. As a semi-retired front-end developer I did a fair bit of scouring through the ThemeForest and CodeCanyon product categories, looking for a niche to fill.
There were a few options, but in the end I realised that much of the work I was about to undertake would be happening after hours. Did I really want to spend evenings and weekends coding on solitary projects? Turns out I didn’t. So I chose to follow a passion instead.
I’ve been playing drums since Kiss’s Peter Criss inspired me to pick up a set of sticks in the late 70s. He had big muscles, and obviously playing the drums was the way for a skinny kid to get those. The biceps never eventuated, but a love of playing music with friends did.
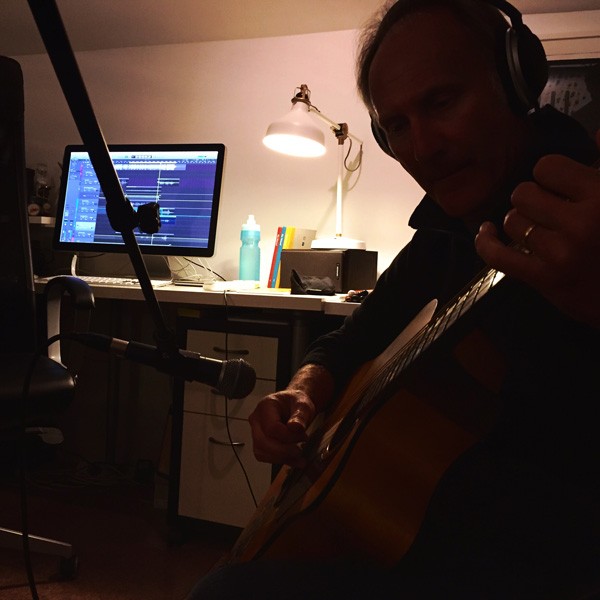
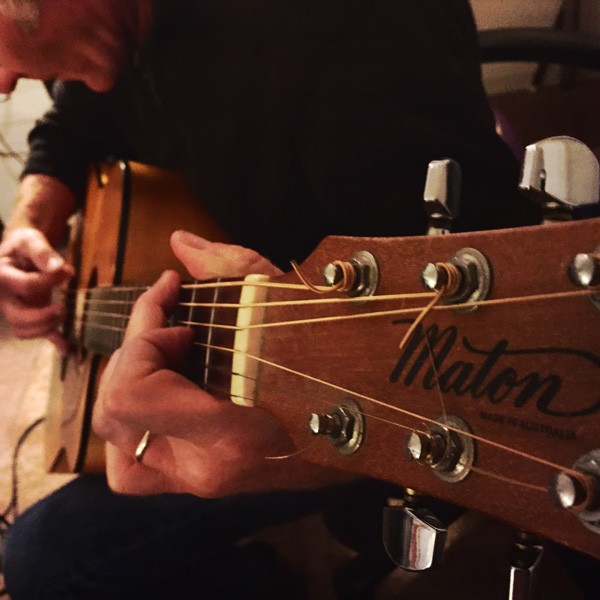
One of those friends was my mate Mark, a talented guitarist with a great ear for layering up intricate rhythms and melodies into really interesting song arrangements. I floated the idea of venturing into the world of stock audio with him, and luckily he was keen to give it a shot. AudioJungle, here we come!
We’re Going to Record Music! Wait, Isn’t That Crazily Expensive?
It used to be. Over the years we’d both spent a fair chunk of our spare change on recording studio time and talent. But I had a suspicion that the 2011 Macbook Air sitting on my desk probably now had multiple times the processing power of the desktop computers our recording engineers used back in the early 2000s. Surely we could kick off a recording project on that, right?

Free Is a Pretty Compelling Price
Our timing for embarking on this project in 2014 was pretty good, as Apple just happened to make GarageBand free the year prior. I already had it on my computer so didn’t really do any other tool based research, although What Is the Best DAW for Beginners would’ve been a good place to start.
Get Connected
Ok, we’re getting somewhere. We have a computer and an app (what those in the field call a Digital Audio Workstation or DAW) that allows us to do multi-track recording. Great! So… how do we get our music into the computer? My Macbook Air had no ports that would accommodate any of the audio cables I had collected over the years. USB seemed my only connection option. I needed some sort of interface to get audio into the—wait a minute!
While rummaging around in my crate of cables earlier I noticed an old Griffin iMic USB audio interface. I’m sure no serious sound engineer would consider using this device for professional music recording, but when you’re starting out full of enthusiasm and super keen to get a result, anything will do!
After gratuitous use of adapters (to get all the plugs, cables and points connected) and a little fiddling about, it did the job. We could hook up a guitar or microphone and record sound into GarageBand!

(We later upgraded our audio interface to a Roland Duo-Capture EX and have been thrilled with the results. But be warned, making an audio interface choice can be difficult, as there’s lots to consider.)
Let’s Record!
As I mentioned earlier, Mark and I had both spent time watching great audio engineers at work in the studio. As such, we had a pretty good idea of the multi-track recording process, even though neither of us had ever sat at a console and actually clicked the red button. But if you’re really starting from zero, it might be worth doing a little reading on how to approach your first recording.
So we opened GarageBand, created a project, and started recording some guitar. GarageBand is pretty intuitive and has just enough features to achieve a good outcome without being overwhelming. We certainly made lots of mistakes, and got completely stuck in one or two instances, but always seemed to get rolling again quickly via the GarageBand help manual or a quick web search.
We used the built-in guitar amp simulators and found a few sounds that appealed. Mark was playing away while I was clicking buttons, exploring options and gradually building up some hands-on knowledge about the recording process. An hour or so into our first recording session late on a Tuesday evening, we noticed that one of Mark’s takes had a really good groove going and could possibly be turned into something…

Mixing It Up
Over subsequent Tuesdays we took that original guitar track and added some bass guitar, a few more layers of electric guitar, some drums and a subtle keyboard pad. While we were lucky enough to have those instruments on hand, the guitars were the only essentials. These days you can achieve some amazing keyboard and percussion results with some basic MIDI knowledge. And, as is often the case with music, sometimes less is more.
With all the tracks down, we now needed to mix them. It turns out there’s much more to mixing than just some panning and volume level tweaks. By skimming through parts of this 3D Mixing learning guide, I was able to pull out enough relevant knowledge on equalisation, compression, effects and depth to knock our track into basic shape. Things were really coming together now. But would it be good enough to make it past the AudioJungle reviewers?
The Mysterious Art of Mastering
With most of our individual recording projects over the years, once the engineer had finished mixing the songs they were sent off to be mastered. They’d always come back sounding better than when they left, but what actually happened in that process was a mystery.
I knew our song needed mastering, so in the spirit of getting a result with whatever I had on hand, I set about that process using the open source sound editor Audacity.
I’d played around with Audacity in the past just to edit the occasional WAV file, and in doing so noticed there were lots of options tucked away behind the main menu items. I browsed around for some beginner articles on mastering and spent time reading about exactly what went on during this process.
I’ll admit, the workflow here was pretty cumbersome, especially factoring in an awful lot of experimentation. I’d add EQ, compression, loudness and limiting in varying amounts and combinations, and then export a master to Dropbox and listen to it on as many sound systems and speakers as I could.
Inevitably, when it sounded great on one, it would be lacking on another. So I’d head back to Audacity and do it again. And again. After looping through this process 11 or 12 times I finally had the track sounding solid on all my test devices. We’d done it!
(I’ve since refined our approach to mastering through purchasing Ozone 6 after watching the awesome Mo Volans’s introduction to this nicely priced piece of mastering software.)

Track Done! What’s Next?
Two months of Tuesday evenings after first clicking the record button in GarageBand, we had our completed track. Even though I’d probably listened to the piece at least 200 times throughout the whole recording, mixing and mastering process, I still really liked it—that has to be a good sign, surely!
I’d also been quietly impressed with how well the posts in the Tuts+ Music & Audio topic had served us in getting this far. Of course, I’d occasionally find myself consulting other sources (and would encourage others to do the same), but on the whole there’s actually a pretty good breadth of content coverage for beginners on our network.
Now, armed with something we believe is worthy of sale, it’s time to head over to AudioJungle, establish an account, and see if the review team gatekeepers agree…


Comments