Thanks to FuelPHP's fieldset class, working with forms couldn't be easier. With a few lines of code, you can easily generate and validate a form. Today, we're going to learn how to do just that!
The
Fieldsetclass is used to create a form and handle its validation in an object-oriented way. It uses theFormandValidationclasses. This class, itself, is only meant to model the fieldset and its fields, while the other two classes perform the brunt of the work.
Setup Fuel
We need a FuelPHP installation with an RM package enabled. I'm going to use a MySQL database with a sample table. While the Fieldset class can be configured to use a normal model, using an ORM will save us some time.
If you haven't reviewed the first couple parts of the FuelPHP series here on Nettuts+, now is a great time to check out part one and two, by Phil Sturgeon.
Set up a database connection at fuel/app/config/development/db.php.
		return array(
		  'default' => array(
		 	 'connection'  => array(
		 		 'dsn'  	=> 'mysql:host=localhost;dbname=blog',
		 		 'username' => 'root',
		 		 'password' => 'root',
		 	 ),
		  ),
		);
Enable the ORM package through fuel/app/config.php
			'packages'  => array(
				'orm',
			),
And, finally, here's the SQL for the table I'm using for this tutorial.
			CREATE TABLE  `blog`.`posts` (
			`id` INT NOT NULL AUTO_INCREMENT PRIMARY KEY ,
			`post_title` VARCHAR( 100 ) NOT NULL ,
			`post_content` TEXT NOT NULL ,
			`author_name` VARCHAR( 65 ) NOT NULL ,
			`author_email` VARCHAR( 80 ) NOT NULL ,
			`author_website` VARCHAR( 60 ) NULL,
			`post_status` TINYINT NULL
			) ENGINE = INNODB;
Model
We need a model for our controller to interact with the posts table. Go ahead and create a post.php inside app/classes/model/. Create a Model_Post class and make sure it extends \Orm\Model. The ORM will automatically use the posts table in our database since we have used the singular of "posts". If you want to set a different table, set up a static property called $_table_name.
		class Model_Post extends \Orm\Model
		{
			protected static $_table_name = 'posts'; //set the table name manually
		}
Setting Up the Properties
We should specify the columns of our posts table within our model. At the same time, we can also set up labels, form validation rules to use with our fieldset class to generate the form. All of these go in an associated array, called $_properies. With everything in place, our final model should look like so:
	class Model_Post extends \Orm\Model
	{
		protected static $_table_name = 'posts';

		protected static $_properties = array(
			'id',
			'post_title' => array( //column name
				'data_type' => 'string',
				'label' => 'Post Title', //label for the input field
				'validation' => array('required', 'max_length'=>array(100), 'min_length'=>array(10)) //validation rules
			),
			'post_content' => array(
				'data_type' => 'string',
				'label' => 'Post Content',
				'validation' => array('required')
			),
			'author_name' => array(
				'data_type' => 'string',
				'label' => 'Author Name',
				'validation' =>  array('required', 'max_length'=>array(65), 'min_length'=>array(2))
			),
			'author_email' => array(
				'data_type' => 'string',
				'label' => 'Author Email',
				'validation' =>  array('required', 'valid_email')
			),
			'author_website' => array(
				'data_type' => 'string',
				'label' => 'Author Website',
				'validation' =>  array('required', 'valid_url', 'max_length'=>array(60))
			),
			'post_status' => array(
				'data_type' => 'string',
				'label' => 'Post Status',
				'validation' => array('required'),
				'form' => array('type' => 'select', 'options' => array(1=>'Published', 2=>'Draft')),
			)


		);
	}
Let's examine what options we can use. data_type simply holds the fields's type. It could be either string, integer or mysql_date. The value for the label property will be shown as the field label once the form is generated. validation accepts an array of validation rules. By default, these fields will be text input fields. Using the form, you can make it a select or texarea.
The ORM treats the column named id as the primary and will not be shown when generating a form. If your table's primary key column is different, use the $_primary_key property to specify it.
	/**
	 * Post Model
	 */
	class Model_Post extends \Orm\Model
	{
		protected static $_table_name = 'posts';

		protected static $_primary_key = array('id'); //you can set up multiple columns, .. $_primary_key => array('id', 'user_id')
	}
Controller
Now that the model is ready, let's create the controller. Controllers should be placed within fuel/app/classes/controller/. I've created a controller, called Controller_Posts (posts.php) and extended it from Controller_Template.
		/**
		 * Post Controller fuel/app/classes/controller/posts.php
		 */
		class Controller_Posts extends \Controller_Template
		{
			//list posts
			function action_index()
			{

			}

			//add new one
			function action_add()
			{

			}

			//edit
			function action_edit($id)
			{

			}
		}
Users will be able to see a list of posts, add new ones, or edit an existing one. Because I'm using the template controller, I can use a base template file to work with. Templates go in fuel/app/views/template.php
<!DOCTYPE html>
<html>
<head>
<meta http-equiv="Content-type" content="text/html; charset=utf-8" />
<?php echo Asset::css('bootstrap.css'); ?>
</head>
<body>
<div id="content">
<p>
<?php
echo \Html::anchor('posts/index', 'Listing'), ' ', \Html::anchor('posts/add', 'Add');
?>
</p>
<?php if(isset($messages) and count($messages)>0): ?>
<div class="message">
<ul>
<?php
foreach($messages as $message)
{
echo '<li>', $message,'</li>';
}
?>
</ul>
</div>
<?php endif; ?>
<?php echo $content; ?>
</div>
</body>
</html>
This is merely standard HTML markup with the Twitter bootstrap. The $content variable will have the content. We can set an array of messages and if we do, it will be printed as an unordered list.
Adding New Posts
This is where the fun begins. We're going to generate the form for adding new posts. As you might have guessed, we'll be working with the action_add() method. Let's generate the form and pass it to our template.
	//add new one
	function action_add()
	{
		$fieldset = Fieldset::forge()->add_model('Model_Post');
		$form     = $fieldset->form();

		$this->template->set('content', $form->build(), false); //false will tell fuel not to convert the html tags to safe string.
	}
Fieldset::forge() will return a new instance of the fieldset class. It's the same as doing new Fieldset. However, using the forge method here, we can name our instances. If we call an instance twice with the same name, an existing instance will be returned if available [the Factory pattern]. To name your instance, pass the name to the forge method. Fieldset::forge('new_post')
Using the add_model method, we pass the model which we want the forms to be generated from. Fieldset will grab the data from $_properties to generate the form. Calling the form() method from the fieldset object will return an instance from Form class, and by calling the build() method, we can get a html (string) output of the form.
$this->template->set('content', $form, false);
Finally, we pass the $form to the template as content. Another method of passing variables to a template is $this->template->content = $form.
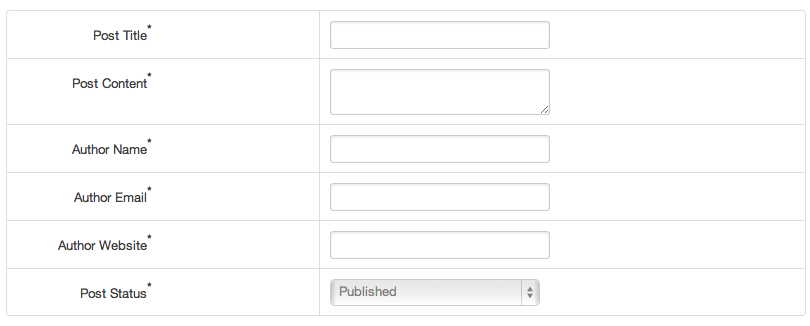
Fire up your browser and navigate to http://path_to_site/index.php/posts/add. You should see a form identical to this.

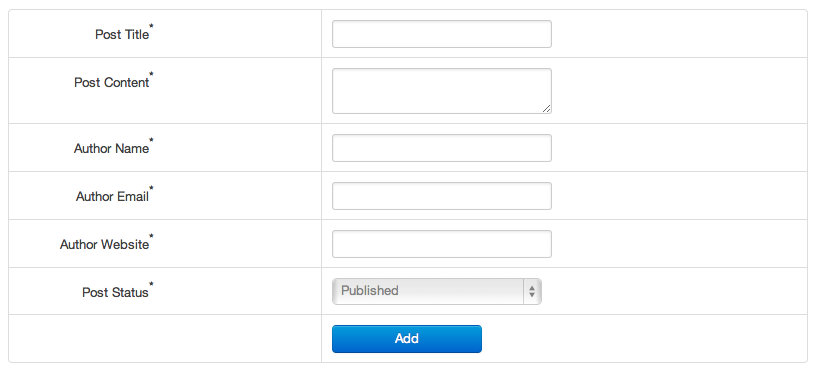
No submit button? Let's fix that. We need to add a new field to our form object.
$form->add('submit', '', array('type' => 'submit', 'value' => 'Add', 'class' => 'btn medium primary'));
Using the add method we can add additional fields to our form. First parameter is our new fields name, second is for label, for the third parameter we pass an array of attributes.
After adding this, our action_add() will look like this.
	function action_add()
	{
		$fieldset = Fieldset::forge()->add_model('Model_Post');
		$form     = $fieldset->form();
		$form->add('submit', '', array('type' => 'submit', 'value' => 'Add', 'class' => 'btn medium primary'));

		$this->template->set('content', $form->build(), false);
	}
And our form..

Validation and Saving
Now that we have a nice form, let's validate it and save to the database. The fieldset object includes an instance from FuelPHP's validation class. All the rules has been applied and ready to go.
	function action_add()
	{
		$fieldset = Fieldset::forge()->add_model('Model_Post');
		$form     = $fieldset->form();
		$form->add('submit', '', array('type' => 'submit', 'value' => 'Add', 'class' => 'btn medium primary'));

		if($fieldset->validation()->run() == true)
		{
			$fields = $fieldset->validated();

			$post = new Model_Post;
			$post->post_title     = $fields['post_title'];
			$post->post_content   = $fields['post_content'];
			$post->author_name    = $fields['author_name'];
			$post->author_email   = $fields['author_email'];
			$post->author_website = $fields['author_website'];
			$post->post_status    = $fields['post_status'];

			if($post->save())
			{
				\Response::redirect('posts/edit/'.$post->id);
			}
		}
		else
		{
			$this->template->messages = $fieldset->validation()->errors();
		}

		$this->template->set('content', $form->build(), false);
	}
$fieldset->validation() returns a validation class instance and by accessing its run() method we can check if validation is passed. If so, we add a new post to our database. $fieldset->validated() will return an array of validated fields. If validation is passed and post is saved, the user will be redirected to the edit page, otherwise pass the validation errors to our template as message variable.
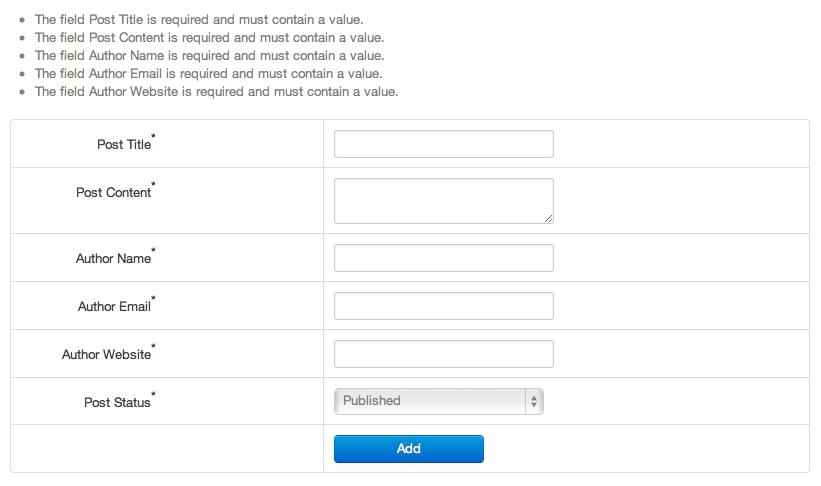
If you try to submit some invalid data, you will get an output like so:

Everything seems fine except for one issue: data we submit doesn't appear after the page refresh. Not to worry, one method call and you're done.
$fieldset = Fieldset::forge()->add_model('Model_Post')->repopulate(); //repopulate method will populate your form with posted data
Cool, huh? Add some valid data and it will redirect to the action_edit() method, which is not ready yet.
Editing a Post
Editing a section is pretty much the same as our add post section. Except we need to populate the data with an existing post. I'm going to duplicate the action_add code.
	function action_edit($id)
	{
		$post = \Model_Post::find($id);

		$fieldset = Fieldset::forge()->add_model('Model_Post')->populate($post); //model post object is passed to the populate method
		$form     = $fieldset->form();
		$form->add('submit', '', array('type' => 'submit', 'value' => 'Save', 'class' => 'btn medium primary'));

		if($fieldset->validation()->run() == true)
		{
			$fields = $fieldset->validated();

			//$post = new Model_Post;
			$post->post_title     = $fields['post_title'];
			$post->post_content   = $fields['post_content'];
			$post->author_name    = $fields['author_name'];
			$post->author_email   = $fields['author_email'];
			$post->author_website = $fields['author_website'];
			$post->post_status    = $fields['post_status'];

			if($post->save())
			{
				\Response::redirect('posts/edit/'.$id);
			}
		}
		else
		{
			$this->template->messages = $fieldset->validation()->errors();
		}

		$this->template->set('content', $form->build(), false);
	}
With some small modifications to our action_add() method, we have our edit method. repopulate() method has been replaced by populate() method. Using the populate method, we can populate a form with an existing post's data.
In this case, we grab the post from our database using the $id parameter, then pass it to the requisite method. We don't need $post = new Model_Post; anymore because we are not adding any thing to the database. The $post object we create in the beginning is used to assign the new values. Once edited it will redirect back to its edit screen. We're done! Add some posts, and try editing them.
Listing Pages
Let's build up the listing section so users can see all the posts in one place.
The listing is handled by the action_index() method
	//list posts
	function action_index()
	{
		$posts = \Model_Post::find('all');

		$view  = \View::forge('listing');
		$view->set('posts', $posts, false);

		$this->template->content = $view; //In config file View objects are whitelisted so Fuelphp will not escape the html.
	}
Model_Post::find('all') will return an array of posts objects for all of our posts. Using View::forge(), a new view object is instantiated. The parameter for View::forge() is the name for our specific view. It's located at app/views/listing.php. The array of posts object ($posts) is then passed to our view. The Listing view will take care of the listing and finally we assign the view to $this->template->content.
In the view, we loop through $posts and generate the list.
	<?php
	/**
	 * Listing view, views/listing.php
	 */
	if($posts):
		foreach($posts as $post):
	?>

	<div class="post">
		<h2><?php echo $post->post_title; ?> <small><?php echo \Html::anchor('posts/edit/'.$post->id, '[Edit]');?></small></h2>
		<p><?php echo $post->post_content; ?></p>
		<p>
			<small>By <?php echo $post->author_name; ?></small><br />
			<small><?php echo $post->author_email; ?></small><br />
			<small><?php echo $post->author_website; ?></small><br />
		</p>
	</div>

	<?php
		endforeach;
	endif;
	?>
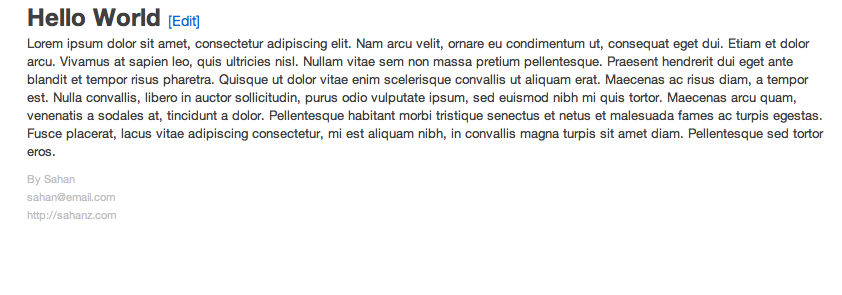
If you have any posts in the database, it will look something like this.

Some Final Modifications
Everything seems to be working correctly; however, there are some minor issues. The generated form has a text field for the post content, which would be better off as a textarea.
	//Model_Post
	'post_content' => array(
		'data_type' => 'string',
		'label' => 'Post Content',
		'validation' => array('required'),
		'form' => array('type' => 'textarea') //will give us a textarea
	),
You can pass all the field types text, textarea, select, radio etc. For select or radio elements, you can set the options. Setting options for a select using another table is also possible. If you want to change the default layout, place a form config file in fuel/app/config/form.php If you're not sure about what to put in there, copy stuff from fuel/core/config/form.php. Fuel uses this file to generate the forms.
Summary
I hope you now have a clear understanding of the fieldset class. If you have any questions, please let me know in the comments below. Thank you so much for reading!


Comments