Easy Digital Downloads is a perfect solution to create a 'digital store' for selling digital and virtual products exclusively. In my last article, I gave a brief introduction to EDD, which included its features and applications. Today, I am going to discuss the installation of this plugin along with some of its General settings.
Easy Digital Downloads Installation
Like other WordPress-based plugins, installation of EDD is very simple. If you are a new to this, then here are the few steps involved.

- Go to your WordPress site dashboard.
- Click the menu for Plugins and select Add New.
- There you will search for Easy Digital Downloads.
- You will find it being displayed in the top results.
- Click Install Now.
- After installing, simply click Activate Plugin.

After the installation of the EDD plugin, you can easily customize its settings according to your requirements. One thing which you will notice immediately after the installation is the appearance of a new section named Downloads. Let's look into this.

By hovering your mouse over it, you will find this section being further divided in ten different sub-sections:
- All Downloads
- Add New
- Categories
- Tags
- Payment History
- Discount Codes
- Reports
- Settings
- Tools
- Add Ons
Later in this series, I will be taking up each of these sub-sections separately and will explain how you can configure various settings in them. But first I will begin with the Settings submenu.
Settings in EDD
Inside the Settings submenu you can customize from some of the very basic to advanced settings, which are as follows.

Digital store owners can configure settings for six different tabs, i.e.
- General
- Payment Gateways
- Emails
- Styles
- Taxes
- Misc
General Settings
Inside the Settings submenu, the first tab is for the General settings. Let's look into its various options and the effects they will bring in setting up a digital store.
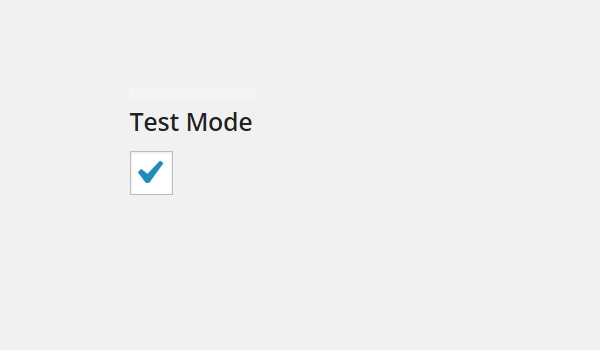
Test Mode

The first option is a checkbox for Test Mode. When it is check-marked, it will take your digital store into testing mode and will provide you with the demo of a transaction being processed. But this entire procedure will not be performed in reality. When you are testing the waters, it is good to enable it. On a running digital store, test mode must be unchecked.
Checkout Page

The next option is a drop-down menu from where you will set your Checkout Page. This page will help the customer to complete the transaction of the purchased product by checking it out. You can make different pages in order to link them with different menus on your digital store. There is a drop-down list of pages which are a part of your digital store. Add the respective page from this list for the checkout of your products.
Normally, EDD automatically creates the Checkout page for you. All you have to do is see if the correct one is selected here.
Success Page

The Success Page, when configured, will address customers about the success of their purchases. Set the respective page from the drop-down list, which will lead customers to a page which will notify them about the successful transaction.
Normally, EDD automatically creates the Success page for you. All you have to do is see if the correct one is selected here.
Failed Transaction Page

This page will address the customer about the failure of the purchase. Choose the respective page from the drop-down list which will direct the customer in case of a Failed Transaction.
Again, EDD automatically creates the Failed Transaction page for you. All you have to do is see if the correct one is selected here.
Purchase History Page

The next option is for the Purchase History Page which will tell customers about the history of their purchases so far, from the start to the most recent one. Like the other options discussed above, you will again select the appropriate page from the drop-down list.
Normally, EDD automatically creates the Purchase History page for you. All you have to do is see if the correct one is selected here.
Base Country

You can add your base country from where you are operating the store and its products. Click the drop-down menu and choose your country. In this case, France has been set as the Base Country. You can change it according to your geographical location.
Conclusion
In this article I have mentioned the steps to install EDD and explained the configuration of the first half of the General settings. In my next article I will cover the remaining options of this tab.
Till then if you have any queries regarding this article you can post a comment and I will try to respond with the solution to your query.


Comments